Introduction
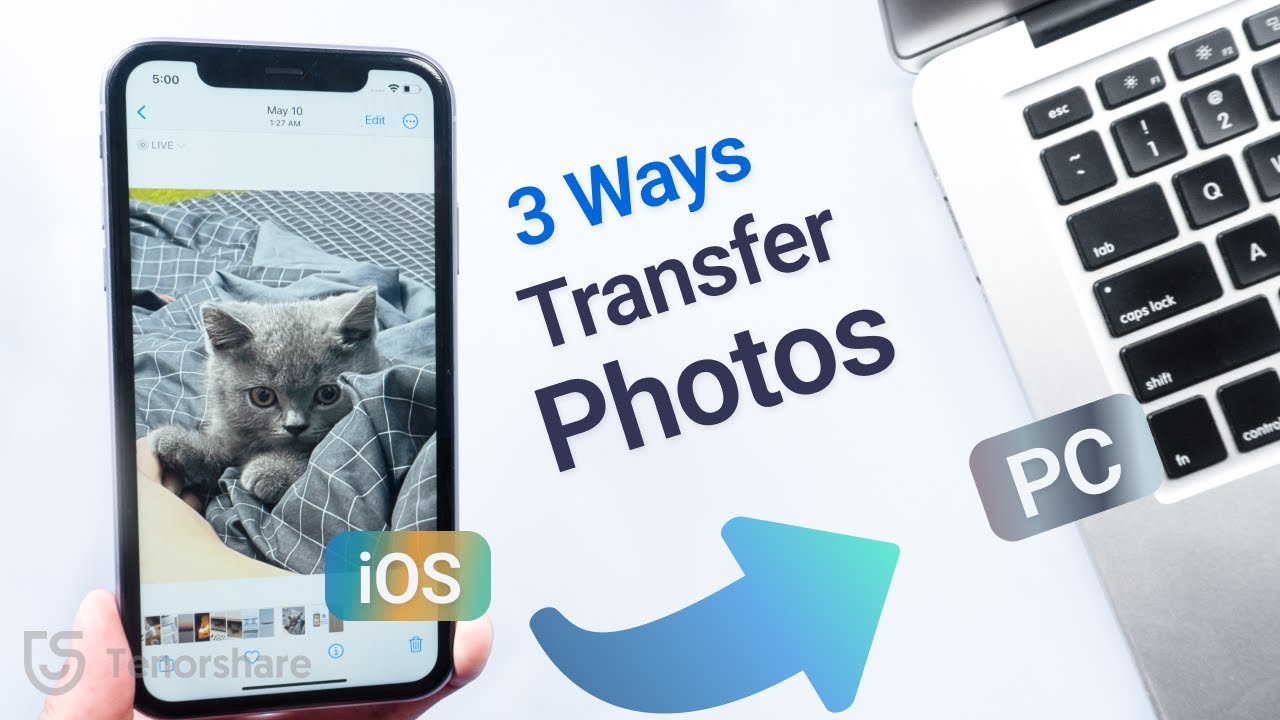
Are you tired of constantly running out of storage space on your iPhone due to the countless photos taking up precious memory? Do you want to effortlessly transfer your treasured memories from your iPhone to your Mac for safekeeping or editing purposes? Look no further – in this article, we will guide you through various methods to download photos from your iPhone to your trusty Mac.
With a plethora of options available, you can choose the method that aligns with your preferences and requirements. Whether you prefer using Apple’s built-in apps or third-party applications, we have got you covered. So gather your iPhone and Mac and let’s dive into the world of seamless photo transfers.
In this guide, we will explore four methods for downloading photos from your iPhone to your Mac. First, we will discuss using the Photos app, which is a convenient option for those already using Apple’s ecosystem. Next, we will walk you through the process of using the Image Capture app, ideal for those who want a straightforward and customizable approach. Then, we will explore the wonders of AirDrop, a wireless file-sharing feature that works like magic. Finally, for those who want to seamlessly sync their photos across devices, we will explain how to use iCloud Photo Sharing.
Whether you are a photography enthusiast or simply someone who likes to capture every moment, these methods will save you from the hassle of manually transferring photos or relying on third-party services. So, let’s roll up our sleeves and get started on how to download photos from your iPhone to your Mac!
Method 1: Using the Photos App
If you are an Apple user, the Photos app is a built-in gem that allows you to organize, edit, and share your photos seamlessly across your devices. It also serves as a powerful tool for transferring your iPhone photos to your Mac.
To begin, make sure you have the latest version of macOS installed on your Mac and iOS on your iPhone. Connect your iPhone to your Mac using the lightning cable provided, and unlock your iPhone if it’s password-protected.
Once connected, the Photos app should automatically launch on your Mac. If not, you can open it manually from the Applications folder or the Launchpad.
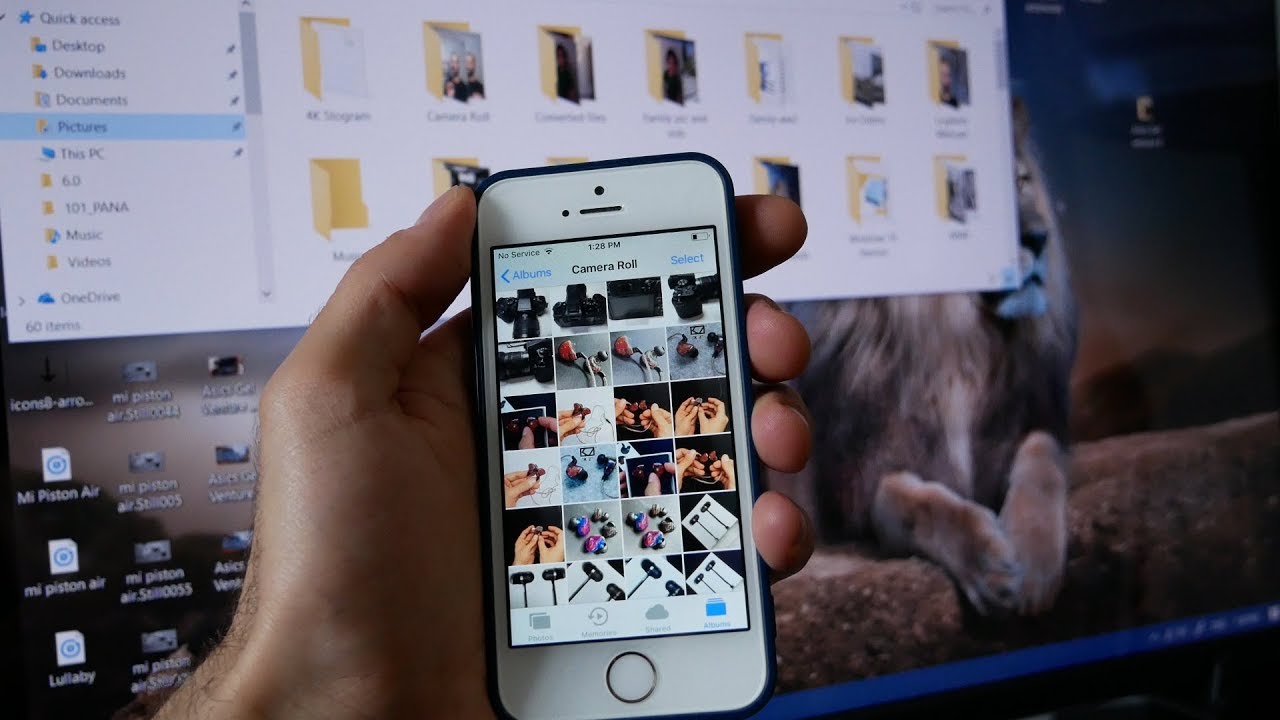
In the Photos app on your Mac, you will find your iPhone listed under the Devices section on the left-hand sidebar. Click on your iPhone’s name to access its content.
Now, you can choose to download your entire photo library from your iPhone to your Mac or select specific photos or albums. To download the entire library, click on the “Import All New Items” button located at the top right corner. This will import and organize your photos into your Mac’s Photos library.
If you want to download specific photos or albums, first select the desired ones by either clicking on them individually or using the Shift or Command key to select multiple photos. After selecting the photos, click on the “Import Selected” button to transfer them to your Mac.
The Photos app also provides an option to delete photos from your iPhone after importing them. If you want to free up space on your iPhone, enable the “Delete items” checkbox before importing. However, if you wish to keep a copy of your photos on your iPhone, leave this option unchecked.
During the transfer process, you’ll see a progress bar indicating the status of the import. Once the transfer is complete, you can find your downloaded photos within the “Photos” tab in the Photos app on your Mac.
Using the Photos app is an excellent option for Apple users as it simplifies the transfer process and seamlessly integrates with your existing photo library. Organize, edit, and share your photos effortlessly as you preserve your memories on your Mac.
Method 2: Using the Image Capture App
If you prefer a more straightforward and customizable approach to transfer photos from your iPhone to your Mac, the Image Capture app is the perfect tool for you. This app is included with your Mac and allows you to selectively import photos from your iPhone with ease.
To get started, connect your iPhone to your Mac using the lightning cable. Make sure your iPhone is unlocked, and if prompted, trust the connected device.
Once connected, the Image Capture app should automatically open. If not, you can open it manually by searching for “Image Capture” in Spotlight or locating it in the Applications folder.
In the Image Capture app, you will see a list of connected devices on the left-hand sidebar. Select your iPhone from the list.
Next, choose the destination folder where you want to save your imported photos. You can select an existing folder from the “Import To” drop-down menu or create a new folder by clicking on the “New Folder” button.
Now, you can choose which photos you want to transfer. To import all photos on your iPhone, click on the “Import All” button located at the bottom right corner of the window. If you only want to import specific photos, hold down the Command key and click on the desired photos.
Before starting the import, you can customize the import settings by clicking on the “Import Settings” button. Here, you can choose options such as whether to delete the imported items from your iPhone, where to store the imported files, and more.
Once you have selected your import settings, click on the “Import” button to begin transferring the selected photos to your Mac.
A progress bar will appear, indicating the status of the import process. After it completes, you will find your imported photos in the designated destination folder.
The Image Capture app offers a simple and efficient way to transfer photos from your iPhone to your Mac. Its customizable options and selective importing capabilities give you greater control over the transfer process, ensuring that you only import the photos you truly desire.
Method 3: Using AirDrop
AirDrop is a fantastic feature provided by Apple that allows for seamless wireless file sharing between devices. With AirDrop, you can effortlessly transfer photos from your iPhone to your Mac without the need for cables or additional software.
Firstly, ensure that both your iPhone and Mac have AirDrop enabled and are within close proximity to each other. On your iPhone, swipe up from the bottom of the screen to access the Control Center. Tap on the AirDrop icon and select “Contacts Only” or “Everyone” depending on your preference. On your Mac, open the Finder, click on “Go” in the top menu, and select “AirDrop” from the dropdown list. Ensure that AirDrop is enabled and set to “Contacts Only” or “Everyone” as per your preference.
Now, on your iPhone, navigate to the Photos app and select the photos you want to transfer. Tap on the share button, represented by a square with an upward-facing arrow, and you will see a list of share options. Look for your Mac’s name in the AirDrop section and tap on it.
On your Mac, you will receive a notification asking whether you want to accept the incoming photos from your iPhone. Click on “Accept” to initiate the transfer. The photos will be saved in your Downloads folder by default.
If you prefer to specify a different location to save the transferred photos, open the AirDrop window on your Mac and click on the “Save to” button. Choose the desired folder or location where you want to store the photos.
Once the transfer is complete, you can access your transferred photos on your Mac and enjoy them at your leisure.
Using AirDrop for transferring photos is not only convenient but also wireless, making it a fantastic option when your iPhone and Mac are in close proximity. With just a few taps, your precious photos will be swiftly and securely transferred to your Mac without the need for any cables or additional software.
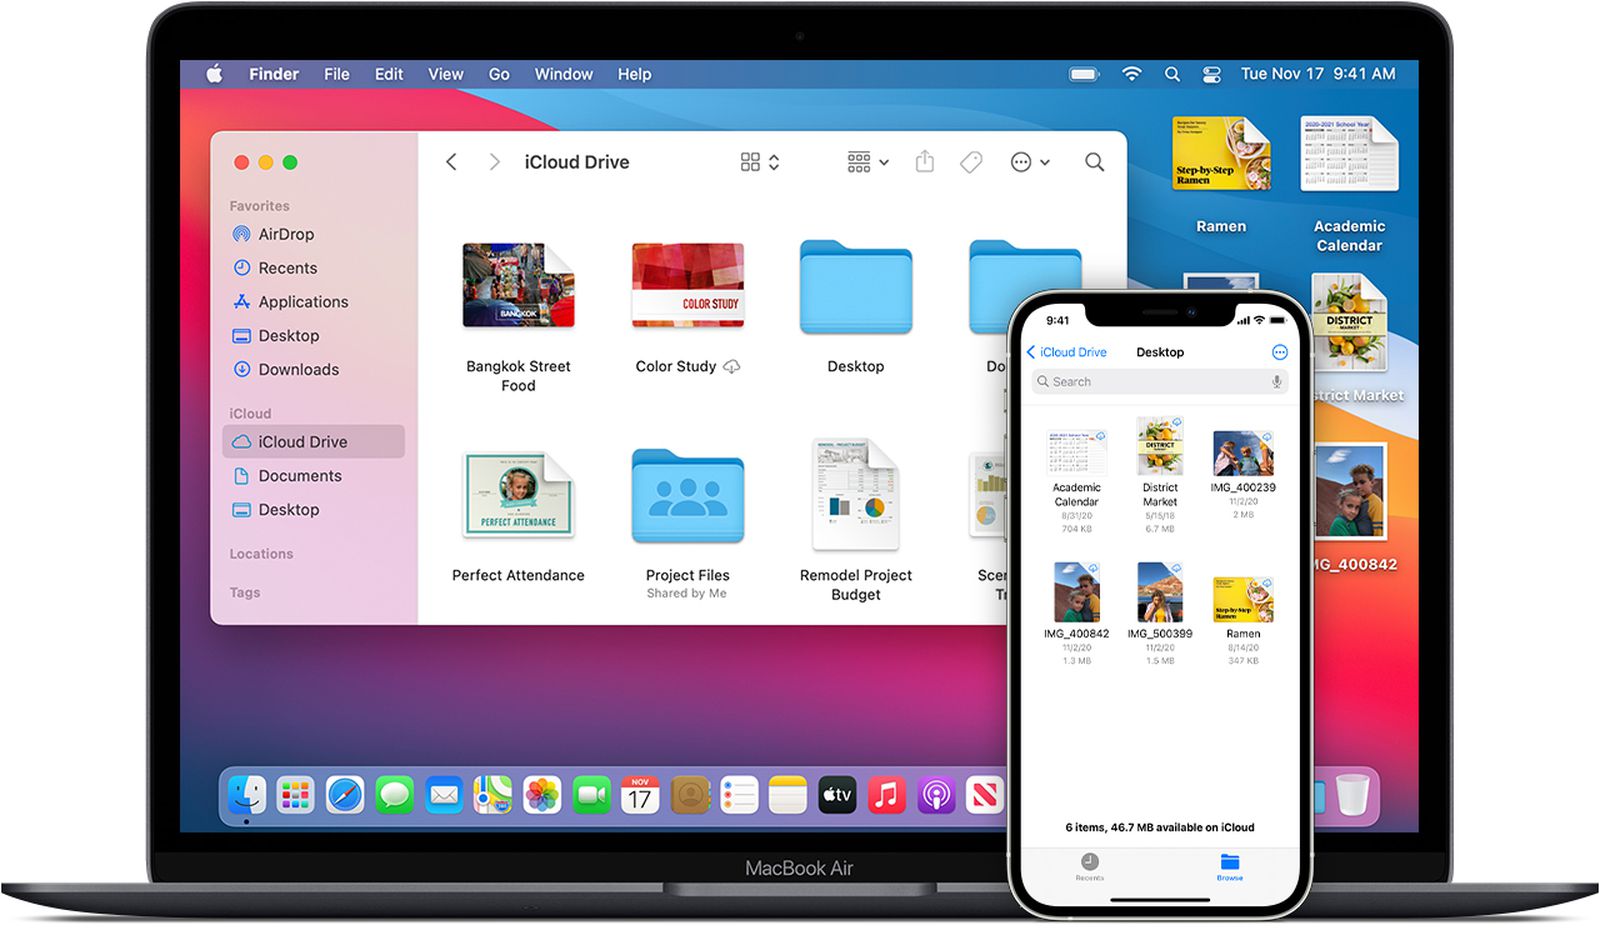
Method 4: Using iCloud Photo Sharing
If you’re looking for a seamless way to sync your photos across your Apple devices, iCloud Photo Sharing is an excellent option. This method allows you to create shared albums and easily access and download photos from your iPhone to your Mac.
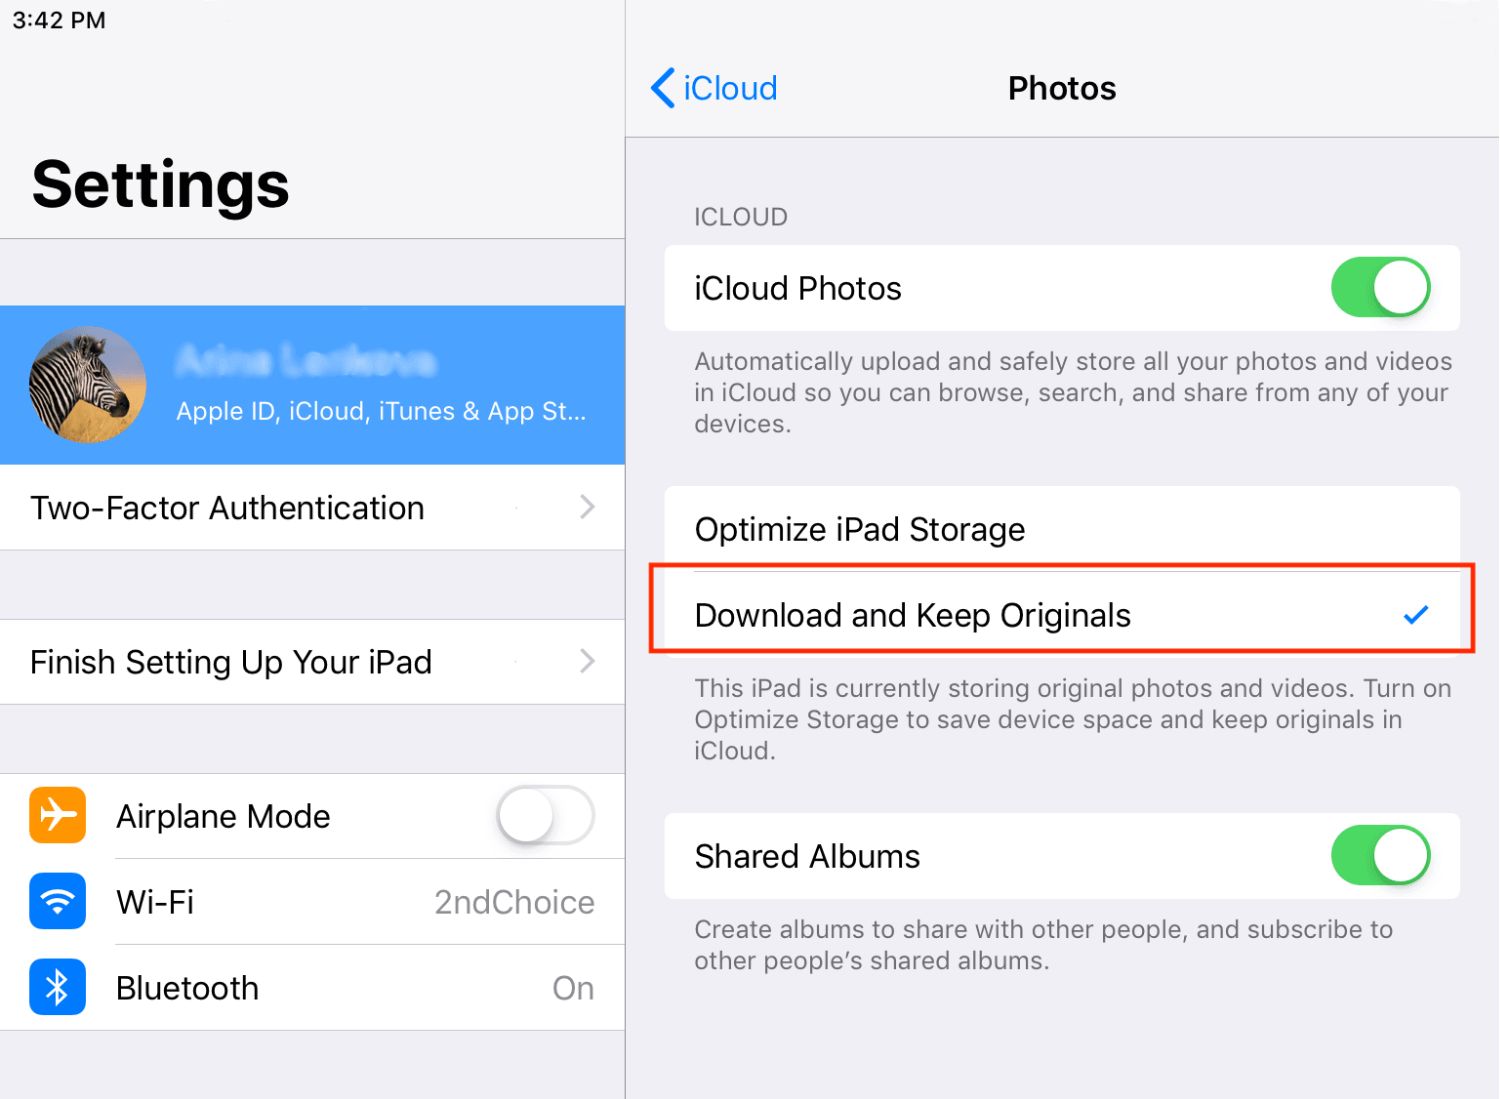
To begin, ensure that you have iCloud Photo Library enabled on both your iPhone and Mac. On your iPhone, go to “Settings,” tap on your name, select “iCloud,” and then “Photos.” Enable the “iCloud Photo Library” option if it’s not already turned on. On your Mac, open the “Photos” app, click on the “Photos” tab in the top menu, and select “Preferences.” In the “iCloud” tab, enable the “iCloud Photo Library” option.
Next, open the Photos app on your iPhone, tap on the “Albums” tab, and select the album containing the photos you want to download. If you don’t have an existing album, create one by tapping on the “+” icon.
Once you’re inside the album, tap on the “Share” button, represented by a square with an upward-facing arrow. From the share options, select “Add People.” This will open a sharing menu where you can invite individuals to view the album or create a public link to share.
Choose the desired sharing method and follow the on-screen prompts to send the invitation or create the public link. On your Mac, you will receive the invitation or link notification.
To access the shared album on your Mac, click on the “Shared” tab in the Photos app. You will see the shared albums you have access to. If you received an invitation, accept it to view the album.
Once you’re in the shared album on your Mac, you can select and download individual photos or entire albums. To download a photo, select it and click on the download icon, represented by a cloud with an arrow pointing downward. To download an entire album, go to the album’s page and click on the “Download Album” button.
The downloaded photos will be saved in your Mac’s Photos library and will be accessible even when you’re offline.
Using iCloud Photo Sharing provides a convenient way to sync and access your photos across all your Apple devices. Whether you want to download specific photos or entire albums, this method ensures you can effortlessly transfer and enjoy your cherished memories on your Mac.
Conclusion
Transferring photos from your iPhone to your Mac doesn’t have to be a complex or time-consuming task. With the various methods discussed in this article, you can choose the one that best suits your preferences and needs.
If you’re already an avid user of Apple’s ecosystem, the Photos app provides a seamless and integrated solution. It allows you to easily import your entire photo library or select specific photos and albums with just a few clicks.
For a more customizable approach, the Image Capture app offers greater control over the transfer process. You can specify the destination folder, selectively import photos, and even choose whether to delete them from your iPhone after importing.
If you prefer a wireless and cable-free option, AirDrop is the way to go. By simply enabling AirDrop on both your iPhone and Mac, you can effortlessly transfer photos with a few taps, making it an ideal choice for quick and close-range transfers.
Lastly, for seamless photo syncing across your devices, iCloud Photo Sharing is a great solution. By enabling iCloud Photo Library and creating shared albums, you can easily access and download your photos on both your iPhone and Mac.
Whichever method you choose, these techniques will help you free up storage space on your iPhone and safely store your precious memories on your Mac. Experiment with different methods and find the one that works best for you.
Now that you have discovered these convenient ways to transfer photos, you can effortlessly download and enjoy your treasured moments on your Mac. So grab your iPhone and Mac and start transferring those memories today!