Introduction
Welcome to the world of Windows 11, where you can enjoy the latest features and enhancements on your desktop or laptop device. One of the greatest joys of using a computer is being able to download music and create a personalized collection that reflects your taste and mood. In this guide, we will walk you through the steps on how to download music on Windows 11, so you can easily access your favorite songs and albums whenever you want.
Whether you are a music enthusiast or just seeking some tunes to brighten your day, Windows 11 provides several options for downloading music directly to your device. From the Microsoft Store to third-party apps, you have a variety of choices to suit your preferences and needs.
Downloading music on Windows 11 is not only convenient but also offers the advantage of offline listening. With your downloaded music, you can enjoy your favorite tracks without an internet connection, perfect for those times when you’re on the go, traveling, or in areas with limited connectivity.
In the following sections, we will guide you step by step on how to download music on Windows 11. Whether you are a seasoned Windows user or exploring the new features of Windows 11, this guide will help you make the most of your music collection.
Before we dive into the step-by-step process, it’s important to note that downloading copyrighted music without proper authorization may infringe on the rights of the copyright holder. It is recommended to download music from legitimate sources such as music streaming platforms, reputable online stores, or through the permission of the artist or copyright owner.
Now that we’ve set the groundwork, let’s start exploring how to download music on Windows 11 and unleash the power of your music library!
Step 1: Open the Microsoft Store
To begin the process of downloading music on Windows 11, you will need to open the Microsoft Store, which is the official marketplace for apps and digital content for Windows devices.
Here’s how you can do it:
- Click on the Start button located in the bottom left corner of your screen. You can also press the Windows key on your keyboard to open the Start menu.
- In the Start menu, search for “Microsoft Store” and click on the appropriate result to launch the Store.
- Once the Microsoft Store is open, you’ll see a wide range of apps and content available for download.
- At the top right corner of the Store window, you’ll find a search bar. You can use this search bar to look for specific music download apps or explore the available options.
The Microsoft Store offers a variety of music-related apps, including music streaming services, media players, and download managers. Depending on your preferences, you can choose an app that suits your needs.
Before proceeding to the next step, make sure you are connected to the internet to ensure a smooth download and installation process.
Now that you have successfully opened the Microsoft Store, let’s move on to the next step to find and install a music download app.
Step 2: Search for a Music Download App
Now that you have the Microsoft Store open, it’s time to search for a music download app that will allow you to download and manage your favorite songs on Windows 11.
Here’s how you can find a music download app:
- In the Microsoft Store search bar, type in keywords such as “music download,” “MP3 downloader,” or the name of a specific app you are interested in.
- Press Enter or click on the magnifying glass icon to initiate the search.
- A list of search results will appear, displaying relevant music download apps available in the Microsoft Store.
- Take some time to browse through the search results and read the descriptions and user reviews to get an idea of which app might be the best fit for your needs.
- Pay attention to the app ratings, reviews, and number of downloads to gauge their popularity and reliability.
Keep in mind that different music download apps may offer different features and functionalities. Some apps allow you to download music from specific platforms or websites, while others may offer a wider range of sources.
Additionally, consider your preferred file formats and audio quality when choosing a music download app. Some apps might provide options to download music in various formats, including MP3, FLAC, or WAV, allowing you to optimize the audio quality based on your preferences or the capabilities of your device.
Once you have identified the music download app that meets your requirements, it’s time to move on to the next step to install the app on your Windows 11 device.
Step 3: Choose and Install the App
After searching for a music download app in the Microsoft Store, it’s time to choose the app that best suits your needs and install it on your Windows 11 device. Follow these steps to proceed:
- Review the search results and select the music download app that interests you the most. Take into consideration factors such as ratings, reviews, and features that align with your music downloading preferences.
- Click on the app to view its detailed page. Here, you will find more information about the app, including a description, screenshots, features, and system requirements.
- Read the app’s description and explore the screenshots to get a better understanding of its interface and functionality. This will help you determine whether the app meets your expectations.
- If you are satisfied with the app and would like to proceed with the installation, click on the “Get” or “Install” button, depending on the specific interface of the Microsoft Store.
- Windows 11 will automatically download and install the music download app on your device. The download progress will be displayed, and you may need to wait a few moments for the installation to complete.
Once the installation is finished, you can find the app in your Start menu or by searching for its name in the search bar. Click on the app to open it and explore its features.
It’s important to note that some music download apps may have both free and premium versions. The free version generally provides basic functionality, while the premium version may offer additional features or remove any limitations. Carefully consider your needs and preferences to decide whether you want to stick with the free version or upgrade to a premium one.
Now that you have chosen and installed your preferred music download app, let’s move on to the next step – opening the app and configuring any necessary settings to start downloading your favorite music.
Step 4: Open the Music Download App
Now that you have installed a music download app on your Windows 11 device, it’s time to open the app and get ready to download your favorite music. Follow these steps to open the app:
- Navigate to your Start menu or search for the name of the music download app in the search bar.
- Click on the app’s icon or name to open it.
- Once the app is launched, you will be presented with its main interface.
The main interface of the music download app may vary depending on the app you chose. Some apps may have a sleek and intuitive design with various tabs or sections for different functionalities such as searching, downloading, and managing music, while others may have a simpler and more straightforward layout.
Take a moment to familiarize yourself with the app’s interface. Look for navigation menus, search bars, and options to browse or discover new music. Depending on the app, you may also find options to customize settings, adjust audio quality, or manage your downloaded music library.
If this is your first time using the music download app, you may need to sign in with your account or create a new account if required. This step is usually necessary for apps that offer additional features or require user authentication.
Now that the music download app is open and you are ready to explore its features, let’s move on to the next step – searching for music within the app.
Step 5: Search for Music
Now that you have opened your chosen music download app, it’s time to search for the music you want to download. Whether you have a specific song in mind or you’re looking to discover new tracks, the search functionality within the app will help you find exactly what you’re looking for.
Follow these steps to search for music:
- Look for a search bar within the music download app’s interface. It is usually located prominently at the top or within a dedicated search section.
- Click or tap on the search bar to activate it.
- Type your desired keywords, such as the name of the artist, song, or album you want to download.
- Press Enter or click on the search button to initiate the search.
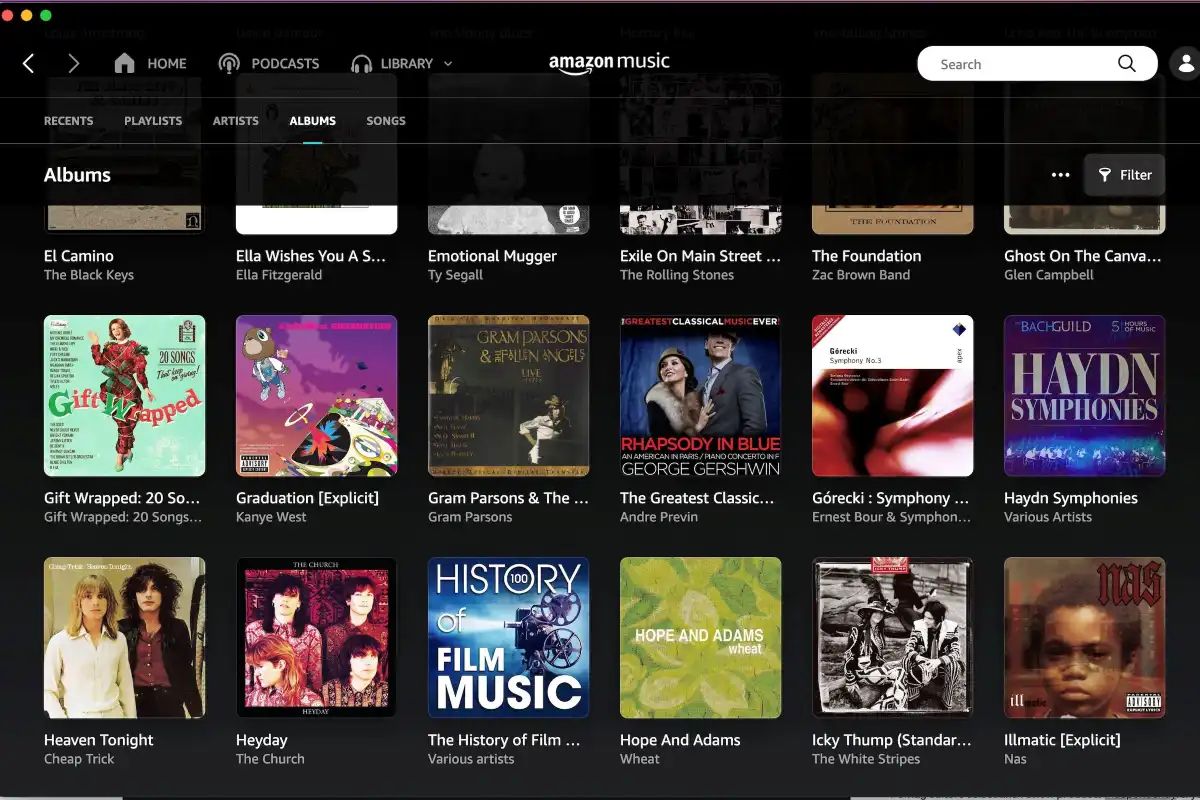
The music download app will then display the search results based on your input. These results will typically include songs, albums, and artists matching your search query.
Take your time to explore the search results and pay attention to details such as song duration, file format, and recommendations based on your search. Some music download apps may also offer filters or sorting options to narrow down the results further.
Additionally, if you’re looking to discover new music, you can experiment with different keywords or explore the app’s browsing options. Many music download apps provide curated playlists, recommendations based on your listening history, or popular charts to help you discover new songs or artists.
Once you have found the music you want to download, let’s move on to the next step – selecting and downloading the music to your Windows 11 device.
Step 6: Select and Download Music
Now that you have searched for the music you want to download within the music download app, it’s time to select the specific songs or albums and initiate the download process. Follow these steps to select and download music:
- Review the search results or browse through the app’s recommendations or playlists to find the specific songs or albums you want to download.
- Click on the song or album you wish to download. In some apps, you may need to long-press or right-click to bring up additional options.
- Once you have selected the desired music, you may be presented with options such as selecting the download format, quality, or adding the music to a queue or playlist.
- Choose your preferred settings and click on the download button or icon. The download process will then begin.
- The music download app will display the progress of each download, and you may see a notification or indication when the download is complete.
Depending on the size and number of songs you are downloading, the process may take a few moments or longer. It is important to maintain a stable internet connection throughout the download process to ensure the files are successfully downloaded.
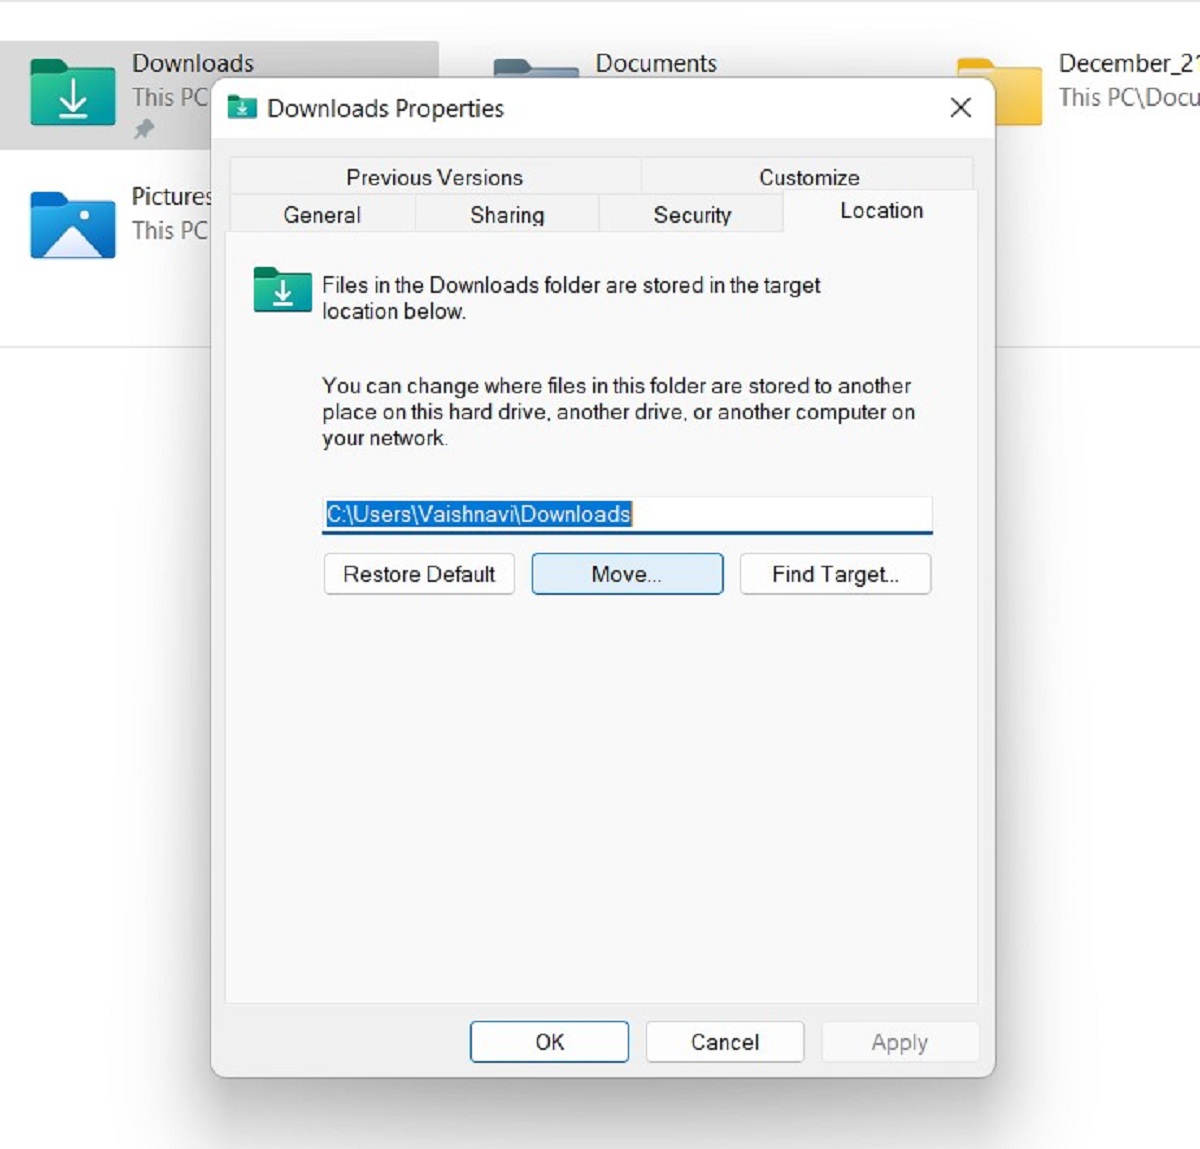
Once the music is downloaded to your Windows 11 device, it is typically stored in a designated folder within the app or in a general “Downloads” folder on your device. You can access the downloaded music by navigating to the appropriate location within the music download app or using the file explorer on your Windows 11 device.
Now that you have successfully selected and downloaded the music, you can enjoy listening to your favorite songs offline on your Windows 11 device, even without an internet connection.
In the next step, we will explore how to access the downloaded music folder and manage your music collection on Windows 11.
Step 7: Access Downloaded Music Folder
After successfully downloading music using the music download app on Windows 11, it’s time to access the folder where the downloaded music is stored. By accessing this folder, you can manage your music collection, transfer files to other devices, or organize your downloaded songs based on your preferences. Follow these steps to access the downloaded music folder:
- Open the file explorer on your Windows 11 device. You can do this by clicking on the file explorer icon located on the taskbar or pressing the Windows key and E on your keyboard simultaneously.
- In the file explorer window, locate and click on the “Downloads” folder in the left-hand sidebar. This is typically where downloaded files, including music, are saved by default.
- Within the “Downloads” folder, you should be able to see the music files you have downloaded using the music download app. Depending on the app and your settings, the music files may be organized by artist, album, or simply listed individually.
- If you prefer to organize your downloaded music in a different folder or location, you can create a new folder within the file explorer by right-clicking and selecting “New” then “Folder.” Give the folder a name that represents your music collection or any specific categorization you prefer.
- Once you have your desired folder set up, you can then select and move the downloaded music files into this new folder. Simply click and drag the music files from the “Downloads” folder into the newly created folder.
Alternatively, if the music download app you are using has its own designated folder for downloaded music, you can access it directly from within the app’s interface. Look for options such as “Library,” “My Music,” or “Downloads” within the app to access the downloaded music folder.
By accessing the downloaded music folder, you have control over your music collection and can easily locate and manage your downloaded songs. Whether you want to create playlists, transfer the music to other devices, or simply enjoy your favorite tracks, having access to the downloaded music folder gives you the flexibility to do so.
With these steps completed, you have successfully accessed the downloaded music folder and are now able to manage your music collection on Windows 11.
Congratulations! You can now enjoy your favorite music at your convenience, whether you’re offline or online, thanks to the music download app and the steps you followed in this guide.
Conclusion
Downloading music on Windows 11 has never been easier, thanks to the wide range of music download apps available on the Microsoft Store. Whether you’re a music enthusiast or simply looking to create a personalized playlist, these apps provide a convenient way to access and enjoy your favorite songs on your Windows 11 device.
In this guide, we walked you through the step-by-step process of downloading music on Windows 11. From opening the Microsoft Store to searching for a music download app, installing the app, and accessing the downloaded music folder, we covered each crucial step to help you build your music library.
Remember to choose a reputable music download app from the Microsoft Store, read user reviews, and take into account the features and functionality that align with your preferences. Be cautious of any potential copyright infringements and ensure you download music from legitimate sources.
The ability to download music on Windows 11 not only allows for offline listening but also gives you the freedom to curate your own collection, tailor it to your taste, and enjoy a personalized music experience. Whether you’re on the go, traveling, or just want some background music, having your favorite songs readily available is a fantastic feature of the Windows 11 ecosystem.
Now, take what you’ve learned in this guide, open the Microsoft Store, choose a music download app, start searching for your favorite songs, and build an incredible music library that will keep you entertained for hours on your Windows 11 device.
So go ahead, dive into the world of music on Windows 11, and let the beats and melodies accompany you on your digital journey!