Introduction
Downloading music from your computer to your phone allows you to enjoy your favorite tunes on the go, whether you’re commuting, working out, or simply relaxing. While streaming services have gained popularity, there are times when you may want to have your music files stored directly on your phone for offline listening.
In this article, we will explore various methods to transfer music from your computer to your phone. These methods include using a USB cable, Bluetooth, cloud storage services, email or messaging apps, and Wi-Fi file transfer apps. Each method offers its own advantages and may be more suitable depending on your device compatibility and personal preferences.
Before we dive into the different methods, it’s important to ensure that your computer and phone are compatible and have the necessary software or apps installed. It’s also a good idea to back up your music library to prevent any potential data loss during the transfer process.
Now, let’s explore these methods in detail and help you find the most convenient way to download music from your computer to your phone.
Method 1: Using a USB Cable
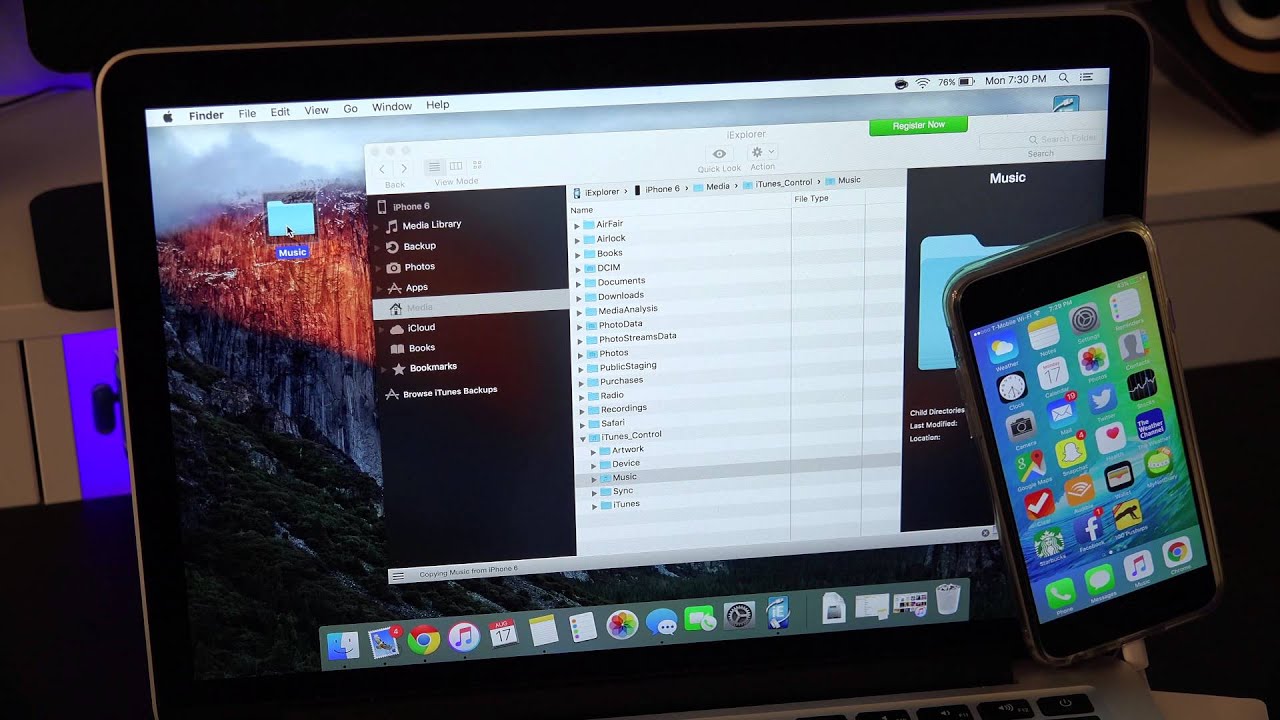
One of the most straightforward methods to transfer music from your computer to your phone is by using a USB cable. This method is widely supported by various smartphone models and computer operating systems. Here’s how you can do it:
- Connect your phone to your computer using a compatible USB cable.
- On your phone, if prompted, select the option to allow USB debugging or file transfer.
- On your computer, open the File Explorer (Windows) or Finder (Mac).
- Navigate to the folder where your music files are stored.
- Select the desired music files or folders and copy them (Ctrl+C or Command+C).
- Go to the internal storage or SD card of your phone in the File Explorer or Finder.
- Create a new folder if needed and open it.
- Paste the copied music files into the folder (Ctrl+V or Command+V).
- Wait for the transfer to complete. This may take some time depending on the size of the files.
- Once the transfer is finished, safely eject your phone from the computer.
- Open your phone’s music player app to access and play the transferred music.
Using a USB cable offers several advantages. It allows for a direct and fast data transfer between your computer and phone. Additionally, it doesn’t require an internet connection, making it a reliable method for downloading music offline.
Some smartphones may require setting the USB connection mode to “File Transfer” or “Media Transfer” for proper access to the internal storage. If you encounter any issues, consult your device’s user manual or the manufacturer’s website for specific instructions.
Now that you know how to transfer music using a USB cable, let’s explore another method that doesn’t require any cables: using Bluetooth.
Method 2: Using Bluetooth
If you prefer a wireless solution to transfer music from your computer to your phone, you can use Bluetooth. Many smartphones and computers are equipped with Bluetooth technology, allowing for easy file sharing. Follow these steps to transfer music using Bluetooth:
- Ensure that Bluetooth is enabled on both your computer and phone.
- On your computer, locate the music file(s) you want to transfer.
- Right-click on the file(s) and select the option to send or share via Bluetooth.
- On your phone, go to the Bluetooth settings and search for available devices.
- Select your computer from the list of available devices.
- On your computer, you may need to accept the Bluetooth connection request from your phone.
- Once the connection is established, choose the music files you want to send and initiate the transfer.
- Wait for the transfer to complete, which may take some time depending on the file size and the Bluetooth speed.
- Once the transfer is finished, check the Bluetooth folder or your phone’s media player to access the transferred music.
Using Bluetooth to transfer music provides the convenience of going wireless, eliminating the need for cables. However, it’s worth noting that Bluetooth transfers can be slower compared to a USB cable connection.
Add some clarifications where necessary, for example, specify the Bluetooth version required for the devices to ensure compatibility. If you experience any issues with the Bluetooth transfer, try pairing your devices again or consult your device’s user manual for detailed instructions.
Now that you’ve learned how to transfer music using Bluetooth, let’s explore another method using cloud storage services.
Method 3: Using Cloud Storage Services
Cloud storage services provide a convenient and accessible way to transfer music from your computer to your phone. With cloud storage, you can upload your music files to a remote server and then download them to your phone using a dedicated app or through a web browser. Here’s how you can use cloud storage services to transfer music:
- Sign up for a cloud storage service like Google Drive, Dropbox, or OneDrive, if you haven’t already.
- Install the cloud storage app on your computer and phone, or access it through a web browser.
- On your computer, upload your music files to the cloud storage service by either dragging and dropping them into the app or using the upload button.
- Wait for the files to upload to the cloud storage server. The time it takes will depend on the size and speed of your internet connection.
- On your phone, open the cloud storage app or access the service through a web browser.
- Navigate to the folder where your music files are stored and select the ones you want to download.
- Choose the option to download the selected files to your phone.
- Wait for the download to complete, which may take some time depending on the file size and the speed of your internet connection.
- Once the download is finished, you can access the transferred music files through your phone’s music player app.
Using cloud storage services offers the advantage of being able to access your music files from any device with an internet connection. It also provides a convenient way to keep your music library synced across multiple devices.
It’s recommended to check the available storage space on your cloud storage service to ensure you have enough capacity to upload and store your music files. Additionally, make sure to have a stable and secure internet connection to avoid any interruptions during the upload and download process.
Now that you’re familiar with using cloud storage services to transfer music, let’s explore another method: using email or messaging apps.
Method 4: Using Email or Messaging Apps
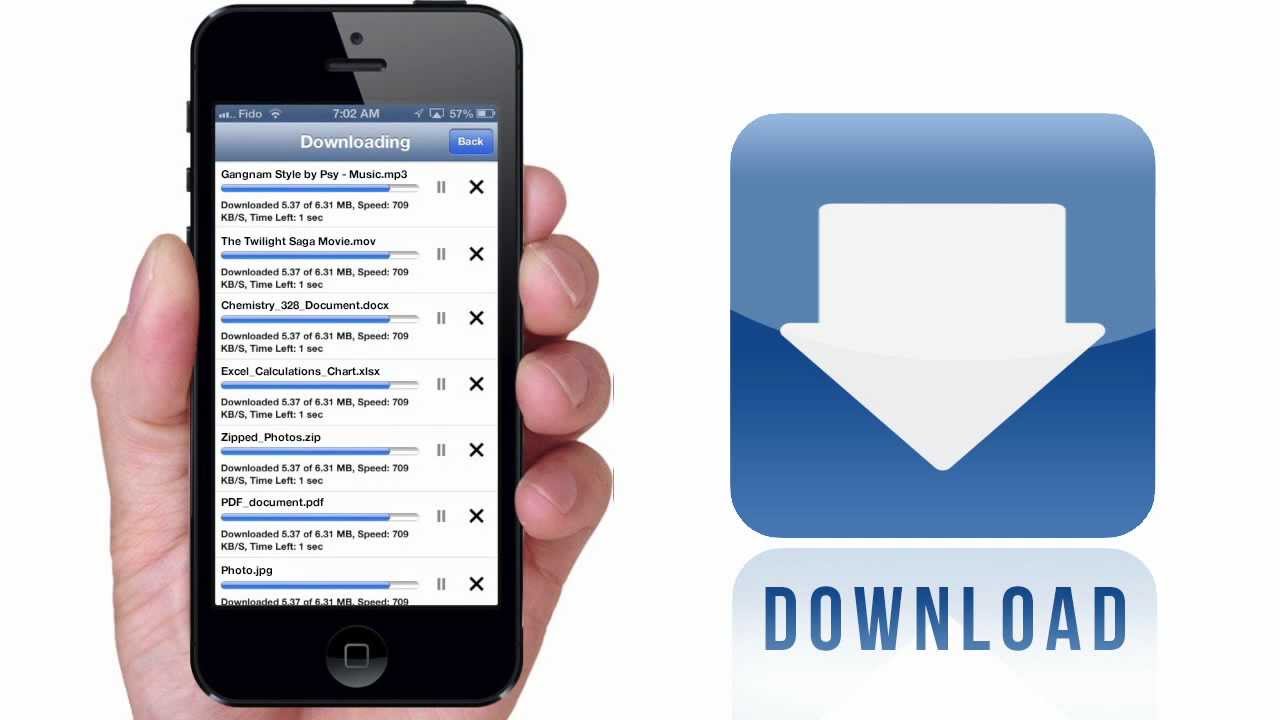
Another convenient method to transfer music from your computer to your phone is through email or messaging apps. These apps allow you to send music files as attachments, making it easy to receive them on your phone. Here’s how you can use email or messaging apps to transfer music:
- Open the email or messaging app on your computer.
- Create a new message or conversation.
- Attach the music files you want to transfer by clicking on the attachment icon or using the designated file-sharing option.
- Enter your phone number or email address as the recipient. If using email, send the message to yourself.
- On your phone, open the email or messaging app and access the received message.
- Download the attached music files to your phone’s internal storage or SD card.
- Once the download is complete, you can access and play the transferred music using your phone’s music player app.
Using email or messaging apps for music transfer is a widely available and straightforward method. It allows you to easily share music files with yourself or others. However, keep in mind that there may be file size limitations imposed by the email or messaging service, so ensure your music files are within the allowed size.
If you encounter any issues with downloading or accessing the music files on your phone, check the settings of your email or messaging app to ensure that file downloads are enabled and that you have sufficient storage space available.
Now that you’re familiar with using email or messaging apps to transfer music, let’s explore the final method: using Wi-Fi file transfer apps.
Method 5: Using Wi-Fi File Transfer Apps
If you prefer to transfer music from your computer to your phone wirelessly without relying on Bluetooth or internet connectivity, you can utilize Wi-Fi file transfer apps. These apps create a local network between your computer and phone, allowing you to transfer files with ease. Here’s how you can use Wi-Fi file transfer apps to transfer music:
- Download and install a Wi-Fi file transfer app on both your computer and phone. Some popular options include AirDroid, Xender, and ShareMe.
- Launch the app on your phone and follow the instructions to set up the connection.
- On your computer, open a web browser and enter the provided IP address or scan the QR code displayed on the app.
- Once connected, navigate to the file manager section of the app on your computer.
- Select the music files or folders you want to transfer and click on the transfer or download button.
- Wait for the transfer to complete, which may take some time depending on the file size and Wi-Fi network speed.
- Once the transfer is finished, you can access the transferred music files using your phone’s music player app.
Wi-Fi file transfer apps offer a convenient and efficient way to transfer music without the need for cables or an internet connection. They provide a secure and fast file transfer process, making it ideal for larger music files or transferring multiple songs at once.
When using Wi-Fi file transfer apps, it’s important to ensure that both your computer and phone are connected to the same Wi-Fi network. Additionally, make sure to follow the security guidelines provided by the app to safeguard your data and privacy.
Now that you have discovered how to transfer music using Wi-Fi file transfer apps, let’s summarize the methods discussed in this article.
Conclusion
Transferring music from your computer to your phone is a simple and rewarding task that allows you to enjoy your favorite songs wherever you go. Throughout this article, we have explored five different methods to achieve this: using a USB cable, Bluetooth, cloud storage services, email or messaging apps, and Wi-Fi file transfer apps.
Choosing the right method depends on your specific needs and preferences. If you prefer a direct and fast transfer, using a USB cable is a reliable option. For wireless transfers, Bluetooth provides convenience, although it may be slower. Cloud storage services offer accessibility and synchronization across devices, while email or messaging apps provide a straightforward way of sending music files as attachments.
If you prefer a wireless transfer without requiring an internet connection, Wi-Fi file transfer apps are an excellent choice. They allow for fast and secure file transfers over a local network.
Make sure to consider factors such as device compatibility, file size limitations, and internet connectivity when choosing the appropriate method for your music transfer needs.
By following the step-by-step instructions provided in each method, you can easily transfer your music files from your computer to your phone and enjoy your favorite songs on the go.
Remember to always properly disconnect and eject your phone or storage devices after the transfer is complete to prevent any potential data loss or corruption.
Now you are equipped with the knowledge and tools to transfer music seamlessly. Happy listening!