Introduction
Are you a aspiring DJ looking to start mixing your favorite tracks? Virtual DJ is a popular software choice that allows you to blend and create seamless music mixes right from your computer. With its user-friendly interface and powerful features, Virtual DJ is an excellent tool for both beginners and experienced DJs.
In this article, we will guide you through the step-by-step process of downloading music on Virtual DJ. Whether you’re a seasoned DJ or just starting out, this guide will help you build your music library and get you ready to spin some epic tracks.
Before we dive into the tutorial, it’s important to understand that downloading music for DJing requires legal and ethical practices. Make sure to obtain music from legitimate sources such as online stores or subscription services. Respect copyright laws and support the artists by purchasing their music whenever possible.
Now, let’s get started with the first step – downloading the Virtual DJ software.
Step 1: Download Virtual DJ software
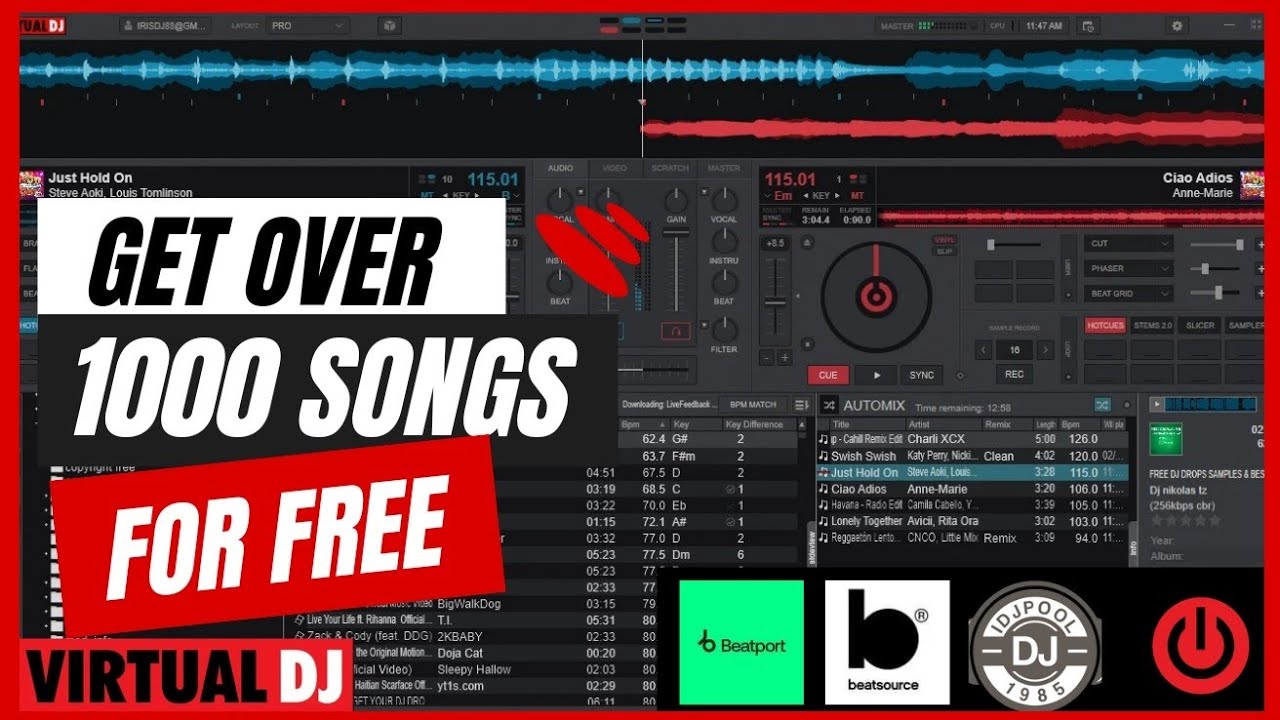
The first step to downloading music on Virtual DJ is to acquire the software itself. Virtual DJ offers both a free version and a paid version, depending on your needs and preferences. Follow the steps below to download and install Virtual DJ:
- Visit the official Virtual DJ website (www.virtualdj.com) using your preferred web browser.
- On the homepage, navigate to the “Download” section.
- Choose the version of Virtual DJ you wish to download. If you’re just starting out, the free version should suffice.
- Click on the download link and save the installation file to your computer.
- Once the download is complete, locate the installation file and double-click on it to initiate the installation process.
- Follow the on-screen instructions to complete the installation. Make sure to read the license agreement and select the appropriate settings according to your preferences.
- Once the installation is finished, launch Virtual DJ by clicking on its icon.
Congratulations! You now have Virtual DJ installed on your computer. Next, let’s move on to the setup process where we’ll configure the software to suit your DJing needs.
Step 2: Set up Virtual DJ software
After installing Virtual DJ, it’s important to properly set up the software to ensure optimal performance. Here’s how you can configure Virtual DJ to get the best DJing experience:
- Launch Virtual DJ from your computer’s desktop or start menu.
- Click on the “Options” tab located at the top of the interface.
- Navigate to the “Settings” option in the drop-down menu.
- In the “Settings” window, you’ll find various tabs that control different aspects of the software. Take some time to explore and customize the settings according to your preferences and DJing style.
- On the “Audio” tab, select the appropriate audio device for both input and output. This will ensure that Virtual DJ can properly handle the audio signals.
- Under the “Controllers” tab, you can connect and configure your DJ controller or MIDI device. Virtual DJ supports a wide range of controllers, so make sure to select the one you’re using for seamless integration.
- Adjust the audio settings such as sample rate and buffer size in the “Sound Setup” tab. These settings affect the overall audio performance and latency, so tweak them based on your system’s capabilities.
- Explore the “Appearance”, “File Operations”, and “Database” tabs to customize the interface, file management options, and database settings to your liking.
- Once you’ve finished configuring the settings, click the “OK” button to save your changes.
With Virtual DJ properly set up, you’re now ready to start building your music library. In the next step, we’ll guide you on how to locate and create a music library within the software.
Step 3: Locate and Create a Music Library
Having a well-organized music library is essential for seamless DJing on Virtual DJ. In this step, we’ll show you how to locate your existing music files and create a dedicated library within the software. Follow these steps:
- Launch Virtual DJ and navigate to the “Browse” tab located in the bottom left corner of the interface.
- Click on the folder icon next to the “Folders” section to open the file browser.
- In the file browser, browse to the location where your music files are stored on your computer. This can be your local hard drive or an external storage device.
- Select the folder(s) containing your music files and click the “OK” button.
- Virtual DJ will now scan the selected folders and import the music files into its database.
- Once the scanning process is complete, you’ll see the imported music files listed in the “Folder” section of the “Browse” tab.
- To create a dedicated music library, click on the “+” icon located next to the “Folders” section.
- Enter a name for your library and specify the location where you want it to be saved.
- Click the “OK” button to create the library.
- You’ll now see your newly created library listed under the “Folders” section.
Congratulations! You have successfully located your music files and created a dedicated library in Virtual DJ. In the next step, we’ll guide you on how to find and download music files to add to your library.
Step 4: Find and Download Music Files
Building a diverse music collection is vital for DJs, and Virtual DJ makes it easy to find and download music files from various sources. Here’s how you can discover and acquire new tracks to expand your library:
- Start by exploring online music stores, such as Beatport, iTunes, or Bandcamp, which offer a wide selection of tracks for purchase.
- Search for specific artists, genres, or songs that you’re interested in adding to your collection.
- Once you find a track you want to download, follow the instructions provided by the respective music store to complete the purchasing process.
- After purchasing the track, it will typically be available for download in your account or sent to your email address.
- Download the purchased music files to a designated folder on your computer.
- In addition to online stores, you can explore legal music streaming platforms like SoundCloud or Spotify to discover new tracks.
- Many streaming platforms allow you to create playlists and save tracks offline for later use.
- When using a streaming platform, make sure to check if the platform allows the downloading of tracks for DJing purposes.
- Some websites and forums offer free downloads or promotional tracks from artists and labels. However, be cautious of the legality and quality of these downloads.
- Ensure that any free downloads or promotional tracks are properly licensed for DJ use, and always credit the artists and labels appropriately.
Remember, it’s essential to support artists and purchase music whenever possible to respect copyright laws and ensure fair compensation for their work. By finding and downloading high-quality tracks, you’ll have an extensive collection to mix and create unique DJ sets on Virtual DJ.
In the next step, we’ll guide you on how to import the downloaded music files into Virtual DJ and organize them within your library.
Step 5: Import Music Files to Virtual DJ
Now that you’ve downloaded music files to your computer, it’s time to import them into Virtual DJ and add them to your music library. Follow these steps to import your music files:
- Launch Virtual DJ and navigate to the “Browse” tab.
- Under the “Folders” section, locate your music library and click on it to expand.
- In your music library, click on the “+” icon to create a new folder to organize your imported music.
- Name the new folder according to your preference.
- Open the folder and navigate to the location where you have downloaded your music files.
- Select the music files you want to import into Virtual DJ.
- Drag and drop the selected files into the newly created folder within your Virtual DJ music library.
- Virtual DJ will automatically analyze the imported tracks, detect their BPM (beats per minute), and display important track information.
- Repeat the previous steps to import additional music files into different folders within your library.
- Once the music files are successfully imported, you can access and play them directly from your Virtual DJ library.
By importing your music files into Virtual DJ, you have easy access to your entire collection within the software, eliminating the need to go back and forth between different applications or folders. In the next step, we’ll guide you on how to organize your music in Virtual DJ by creating playlists and setting cue points.
Step 6: Organize Music in Virtual DJ
Organizing your music within Virtual DJ is essential for efficient DJing and seamless set transitions. Here’s how you can organize your music files in Virtual DJ:
- Start by navigating to the “Browse” tab in Virtual DJ.
- Locate your music library under the “Folders” section and expand it.
- Within your library, you can create playlists by clicking on the “+” icon next to the “Playlists” section.
- Name the playlist according to the theme, genre, or event it represents.
- Drag and drop music files from your library into the created playlist.
- Repeat the previous steps to create multiple playlists and organize your music accordingly.
- In addition to playlists, Virtual DJ allows you to set cue points within each track. Cue points are markers that help you easily navigate to specific sections of a song.
- To set cue points, play the track you wish to set a cue point for.
- When you reach a specific section, such as a breakdown or a drop, pause the track and click on the “Cue” button to set the cue point.
- Repeat this process to set multiple cue points throughout the track.
- By setting cue points, you can quickly jump to different sections of a song during your mix.
Organizing your music in Virtual DJ through playlists and cue points allows for easy navigation and enhances your DJing performance. Spend some time creating playlists based on different moods, genres, or events to help you curate the perfect set. In the next step, we’ll explore how to create playlists and set cue points within Virtual DJ.
Step 7: Create Playlists and Set Cue Points
Creating playlists and setting cue points in Virtual DJ helps you organize your music and enables smooth transitions between tracks during your DJ sets. Here’s how you can create playlists and set cue points:
- Navigate to the “Browse” tab in Virtual DJ.
- Under the “Folders” section, locate your music library and expand it.
- To create a playlist, click on the “+” icon next to the “Playlists” section.
- Give your playlist a name that represents the theme, genre, or event.
- Drag and drop tracks from your library into the created playlist.
- Continue adding tracks to the playlist to build your desired setlist.
- To set cue points, select a track in your playlist and load it onto one of the decks.
- Play the track and listen for specific sections you want to mark with cue points.
- Once you reach the desired section, click on the “Cue” button at the appropriate moment to set a cue point.
- Create multiple cue points in different sections of the track for easy navigation during your mix.
- Repeat these steps for each track in your playlist, setting cue points as needed.
Creating playlists and setting cue points within Virtual DJ allows you to confidently mix your tracks and seamlessly transition between them. Organizing your music in this way not only helps you deliver a more polished performance but also allows for better creativity and spontaneity while DJing. In the final step, we’ll discuss how to sync and mix music on Virtual DJ.
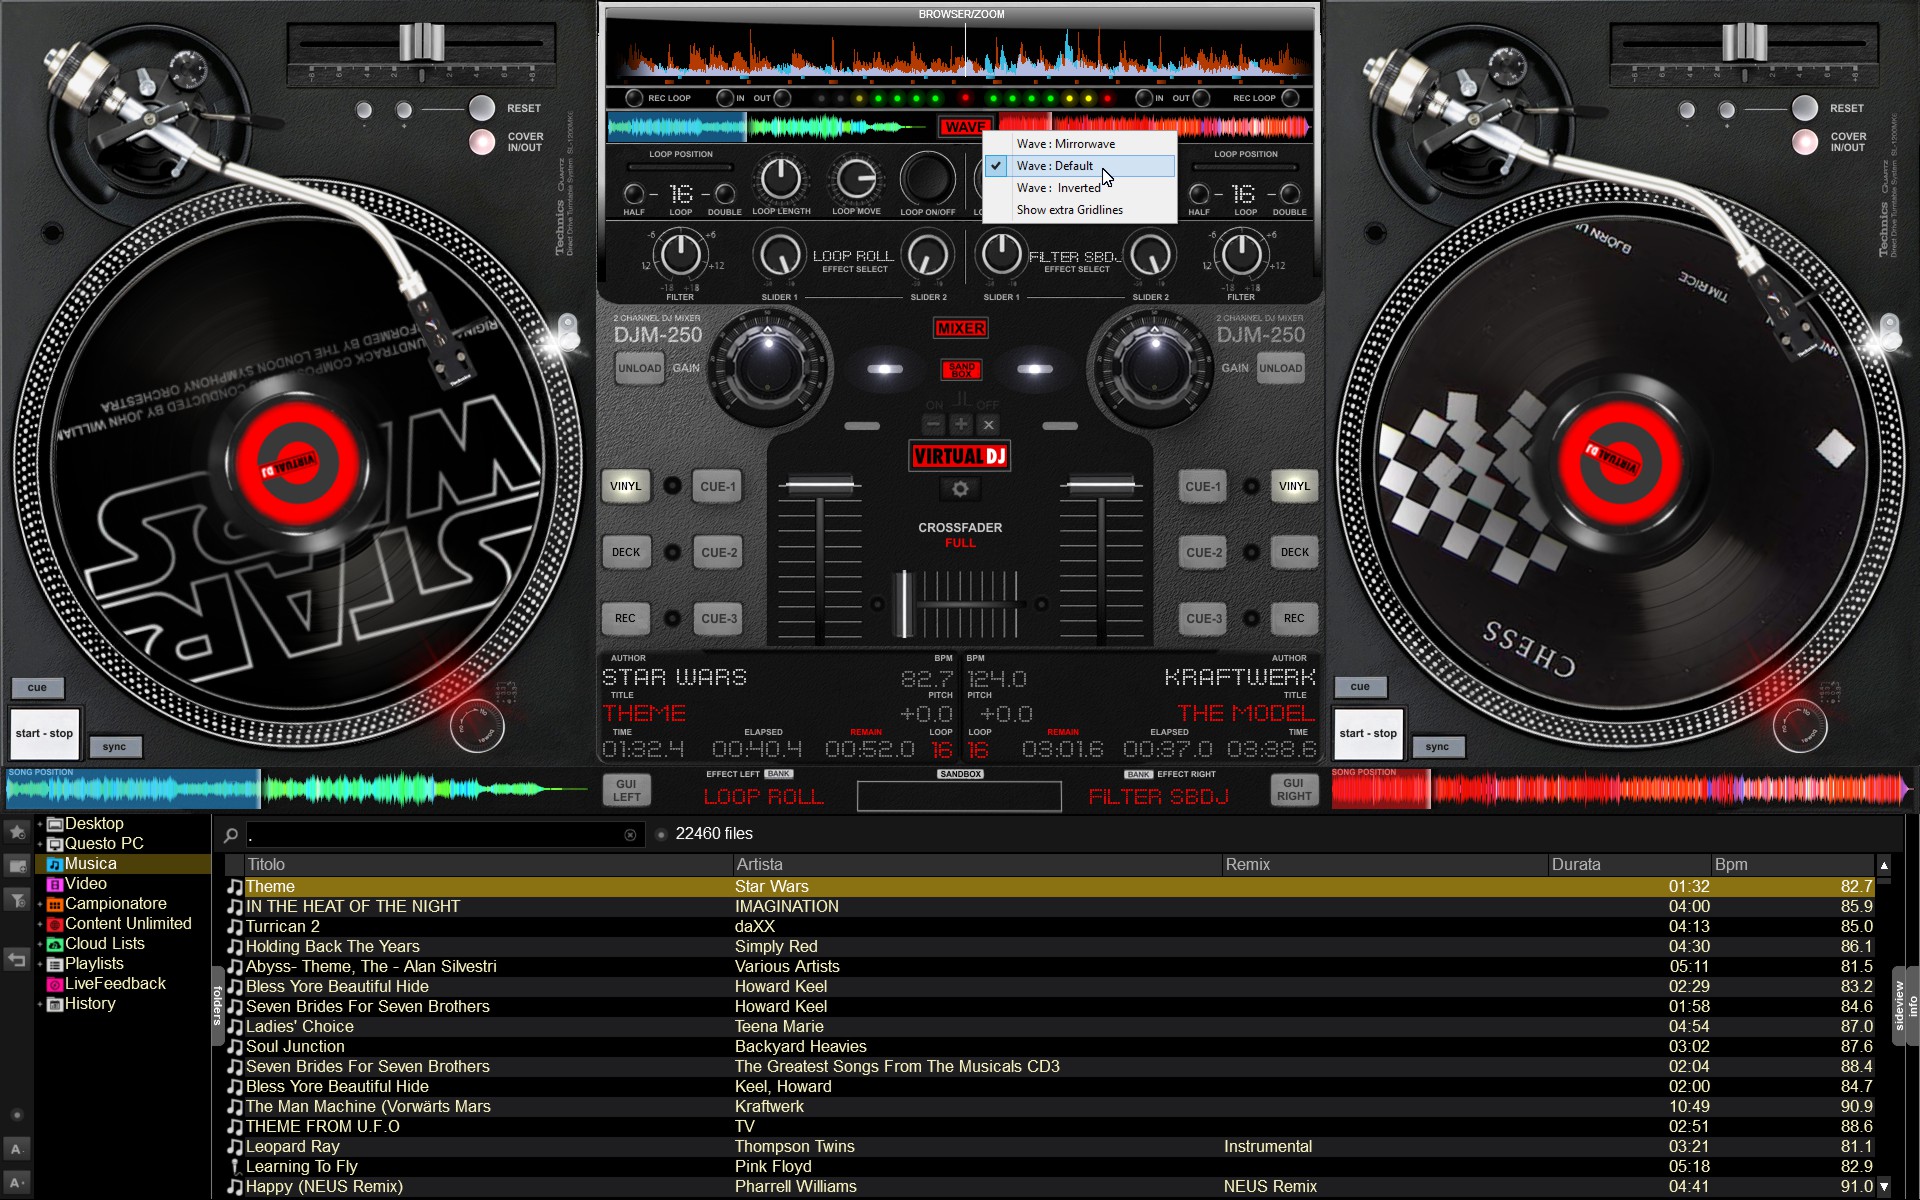
Step 8: Sync and Mix Music on Virtual DJ
Now that you have organized your music and set cue points in Virtual DJ, it’s time to sync and mix your tracks seamlessly. Here’s how you can sync and mix music on Virtual DJ:
- Load two tracks onto separate decks in Virtual DJ by dragging and dropping them from your library or playlist.
- Ensure that the tracks are in sync by using the “Sync” feature, which automatically matches their tempo and beatgrids.
- To sync the tracks, press the “Sync” button on each deck.
- Virtual DJ will align the BPM and beatgrids of the tracks, making it easier to mix them together smoothly.
- Once the tracks are in sync, use the crossfader to gradually blend the two tracks together.
- Experiment with different EQ settings, effects, and mixing techniques to create unique and seamless transitions.
- Utilize the cue points you’ve set earlier to jump to specific sections of a track at the right moment.
- Blend the dynamics and energy of the songs by adjusting the pitch, volume, and EQ controls to maintain a cohesive mix.
- Add creative effects, loops, or samples to enhance your mix and showcase your DJing skills.
- Continue mixing and transitioning between tracks, building energy and excitement throughout your set.
Remember, the key to successful mixing is practice and experimentation. Spend time honing your skills and discovering new techniques to elevate your DJing performance. Virtual DJ offers a range of tools and features that allow you to unleash your creativity and deliver a memorable mix. Enjoy the process, keep learning, and have fun!
Conclusion
Congratulations! You’ve learned how to download music on Virtual DJ and take your DJing skills to the next level. By following the step-by-step guide in this article, you’re well on your way to building an impressive music library and creating incredible mixes.
Remember to always acquire your music files from legal and ethical sources to support the artists and respect copyright laws. Online music stores and streaming platforms provide a vast selection of tracks for you to explore and purchase.
Once you’ve downloaded your music, it’s important to set up Virtual DJ correctly, including configuring the software’s audio and controller settings. This ensures smooth performance and compatibility with your DJ equipment.
Locating your music files and creating a dedicated library within Virtual DJ allows for easy access and organization. Creating playlists and setting cue points further enhances your workflow and helps you seamlessly transition between tracks during your DJ sets.
Lastly, sync and mix your favorite music on Virtual DJ, experimenting with different techniques and effects to create dynamic and engaging mixes. Practice regularly, try new ideas, and have fun exploring the endless possibilities Virtual DJ offers you as a DJ.
With time and dedication, you’ll continue to improve your skills and develop your unique DJing style. So go ahead, let your creativity soar, and rock the dancefloor with your incredible Virtual DJ mixes!