Introduction
Welcome to the world of Amazon Prime music, where you can enjoy unlimited streaming of millions of songs at your fingertips. Whether you’re a music enthusiast, an audiophile, or simply someone who loves to listen to music on the go, Amazon Prime Music offers a vast library of songs across different genres and languages.
In this guide, we will walk you through the process of downloading music off Amazon Prime so that you can enjoy your favorite tunes even when you don’t have an internet connection. So, let’s dive in and explore how you can easily access and download music from Amazon Prime!
Before we get started, it’s important to note that downloading music from Amazon Prime is a feature exclusively available to Amazon Prime members. If you’re not already a member, you can sign up for a 30-day free trial to experience the full benefits of Amazon Prime, including access to Prime Music.
With that said, let’s move on to the step-by-step process of downloading music from Amazon Prime. We’ll cover everything from signing up for Amazon Prime to managing your downloaded music files.
Step 1: Sign up for Amazon Prime
The first step to downloading music off Amazon Prime is to sign up for an Amazon Prime membership. If you’re already a member, you can skip to the next step.
To sign up for Amazon Prime, visit the Amazon website and click on the “Prime” tab at the top of the page. From there, you’ll see the option to start your 30-day free trial. Simply click on the “Start your 30-day free trial” button to begin the registration process.
Once you click on the button, you’ll be prompted to enter your account information and payment details. Amazon Prime offers various membership plans, so you can choose the one that best suits your needs. After providing the required information, click on the “Start your 30-day free trial” button to proceed with the registration.
During the free trial period, you’ll have access to all the benefits of Amazon Prime, including Prime Music. So, feel free to explore the vast library of songs and enjoy ad-free streaming.
It’s important to note that after the free trial period, Amazon Prime is a paid subscription service. If you wish to continue using Prime Music and other Prime benefits, you’ll be automatically charged according to your chosen plan. However, if you decide that Amazon Prime is not for you, make sure to cancel your subscription before the free trial ends to avoid any charges.
Once you’ve successfully signed up for Amazon Prime, you’re ready to move on to the next step: downloading the Amazon Music app to your device.
Step 2: Download Amazon Music app
Now that you’re an Amazon Prime member, the next step is to download the Amazon Music app. The Amazon Music app is available for both mobile devices and desktop computers, allowing you to enjoy your favorite songs on multiple platforms.
To download the Amazon Music app on your mobile device, head over to the app store that corresponds to your device’s operating system. For iOS users, you can find the app on the App Store, while Android users can download it from the Google Play Store. Simply search for “Amazon Music” in the app store and click on the “Install” or “Get” button to download and install the app.
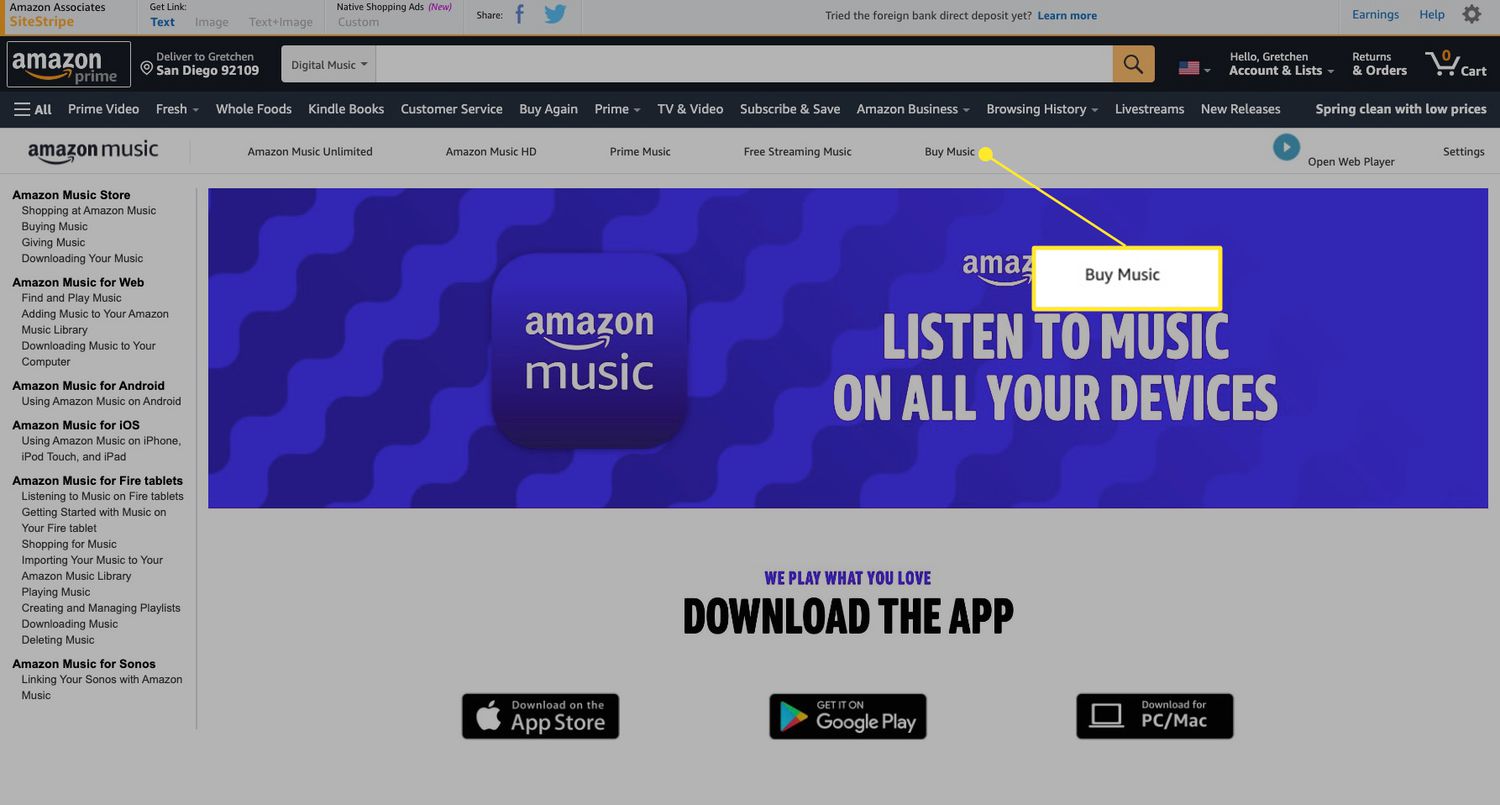
If you prefer to listen to music on your desktop computer, you can download the Amazon Music app for Windows or Mac from the Amazon website. Visit the Amazon Music web page and click on the “Download Desktop App” button. Follow the on-screen instructions to complete the installation process.
Once you’ve successfully downloaded and installed the Amazon Music app, launch the app and sign in with your Amazon Prime credentials. This will synchronize your Prime Music account with the app, providing you with access to your personalized library, playlists, and recommendations.
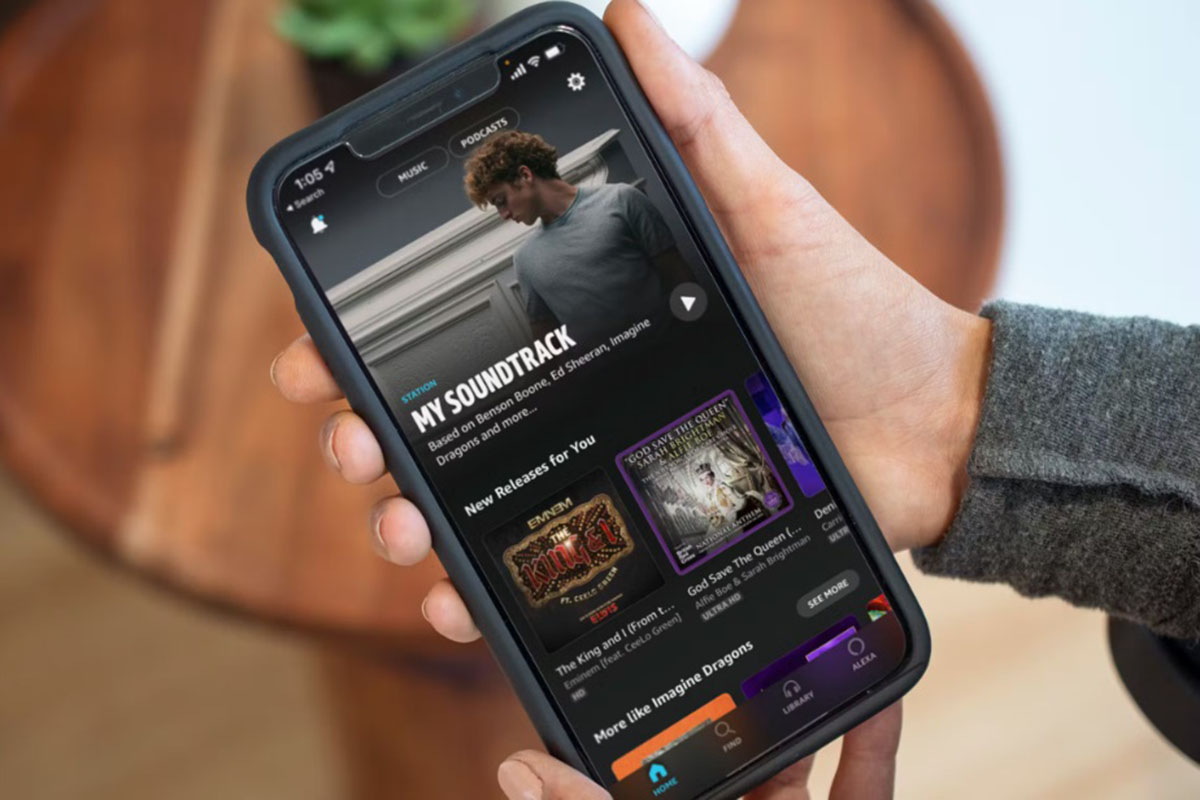
The Amazon Music app offers a user-friendly interface, making it easy to navigate through the vast collection of songs. From the app, you can search for specific songs, albums, artists, or genres to find the music you love. You can also create playlists, download songs for offline listening, and discover new music based on your preferences.
Now that you have the Amazon Music app ready to go, let’s proceed to the next step: logging in to your Amazon Prime account.
Step 3: Login to your Amazon Prime account
After downloading the Amazon Music app, it’s time to log in to your Amazon Prime account. Logging in will ensure that you have access to all the features and benefits of Amazon Prime Music.
To log in to your Amazon Prime account in the Amazon Music app, open the app on your device and click on the “Sign In” or “Log In” button, typically located at the top right corner of the screen. You will be prompted to enter your Amazon Prime email address or phone number, as well as your password.
If you have two-factor authentication enabled on your Amazon account, you may need to enter a verification code that will be sent to your registered email address or phone number. This additional security measure helps protect your account from unauthorized access.
Once you’ve successfully logged in to your Amazon Prime account, the app will sync your library and preferences, allowing you to start exploring and downloading music. You’ll also have access to personalized recommendations based on your listening history and preferences.
It’s important to note that your Amazon Prime account can be used across multiple devices. Therefore, if you’re logged in to your account on one device, you’ll automatically be logged in on other devices using the same account.
By logging in to your Amazon Prime account on the Amazon Music app, you’ll be able to seamlessly enjoy all the music benefits that come with your Prime membership. This includes ad-free streaming, unlimited skips, and access to exclusive playlists.
With your Amazon Prime account successfully logged in, you’re now ready to browse and search for your favorite songs on Amazon Music. Let’s move on to the next step!
Step 4: Browse and search for songs on Amazon Music
With your Amazon Prime account logged in on the Amazon Music app, you can now dive into the vast world of music and start browsing and searching for your favorite songs. Amazon Music offers a wide selection of songs across various genres, ensuring there’s something for everyone.
To browse and explore the extensive catalog of songs on Amazon Music, you can start by navigating through the different categories available. These categories may include popular genres like Pop, Rock, R&B, Hip-Hop, Country, and more. You can easily swipe or scroll through the different sections to discover new music or find songs from your favorite genre.
If you have a specific song or artist in mind, you can use the search function to quickly find what you’re looking for. Simply tap on the search bar at the top of the app, enter the name of the song, artist, album, or any other keywords, and hit enter or the search button. Amazon Music will then display the search results based on your query.
Once you’ve found a song or album that captures your interest, you can tap on it to view more details or play it directly. The app will provide information such as the artist, album name, release date, and song duration. You can also view the album cover art and read user reviews and ratings to get a sense of the song’s popularity.
In addition to browsing and searching for specific songs or artists, Amazon Music also provides curated playlists and stations for you to explore. These playlists are carefully curated by music experts and updated regularly to keep your music experience fresh and exciting. You can browse through different playlists based on moods, activities, or even specific themes.
Furthermore, Amazon Music offers personalized recommendations based on your listening history and preferences. The more you use the app and listen to different songs, the better the recommendations become. This allows you to discover new artists, genres, and songs that align with your musical taste.
Now that you know how to browse and search for songs on Amazon Music, let’s proceed to the next step: adding songs to your library.
Step 5: Add songs to your library
Once you’ve found a song that you love or want to listen to later, it’s time to add it to your library on Amazon Music. Adding songs to your library allows you to easily access and organize your favorite tracks for future listening.
To add a song to your library, simply navigate to the song you want to add and look for the “Add to Library” or “+” button. The location of this button may vary depending on the device you’re using, but it’s usually located near the song title or album cover art.
Clicking or tapping the “Add to Library” button will instantly add the song to your personal library on Amazon Music. Once added, you’ll be able to find the song in your library section, making it easily accessible whenever you want to listen to it.
In addition to adding individual songs, you can also add entire albums or playlists to your library. This is particularly useful when you want to save multiple songs from an artist or enjoy a curated playlist without searching for every individual song.
To add an album or playlist to your library, simply navigate to the album or playlist page and look for the “Add to Library” or “+” button. By clicking or tapping this button, the entire album or playlist will be added to your library, giving you instant access to all the songs within it.
By adding songs, albums, and playlists to your library, you can create a personalized collection of music that caters to your specific tastes. It also makes it easier to create playlists, shuffle through your favorite songs, and keep track of your most-loved artists.
Now that you know how to add songs to your library, let’s move on to the next step: downloading songs for offline listening.
Step 6: Download songs for offline listening
One of the key benefits of Amazon Prime Music is the ability to download songs for offline listening. This allows you to enjoy your favorite music even when you don’t have an internet connection, such as on a plane or during a road trip in an area with limited connectivity.
To download a song for offline listening, start by navigating to the song you want to download. Once you’ve located the song, you’ll see a download icon usually represented by an arrow pointing downward. Click or tap on this icon to begin the download process.
Once you initiate the download, the Amazon Music app will start to download the song to your device’s storage. You can monitor the progress of the download through a progress bar or indicator. Larger files or slower internet connections may take longer to download, so be patient while the process completes.
It’s important to note that not all songs on Amazon Prime Music are available for download. Some songs or albums may have restrictions due to licensing agreements. In such cases, you won’t see the download icon for those particular songs.
To ensure that you can listen to your downloaded songs offline, make sure you have enough storage space on your device. Amazon Music allows you to adjust the quality of downloaded songs, so if you’re running low on storage, you can choose to download songs in a lower quality to save space.
Once you’ve successfully downloaded a song, it will be stored in your device’s memory, accessible through the Amazon Music app. You can access your downloaded songs by going to the “Library” or “Downloaded” section in the app.
Keep in mind that downloaded songs are only accessible through the Amazon Music app and cannot be transferred or played through other music players on your device. This is to ensure that the downloaded songs are only available for offline listening within the Amazon Music app.
With the ability to download songs for offline listening, you can now enjoy your favorite tracks wherever you go, even without an internet connection. Now, let’s move on to the next step: accessing downloaded songs on the Amazon Music app.
Step 7: Access downloaded songs on the Amazon Music app
Now that you have downloaded songs for offline listening, it’s important to know how to access and play those songs on the Amazon Music app. The app provides a straightforward way to access your downloaded songs, making it easy to enjoy your favorite tracks without an internet connection.
To access your downloaded songs on the Amazon Music app, start by opening the app on your device. Once you’ve launched the app, navigate to the “Library” or “Downloaded” section. This section will display all the songs, albums, and playlists that you have downloaded for offline listening.
Within the “Library” or “Downloaded” section, you’ll see the list of songs that you have downloaded. You can either scroll through the list manually or use the search function to find a specific song or album. The app also provides options to sort and filter your downloaded music, allowing for easy organization and access.
Once you’ve located the song you want to listen to, simply tap on it to start playing. The Amazon Music app will immediately start playing the downloaded song, allowing you to enjoy your music without needing an internet connection.
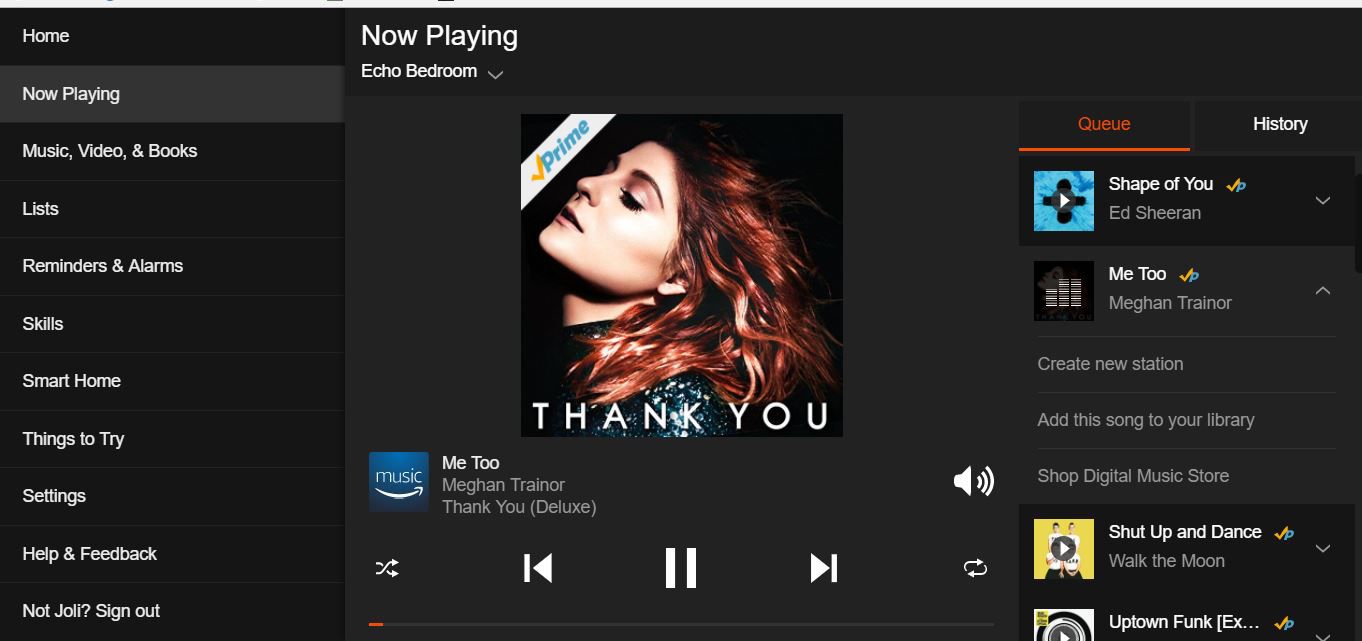
While listening to your downloaded songs, you’ll have full control over playback options. You can pause, skip, or shuffle through your playlist of downloaded songs, just like you would do with online streaming. The app also allows you to adjust the volume, create playlists, and view the song’s information.
It’s worth noting that the downloaded songs are stored within the Amazon Music app and cannot be accessed or played through other music players on your device. This ensures that the downloaded songs are only playable within the app for offline listening.
By accessing and playing your downloaded songs on the Amazon Music app, you can enjoy your favorite tracks anytime, anywhere, without the need for an internet connection. Now that you know how to access your downloaded songs, let’s move on to the next step: managing your downloaded music files.
Step 8: Manage your downloaded music files
Managing your downloaded music files is an essential part of optimizing your experience with Amazon Prime Music. By properly organizing and managing your downloaded songs, you can ensure easy access and smooth playback of your favorite tracks.
To manage your downloaded music files on the Amazon Music app, start by going to the “Library” or “Downloaded” section. This is where all your downloaded songs, albums, and playlists are stored.
Within the “Library” or “Downloaded” section, you’ll find various options to manage your downloaded music files. These options may include the ability to sort your downloads by artist, album name, or date added. Depending on the app version, you may also have options to create playlists, delete specific songs or albums, and even edit the metadata of your downloaded music files.
If you want to free up space on your device or remove specific songs that you no longer need, you can easily delete them from your downloaded music files. To do this, simply select the song or album you wish to remove and look for the “Delete” or “Remove” option. Confirm your selection, and the selected songs will be removed from your device’s storage.
Deleting downloaded music files does not affect your access to the songs through streaming. It only removes the local copy of the song from your device, freeing up storage space while keeping the streamed version of the song available for future listening.
Another aspect of managing your downloaded music files is ensuring that you have enough storage space on your device. If you find that your device’s storage is nearing its limit, you may need to consider deleting some downloaded songs to make room for new downloads.
Additionally, periodically managing and organizing your downloaded music files can help you stay organized and easily find the songs you want to listen to. You can create playlists based on specific themes or moods, or categorize your downloaded songs based on genres or artists.
By effectively managing your downloaded music files on the Amazon Music app, you can optimize your listening experience and make the most out of your Amazon Prime Music membership. Don’t forget to periodically review and update your downloaded music files to ensure your device’s storage is well utilized.
Congratulations! You’ve now completed all the essential steps to successfully download music off Amazon Prime and enjoy it offline. With your newfound knowledge, you can now take your favorite tunes with you wherever you go. Happy listening!
Conclusion
Downloading music off Amazon Prime opens up a world of possibilities, allowing you to enjoy your favorite songs regardless of internet connectivity. With the step-by-step guide provided in this article, you are now equipped with the knowledge to navigate through the process seamlessly.
In this guide, we covered the essential steps, starting from signing up for an Amazon Prime membership to managing your downloaded music files. By signing up for Amazon Prime, you gain access to a vast library of songs and enjoy ad-free streaming. Downloading the Amazon Music app enables you to listen to your favorite tunes on various devices effortlessly.
Once you’ve successfully logged in to your Amazon Prime account and explored the extensive catalog of songs, you can start adding songs, albums, and playlists to your library. This allows for easy organization and quick access to your favorite tracks. Furthermore, the ability to download songs for offline listening ensures that you can enjoy your music even without an internet connection.
Accessing and playing your downloaded songs on the Amazon Music app is a straightforward process, allowing you to enjoy your personalized collection wherever and whenever you want. Lastly, managing your downloaded music files gives you the power to optimize storage space and keep your music organized.
We hope this guide has provided you with the necessary information and guidance to make the most out of your Amazon Prime Music experience. Remember to explore and discover new artists, genres, and playlists, and have fun while enjoying the convenience of offline music listening.
So, what are you waiting for? Dive into the world of Amazon Prime Music, download your favorite songs, and embark on a musical journey that will accompany you wherever you go.


