Introduction
Welcome to the world of Google Chromebooks, where you can enjoy the convenience and flexibility of a lightweight, web-based laptop. One of the most common activities people engage in on their Chromebooks is listening to music. Whether you’re a fan of the latest hits, exploring new genres, or simply want to relax with some soothing melodies, the ability to download free music on your Chromebook can be a game-changer.
In this article, we will guide you on how to download free music on your Google Chromebook. We will explore various methods that will allow you to easily access and enjoy your favorite tunes, even when you’re offline. From utilizing browser extensions to downloading music from free MP3 websites, we’ve got you covered.
Before we dive in, it’s important to note that copyright laws vary by country, and it is essential to respect intellectual property rights. Ensure that you download music legally and responsibly, using licensed or authorized sources. This will not only support artists and creators but also help you avoid any legal issues.
So, if you’re ready to kickstart your music library on your Chromebook, let’s get started!
Setting up your Google Chromebook for music downloads
Before you can start downloading music on your Chromebook, it’s essential to ensure that you have the necessary settings and applications in place. Follow these steps:
Step 1: Make sure your Chromebook is connected to the internet. You will need a stable internet connection to download music and access online music services.
Step 2: Update your Chromebook to the latest version of Chrome OS. This will ensure that you have the most up-to-date features and security patches. To update your Chromebook, simply go to the settings menu, click on “About Chrome OS,” and then select “Check for updates.”
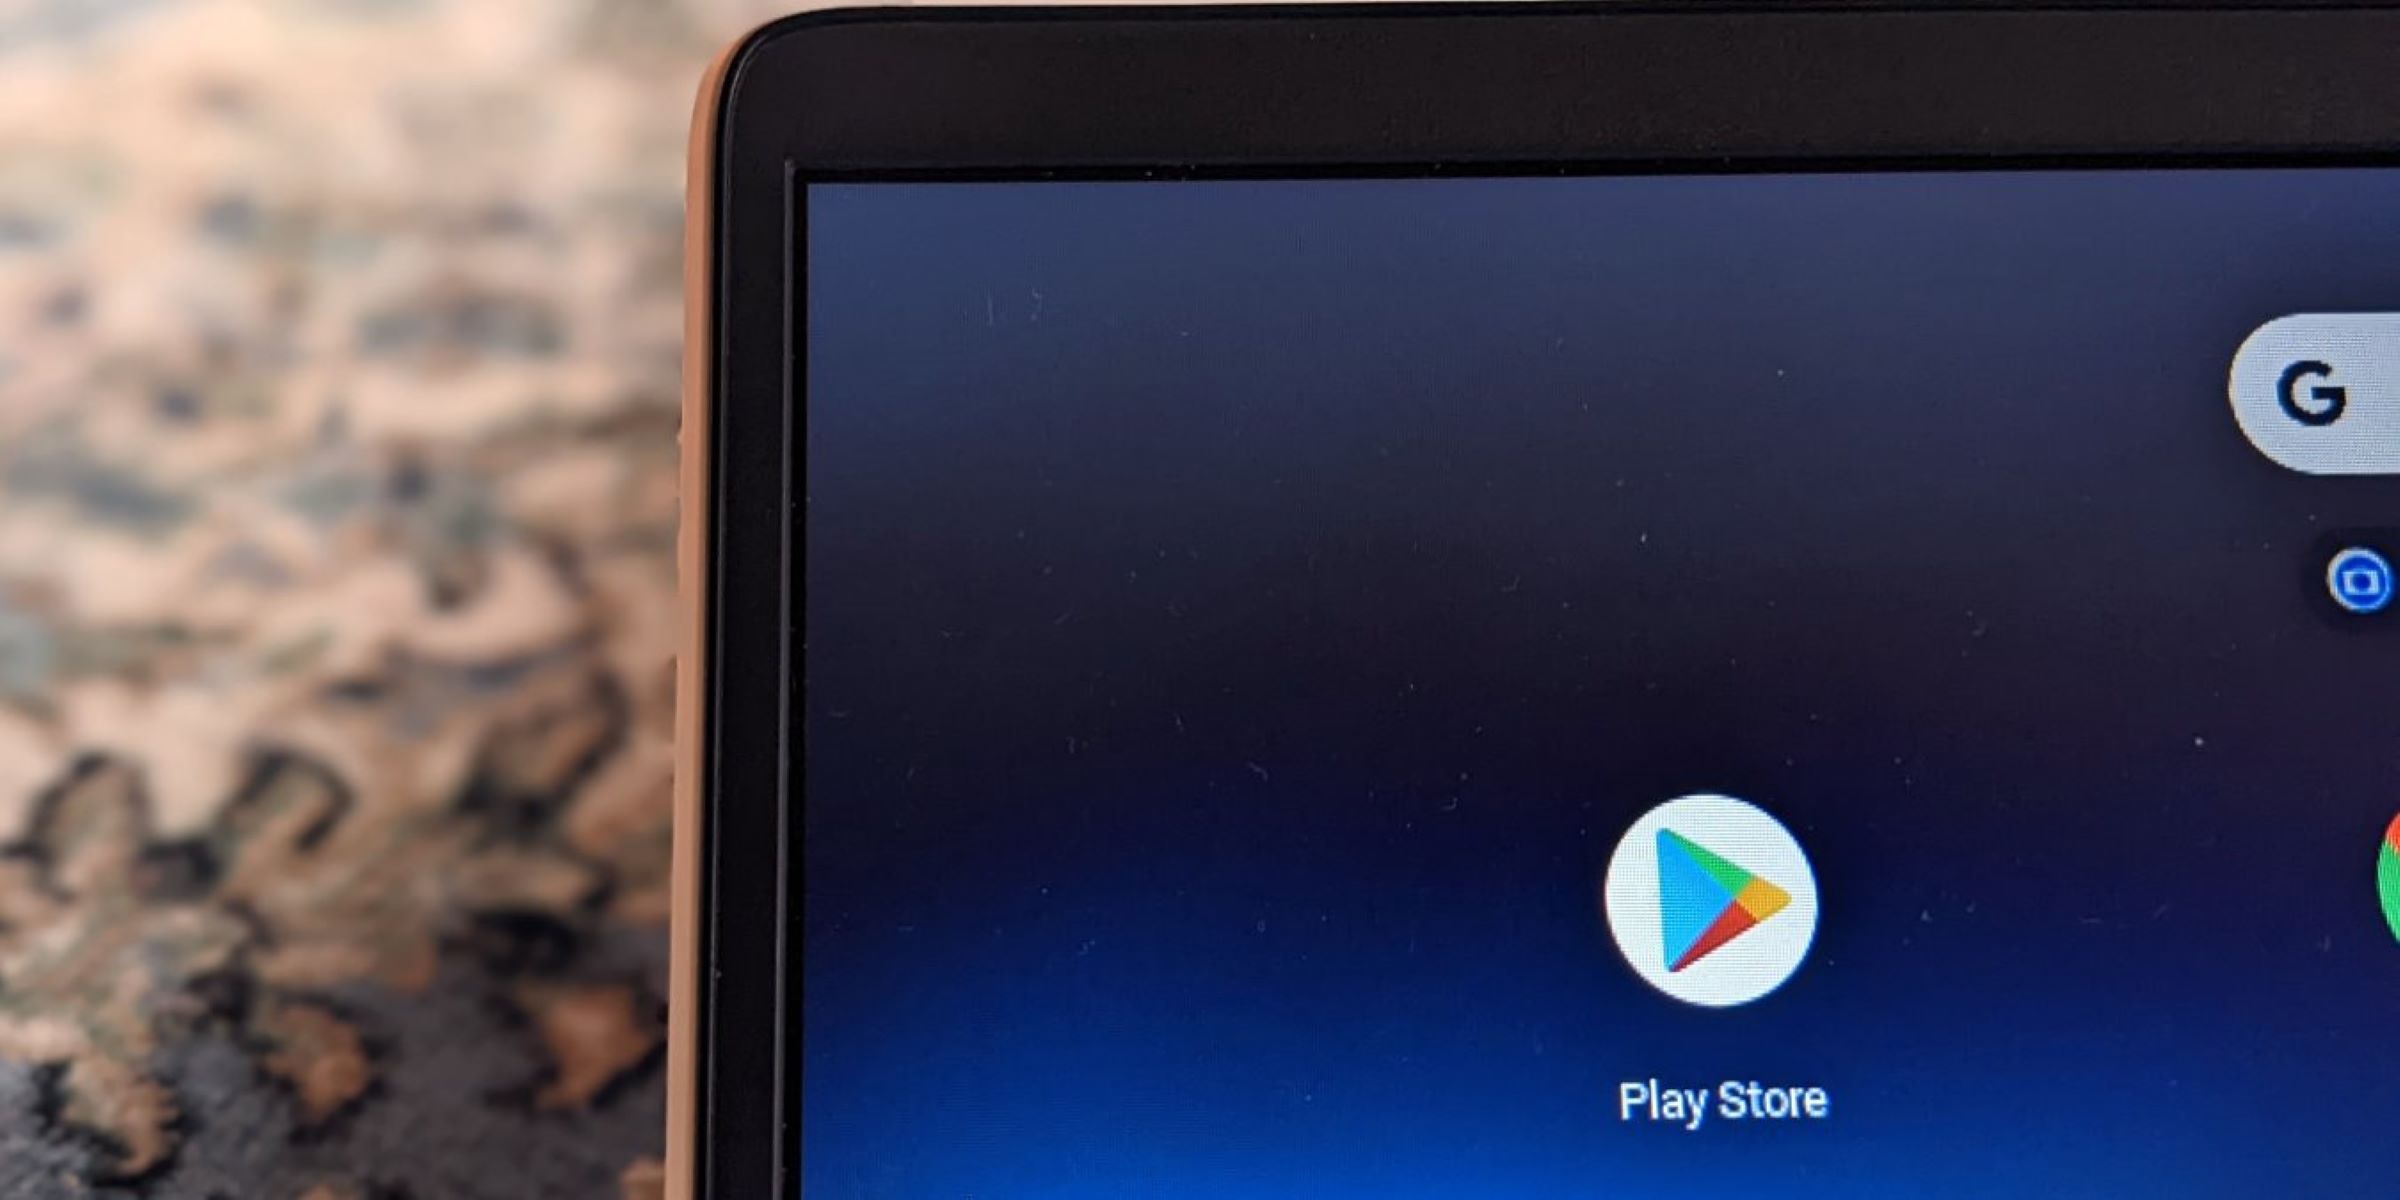
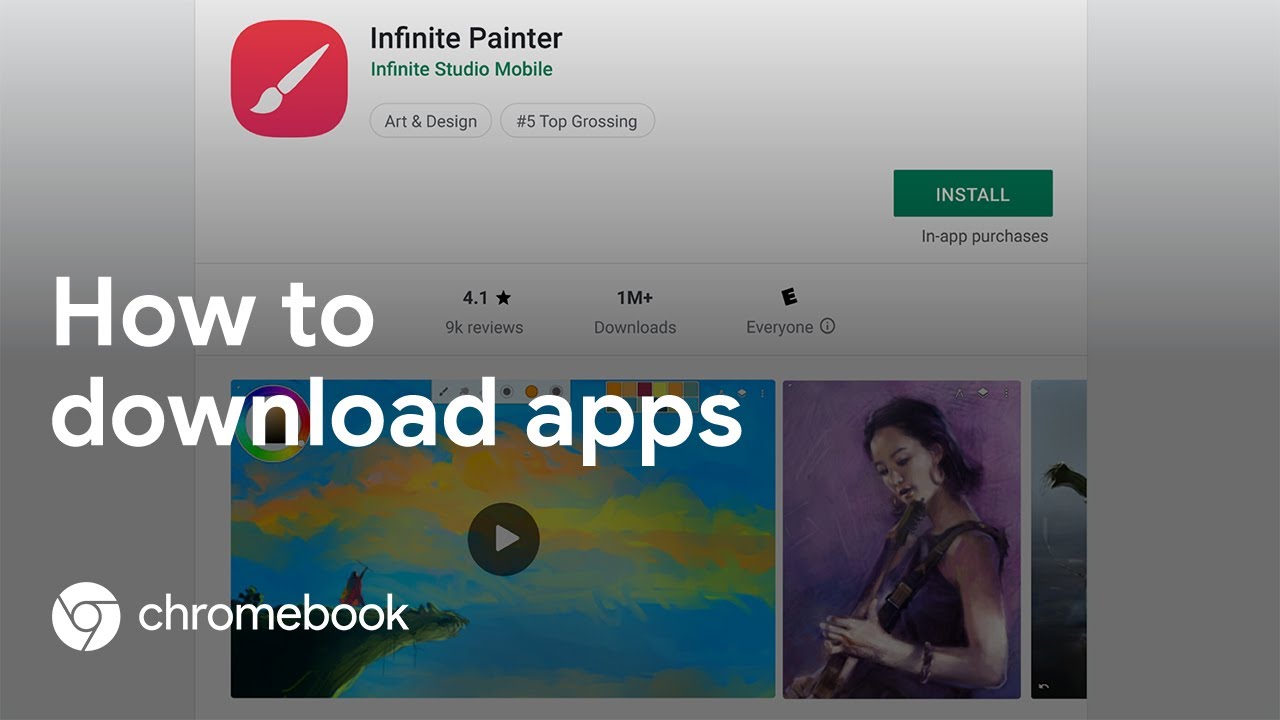
Step 3: Install the Google Play Music app from the Chrome Web Store. This app allows you to stream music online and download songs for offline listening. Simply open the Chrome Web Store, search for “Google Play Music,” and click on “Add to Chrome.” Once installed, you can access the app from the launcher.
Step 4: Sign in to your Google account or create one if you don’t have it already. Google Play Music requires a Google account to function. If you already have a Gmail or Google account, you can sign in using those credentials. Otherwise, you can create a new account from the sign-in page.
Step 5: Customize your Google Play Music settings. Once you’re signed in, go to the settings menu and explore the various options available. You can adjust your audio quality preferences, enable or disable notifications, and personalize your music library settings.
Step 6: Ensure that you have enough storage space on your Chromebook. Music files can take up a significant amount of space, so make sure you have sufficient storage available for your downloads. Consider freeing up space by deleting unnecessary files or moving them to external storage devices.
By following these steps, you will have your Chromebook prepared and ready for downloading and enjoying your favorite music. Once you have everything set up, it’s time to explore the different methods of downloading free music on your Chromebook.
Exploring Google Play Music
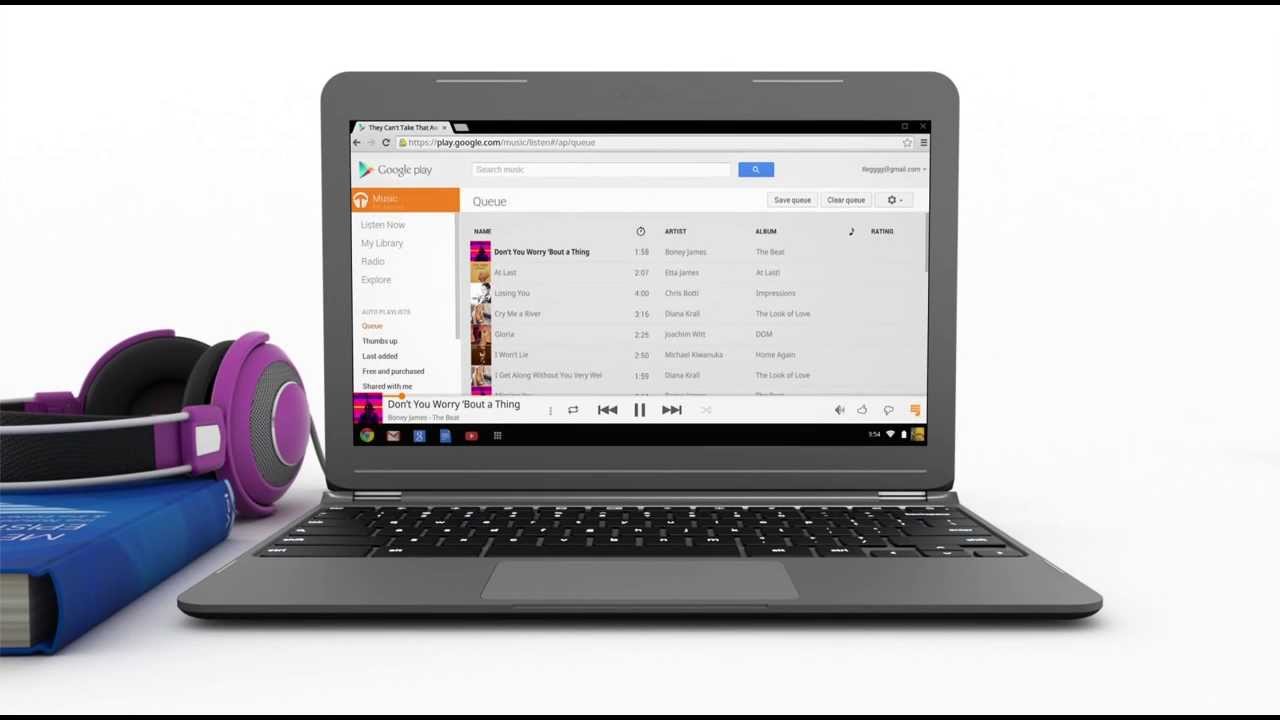
Google Play Music is a popular music streaming and downloading platform that offers a wide range of songs, albums, and playlists. Here’s how you can make the most out of it on your Chromebook:
Step 1: Launch the Google Play Music app from your Chromebook’s launcher. If you haven’t installed it yet, refer to the previous section on setting up your Chromebook for music downloads.
Step 2: Sign in to your Google account. Once you’re signed in, you can access your personalized music library, playlists, and recommendations based on your preferences.
Step 3: Explore the vast collection of music available on Google Play Music. You can search for specific songs, artists, or genres using the search bar, or browse through the various categories and curated playlists.
Step 4: Create your own playlists. Google Play Music allows you to create and customize your playlists, so you can organize and group your favorite songs together. Simply click on the “New playlist” option and start adding songs to it.
Step 5: Stream music online. Google Play Music provides a seamless online streaming experience, allowing you to listen to your favorite songs without any interruptions. You can choose to play specific songs, albums, or playlists, or let the app shuffle through your entire music library.
Step 6: Download music for offline listening. One of the standout features of Google Play Music is the ability to download songs and playlists for offline listening. This means that even when you’re without an internet connection, you can still enjoy your favorite music. Simply select the songs or playlists you want to download and click on the download icon.
Step 7: Manage your music library. Google Play Music allows you to manage your music library by adding or removing songs, organizing playlists, and deleting unwanted tracks. You can also edit the metadata of your songs to ensure they are correctly labeled.
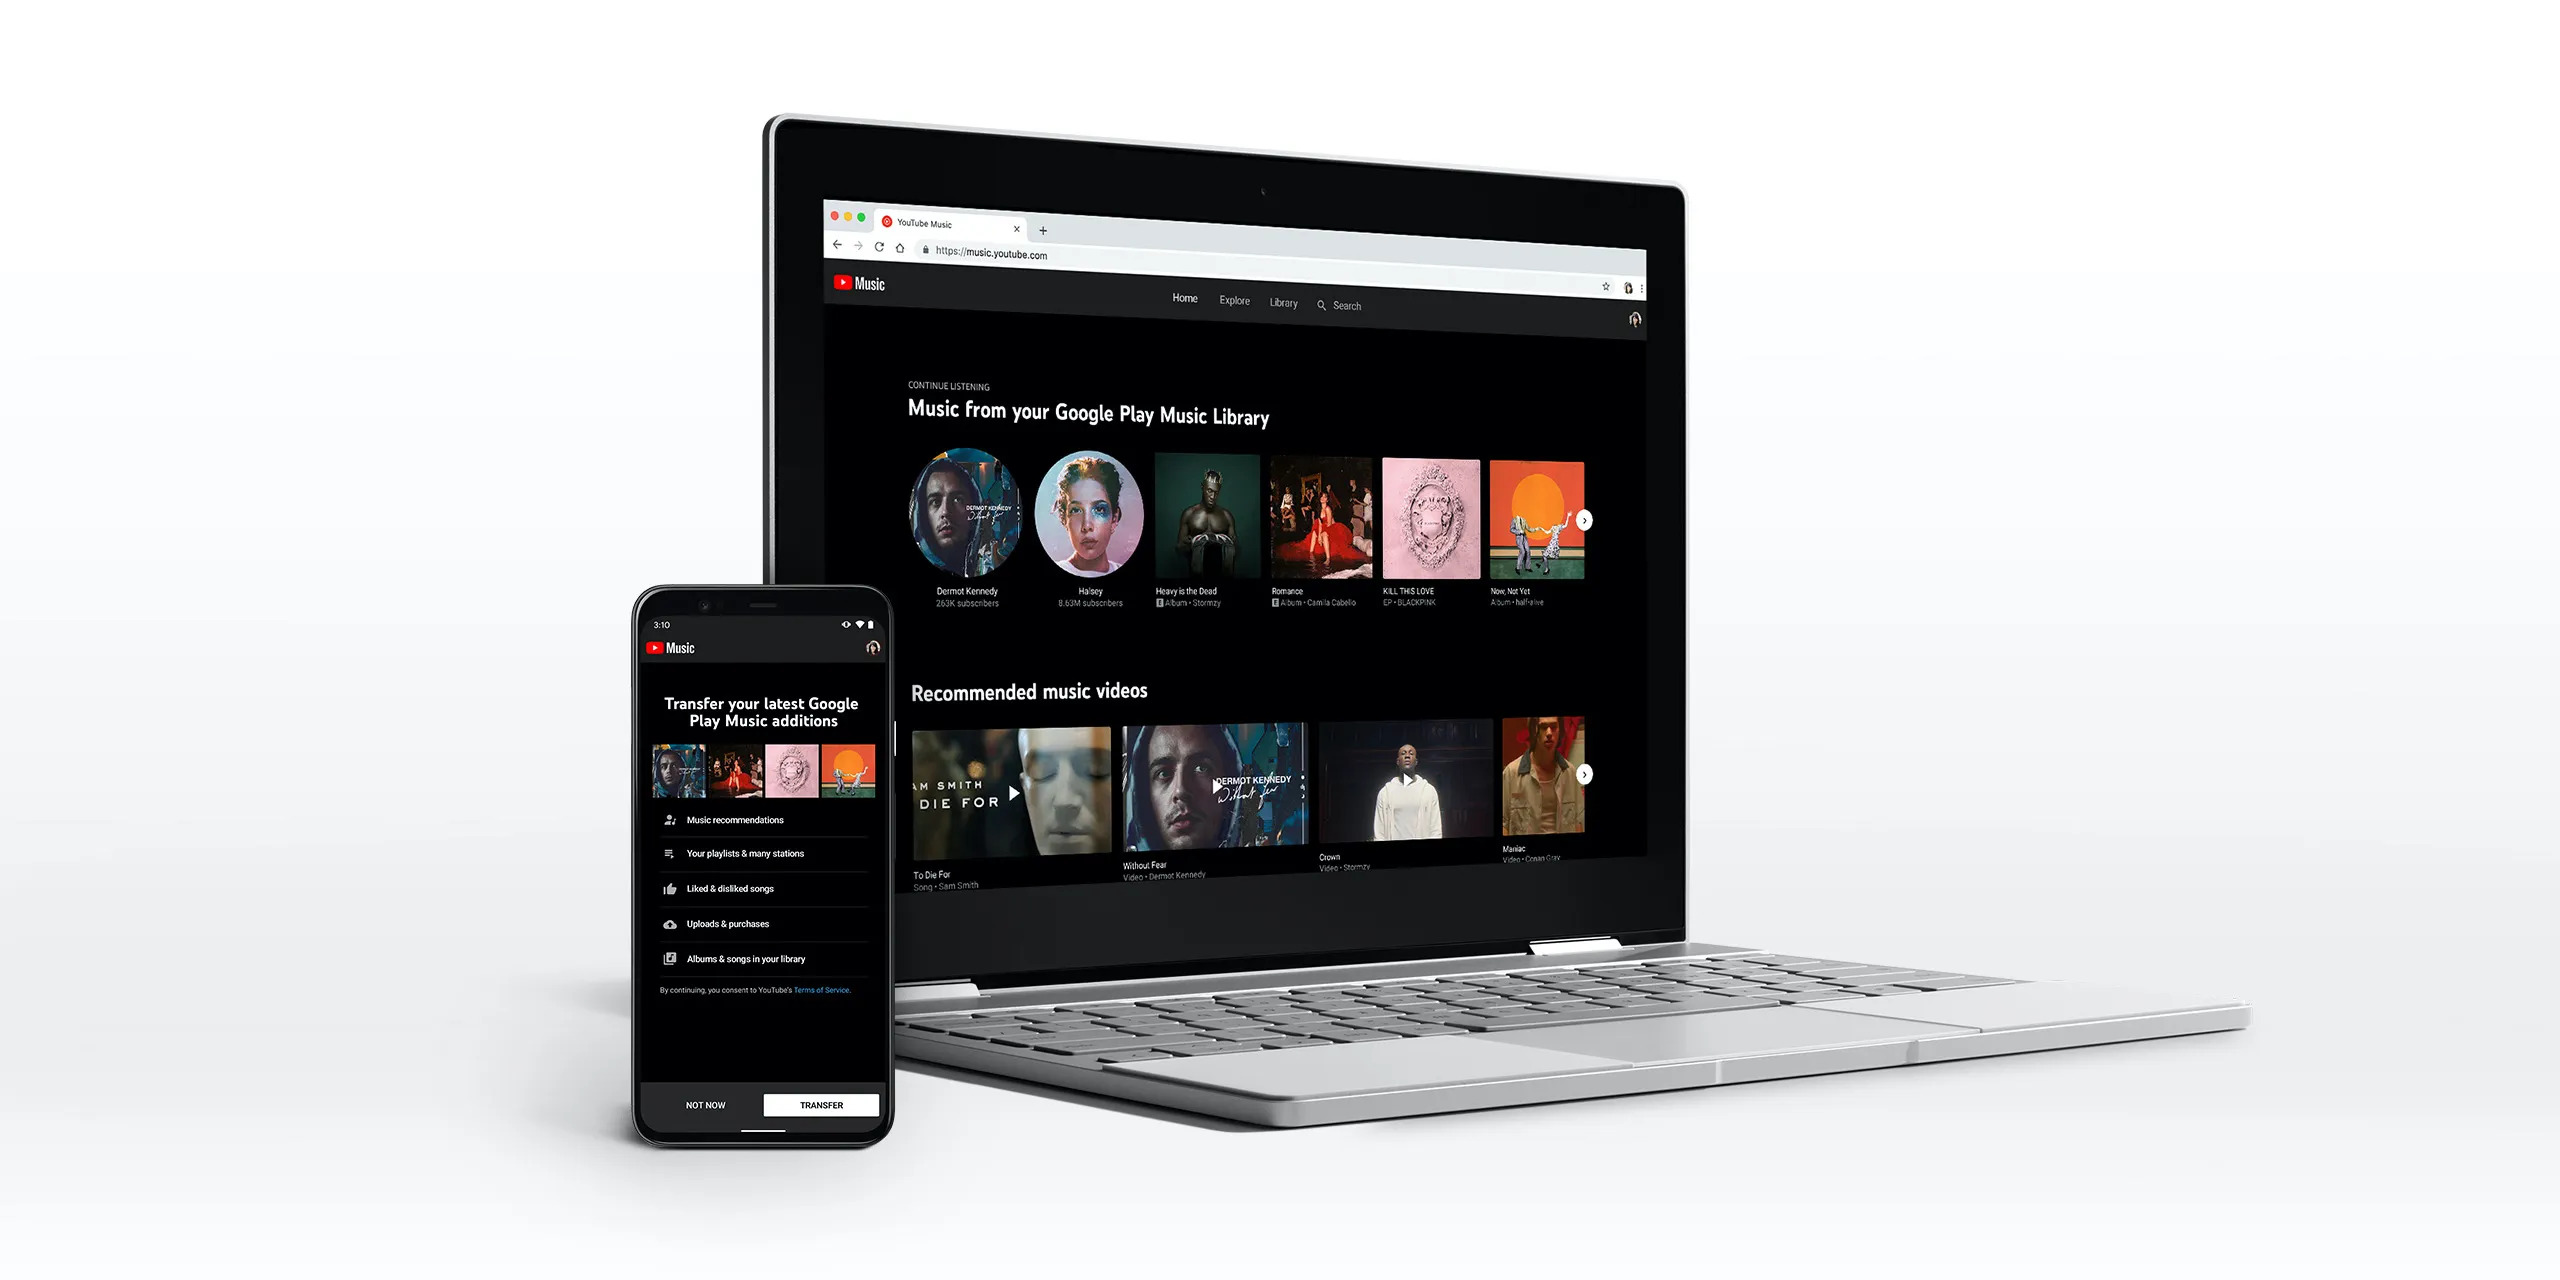
Google Play Music offers a seamless and convenient way to explore, stream, and download music on your Chromebook. Now that you’re familiar with this platform, it’s time to explore other online music streaming services that can enhance your music downloading experience.
Using online music streaming services
In addition to Google Play Music, there are several other online music streaming services that you can access on your Chromebook. These platforms offer a vast collection of songs, personalized recommendations, and the ability to stream music directly from your browser. Here are some popular online music streaming services to explore:
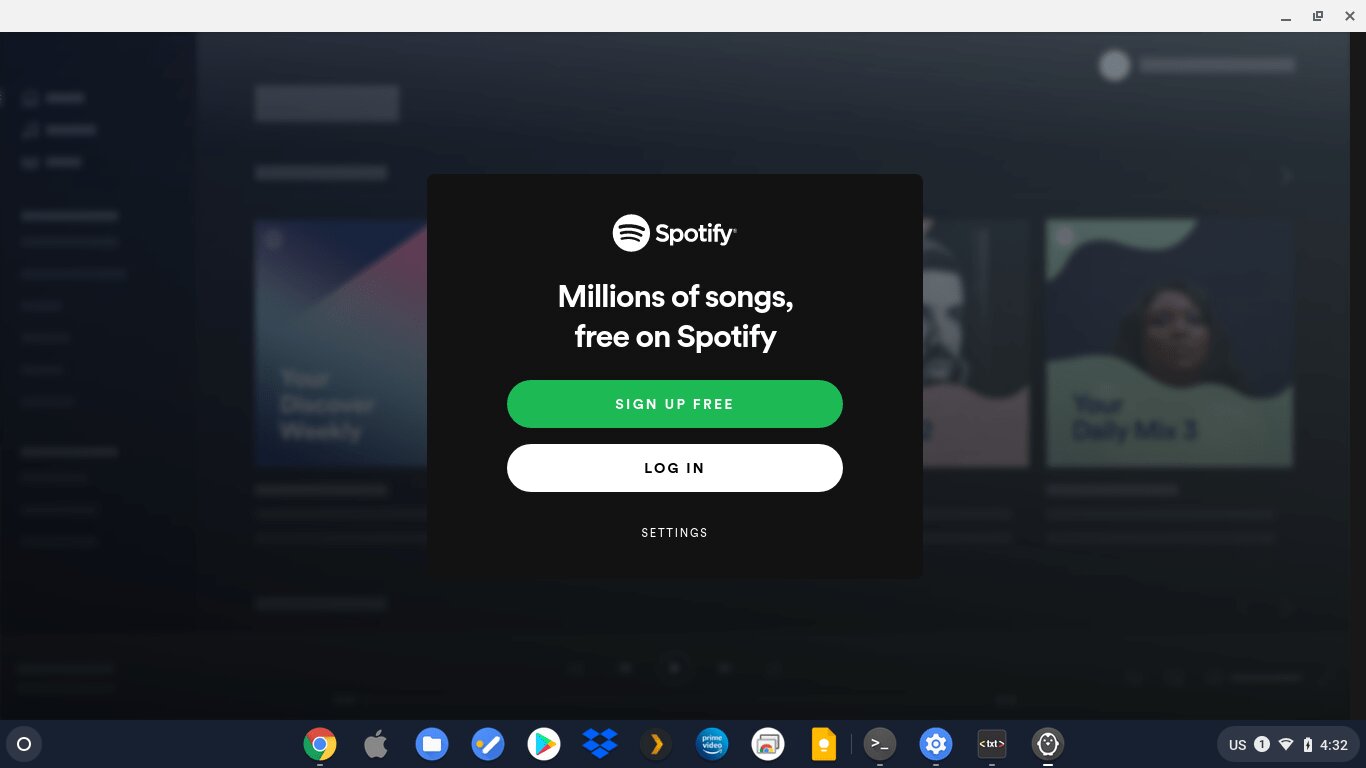
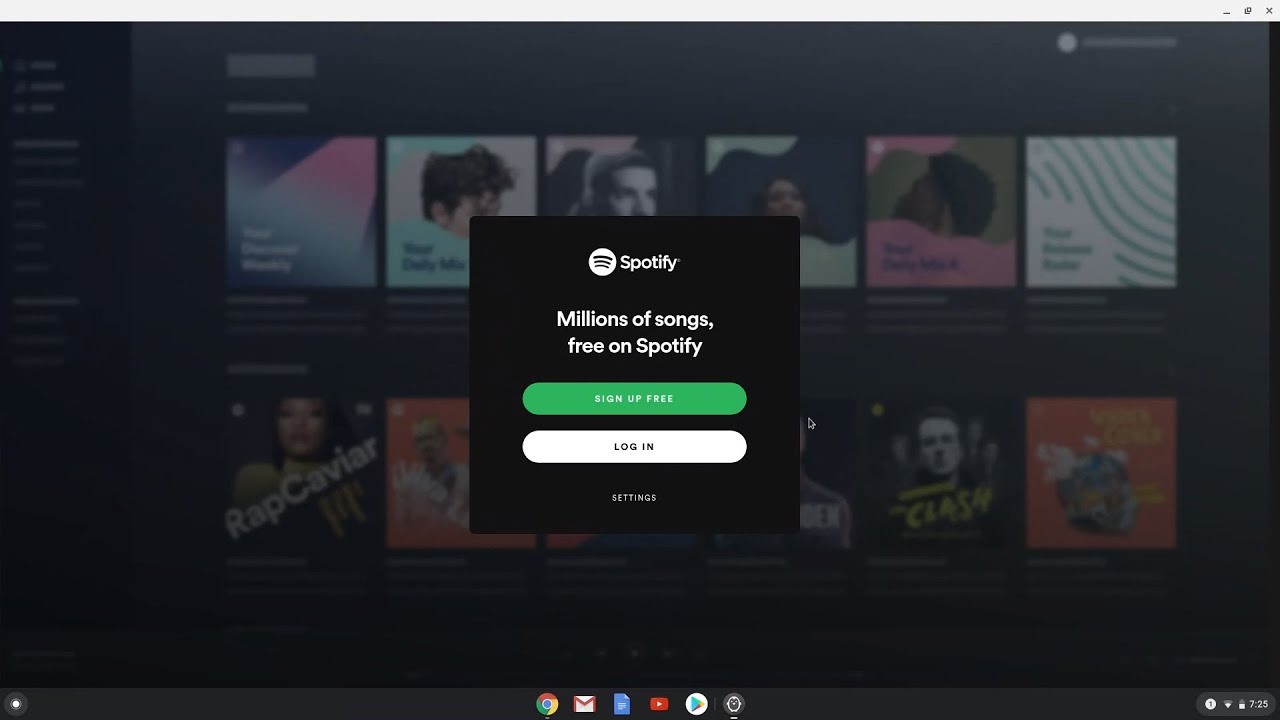
1. Spotify: Spotify is a well-known music streaming service that provides a diverse range of songs, playlists, and podcasts. You can access Spotify through their web player or by installing the Spotify app from the Chrome Web Store. While the free version allows you to listen to music with occasional ads, a premium subscription offers additional features like ad-free listening, higher audio quality, and the ability to download songs for offline listening.
2. Apple Music: If you’re an Apple ecosystem enthusiast, Apple Music is a great option for streaming and downloading music on your Chromebook. Although Apple Music doesn’t have a web player, you can access it by installing the Apple Music app from the Google Play Store. With Apple Music, you can explore millions of songs, create personalized playlists, and enjoy exclusive content curated by industry experts.
3. SoundCloud: SoundCloud is a popular platform where independent artists and musicians share their music. It offers a vast collection of songs, remixes, podcasts, and live recordings. SoundCloud has a web player that you can access directly through your Chromebook’s browser. While most songs on SoundCloud are available for streaming, some artists offer the option to download their tracks for offline listening as well.
4. Deezer: Deezer is another online music streaming service that provides access to a vast music library. You can enjoy personalized recommendations, create your own playlists, and explore various genres. Deezer offers a web player that you can access through your Chromebook’s browser. While the free version of Deezer allows you to listen to music with ads, a premium subscription gives you an ad-free experience and the ability to download songs for offline listening.
5. Pandora: Pandora is a unique music streaming platform that uses the Music Genome Project to curate personalized radio stations based on your musical preferences. You can access Pandora through their web player or by installing the Pandora app from the Google Play Store. While the free version allows limited skips and includes ads, Pandora Plus and Pandora Premium subscriptions offer additional features like ad-free listening, unlimited skips, and offline listening.
These are just a few examples of the online music streaming services available for your Chromebook. Each platform offers its own unique features, so feel free to explore and find the one that suits your music taste and preferences. Now, let’s move on to the next section, where we will explore downloading music using browser extensions.
Downloading music using a browser extension
If you prefer downloading music directly from websites, you can use browser extensions to simplify the process on your Chromebook. These extensions allow you to extract audio from videos or download music files with just a few clicks. Here’s how to download music using a browser extension:
Step 1: Go to the Chrome Web Store and search for a music downloader extension. There are several popular options to choose from, such as “Video Downloader Plus,” “Flash Video Downloader,” or “Video Downloader Professional.”
Step 2: Select the desired extension and click on “Add to Chrome” to install it. The extension will be added to your Chrome browser, and its icon will appear in the browser toolbar.
Step 3: Once the extension is installed, visit a website that contains the music you want to download. This could be a video streaming platform like YouTube or a music-sharing website like SoundCloud.
Step 4: Play the music or video on the website. The browser extension will detect the media playing on the page and display a download button or an option to extract the audio.
Step 5: Click on the download button or the audio extraction option provided by the extension. The music file will be saved to your Chromebook’s Downloads folder by default.
Step 6: Locate the downloaded music file in your Downloads folder. You can access the Downloads folder by clicking on the Chromebook’s launcher icon, selecting the “Files” app, and navigating to the “Downloads” section.
Browser extensions make it convenient to download music directly from websites, allowing you to quickly build up your music library. However, it’s important to be cautious and only download music from reputable sources to ensure the safety and legality of the downloaded files.
Now that you know how to download music using browser extensions, let’s move on to the next section, where we will explore downloading music from free MP3 websites.
Downloading music from free MP3 websites
If you’re looking for a wide selection of music without any cost, free MP3 websites can be a great resource. These websites offer a vast collection of songs from various genres, allowing you to download music files in the MP3 format. Here’s how you can download music from free MP3 websites on your Chromebook:
Step 1: Open your preferred web browser on your Chromebook and search for reputable free MP3 websites. Some popular options include Jamendo, Free Music Archive, and SoundClick.
Step 2: Explore the website and browse through the different categories, genres, or charts to find the music you want to download. Most websites provide search functionality, allowing you to directly search for specific songs or artists.
Step 3: Once you’ve found a song you want to download, click on the download button or link provided on the website. The download button may be labeled as “Download,” “Free Download,” or may display the MP3 file format logo.
Step 4: Some websites may require you to create an account or provide your email address before allowing you to download music. Follow the instructions on the website to proceed with the download.
Step 5: After clicking on the download button, a prompt will appear asking you to confirm the download. Choose a location on your Chromebook where you want to save the downloaded music file, or it may automatically download to the default “Downloads” folder.
Step 6: Once the download is complete, navigate to the folder where the music file is saved. You can access the downloaded file by clicking on the Chromebook’s launcher icon, selecting the “Files” app, and locating the downloaded music in the appropriate folder.
While downloading music from free MP3 websites is convenient, it’s important to exercise caution and ensure that you are using reputable websites. Some websites may host copyrighted materials illegally, which can violate intellectual property rights. Always check the website’s terms of service and respect copyright laws when downloading music.
With these steps, you can easily start building your music collection with free MP3 downloads. Now, let’s move on to the next section, where we will discuss transferring the downloaded music to your Chromebook.
Transferring downloaded music to your Chromebook
Now that you have downloaded music files onto your Chromebook, you may want to organize and manage them for easy access. Here are the steps to transfer downloaded music to your Chromebook:
Step 1: Connect your external storage device, such as a USB flash drive or an SD card, to your Chromebook. Ensure that the device is recognized and mounted correctly.
Step 2: Open the “Files” app on your Chromebook. You can access it by clicking on the Chromebook’s launcher, selecting the “Files” app from the app drawer, or by pressing the “Alt + Shift + M” keyboard shortcut.
Step 3: Navigate to the location where your downloaded music files are saved. This could be the default “Downloads” folder or any other folder you chose during the download process.
Step 4: Select the music files you want to transfer. You can either select individual files by clicking on them or select multiple files by holding down the “Ctrl” key and clicking on each file.
Step 5: Right-click on the selected files and choose the “Copy” option from the context menu. Alternatively, you can use the keyboard shortcut “Ctrl + C” to copy the files.
Step 6: In the “Files” app, navigate to the external storage device where you want to transfer the music files. This could be your USB flash drive or SD card.
Step 7: Right-click on an empty space in the external storage device folder and choose the “Paste” option from the context menu. Alternatively, you can use the keyboard shortcut “Ctrl + V” to paste the copied files.
Step 8: Wait for the file transfer process to complete. The speed of the transfer will depend on the size of the files and the speed of the storage device.
Once the music files are transferred to your external storage device, you can disconnect it from your Chromebook and use it on other devices or transfer the files to any compatible devices for playback.
Alternatively, if you prefer to keep the music files on your Chromebook’s internal storage, you can simply move the downloaded music files from the “Downloads” folder to a different folder within the “Files” app. This will allow you to access the music directly on your Chromebook without the need for an external storage device.
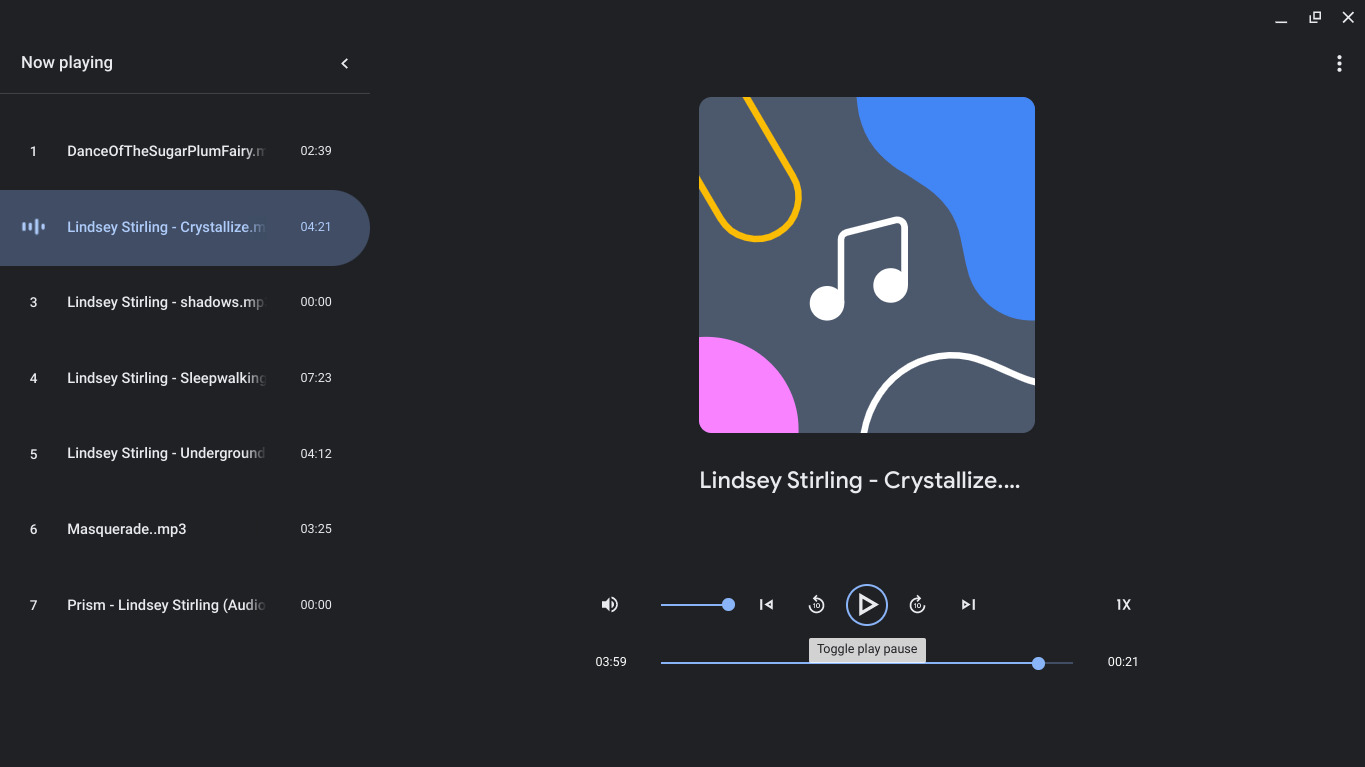
With the downloaded music files transferred to your Chromebook, you can now enjoy your favorite songs anytime, anywhere, without the need for an internet connection.
Now that you know how to transfer downloaded music to your Chromebook, you’re ready to embark on a musical journey. In the next section, we’ll provide a brief recap of the methods discussed in this article.
Conclusion
Downloading music on your Google Chromebook can be a straightforward and enjoyable experience. By following the methods outlined in this article, you can easily build your music library and enjoy your favorite songs even when you’re offline.
We started by setting up your Chromebook for music downloads, ensuring that you have the necessary settings and applications in place. We then explored Google Play Music, a popular music streaming service that allows you to stream and download music directly on your Chromebook.
We discussed the option of using online music streaming services such as Spotify, Apple Music, SoundCloud, Deezer, and Pandora for accessing a vast collection of music and personalized recommendations.
Additionally, we explored the method of downloading music using browser extensions, which simplify the process of extracting audio or downloading music files from websites.
Furthermore, we discussed the availability of free MP3 websites, where you can discover and download music files in the MP3 format, always making sure to download from reputable sources and respect copyright laws.
Lastly, we explained the process of transferring downloaded music files to your Chromebook, whether it’s to an external storage device or the Chromebook’s internal storage, allowing you to easily access and enjoy your music.
Now that you have a comprehensive understanding of the various methods to download free music on your Chromebook, you can choose the method that suits your preferences and start building your music library. Remember to always use legal and authorized sources for downloading music to support artists and creators, and to ensure a safe and enjoyable listening experience.
So start exploring, downloading, and enjoying your favorite music on your Google Chromebook today!


