Introduction
Welcome, students! Are you looking for a way to download Microsoft Word for free? Look no further – I’ve got you covered! Microsoft Word is an essential tool for students, allowing you to create and edit documents with ease. Whether you need to write essays, create presentations, or collaborate on group projects, having access to Microsoft Word can make your academic life much more convenient and efficient.
Traditionally, Microsoft Word has been a paid software program that requires a subscription or a one-time purchase. However, Microsoft offers a special deal for students that allows you to download and use Microsoft Word for free. In this guide, I’ll walk you through the steps to obtain Microsoft Word at no cost, ensuring that you have the tools you need to succeed in your studies.
By following these simple steps, you can download Microsoft Word onto your computer or laptop and start using it immediately. Whether you’re a high school student, a college student, or even a teacher or professor, this guide is applicable to any student or educator looking to access Microsoft Word without breaking the bank.
So, let’s dive into the process of how to download Microsoft Word for free and get you started on your academic journey!
Step 1: Go to the Official Microsoft Website
To begin the process of downloading Microsoft Word for free, you need to visit the official Microsoft website. Open up your preferred web browser and type “Microsoft.com” in the address bar. Press Enter, and you will be redirected to the Microsoft homepage.
Once you are on the Microsoft homepage, take a moment to familiarize yourself with the various options and products available. Microsoft offers a wide range of software and services, but for our purpose of downloading Microsoft Word, we need to navigate to the “Products” or “Software” section of the website.
Look for a prominent menu or search bar on the Microsoft homepage, where you can find the specific software you’re looking for. You can also use the search function on the website and enter “Microsoft Word” to directly access the product page.
Once you have located the Microsoft Word product page, click on it to be redirected to the dedicated page for Microsoft Word.
Now that you’re on the Microsoft Word page, you will find detailed information about the features, pricing, and subscription options. As a student, your goal is to find the option that allows you to download and use Microsoft Word for free. Look for the section that caters to students and educators or offers special discounts for educational purposes.
Keep in mind that the layout and design of the Microsoft website may vary slightly over time, so don’t worry if the exact wording or placement of options slightly differs from what is described here. Microsoft regularly updates their website to improve user experience, so it’s essential to navigate the site and locate the appropriate page based on the current layout.
Now that you have successfully reached the Microsoft Word page on the official website, it’s time to move on to the next step: creating or signing in to your Microsoft account. This is crucial in order to access the free student version of Microsoft Word.
Step 2: Create or Sign In to Your Microsoft Account
In order to download and use Microsoft Word for free as a student, you need to have a Microsoft account. If you already have a Microsoft account, you can skip this step and proceed to the next one. If not, follow these simple instructions to create a new account:
1. On the Microsoft Word page, look for the “Sign In” or “Create Account” button. It could be located at the top right corner of the page or in the menu bar. Click on it to continue.
2. You will be redirected to the Microsoft account sign-in page. Here, you have the option to either sign in with an existing account or create a new one. Since you don’t have an account yet, click on the “Create One” link to proceed with the account creation process.
3. Next, you will be asked to provide some necessary information to set up your Microsoft account. This includes your email address, password, and other personal details. Make sure to use a valid email address that you have access to, as you will need to verify it later in the process.
4. Once you have entered the required information, click on the “Next” or “Create Account” button to proceed. You may be prompted to complete additional verification steps, such as entering a security code sent to your email or phone number, to ensure the security of your account.
5. After successfully creating your Microsoft account, you will be redirected back to the Microsoft Word page. Congratulations, you now have a Microsoft account that is ready to be used for downloading and using Microsoft Word for free!
If you already have a Microsoft account, simply click on the “Sign In” button on the Microsoft Word page and enter your account credentials to proceed. Make sure to use the account associated with your student status to ensure you can access the free student version of Microsoft Word.
Creating or signing in to your Microsoft account is a crucial step in the process, as it allows you to access the full range of benefits and features that come with being a student user. Now that you have a Microsoft account, it’s time to move on to the next step: choosing the student and educators option.
Step 3: Choose the Student and Educators Option
After creating or signing in to your Microsoft account, it’s time to select the appropriate option that caters to students and educators. Microsoft offers special programs and discounts for students, granting them access to a free version of Microsoft Word.
Follow these steps to choose the student and educators option:
1. On the Microsoft Word page, look for a section or a tab that is specifically labeled for students or educators. This may be indicated by headings such as “For Students” or “Education.” Click on this section to proceed.
2. Once you are in the student and educators section, you will find a variety of options and offers tailored to meet the needs of students. Take your time to explore the available options, as they may include additional benefits such as access to other Microsoft Office applications, cloud storage, and collaboration tools.
3. Look for the option that specifically mentions Microsoft Word and states that it is available for free. This option should be clearly labeled and provide information on how you can download and use Microsoft Word as a student.
4. Click on the free student version of Microsoft Word to continue the process. This will take you to a dedicated page or section where you can verify your student status and proceed with the download and installation.
It’s important to note that the exact placement and wording of the student and educators option may vary depending on your location and the version of the Microsoft website you are using. Microsoft often updates their website to improve user experience and provide the most relevant information to their audience. Therefore, it’s recommended to carefully navigate the website and locate the section that best matches your student status.
By choosing the student and educators option, you are one step closer to downloading and using Microsoft Word for free. Once you have selected the appropriate option, it’s time to move on to the next step: verifying your student status.
Step 4: Verify Your Student Status
Once you have selected the student and educators option for Microsoft Word, it’s time to verify your student status. Verification is an important step in the process, as it ensures that only eligible students can access the free version of Microsoft Word.
Follow these steps to verify your student status:
1. On the dedicated student and educators page, you will find information on how to verify your student status. This may include options such as providing your school email address or using an education verification service.
2. If you have a school or university email address, enter it in the designated field provided. This email address will serve as proof of your student status. Microsoft will verify the email address and confirm your eligibility to access the free student version of Microsoft Word.
3. If you don’t have a school email address or if your educational institution is not listed as a verification option, don’t worry. Microsoft may offer alternative methods to verify your student status. This could involve uploading a student ID card, providing a school-issued document, or completing an education verification form.
4. Follow the instructions provided on the student and educators page to complete the verification process. Make sure to carefully read and follow all the guidelines and requirements to ensure a smooth verification experience.
5. Once you have successfully verified your student status, Microsoft will notify you of your eligibility to access the free version of Microsoft Word. This confirmation may be sent to your verified email address or displayed on the website itself.
It’s important to note that the verification process may take some time, depending on the method you choose and the volume of verification requests Microsoft is processing. Be patient and allow sufficient time for Microsoft to review and confirm your student status.
By verifying your student status, you are ensuring that you are eligible to download and use Microsoft Word for free as a student. Once your verification is complete, it’s time to move on to the next step: downloading and installing Microsoft Word onto your device.
Step 5: Download and Install Microsoft Word
Now that you have verified your student status, it’s time to move on to the final step: downloading and installing Microsoft Word. Follow these steps to get Microsoft Word up and running on your device:
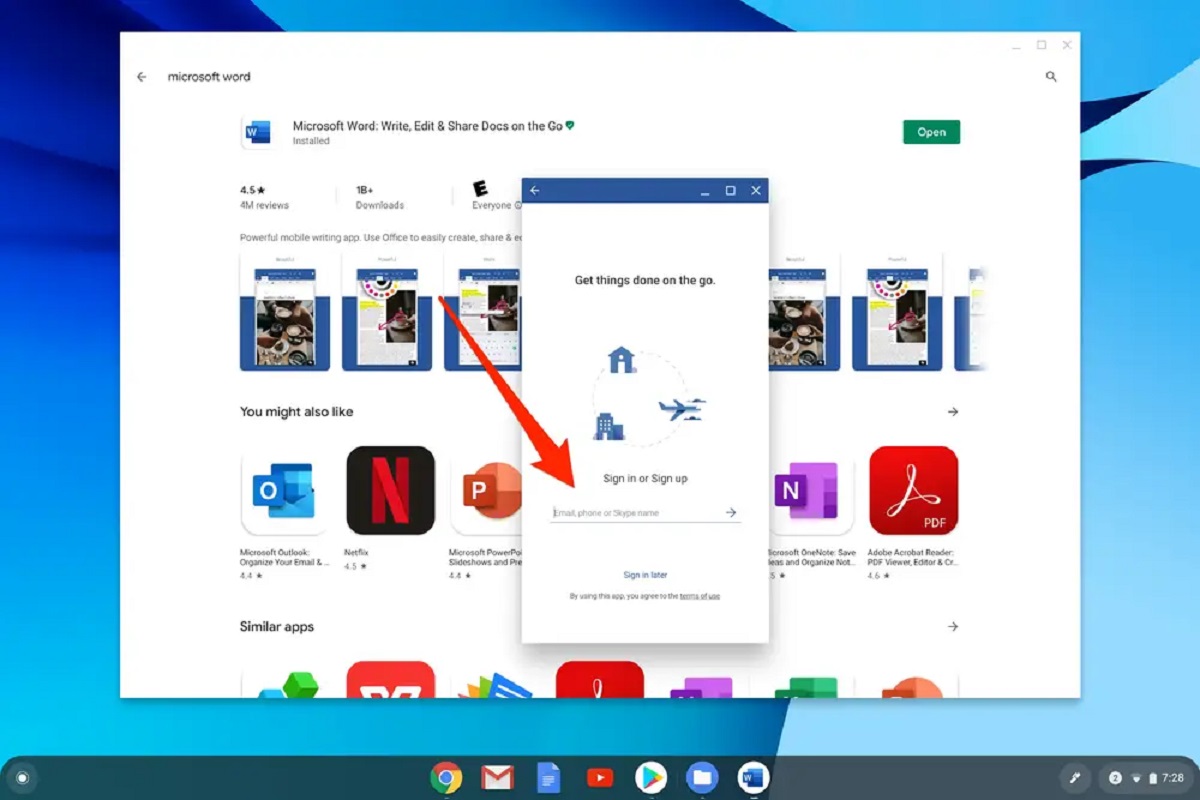
1. After successfully verifying your student status, you will be provided with a link or button to download Microsoft Word. Click on this link to initiate the download process.
2. Depending on your operating system, you will be prompted to choose the appropriate version of Microsoft Word to download. Select the version that is compatible with your device and click on the download button. Microsoft will provide you with the necessary files to begin the installation process.
3. Once the download is complete, locate the downloaded file on your device. This may vary depending on your browser and settings. By default, downloaded files are often found in the “Downloads” folder on your device.
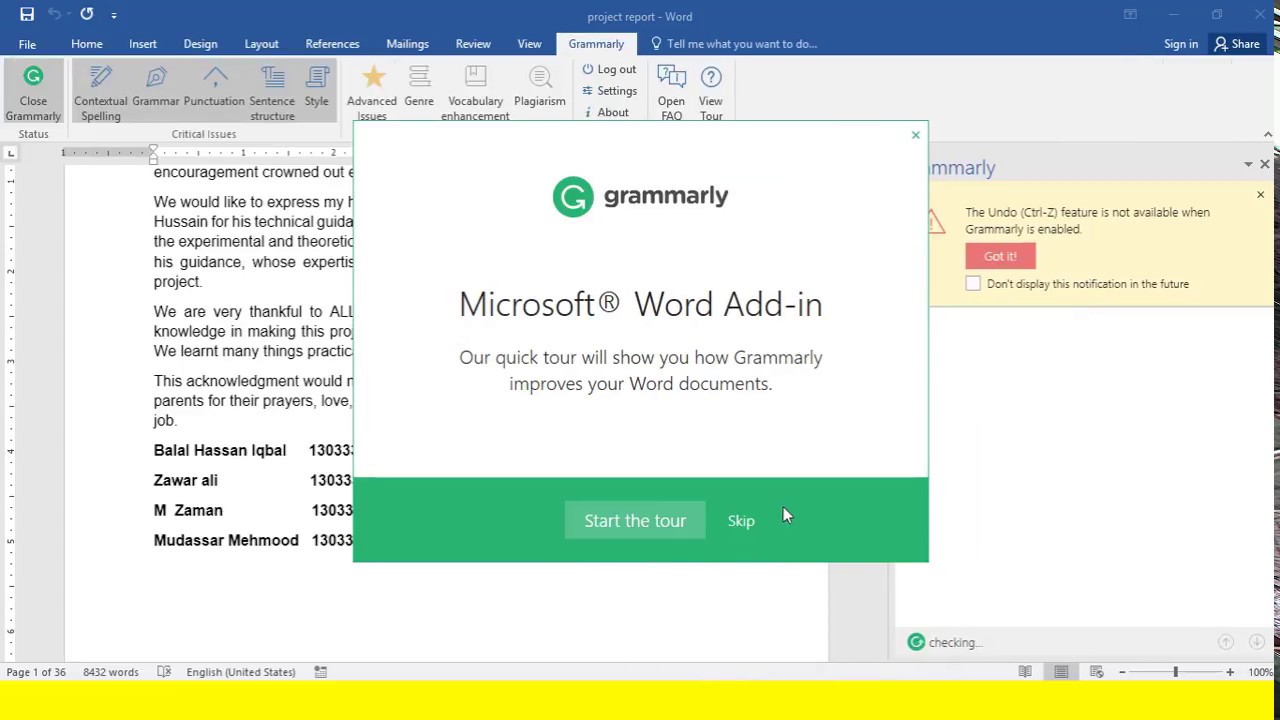
4. Double-click on the downloaded file to initiate the installation process. Follow the on-screen prompts and instructions to proceed with the installation of Microsoft Word. Make sure to carefully read each step and select the appropriate options based on your preferences.
5. During the installation process, you may be prompted to enter your Microsoft account credentials. This will link your Microsoft Word installation to your account and enable you to access all the features and benefits available to student users.
6. Wait for the installation to complete. The duration of the installation will vary depending on your device and the speed of your internet connection. Once the installation is finished, you will see a notification confirming that Microsoft Word has been successfully installed on your device.
7. Launch Microsoft Word by either double-clicking on the desktop icon or searching for “Microsoft Word” in your device’s search bar. Enter your Microsoft account credentials, if prompted, to sign in and gain access to all the features of Microsoft Word.
Congratulations! You have successfully downloaded and installed Microsoft Word on your device. Now you can start using this powerful tool to create, edit, and collaborate on documents for your academic endeavors.
Don’t forget to regularly check for updates to ensure that you have the latest version of Microsoft Word installed. Microsoft often releases updates that include bug fixes, security enhancements, and new features to improve your overall experience with the software.
With Microsoft Word at your fingertips, you can enhance your productivity and streamline your workflow in writing essays, creating presentations, and accomplishing various academic tasks. Take full advantage of this powerful tool to excel in your studies.
Conclusion
Congratulations on successfully downloading and installing Microsoft Word for free as a student! By following the step-by-step instructions in this guide, you have gained access to a powerful and versatile tool that will greatly enhance your academic journey.
Microsoft Word offers a wide range of features and functionalities that will enable you to create professional-looking documents, collaborate with others, and streamline your workflow. Whether you need to write essays, prepare presentations, or work on group projects, Microsoft Word is the go-to software for students.
Remember to regularly check for updates to ensure that you are using the latest version of Microsoft Word, as these updates often include new features, security enhancements, and bug fixes. Staying up-to-date with the software will help you take full advantage of all the benefits it has to offer.
As you continue to use Microsoft Word for your academic needs, take the time to explore its various features and functionalities. From document formatting options to spell-checking tools to collaboration features, Microsoft Word is packed with useful tools that can save you time and improve the quality of your work.
Additionally, don’t hesitate to explore other applications within the Microsoft Office suite, such as Excel, PowerPoint, and OneNote. These applications can further enhance your productivity and help you excel in your studies.
Lastly, always ensure that you are using Microsoft Word for educational purposes within the terms and conditions set by Microsoft. It is essential to respect the licensing agreements and use the software responsibly.
With Microsoft Word at your disposal, you have the tools and resources to succeed in your academic endeavors. So, get started, unleash your creativity, and let Microsoft Word empower you to achieve your full potential as a student!