Introduction
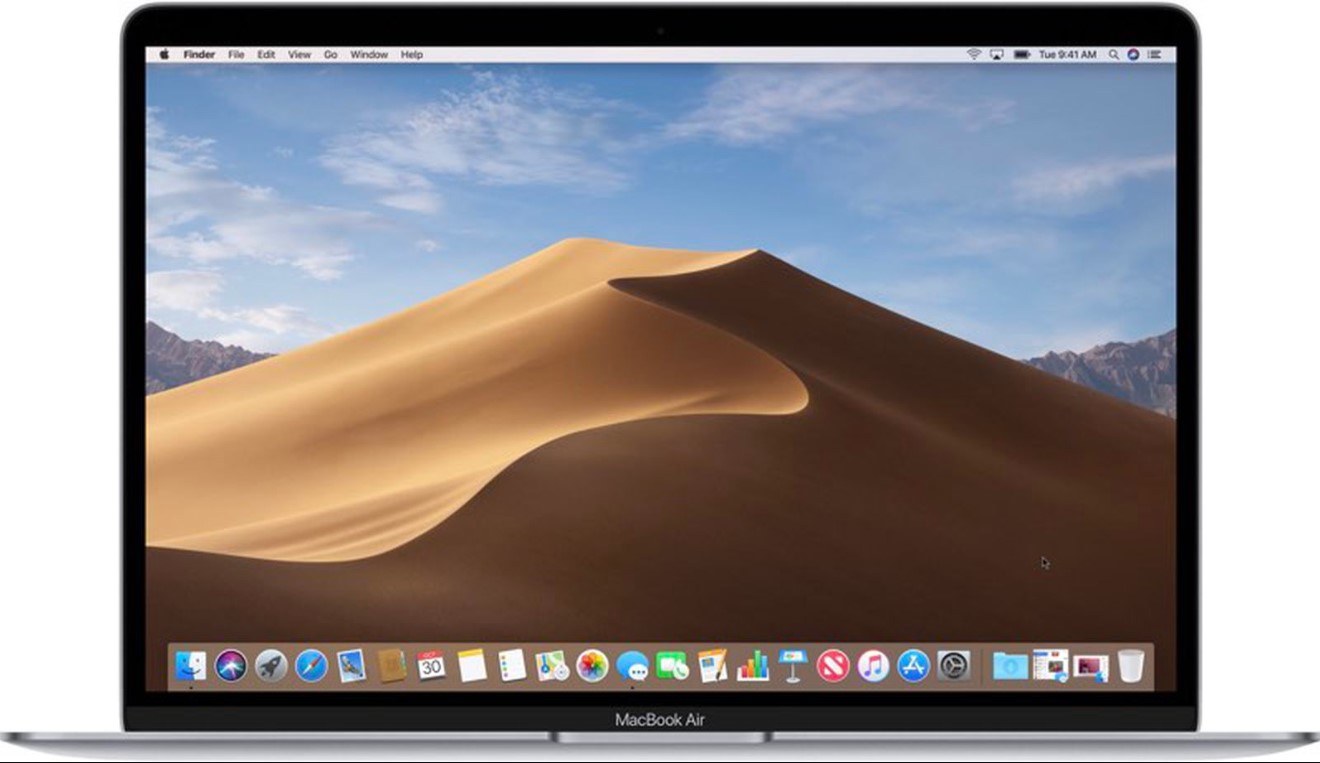
Welcome to the world of Mac! If you’re looking to download MacOS 10.14, also known as macOS Mojave, you’ve come to the right place. MacOS Mojave is the fifteenth major release of Apple’s computer operating system, offering a host of exciting new features and improved performance for Mac users. Whether you’re a long-time Mac user or new to the system, this guide will walk you through the process of downloading and installing MacOS Mojave on your Mac.
Before diving into the steps, it’s important to note that downloading and installing a new operating system can have some risks. It’s always a good idea to back up your data to ensure you don’t lose any important files or information during the installation process. Additionally, make sure to check the compatibility of your Mac with MacOS Mojave, as some older models may not be able to run the latest version.
In this guide, we will take you through the steps to check your Mac compatibility, backup your data, download MacOS Mojave from the App Store, and then walk you through the installation process. We’ll also cover the initial setup of the operating system to make sure you’re ready to enjoy all the new features.
So, if you’re ready to upgrade your Mac and experience the latest and greatest features provided by macOS Mojave, let’s get started!
Step 1: Check Your Mac Compatibility
Before downloading and installing MacOS Mojave, you need to ensure that your Mac is compatible with the new operating system. Not all Mac models can run the latest version, so it’s essential to check if your computer meets the necessary requirements.
To check the compatibility of your Mac, follow these steps:
- Click on the Apple menu icon located at the top-left corner of your screen.
- Select “About This Mac” from the dropdown menu.
- In the window that appears, click on the “Overview” tab.
- Note down your Mac’s model name and year of release.
Once you have the model name and year, compare it with the official list of compatible Mac models provided by Apple. You can find this information on the Apple website or by performing a quick internet search for “macOS Mojave compatible Mac models.”
If your Mac model is listed as compatible, congratulations! You’re ready to proceed with the installation. However, if your Mac is not on the list, it means that your computer is not capable of running macOS Mojave. In this case, you may consider upgrading your Mac or sticking with your current operating system.
Remember, checking your Mac’s compatibility is crucial to ensure a smooth installation process and to avoid any technical issues or compatibility conflicts further down the line. So take a moment to verify your Mac’s compatibility with MacOS Mojave before moving on to the next step.
Step 2: Backup Your Data
Before proceeding with any major software update, it’s essential to back up your data to prevent the loss of any important files or information. While the risk of data loss during the installation process is relatively low, it’s always better to be safe than sorry.
Here are the steps to back up your data on macOS:
- Connect an external hard drive or use cloud storage services to store your backup.
- Click on the Apple menu icon at the top-left corner of your screen.
- Select “System Preferences” from the dropdown menu.
- Choose “Time Machine” from the available options.
- In the Time Machine preferences window, click on “Select Backup Disk.”
- Select the external hard drive or cloud storage service where you want to store your backup.
- Click on “Use Disk” to initiate the backup process.
- Wait for the backup to complete. This may take some time depending on the size of your data.
Remember to keep your external drive or cloud storage connection intact until the backup process is finished. It’s a good practice to regularly backup your files, not just when preparing for a software update, to ensure you always have a copy of your important data.
By backing up your data, you minimize the risk of losing important files, documents, photos, and any other valuable information. So, take the time to safeguard your data before moving on to the next step.
Step 3: Download MacOS 10.14 from the App Store
Now that you’ve checked your Mac’s compatibility and backed up your data, it’s time to download MacOS 10.14, also known as macOS Mojave, from the App Store. The App Store is the official source for downloading and updating Apple software, including macOS.
To download and install macOS Mojave, follow these steps:
- Ensure your Mac is connected to the internet.
- Click on the Apple menu icon located at the top-left corner of your screen.
- Select “App Store” from the dropdown menu. The App Store will open in a new window.
- In the search bar at the top-right corner, type “macOS Mojave.”
- Hit Enter or click on the magnifying glass icon to initiate the search.
- Find macOS Mojave from the search results and click on it.
- On the macOS Mojave page, click on the “Get” or “Download” button. You may be prompted to enter your Apple ID and password.
- Wait for the download to complete. The download size can vary, so it may take some time depending on your internet speed.
Once the download is finished, you will see the macOS Mojave installation package in your Applications folder. At this point, you’re ready to proceed with the installation process, which we will cover in the next step.
Downloading macOS Mojave from the App Store ensures that you obtain the official, legitimate version of the operating system. It also allows for easy updates in the future through the App Store, providing a seamless user experience for Mac users.
Now that you’ve successfully downloaded macOS Mojave, let’s move on to the next step and install it on your Mac.
Step 4: Install MacOS 10.14
With the macOS Mojave installation package downloaded from the App Store, you’re now ready to install the new operating system on your Mac. The installation process is straightforward and will guide you through the necessary steps to upgrade your system.
Follow these steps to install macOS Mojave:
- Locate the macOS Mojave installation package in your Applications folder.
- Double-click on the installation package to start the installation process.
- A dialog box will appear, asking for your consent to continue. Click “Continue” to proceed.
- Read the software license agreement and click “Agree” to accept the terms and conditions.
- Select the disk where you want to install macOS Mojave. Typically, this will be your primary startup disk.
- Click “Install” to initiate the installation process.
- Wait for the installation to complete. This may take some time, so be patient.
- Once the installation is finished, your Mac will restart automatically.
During the installation process, your Mac may show a progress bar indicating the status of the installation. It’s important not to interrupt the process or turn off your Mac until the installation is complete. Doing so could lead to system instability or data loss.
After the restart, your Mac will be running macOS Mojave, and you can begin exploring all the new features and enhancements the operating system has to offer.
Note that during the installation process, your Mac may need to reboot multiple times. This is normal, and the installation will resume automatically after each reboot.
Congratulations! You’ve successfully installed macOS Mojave on your Mac. Now, let’s move on to the final step and set up macOS Mojave to personalize your experience.
Step 5: Set Up MacOS 10.14
After installing macOS Mojave, it’s time to set up the operating system to make it personalized and tailored to your preferences. During the setup process, you’ll be prompted to configure various settings and options that will enhance your user experience.
Follow these steps to set up macOS Mojave:
- After your Mac restarts, you’ll be greeted with the welcome screen. Select your country and click “Continue.”
- Choose your preferred keyboard layout and click “Continue.”
- If you have an existing Mac or Time Machine backup, you’ll be prompted to transfer your data. Select your preferred option and follow the instructions.
- Sign in with your Apple ID or create a new one if you don’t have an account. This step is necessary to access the App Store and other Apple services.
- Agree to the terms and conditions of using macOS and click “Continue.”
- Create a computer account by entering your full name, username, and password. You can also set up a password hint for added security.
- Customize the settings for Siri, Analytics, and Privacy. You can choose to enable or disable these features according to your preferences.
- Decide whether you want to use iCloud Drive for storing your files in the cloud and access them across multiple devices.
- Set up the “Find My Mac” feature for added security and the ability to locate your Mac if lost or stolen.
- Finally, you’ll be asked if you want to enable Screen Time, which helps you track and manage your usage of apps and websites.
Once you’ve completed the setup process, macOS Mojave will be fully personalized, ready to use, and tailored to your preferences. Take some time to explore the various features and settings available in the system preferences to further customize your Mac experience, such as appearance, desktop wallpaper, notification preferences, and more.
With macOS Mojave installed and set up, you can now enjoy all the new features, enhanced performance, and improved security that this operating system offers. Get ready to be more productive, creative, and efficient on your Mac!
Conclusion
Congratulations! You have successfully downloaded, installed, and set up macOS Mojave on your Mac. By following the steps outlined in this guide, you have upgraded to the latest version of Apple’s operating system, unlocking a plethora of new features and improved performance.
Remember, before embarking on the installation process, it’s crucial to check the compatibility of your Mac with macOS Mojave. Additionally, backing up your data ensures that you don’t lose any valuable files or information during the installation process.
By downloading macOS Mojave from the App Store, you obtained the official and legitimate version of the operating system. The App Store also allows for easy future updates, making sure you stay up to date with the latest enhancements and security patches.
Setting up macOS Mojave personalized your experience, allowing you to customize settings, preferences, and features according to your needs. Take the time to explore the various options available to make the most out of your Mac.
With macOS Mojave installed, you can now enjoy a range of new features, including Dark Mode, Desktop Stacks, Dynamic Desktop, improved privacy settings, enhanced security, and much more. Explore these features and find how they can enhance your workflow, productivity, and overall Mac experience.
Remember to keep your Mac updated regularly to ensure you have the latest features, performance improvements, and security patches. Apple frequently releases updates that provide bug fixes and enhancements, so it’s a good practice to check for updates periodically.
Thank you for following this guide. We hope that it has been informative and helpful in your journey to download and install macOS Mojave. Now, go ahead and enjoy all the exciting features that macOS Mojave has to offer!


