Introduction
Are you a passionate gamer looking to enjoy your favorite Xbox games on your PC? Well, you’re in luck! With the Xbox app, you can easily download and play your Xbox games right on your computer. Whether you’re travelling, don’t have access to your Xbox console, or simply prefer the convenience of playing on your PC, this guide will walk you through the step-by-step process of downloading your Xbox games on PC.
The Xbox app is a free application available for Windows 10 users, allowing you to connect with your friends, join gaming communities, and access a massive library of Xbox games. By following the instructions in this article, you’ll be able to explore the vast world of Xbox gaming on your PC in no time.
Before we dive in, make sure you have a stable internet connection and sufficient storage space on your PC to accommodate the games you want to download. Additionally, ensure that your PC meets the system requirements for running Xbox games smoothly. Once you’re ready, let’s get started on downloading your favorite Xbox games on PC!
Step 1: Open the Xbox app on your PC
The first step to downloading your Xbox games on PC is to open the Xbox app. If you don’t have the app installed on your computer, you can easily download it from the Microsoft Store.
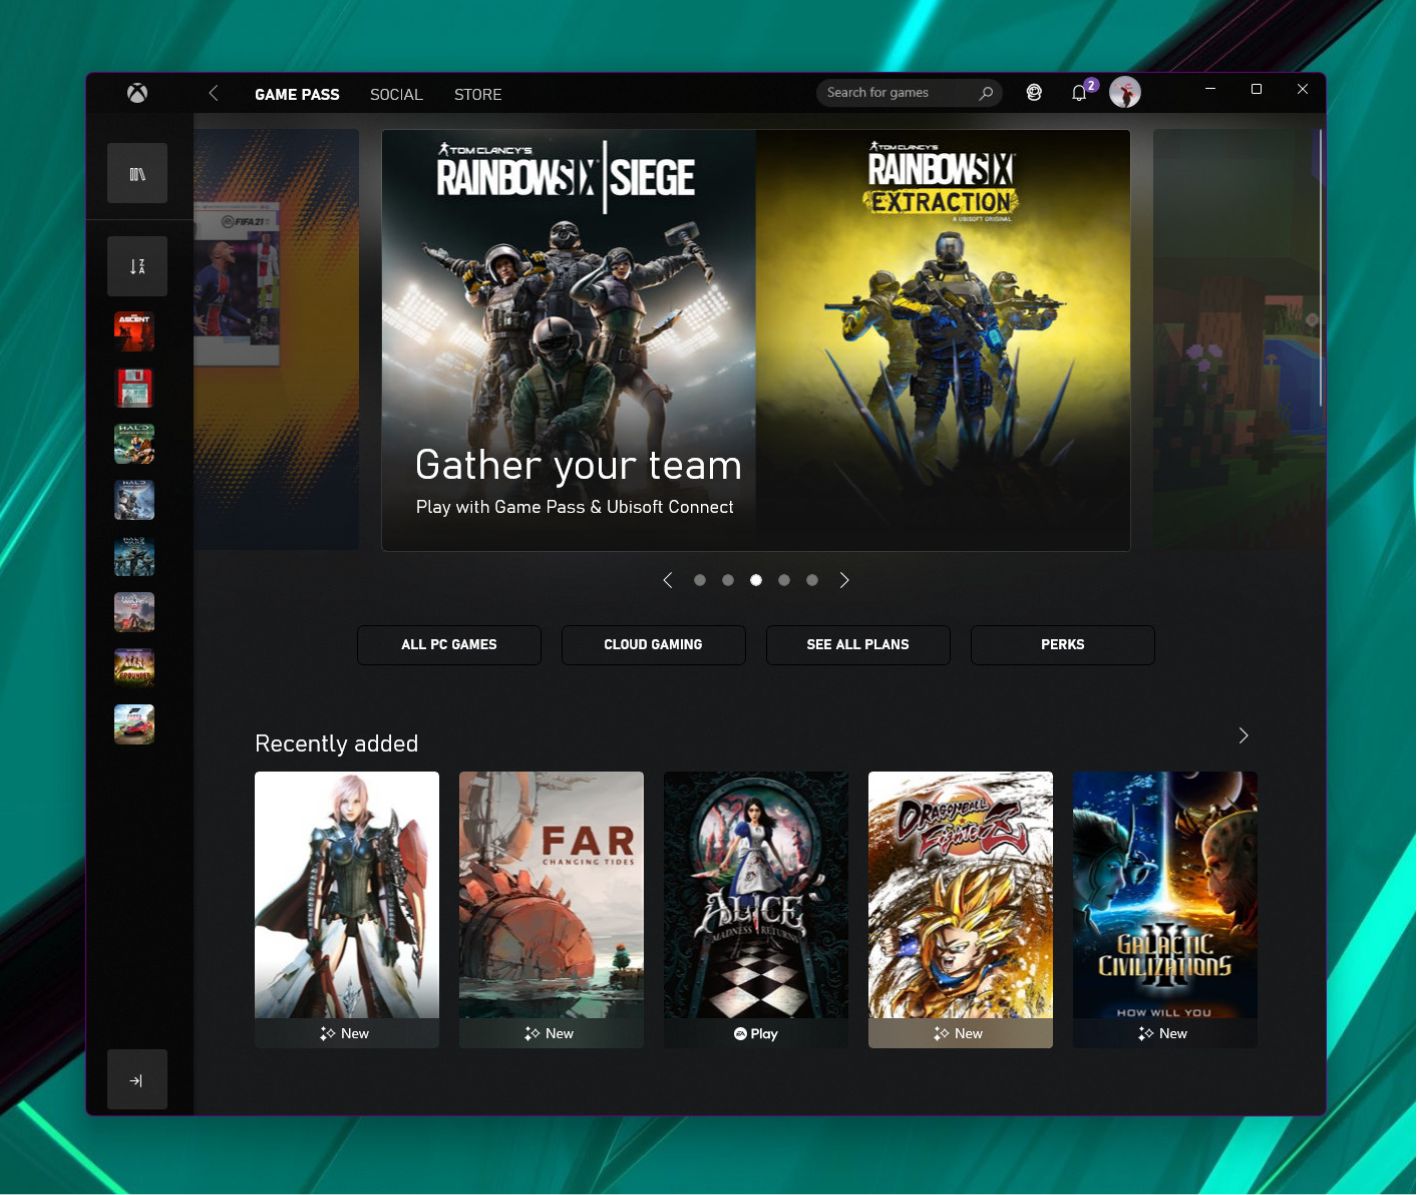
Once installed, locate the Xbox app in your list of installed applications or search for it in the Start menu. Click on the app icon to launch it, and you’ll be greeted with the Xbox app’s home screen.
The Xbox app provides a seamless and intuitive interface, making it easy to navigate and explore the various features it offers. From here, you can access your Xbox Live profile, connect with friends, join gaming communities, and, most importantly, download and play Xbox games directly on your PC.
If this is your first time using the Xbox app, you may be prompted to sign in with your Xbox account. If you don’t have an account yet, you can create one by following the on-screen instructions. Once signed in, you’ll have access to your Xbox game library, subscriptions, and other exciting features.
Now that you’ve successfully opened the Xbox app on your PC and signed into your account, you’re ready to move on to the next step: browsing the Xbox Game Pass library to find the game you want to download.
Step 2: Sign in to your Xbox account
Before you can start downloading and playing Xbox games on your PC, you need to sign in to your Xbox account within the Xbox app. Signing in not only allows you to access your game library but also enables you to connect with friends, earn achievements, and enjoy various Xbox Live features.
To sign in to your Xbox account, follow these simple steps:
- Launch the Xbox app on your PC. If you’re not already signed in, you’ll be directed to the login screen.
- Enter your email address or phone number associated with your Xbox account in the provided field.
- Click on the “Next” button and enter your account password on the following screen.
- If you have two-factor authentication enabled, you may be prompted to enter a verification code sent to your registered email or phone.
- Once you’ve entered the necessary information, click on the “Sign In” button to access your Xbox account.
Once you’ve successfully signed in, you’ll be able to view your personalized Xbox dashboard, where you can manage your game library, subscriptions, and settings. Additionally, you’ll have access to the Xbox Game Pass library, which offers a wide selection of games for you to download and enjoy on your PC.
If you don’t have an Xbox account yet, you can create one during the sign-in process by selecting the “Create one!” option. Follow the on-screen instructions to set up your account, and you’ll soon be ready to dive into the world of Xbox gaming on your PC.
Now that you’re signed in to your Xbox account, let’s move on to the next step: browsing the Xbox Game Pass library to find the game you want to download and play on your PC.
Step 3: Browse the Xbox Game Pass library
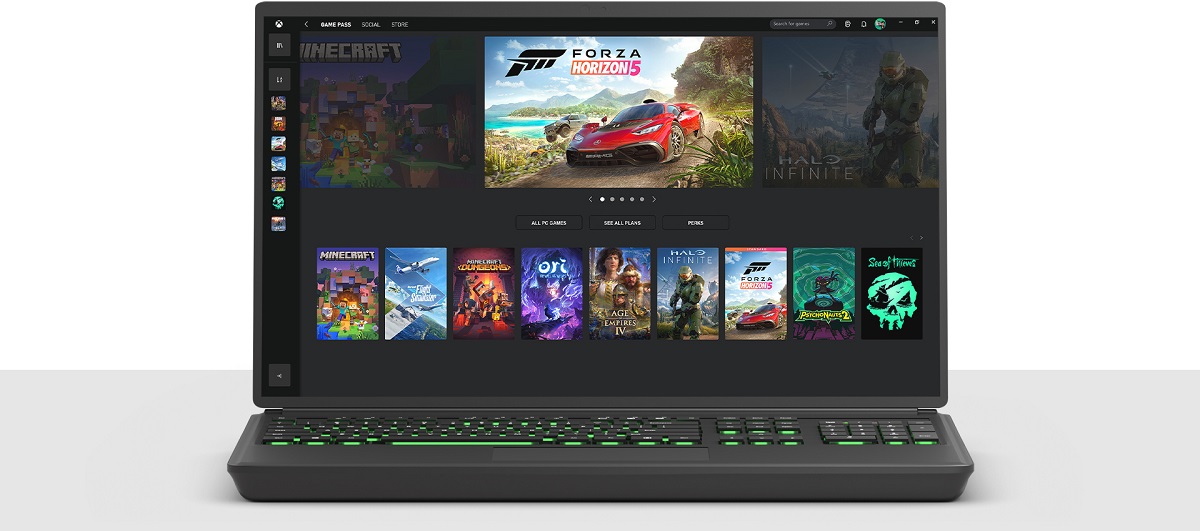
Now that you’re signed in to your Xbox account, it’s time to explore the vast collection of games available in the Xbox Game Pass library. The Xbox Game Pass subscription gives you access to a wide variety of titles, including AAA titles, indie games, and classic favorites.
To browse the Xbox Game Pass library and find the game you want to download, follow these steps:
- Within the Xbox app, locate the “Game Pass” tab at the top of the screen and click on it.
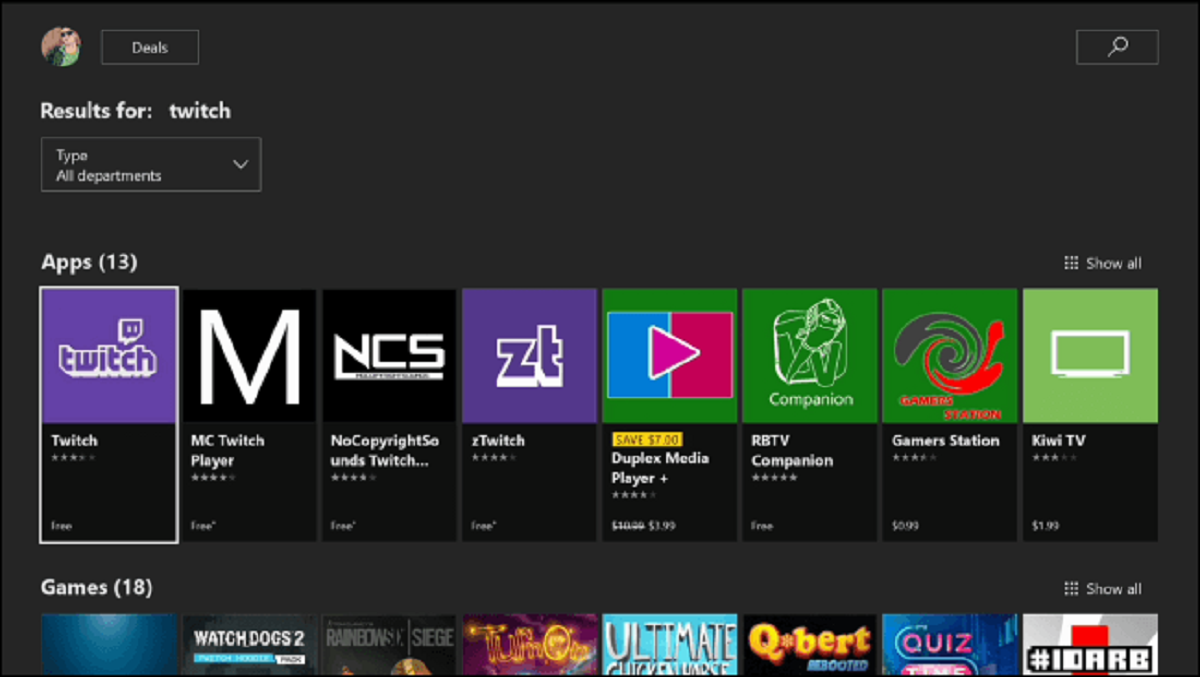
- You’ll be presented with a curated selection of games, featured titles, and recommendations. Take a moment to explore these options or use the search bar to find a specific game.
- Use the various filters available, such as genre, release date, and popularity, to narrow down your search and find the game that suits your preferences.
- Click on a game to view more details, including a description, screenshots, videos, and user reviews.
- If you’re interested in a game, click on the “Install” or “Play” button, depending on whether the game is already installed or not.
Keep in mind that the availability of games in the Xbox Game Pass library may vary over time, as new games are added and others are removed. However, as a Game Pass subscriber, you’ll have access to a constantly updated selection of games, ensuring you always have something new to play.
Take your time to browse through the extensive library, discover hidden gems, and choose the game you’re excited to download and play on your PC. Once you’ve found your ideal game, it’s time to move on to the next step: downloading the game to your computer.
Step 4: Select the game you want to download
After exploring the Xbox Game Pass library and finding a game that catches your interest, it’s time to select and prepare for the download process. By following this step, you’ll be well on your way to playing your desired game on your PC.
Here’s how you can select the game you want to download:
- Within the Xbox Game Pass library, click on the game you’ve chosen to view its details and options.
- Read the game description, view screenshots and videos, and check out user reviews to get a better understanding of what to expect.
- If you’re satisfied with your choice, locate and click on the “Install” or “Play” button, depending on the installation status of the game.
- If the game is already installed on your PC, you’ll see the “Play” option, allowing you to launch the game and start playing immediately.
- If the game is not installed, you’ll see the “Install” button. Click on it to initiate the download process.
Please note that the download size of the game may vary depending on its complexity and graphics. It’s advisable to check your internet connection and ensure you have enough disk space on your PC to accommodate the size of the game.
Once you’ve selected a game and initiated the download process, the Xbox app will start downloading the necessary files to your local storage. You can monitor the progress of the download in the Xbox app or through the Windows notifications.
Now that you’ve successfully chosen the game and started the download, it’s time to move on to the next step: selecting the location where you want the game to be installed on your PC.
Step 5: Click on the “Install” button
Now that you have selected the game you want to download, it’s time to click on the “Install” button and begin the installation process. Installing the game ensures that all the necessary files are properly set up on your PC, allowing you to enjoy a seamless gaming experience.
Follow these steps to click on the “Install” button:
- Within the game details page in the Xbox app, locate the “Install” button.
- Click on the “Install” button to initiate the installation process.
- A confirmation message may appear, asking you to confirm your choice. Click on the “Confirm” or “Yes” button to proceed.
- The Xbox app will now start downloading and installing the game onto your PC.
- During the installation process, you can monitor the progress in the Xbox app or through the Windows notifications.
The duration of the installation process may vary depending on the size of the game and the speed of your internet connection. It is advisable to have a stable and reliable internet connection to ensure a smooth and timely installation.
While the game is being installed, you can explore other games in the Xbox Game Pass library or take a break while you wait for the installation to complete. Once the installation is finished, you’ll be ready to launch the game and embark on your gaming adventure.
Now that you’ve successfully clicked on the “Install” button and started the installation process, it’s time to move on to the next step: choosing the location where you want the game to be installed on your PC.
Step 6: Choose the location to install the game
When installing a game from the Xbox app on your PC, you have the option to choose the location where you want the game to be installed. This allows you to manage your storage space and organize your games according to your preferences.
Follow these steps to choose the location to install the game:
- During the installation process, a dialogue box will appear, asking you to choose the installation location for the game.
- Click on the “Browse” or “Choose” button to open a file explorer window.
- Navigate to the desired location on your PC where you want the game to be installed.
- Once you have selected the location, click on the “Ok” or “Select Folder” button.
- The installation will continue, and the game files will be installed in the chosen location.
Choosing the location to install the game can be useful if you have multiple storage drives or partitions on your PC. You may prefer to install games on a specific drive for better organization or to free up space on your system drive.
It’s important to ensure that the selected location has enough free space to accommodate the size of the game. If there isn’t enough space available, you may need to choose a different location or free up space on the selected drive.
Once you have chosen the installation location, the game will continue to install in the designated folder. You can monitor the progress of the installation in the Xbox app or through the Windows notifications.
Now that you have successfully chosen the location to install the game, it’s time to move on to the next step: monitoring the download progress.
Step 7: Monitor the download progress
As you eagerly wait to play your chosen game, it’s essential to monitor the download progress to ensure everything is going smoothly. This step allows you to keep track of the installation process and estimate how soon you can start your gaming adventure.
Follow these steps to monitor the download progress:
- After clicking on the “Install” button, the Xbox app will display the progress of the download and installation.
- You can find the download progress within the game’s details page in the Xbox app.
- Alternatively, you can check the progress through the Windows notifications, which will provide real-time updates on the download.
- During the download, you’ll see the percentage of completion, download speed, and estimated time remaining.
- Take this opportunity to ensure you have a stable internet connection. Slow or interrupted downloads may indicate network issues that need to be addressed.
It’s normal for larger games to take a while to download, especially with slower internet connections. The download time can vary depending on your internet speed and the size of the game. Patience is key during this step, as the waiting time will ultimately reward you with an exciting gaming experience.
In the meantime, you can make use of this time to prepare yourself. Get your gaming accessories ready, like controllers or headphones, and clear any distractions in your gaming area, ensuring you’re ready to dive into the game as soon as it finishes downloading.
Once the download progress reaches 100%, you’re almost there! It’s time to move on to the final step: launching the game and immersing yourself in the gaming world.
Step 8: Launch the game and start playing
After patiently waiting for the game to download and install, the moment has finally arrived to launch the game and embark on your gaming experience. With just a few more steps, you’ll be able to immerse yourself in the captivating world of your chosen game.
Follow these steps to launch the game and start playing:
- Once the download and installation are complete, locate the game within the Xbox app.
- Click on the “Play” button, which replaces the “Install” button after the game finishes installing.
- The game will launch, and you’ll be greeted with the game’s splash screen or main menu.
- Take a moment to adjust any in-game settings, such as graphics quality or controls, based on your preferences.
- When you’re ready, click on the “Start” or “Play” button within the game to begin your gaming session.
As the game launches, you’ll be transported into a world of excitement, adventure, or competition, depending on the genre and style of your chosen game. Immerse yourself in the captivating visuals, exhilarating gameplay, and engaging storyline of the game you’ve downloaded.
During gameplay, you can take advantage of various in-game features, such as multiplayer modes, achievements, and game-specific settings. Explore and navigate through the game’s world, complete challenges, and enjoy the immersive experience that Xbox games provide.
Remember to save your progress regularly to ensure you don’t lose any hard-earned achievements or progress. You can usually do this through the game’s save feature or checkpoints, depending on the specific game mechanics.
Now that you have successfully launched the game and are ready to start playing, it’s time to embark on your gaming adventure and have a fantastic time exploring everything the game has to offer.
Conclusion
Congratulations! You have successfully learned how to download your favorite Xbox games on your PC. With the Xbox app, you can enjoy a wide range of games right at your fingertips, whether you’re traveling, away from your Xbox console, or simply prefer the convenience of playing on your computer. By following the easy steps outlined in this guide, you can seamlessly transition between your Xbox console and PC gaming experiences.
Throughout the process, you learned how to open the Xbox app on your PC, sign in to your Xbox account, browse the Xbox Game Pass library, and select the game you want to download. You also learned how to click on the “Install” button, choose the location for the game’s installation, monitor the download progress, and finally launch the game to begin playing.
Remember, the Xbox app provides a user-friendly interface and a vast library of games, allowing you to explore and discover new titles that suit your gaming preferences. With regular updates to the Xbox Game Pass library, you’ll always have fresh and exciting games to enjoy on your PC.
Now that you know how to download and play Xbox games on your PC, it’s time to dive into your favorite titles, challenge your friends, and immerse yourself in the thrilling world of gaming. Enjoy the convenience, flexibility, and endless entertainment that the combination of Xbox and PC gaming brings. Happy gaming!