Introduction
Cloud storage has become an integral part of our digital lives, offering a convenient and secure way to store and access files from anywhere at any time. Whether you need to store personal photos, important documents, or large media files, the cloud provides a reliable solution for keeping your data safe and easily accessible.
In this article, we will guide you through the process of downloading files from the cloud. Understanding how to download files is essential, as it allows you to access and use your stored data across multiple devices, even without an internet connection.
Downloading files from the cloud can seem daunting if you’re new to using cloud storage services. However, with the right knowledge and steps, you’ll be able to effortlessly retrieve your files whenever you need them. We’ll discuss the different aspects of downloading files, including choosing a cloud service provider, creating an account, installing the cloud application, and troubleshooting any problems that may arise.
By the end of this article, you’ll have a clear understanding of how to download files from the cloud and will be equipped with tips and tricks to streamline the process for a more efficient experience.
Understanding Cloud Storage
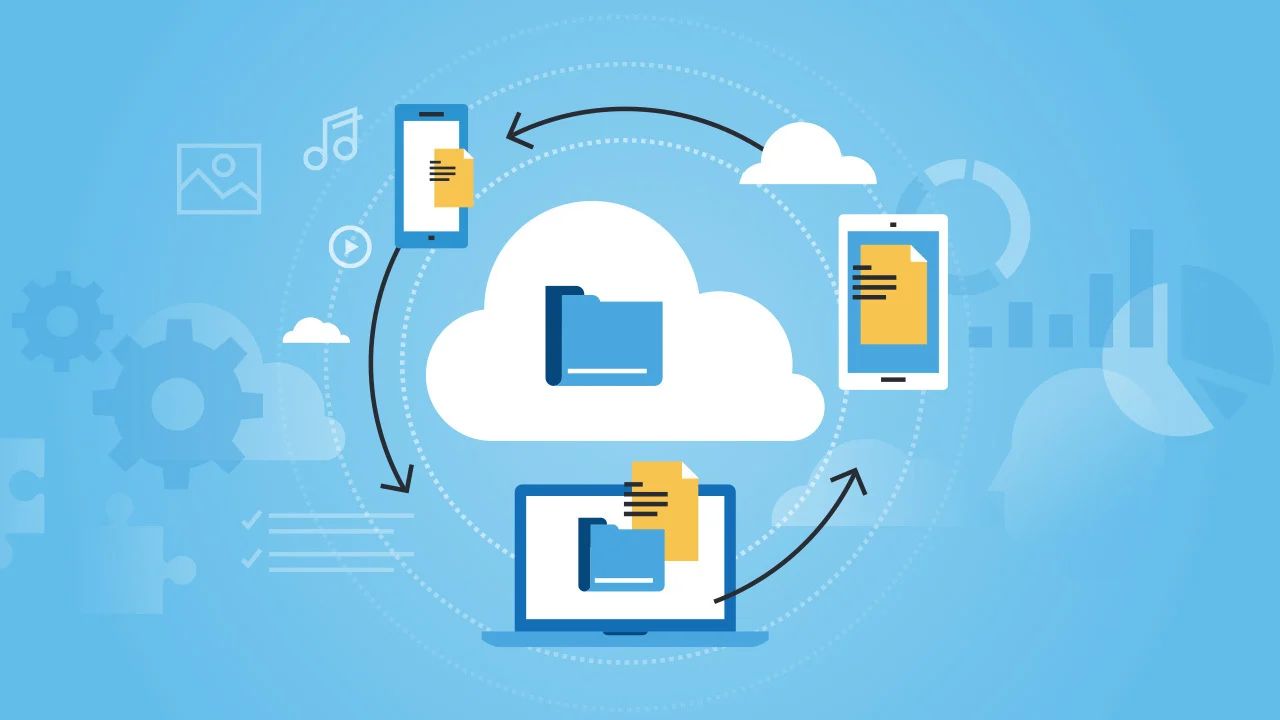
Cloud storage is a method of storing and accessing data over the internet instead of on a local physical storage device. It allows users to upload and save files on remote servers, which can be accessed from any device with an internet connection.
One of the key advantages of cloud storage is its flexibility and scalability. Unlike traditional storage options, such as hard drives or USB flash drives, cloud storage allows users to easily expand their storage capacity as their needs grow. Whether you need to store a few documents or terabytes of data, cloud storage can accommodate your requirements.
Cloud storage offers various benefits, including:
- Accessibility: With cloud storage, you can access your files from anywhere, using any device. This makes it convenient for professionals who need to access documents while on the go or for individuals who want to share files with friends and family.
- Data Backup: Cloud storage provides a reliable backup solution. By storing your files in the cloud, you can protect them from events like hardware failure, theft, or natural disasters. In case something happens to your local storage, you can easily retrieve your files from the cloud.
- Collaboration: Cloud storage makes collaboration easier by allowing multiple users to access and edit files simultaneously. This is particularly useful for businesses and teams who need to work together on projects or documents, eliminating the need for version control issues.
- Syncing: Many cloud storage services offer automatic synchronization capabilities. This means that any changes made to a file on one device will be automatically updated across all devices connected to the cloud storage account. This ensures that you always have the most up-to-date version of your files.
- Security: Cloud storage providers employ various security measures to protect your data. This may include data encryption, secure file transfers, and access controls. It is essential to choose a reputable provider that prioritizes data security.
Understanding the benefits and capabilities of cloud storage is crucial when it comes to effectively utilizing and managing your files in the cloud. With this knowledge in mind, you can make informed decisions about which cloud service provider to choose and how to navigate the cloud storage landscape.
Choosing a Cloud Service Provider
When it comes to choosing a cloud service provider, it’s essential to consider your specific needs and requirements. With numerous options available in the market, selecting the right provider can make a significant difference in terms of features, pricing, and security.
Here are some factors to consider when choosing a cloud service provider:
- Storage Capacity: Evaluate your storage requirements and choose a provider that offers a storage plan suitable for your needs. Some providers offer free storage with the option to upgrade to larger plans as your storage needs grow.
- Security Measures: Data security is of utmost importance when choosing a cloud service provider. Look for providers that offer strong encryption, two-factor authentication, and secure file transfers. Additionally, ensure that the provider complies with industry standards and regulations to protect your data.
- Accessibility: Consider how you plan to access your files. Some providers offer dedicated applications for desktop and mobile devices, while others provide web-based access. Choose a provider that offers convenient and user-friendly access methods.
- Collaboration Features: If you require collaboration capabilities, look for providers that offer features such as file sharing, real-time editing, and version control. These features can greatly enhance your ability to work efficiently with others.
- Integration: Determine if the cloud service provider integrates well with other applications or services you use. Integration with productivity tools, such as document editors or project management software, can streamline your workflow and enhance productivity.
- Customer Support: Consider the level of customer support provided by the cloud service provider. Look for providers that offer responsive support channels, such as live chat or phone support, to address any potential issues promptly.
- Pricing: Compare the pricing models of different providers and choose one that fits your budget. Consider factors such as storage capacity, additional features, and any hidden costs that may apply.
Doing thorough research and reading user reviews can help you gain insights into the strengths and weaknesses of different cloud service providers. Additionally, take advantage of free trials offered by providers to test their services and see if they meet your needs.
Remember that choosing a cloud service provider is an important decision, as it involves entrusting your data to a third party. Take the time to evaluate options carefully and select a provider that aligns with your needs, ensuring the security, accessibility, and reliability of your stored files.
Creating an Account
Creating an account with a cloud service provider is the first step towards accessing and utilizing cloud storage. The process may vary slightly depending on the provider, but the general steps are similar. Here’s a guide on how to create an account:
- Choose a Provider: Select a cloud service provider that meets your requirements and offers the features you need.
- Visit the Provider’s Website: Open your web browser and navigate to the official website of the cloud service provider.
- Register: Look for the “Sign Up” or “Create Account” button on the provider’s website and click on it. Fill in the required information, including your name, email address, and password.
- Verify Your Email: After submitting the registration form, check your email inbox for a verification email from the cloud service provider. Click on the verification link to confirm your email address.
- Set Up Your Account: Once your email is verified, you may be prompted to complete additional setup steps, such as choosing a display name and setting account preferences.
- Accept Terms and Conditions: Read and accept the terms and conditions of the cloud service provider to proceed with creating your account.
- Upgrade (if applicable): If you opted for a free account during the registration process and need more storage or additional features, you may have the option to upgrade to a paid plan.
It’s important to create a strong and unique password for your cloud storage account. Remember to follow best practices for password security, such as using a combination of uppercase and lowercase letters, numbers, and special characters. Avoid using easily guessable passwords and consider using a reputable password manager to securely store your passwords.
Once you have successfully created your account, you will typically have access to your cloud storage space and the ability to start uploading and managing your files. Take some time to explore the provider’s interface and familiarize yourself with the available features. This will help you optimize your cloud storage experience and make the most out of the service.
Now that you have created your account, you’re ready to start utilizing the cloud to store and access your files. In the next section, we will discuss how to install the cloud application on your devices for easy file management and synchronization.
Installing the Cloud Application
Installing the cloud application is a crucial step in utilizing cloud storage efficiently. Most cloud service providers offer dedicated applications for desktop and mobile devices, enabling easy file management, synchronization, and offline access. Here’s a guide on how to install the cloud application:
- Determine Compatibility: Check the system requirements of the cloud application to ensure that it is compatible with your device’s operating system. Most providers offer applications for Windows, macOS, iOS, and Android.
- Visit the Provider’s Website: Open your web browser and navigate to the official website of the cloud service provider.
- Download the Application: Look for the “Download” or “Get the App” button on the provider’s website and click on it. Choose the version of the application that matches your device’s operating system.
- Run the Installer: Locate the downloaded file on your device and run the installer. Follow the on-screen instructions to complete the installation process. You may need to grant necessary permissions or provide your account credentials during the installation.
- Log In to the Application: Once the installation is complete, launch the cloud application. You will be prompted to log in using the account credentials you created during the account registration process.
- Configure Settings (if applicable): Depending on the cloud service provider, you may have the option to configure various settings within the application. These settings may include file synchronization preferences, bandwidth usage, and offline access settings.
- Link Your Account: In some cases, you may need to link your newly installed cloud application to your cloud storage account. This ensures that the files and settings from your account are synced across multiple devices.
Once the cloud application is installed and linked to your account, you can start managing and accessing your files directly from your device. The application typically provides a user-friendly interface where you can navigate through your cloud storage, upload and download files, create folders, and perform other file-related operations.
It’s important to keep the cloud application updated to ensure you have access to the latest features and security enhancements. Check for updates regularly or enable automatic updates within the application settings.
Now that you have the cloud application installed, you can easily synchronize your files, access them offline, and manage your cloud storage effortlessly. In the next section, we will discuss the process of uploading files to the cloud.
Uploading Files
Uploading files to the cloud is a straightforward process that allows you to store your files securely and access them from anywhere. Whether you need to upload documents, photos, videos, or other types of files, most cloud service providers offer multiple methods to easily transfer your files to the cloud. Here’s a step-by-step guide on how to upload files:
- Open the Cloud Application: Launch the cloud application on your device. If you haven’t installed it yet, refer to the previous section for instructions on how to install the application.
- Navigate to the Upload Section: Within the cloud application, locate the “Upload” or “Add Files” button. It is usually prominently displayed and easily accessible.
- Choose Files to Upload: Click on the “Upload” or “Add Files” button to open your device’s file explorer. Select the files you want to upload by clicking on them or dragging and dropping them into the upload area. Some cloud applications also allow you to select entire folders for upload.
- Start the Upload: After selecting the files, click on the “Upload” or “Start Upload” button to begin the file transfer process. The time it takes to upload the files depends on their size and your internet connection speed.
- Monitor the Upload Progress: The cloud application will display the progress of each file upload. You can usually see a progress bar indicating the percentage of each file uploaded. Allow the process to complete before closing the application or shutting down your device.
- Verify the Upload: Once the upload is complete, you can verify the successful transfer by navigating to the specific folder or section in your cloud storage where the files were uploaded. The files should be visible and accessible.
It is worth noting that some cloud applications offer additional features during the upload process, such as the ability to add descriptions or tags to files, organize them into folders, or specify access permissions for shared files. Take advantage of these features to enhance the management and organization of your uploaded files.
Remember to keep track of your available storage space, especially if you are using a free or limited storage account. Regularly monitor your usage and consider deleting unnecessary or outdated files to free up space and ensure you have enough capacity for future uploads.
Now that you know how to upload files to the cloud, you can easily store your important files, create backups, and access them whenever you need, from any device connected to the internet. In the next section, we will discuss the process of downloading files from the cloud.
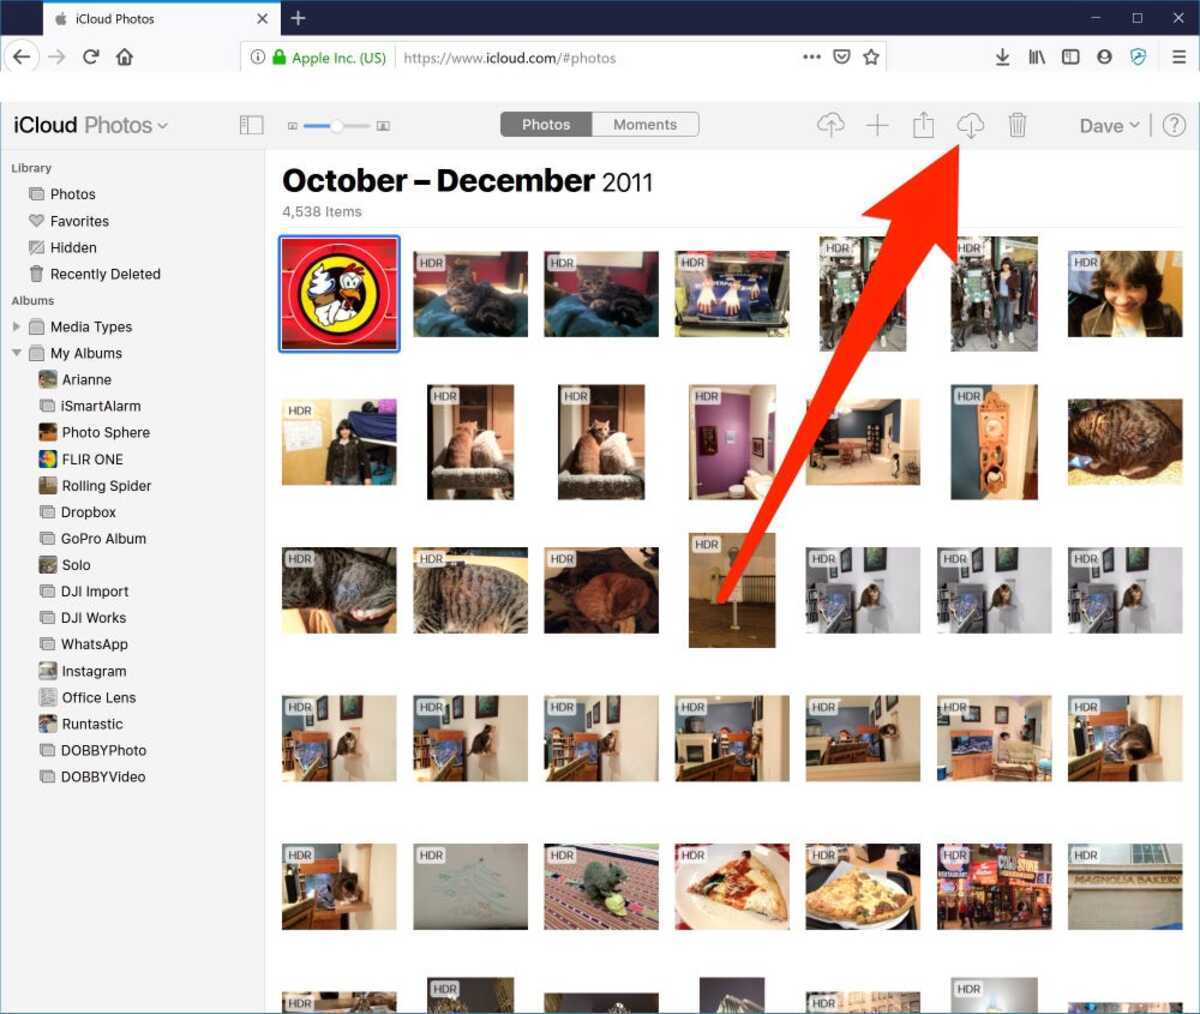
Downloading Files
Downloading files from the cloud is a straightforward process that allows you to retrieve your stored data and access it on your device. Whether you need to download documents, photos, videos, or any other type of file, most cloud service providers offer multiple methods to easily download your files. Here’s a step-by-step guide on how to download files:
- Open the Cloud Application: Launch the cloud application on your device. If you haven’t installed it yet, refer to the previous section for instructions on how to install the application.
- Navigate to the File: Use the provided navigation or search functionality within the cloud application to locate the file you want to download. You can usually browse through folders or use the search bar to find the specific file.
- Select the File: Once you have found the desired file, click on it to select it. Some cloud applications allow multiple file selections if you need to download multiple files at once.
- Choose the Download Option: Look for the “Download” or “Download File” option within the cloud application. It is usually accessible through a context menu or a download button/icon.
- Specify the Destination: A prompt may appear asking you to specify the location on your device where you want to save the downloaded file. Choose a suitable destination folder or let the file download to the default location.
- Start the Download: Once you have selected the download option and specified the destination, click on the “Download” or “Start Download” button to initiate the file transfer process. The time it takes to download the file depends on its size and your internet connection speed.
- Monitor the Download Progress: The cloud application will display the progress of the file download. You can usually see a progress bar indicating the percentage of the file downloaded. Allow the process to complete before accessing or using the downloaded file.
- Access the Downloaded File: Once the download is complete, navigate to the specified destination folder on your device to access the downloaded file. You can open and use the file with the appropriate software or application on your device.
Remember to check your device’s storage capacity before downloading large files to ensure you have enough space available. Consider organizing your downloaded files into appropriate folders to maintain a well-structured file system on your device.
Now that you know how to download files from the cloud, you can easily retrieve your stored data and access it on your device. Whether it’s for personal use, collaborations, or sharing files with others, downloading files from the cloud provides a convenient and efficient way to access your data whenever you need it.
Problems with Downloading
While downloading files from the cloud is usually a straightforward process, you may encounter some issues or challenges along the way. Understanding common problems with downloading can help you troubleshoot and overcome any obstacles that may arise. Here are some potential problems you may encounter:
- Slow Internet Connection: A slow internet connection can significantly affect the download speed of files from the cloud. If you are experiencing slow download speeds, check your internet connection and consider troubleshooting your network or contacting your internet service provider for assistance.
- File Size Limitations: Some cloud service providers impose file size limitations, especially for free or lower-tier accounts. If you are trying to download a large file that exceeds the allowed size limit, you may need to upgrade your account or find an alternative solution for transferring the file.
- Insufficient Storage Space: If you do not have enough storage space available on your device, you may encounter download errors or incomplete downloads. Ensure that you have sufficient free space on your device before attempting to download files.
- File Corruption: In rare cases, files downloaded from the cloud may become corrupted during the transfer process. If you encounter issues with opening or accessing a downloaded file, try downloading it again or contact the cloud service provider for assistance.
- Authentication or Permission Issues: If you are unable to download a file from the cloud, ensure that you have the necessary authentication credentials or permissions to access the file. If the file is shared with you by another user, verify that the sharing settings are correctly configured to allow you to download the file.
- Service Downtime or Technical Issues: Cloud service providers may experience occasional downtime or technical issues that can temporarily disrupt file downloads. If you are unable to download files and suspect a service issue, check the provider’s status page or contact their support team for assistance.
If you encounter any problems while downloading files from the cloud, it’s recommended to consult the support resources provided by your cloud service provider. They can offer guidance and assistance tailored to their specific platform and address any issues you may be facing.
By being aware of potential problems and taking proactive steps to resolve them, you can ensure a smooth and efficient downloading experience from the cloud.
Tips and Tricks for Efficient Downloading
Downloading files from the cloud efficiently can greatly enhance your productivity and ensure a seamless user experience. Here are some tips and tricks to help you optimize the downloading process:
- Utilize a Stable and Fast Internet Connection: Connect to a stable and high-speed internet connection to maximize your download speeds. Using a wired connection or being in close proximity to the router can often result in faster downloads compared to relying on a Wi-Fi signal.
- Download during Off-Peak Hours: If possible, schedule your downloads during off-peak hours when internet traffic is lower. This can help you achieve faster download speeds and reduce the chances of encountering congestion-related issues.
- Consider Download Managers: Download managers are software programs that optimize the downloading process by splitting files into smaller parts and downloading them simultaneously. These tools can enhance download speeds and resume interrupted downloads if a connection is lost.
- Clear Unwanted Files: Regularly declutter your local storage by deleting unnecessary files. This can free up space and prevent potential issues related to insufficient storage during the downloading process.
- Monitor the Download Queue: If you are downloading multiple files, keep an eye on the download queue to ensure that all files are progressing smoothly. It is useful to prioritize critical or time-sensitive downloads to ensure they are completed first.
- Check File Integrity: After downloading a file, verify its integrity by comparing its checksum or using file integrity verification tools. This helps ensure that the file was not corrupted during the download process.
- Enable Background Downloads: Some cloud applications allow you to enable background downloads, which allows files to be downloaded even when the application is minimized or running in the background. This can save time by allowing you to continue working on other tasks while files are being downloaded.
- Organize Downloaded Files: Develop a system to organize your downloaded files into appropriate folders. This can help you easily locate files and maintain a well-structured file management system.
- Regularly Update Software: Keep your cloud application and device operating system up to date. Updates often include performance improvements, bug fixes, and security enhancements that can contribute to a smoother and more efficient downloading experience.
By implementing these tips and tricks, you can optimize your downloading process, save time, and ensure a seamless experience when retrieving files from the cloud.
Conclusion
Downloading files from the cloud is a fundamental aspect of utilizing cloud storage effectively. By following the steps outlined in this article, you can easily retrieve your stored files and access them on your devices. Understanding the various aspects of downloading, such as choosing a cloud service provider, creating an account, installing the cloud application, and troubleshooting common issues, will ensure a smooth and efficient experience.
Remember to consider your specific needs and requirements when choosing a cloud service provider. Take into account factors like storage capacity, security measures, accessibility, collaboration features, and pricing models. This will help you select the provider that best aligns with your needs.
Creating an account and installing the cloud application are essential steps in accessing and managing your cloud storage. Be sure to follow the instructions provided by your chosen provider and take advantage of any additional features or settings that can enhance your overall experience.
When uploading files to the cloud, take note of file size limitations and your available storage space. Regularly monitor your storage usage and consider organizing your files to maintain a well-structured system.
While downloading files, be prepared to troubleshoot any issues that may arise, such as slow internet connections, file size limitations, or authentication problems. Stay informed about potential solutions provided by your cloud service provider’s support resources.
To optimize your downloading experience, utilize a stable and fast internet connection, consider download managers, clear unwanted files, monitor the download queue, and organize your downloaded files into appropriate folders. By implementing these tips and tricks, you can make the most out of your cloud storage and ensure efficient downloading.
In conclusion, understanding the process of downloading files from the cloud is essential for maximizing the benefits of cloud storage. By implementing the steps and recommendations provided in this article, you can confidently access and manage your files, enhancing your productivity and convenience in the digital realm.