Introduction
Welcome to the world of Airtable, a powerful and user-friendly online database and collaboration tool that can revolutionize the way you manage your data and projects. Whether you are a freelancer, a small business owner, or part of a large team, Airtable offers a flexible and intuitive platform to organize, track, and analyze your information.
In this article, we will guide you through the process of downloading an Airtable template, enabling you to harness the full potential of this remarkable tool. By the end of this guide, you will have the necessary steps to access and customize an Airtable template that suits your needs, helping you streamline your workflows and boost your productivity.
With Airtable, you can choose from a wide selection of pre-designed templates or create your own from scratch. These templates cover a range of industries and use cases, such as project management, event planning, customer relationship management, inventory tracking, and more. By leveraging these templates, you can jumpstart your projects and save valuable time and effort.
Whether you are a beginner or an advanced user, this step-by-step guide will ensure that you can confidently navigate through the process of downloading an Airtable template. So, without further ado, let’s get started on this exciting journey to discover the endless possibilities of Airtable!
Step 1: Go to Airtable’s website
The first step in downloading an Airtable template is to visit the Airtable website. You can easily access it by typing “www.airtable.com” into your web browser’s address bar and hitting Enter.
Once the website has loaded, you will be greeted with an inviting and visually appealing homepage. It showcases the core features and benefits of Airtable, giving you a glimpse of what this powerful tool can offer.
From the homepage, you can explore the different facets of Airtable and learn more about its capabilities. Take the time to navigate through the website and familiarize yourself with the various sections and resources available. This will help you make an informed decision and ensure that Airtable meets your specific requirements.
If you are sold on the idea of Airtable and excited to get started, proceed to the next step to create an account. But before you do, take a moment to admire the sleek design and user-friendly layout of the Airtable website, which reflects the attention to detail and commitment to excellence that permeates throughout the entire platform.
Now that you know where to find Airtable’s website and have had a glimpse of what it has to offer, it’s time to move on to the next step: signing up for an account. This is an essential prerequisite to accessing and downloading Airtable templates, so let’s dive right in!
Step 2: Sign up for an account
Signing up for an Airtable account is a straightforward process that allows you to fully utilize the features and benefits of this powerful tool. To create an account, follow the steps below:
- On the Airtable homepage, locate and click on the “Sign Up” button. This will direct you to the account creation page.
- Fill in the required information, including your name, email address, and create a strong password. Take note of the password requirements, as Airtable requires a combination of upper and lower case letters, numbers, and special characters for added security.
- After entering your details, click on the “Get Started” or “Sign Up” button to proceed.
- At this stage, you may be prompted to verify your email address by clicking on a verification link that is sent to you. This step helps ensure the security and legitimacy of your account.
- Once you have verified your email, you will be redirected to your Airtable account dashboard. Congratulations, you are now officially an Airtable user!
Upon signing up, you will have access to a free plan that offers a generous amount of features and functionality. However, Airtable also offers premium plans that unlock additional benefits such as more storage space, advanced collaboration features, and priority customer support.
Keep in mind that while the free plan is sufficient for many users, you may consider upgrading to a paid plan if you require more robust capabilities to meet your specific requirements. You can explore the pricing options and choose the best plan for your needs directly from your account dashboard.
Now that you have successfully signed up for an Airtable account, it’s time to move on to the next step: navigating to the Templates page to find the perfect template for your project. Let’s dive right in!
Step 3: Navigate to the Templates page
Once you have signed up for an Airtable account, it’s time to explore the vast collection of templates available to kickstart your projects. Follow the steps below to navigate to the Templates page:
- From your Airtable account dashboard, locate the navigation menu on the left-hand side of the screen.
- Scroll down and find the “Templates” option. Click on it to proceed to the Templates page.
- On the Templates page, you will be presented with a plethora of pre-designed templates created by the Airtable community. These templates cover a wide range of industries and use cases, making it easy to find the perfect starting point for your project.
- Alternatively, if you have a specific type of template in mind, you can use the search bar at the top of the page to quickly find templates related to a particular keyword or category.
- Take your time to browse through the various templates available. Each template provides a brief description to give you an idea of its purpose and functionality. You can also sort the templates by popularity or the latest additions for added convenience.
- Once you find a template that catches your eye, click on it to access more details and get a closer look at its structure and features.
One fantastic aspect of Airtable templates is that they are fully customizable to suit your specific needs. You can modify the layout, add or remove fields, and tailor the template to align with your project requirements. This flexibility allows you to create a personalized workspace that maximizes efficiency and effectiveness.
Now that you know how to navigate to the Templates page, it’s time to move on to the next step: selecting a template that suits your project. Let’s dive right in!
Step 4: Choose a template
Now that you’ve accessed the Templates page on Airtable, it’s time to select a template that aligns with your project needs. Follow these steps to choose the perfect template:
- Browse through the collection of templates that are available on the Templates page. The templates are organized into categories, making it easier to find the ones that are most relevant to your project. Take your time to explore different categories or use the search bar to find specific templates.
- Click on a template that catches your interest to view more details. Read carefully through the template description to ensure it covers the aspects and functionality you require.
- As you browse through the template, take note of its structure and layout. Consider how it can be adapted to suit your specific needs. Keep in mind that templates are customizable, so don’t feel restricted by their initial design.
- If the template meets your requirements and aligns with your project goals, click on the “Use Template” button to add it to your Airtable account.
Choosing the right template is essential to kickstarting your project and saving valuable time. By selecting a template that already encompasses the essential features and categories relevant to your project, you can accelerate your progress and focus on refining the details rather than starting from scratch.
Remember that Airtable offers a wide range of templates for various industries and use cases such as project management, event planning, customer relationship management, inventory tracking, and more. Whether you’re a freelancer, small business owner, or part of a larger organization, you are bound to find a template that suits your needs.
Now that you know how to choose a template, it’s time to move on to the next step: customizing the template to fit your project requirements. Let’s dive right in!
Step 5: Customize the template
Once you have selected a template from Airtable’s collection, it’s time to customize it to align with your specific project requirements. Follow these steps to make the template your own:
- After selecting a template, it will be added to your Airtable account. You can access it by navigating to your account dashboard and locating the template in the sidebar on the left-hand side of the screen.
- Click on the template to open it and explore its structure and layout. Take note of the different fields, categories, and views that are included.
- To customize the template, you can start by adjusting the field names to match the terminology used in your project. Simply click on a field name and edit it accordingly.
- Add or delete fields as needed. If the template includes fields that are irrelevant to your project, you can remove them by clicking on the “Delete Field” option.
- If the template includes views such as Grid view, Kanban view, or Gallery view, experiment with each view to determine which one best suits your workflow and project management style.
- You can also customize the appearance of the template by modifying colors, fonts, and layouts. Access the customization options through the view settings or by exploring the design settings available in Airtable.
- As you customize the template, pay attention to the needs of your project and team. Tailor it to capture and organize the data and information that are crucial to your success.
- Save your changes frequently throughout the customization process to ensure that your work is preserved.
Remember, the beauty of Airtable is its flexibility and adaptability. You have the power to mold the template according to your project’s unique requirements, methodologies, and branding.
Now that you know how to customize the template, it’s time to move on to the next step: downloading the Airtable. Continue reading to learn how to download and access your customized template.
Step 6: Download the Airtable
Once you have customized the template in Airtable to fit your project needs, it’s time to download the Airtable file. Follow these steps to download your customized template:
- Make sure that you have saved all your changes and modifications to the template before proceeding with the download.
- On the Airtable interface, locate the “Download” or “Export” option. This is typically found in the top right corner of the screen.
- Click on the “Download” or “Export” option to initiate the download process.
- Select the file format you prefer for your download. Airtable supports various file formats such as CSV, Excel, and PDF. Choose the format that best suits your needs.
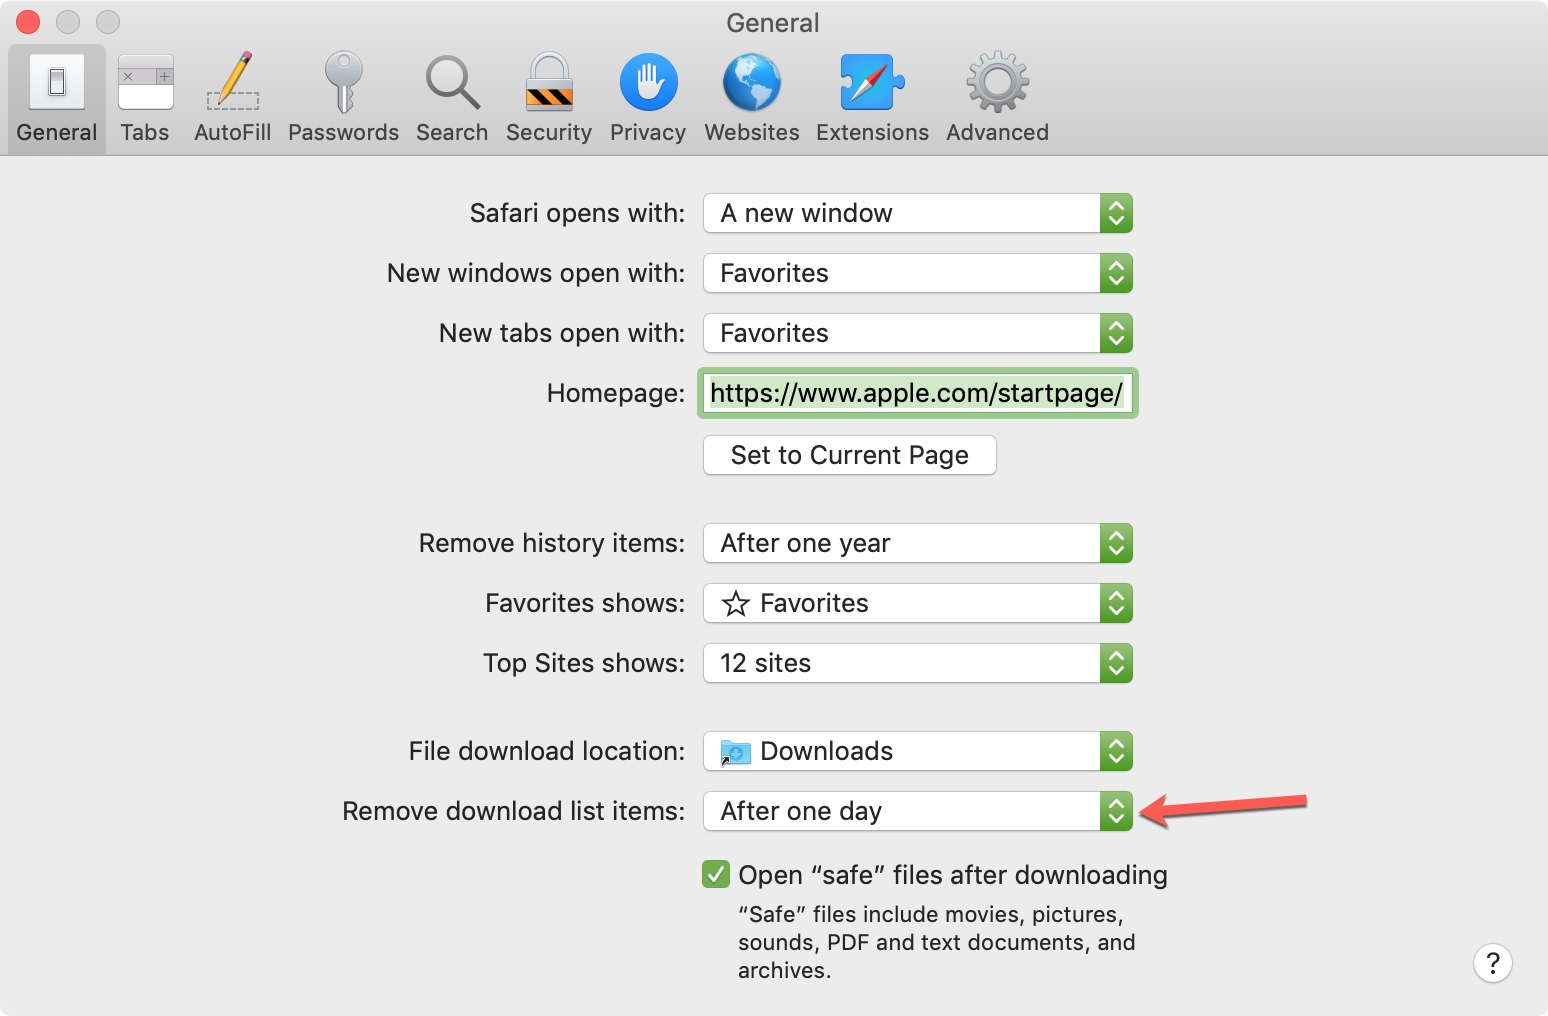
- Specify the desired location on your device where you want to save the downloaded Airtable file. You can create a new folder or choose an existing one.
- Click on the “Download” or “Save” button to start the download process. Depending on the size of the template and your internet connection, the download may take a few moments.
- Once the download is complete, you can navigate to the specified location on your device to access the downloaded Airtable file.
Congratulations! You have successfully downloaded the customized Airtable template in the desired file format. The downloaded file will contain all the modifications and customizations you made to the template within Airtable.
Now that you have the downloaded Airtable file, you can further manipulate, analyze, or share the data with team members or clients. You can import the file into a spreadsheet software or any other compatible software for further processing.
Remember to keep the downloaded Airtable file in a safe location and make backups regularly to ensure that your project data is protected and easily accessible.
Now that you know how to download the Airtable file, it’s time to move on to the final step: accessing and utilizing your downloaded Airtable file. Read on to learn how to access and make the most out of the downloaded template!
Step 7: Access your downloaded file
Once you have downloaded the customized Airtable file to your device, it’s time to access and utilize it. Follow these steps to access your downloaded file:
- Navigate to the location on your device where you saved the downloaded Airtable file.
- Double-click on the file to open it. The file will open in the software or application that is associated with the file format you chose during the download process.
- Depending on the file format, you may need to choose a specific program or application to open the file. If necessary, select the appropriate software from the list of available options.
- Once opened, you can now view and interact with the data in the downloaded Airtable file. It will retain all the customizations and modifications you made within Airtable.
- Use the features and functionalities of the software or application to manipulate, analyze, and work with the data within the downloaded Airtable file. Explore the various tools and options available to better understand and utilize the information.
- If you need to make further changes or updates to the data, you can do so within the software or application where the file is opened. Save your changes regularly to ensure that your progress is preserved.
Now that you have accessed your downloaded Airtable file, you can take full advantage of the customized template and its data. Utilize the file to streamline your workflows, track progress, collaborate with team members, or present information to stakeholders.
Remember to keep the downloaded Airtable file organized and secure. Make regular backups and store them in a reliable location to safeguard your project data.
Congratulations! You have completed all the steps to download and access an Airtable template. By following this guide, you have gained the knowledge and skills to harness the power of Airtable and customize it to your project’s specific requirements.
Now it’s time to take your projects to the next level with Airtable!
Conclusion
Congratulations on successfully downloading and accessing an Airtable template! You have learned how to navigate to Airtable’s website, sign up for an account, explore and choose a template, customize it to fit your project needs, download the Airtable file, and access it on your device.
Airtable offers a powerful and user-friendly platform to organize, track, and analyze your data and projects. With its vast collection of templates and customizable features, you can streamline your workflows, save time and effort, and boost your overall productivity.
Remember, the key to making the most out of Airtable is to actively customize the templates to align with your specific project requirements. Tailor the fields, layouts, and views to capture and organize the data that is crucial to your success.
Whether you’re a freelancer, small business owner, or part of a larger organization, Airtable provides you with the tools you need to stay organized, collaborate effectively, and achieve your project goals. With its flexibility and adaptability, Airtable can be used across various industries and for a wide range of use cases.
As you continue to explore Airtable and its features, take advantage of the supportive community and resources available. Join forums, attend webinars, and follow tutorials to enhance your Airtable skills and discover new ways to optimize your workflows.
Now that you have the knowledge and tools to download and access Airtable templates, it’s time to get creative, innovative, and efficient with your projects. Embrace the possibilities of Airtable and unleash its full potential to make your work simpler and more organized.
Thank you for following this step-by-step guide. We hope it has been helpful, and we wish you success with your Airtable adventures!