Introduction
Are you looking for an efficient and user-friendly way to organize your data and collaborate with your team? Look no further than Airtable. With its powerful features and intuitive interface, Airtable has gained popularity as a versatile tool for managing projects, tracking inventories, and much more. In this article, we will guide you through the process of downloading Airtable so you can start leveraging its benefits.
Whether you are a student managing your assignments, a business professional keeping track of clients and projects, or a creative individual organizing your ideas, Airtable can help streamline your workflow. With its flexible database-like structure, Airtable allows you to create custom tables to store and manage your data. Plus, with its support for attachments, comments, and collaboration features, you can easily work together with your team in real-time.
Whether you prefer using Airtable on your desktop or want to access it on the go with your mobile device, downloading Airtable is straightforward. In the following steps, we will walk you through the process to ensure a seamless installation experience.
So, if you’re ready to take your productivity and organization to the next level, let’s dive into the step-by-step guide on how to download Airtable.
Step 1: Visit the Airtable Website
The first step to download Airtable is to visit their official website. You can do this by opening your preferred web browser and typing in the URL: www.airtable.com. Once the website loads, you will be presented with a clean and user-friendly homepage.
Take a moment to explore the website and familiarize yourself with the various sections. You will find information about the features, pricing plans, use cases, and customer success stories, all displayed in a visually appealing manner.
If you’re new to Airtable and want to learn more about its capabilities before downloading, you can navigate to the “Features” section. Here, you will find an overview of the key functionalities that make Airtable such a powerful tool for organizing and managing data.
If you’re already convinced and ready to proceed with the download, simply locate the “Get started for free” button on the homepage. This button will take you to the sign-up page, where you can create a new account or log in if you already have one.
Before clicking on the sign-up button, you might want to check the upper right corner of the homepage. There, you will find the “Pricing” button, which will take you to a page with detailed information about the different plans Airtable offers. Take a moment to review the plans and select the one that best suits your needs.
Once you have decided on a plan or if you want to start with the free version, click on the “Get started for free” button. You will be redirected to the sign-up page where you can enter your email address, create a password, and provide some basic information about yourself or your organization.
After completing the sign-up process, you will need to verify your account by clicking on the link sent to your email address. Once verified, you can proceed to the next step to download Airtable.
Step 2: Sign Up or Log In
After visiting the Airtable website and clicking on the “Get started for free” button, you will be directed to the sign-up page. Here, you have two options: sign up for a new account or log in if you already have one.
If you are new to Airtable and don’t have an account yet, click on the “Sign up” link. You will be prompted to enter your email address and create a strong password. Make sure to choose a password that is easy for you to remember but difficult for others to guess. Once you have filled in the required information, click on the “Sign up” button.
If you already have an Airtable account, simply click on the “Log in” link. This will take you to the login page. Enter your email address and password, and then click on the “Log in” button.
If you have forgotten your password, don’t worry. Airtable provides a “Forgot password?” link on the login page. Clicking on this link will guide you through the process of resetting your password and regaining access to your account.
Once you have successfully signed up or logged in, you will have access to your Airtable account. You can now proceed to the next step to choose a plan that fits your needs.
It’s important to note that Airtable offers a free version with limited features, as well as paid plans with additional functionalities. If you’re just starting out or have basic requirements, the free version can be a great way to explore Airtable and get a feel for its capabilities. However, if you require more advanced features and customization options, consider upgrading to one of the paid plans that best suits your needs.
Now that you’re signed up or logged in, let’s move on to the next step where we will guide you through the process of choosing the right plan for you.
Step 3: Choose a Plan
Once you have signed up or logged in to your Airtable account, it’s time to choose a plan that aligns with your needs and requirements.
Airtable offers a range of plans designed to cater to different types of users, from individuals and small teams to larger organizations. Each plan comes with its own set of features and limitations, allowing you to select the one that best suits your specific use case.
To explore the available plans, click on the “Pricing” link located at the top right corner of the Airtable website. This will take you to the pricing page, where you will find detailed information about each plan.
The plans are divided into four categories: Free, Plus, Pro, and Enterprise. Let’s take a closer look at each of them:
- Free: As the name suggests, this is the free version of Airtable. While it offers limited features compared to the paid plans, it still provides a great way to get started and explore the core functionalities of Airtable.
- Plus: The Plus plan is designed for individual users or small teams who require additional features and more storage space. With the Plus plan, you can enjoy advanced features like revision history, advanced calendar features, and priority support.
- Pro: The Pro plan is ideal for larger teams or organizations that need enhanced collaboration and customization options. With the Pro plan, you can create password-protected views, use field and table-level permissions, and access advanced features like Blocks.
- Enterprise: The Enterprise plan offers tailored solutions for larger organizations with additional security, compliance, and customization requirements. This plan provides advanced admin controls, SAML-based single sign-on, and dedicated customer support.
Review the details and features of each plan to determine which one best suits your needs. Take into consideration factors like the size of your team, the complexity of your projects, and the level of customization you require.
Once you have selected a plan, click on the “Buy” or “Upgrade” button to proceed to the next step. You will be prompted to provide your payment details and complete the subscription process.
Congratulations! You have successfully chosen a plan for your Airtable account. In the next step, we will guide you through the process of downloading Airtable to your device.
Step 4: Download Airtable
Once you have chosen a plan and completed the subscription process, it’s time to download Airtable to your device.
Airtable offers various options for downloading its application, depending on the device and operating system you are using. The following are the most common methods:
- Desktop: To download Airtable on your desktop computer or laptop, visit the Airtable website and navigate to the “Download” section. Here, you will find the option to download the desktop application for Windows or macOS. Click on the relevant download button based on your operating system. The Airtable installer file will start downloading to your device.
- Mobile: If you prefer to use Airtable on your mobile device, you can download the app from your device’s app store. For iOS users, visit the Apple App Store, search for “Airtable,” and tap on the “Get” button to download and install the app. For Android users, open the Google Play Store, search for “Airtable,” and tap on the “Install” button to get the app on your device.
Once the download is complete, proceed to the next step to install Airtable on your device.
It’s worth mentioning that Airtable also offers a web-based version, which can be accessed directly through your web browser without the need for a separate application installation. To use the web version, simply log in to your Airtable account via the Airtable website using your preferred browser.
Now that you have successfully downloaded Airtable, let’s move on to the next step where we will guide you through the installation process.
Step 5: Install Airtable on Your Device
Now that you have downloaded the Airtable application, it’s time to install it on your device.
If you downloaded the desktop application for Windows or macOS, locate the installer file in your Downloads folder or the location where your downloads are saved. Double-click on the installer file to start the installation process.
Follow the on-screen instructions to proceed with the installation. You may be prompted to review and accept the terms of service or customize certain installation settings. Make the necessary selections and proceed with the installation.
Once the installation is complete, you will find the Airtable application icon on your desktop or in your applications folder. Double-click on the icon to launch the application.
If you downloaded the Airtable app on your mobile device from the respective app store, the installation process should be automatic. Once the app is installed, locate the Airtable icon on your home screen or app drawer and tap on it to open the app.
When you launch Airtable for the first time, you will be prompted to sign in with your account credentials. Enter the email address and password associated with your Airtable account, and then click or tap on the “Sign In” button.
Upon successfully signing in, you will have access to your Airtable account through the installed application on your device.
It’s important to make sure that you have a stable internet connection to properly access and sync your data on Airtable. Without an internet connection, you may have limited access to your data and collaboration features.
Congratulations! You have successfully installed Airtable on your device. You can now proceed to the final step to start using Airtable and explore its features.
Step 6: Launch Airtable and Start Using It
Now that you have Airtable installed on your device, it’s time to launch the application and start using it to organize and manage your data.
Locate the Airtable application icon on your desktop or in your applications folder on your computer. Double-click on the icon to launch the application. If you installed Airtable on your mobile device, find the Airtable app icon on your home screen or app drawer and tap on it to open the app.
Once you have launched Airtable, you will be directed to the login screen. Enter your email address and password associated with your Airtable account, and then click or tap on the “Sign In” button.
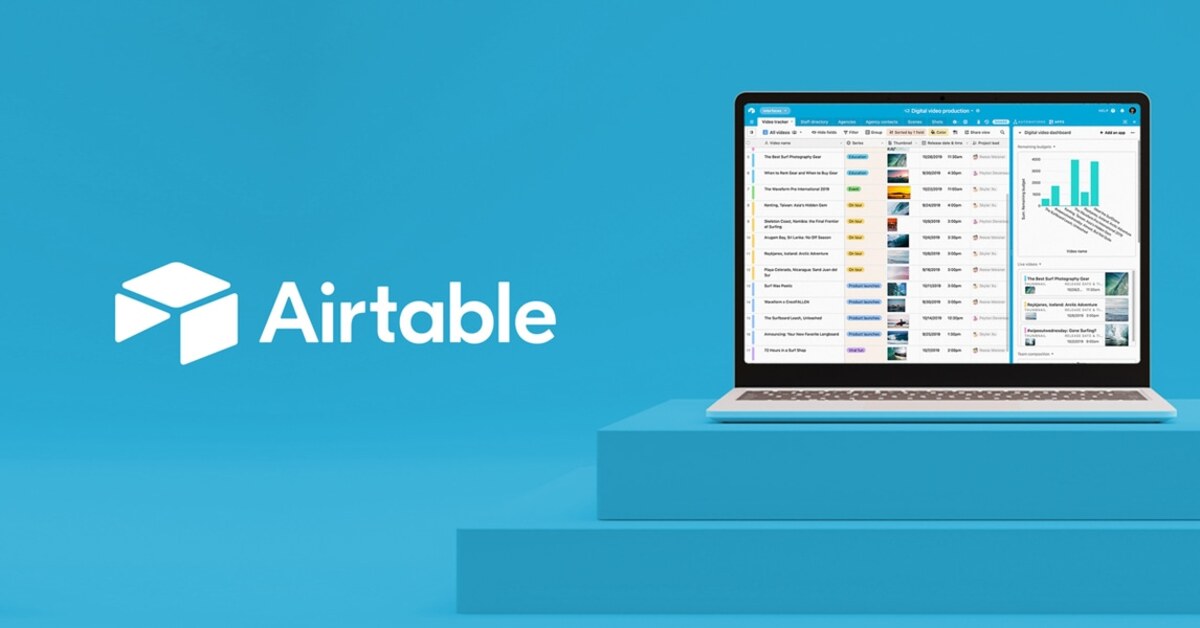
After signing in, you will be taken to your Airtable dashboard. Here, you will find a clean and intuitive interface that allows you to create, view, and manage your tables and data.
Take a moment to familiarize yourself with the layout and options available. You can create new tables by clicking or tapping on the “Add a base” button. You can also explore the pre-built templates provided by Airtable for various use cases by clicking or tapping on the “Templates” tab.
To start using Airtable, you can either create a new base from scratch or import data from an existing file. Click or tap on the “Add a base” button and follow the prompts to set up your new base.
Once you have created a base, you can start adding tables, fields, and records to organize your data. Customize each table by adding relevant fields and defining their properties. You can create different views, apply filters, and sort your data to suit your specific needs.
Collaboration is a key feature of Airtable, allowing you to work together with your team members in real-time. You can share bases, tables, and specific views with others, assign tasks, leave comments, and track progress. These collaboration features make Airtable an excellent tool for teamwork and project management.
As you explore Airtable, you will discover various additional features and functionalities, such as linking records between tables, using formulas, applying conditional formatting, integrating with other apps through Airtable’s extensive library of integrations, and more.
Remember to save your work regularly to ensure that the changes you make are synchronized and saved in real-time. Airtable automatically saves your data as you work, but it’s a good practice to frequently click or tap on the “Save” button to make sure your progress is recorded.
Congratulations! You have successfully launched Airtable and are ready to start using it to organize, manage, and collaborate with your team. Enjoy the power and flexibility of Airtable as you streamline your data and simplify your workflows.
Conclusion
Downloading Airtable and getting started with this powerful data management tool is a straightforward process that can greatly enhance your productivity and organization. With its intuitive interface, flexible structure, and collaboration features, Airtable has become a popular choice for individuals, teams, and organizations of all sizes.
In this guide, we covered the step-by-step process of downloading Airtable, starting from visiting the Airtable website, signing up or logging in, choosing a plan that suits your needs, and downloading the application. We also walked you through the installation process and launching Airtable on your device. Finally, we discussed how to start using Airtable, create bases and tables, customize your data, and collaborate with your team.
As you begin using Airtable, take the time to explore its various features and discover how they can best serve your specific needs. Whether you’re managing projects, organizing inventories, tracking clients, or brainstorming ideas, Airtable offers a flexible and customizable solution.
Remember to regularly save your work and ensure a stable internet connection to fully utilize Airtable’s real-time synchronization and collaboration functionalities. And don’t hesitate to explore the additional resources, templates, and support available on the Airtable website to further enhance your experience with the tool.
So, what are you waiting for? Start downloading Airtable, unlock its potential, and take control of your data management and collaboration needs. Experience the ease and efficiency that Airtable brings to your work, and watch your productivity soar to new heights.