Introduction
Downloading a Jupyter Notebook from GitHub allows you to access and work with interactive code and data in a convenient and collaborative manner. Jupyter Notebook is a powerful tool for data analysis, visualization, and machine learning, widely used in the field of data science.
Whether you are a student, a researcher, or a professional, GitHub provides a platform for sharing and accessing Jupyter Notebooks created by others. This allows you to explore and learn from different projects, contribute to open-source communities, or simply access and run a notebook that you find interesting.
In this article, we will guide you through the process of downloading a Jupyter Notebook from GitHub. We will cover the steps involved, including how to access the GitHub repository, locate the Jupyter Notebook file, and download it to your local machine. We will also show you how to open the downloaded file in Jupyter Notebook for further exploration, modification, and execution.
Before we proceed, it is important to note that this tutorial assumes you have a basic understanding of Jupyter Notebooks and familiarity with GitHub. Additionally, make sure you have the necessary software installed on your machine to run Jupyter Notebooks. If you haven’t already, you can install Jupyter Notebook by following the official documentation on the Jupyter website.
Now, let’s dive into the step-by-step process of how to download a Jupyter Notebook from GitHub and start exploring the fascinating world of data science and analysis.
Prerequisites
Before you download a Jupyter Notebook from GitHub, there are a few prerequisites that you need to ensure are in place:
1. Internet Connectivity: Ensure that you have a stable internet connection to access GitHub and download the Jupyter Notebook file.
2. GitHub Account: Create a GitHub account if you do not already have one. This will allow you to access and download files from repositories hosted on GitHub. You can sign up for free on the GitHub website.
3. Web Browser: Use a modern web browser such as Google Chrome, Mozilla Firefox, or Microsoft Edge to access the GitHub interface. Make sure your browser is updated to the latest version for optimal performance.
4. Jupyter Notebook: Install Jupyter Notebook on your local machine. You can follow the official Jupyter Notebook documentation for installation instructions that are specific to your operating system.
5. Basic Command Line Knowledge: Familiarize yourself with basic command line operations. Although not mandatory, this knowledge will come in handy if you want to clone repositories using Git or navigate through folders using the command line interface.
By ensuring these prerequisites are met, you will be ready to download Jupyter Notebooks from GitHub and leverage their power for your data analysis and coding tasks.
Step 1: Access the GitHub Repository
The first step to downloading a Jupyter Notebook from GitHub is to access the repository that contains the notebook you are interested in. A repository is a location where files and folders are stored and managed within GitHub.
Follow these steps to access the GitHub repository:
- Open your web browser and go to the GitHub website (https://github.com).
- Log in to your GitHub account using your username and password.
- Once logged in, use the search bar at the top of the page to search for the repository you want to access. You can search by the repository name or keywords related to the notebook you are looking for.
- From the search results, click on the repository’s name to access its main page.
Alternatively, if you already have the direct link to the repository, you can simply paste it into your browser’s address bar and hit Enter.
Once you have accessed the GitHub repository, you will be able to see the list of files and folders contained within it.
In the next step, we will learn how to locate the specific Jupyter Notebook file within the repository.
Step 2: Locate the Jupyter Notebook File
After accessing the GitHub repository, the next step is to locate the Jupyter Notebook file that you want to download. The file may be located at the root of the repository or within a specific folder.
Follow these steps to locate the Jupyter Notebook file:
- On the repository’s main page, browse through the list of files and folders to find the Jupyter Notebook file.
- If the file is located at the root of the repository, you will see it listed directly on the page. It will have a “.ipynb” extension, which is the file extension for Jupyter Notebook files.
- If the file is located within a folder, click on the folder name to navigate into it. Once inside the folder, you will see the list of files and folders contained within it. Look for the Jupyter Notebook file with the “.ipynb” extension.
- If the repository has multiple folders and sub-folders, you may need to navigate further until you find the desired notebook file.
Once you have located the Jupyter Notebook file, you are ready to proceed to the next step and download it to your local machine.
Step 3: Download the Jupyter Notebook file
Once you have located the Jupyter Notebook file within the GitHub repository, you can proceed to download it to your local machine for further exploration and analysis.
Follow these steps to download the Jupyter Notebook file:
- On the repository’s main page, click on the Jupyter Notebook file that you want to download. This will open the file in GitHub’s built-in code viewer.
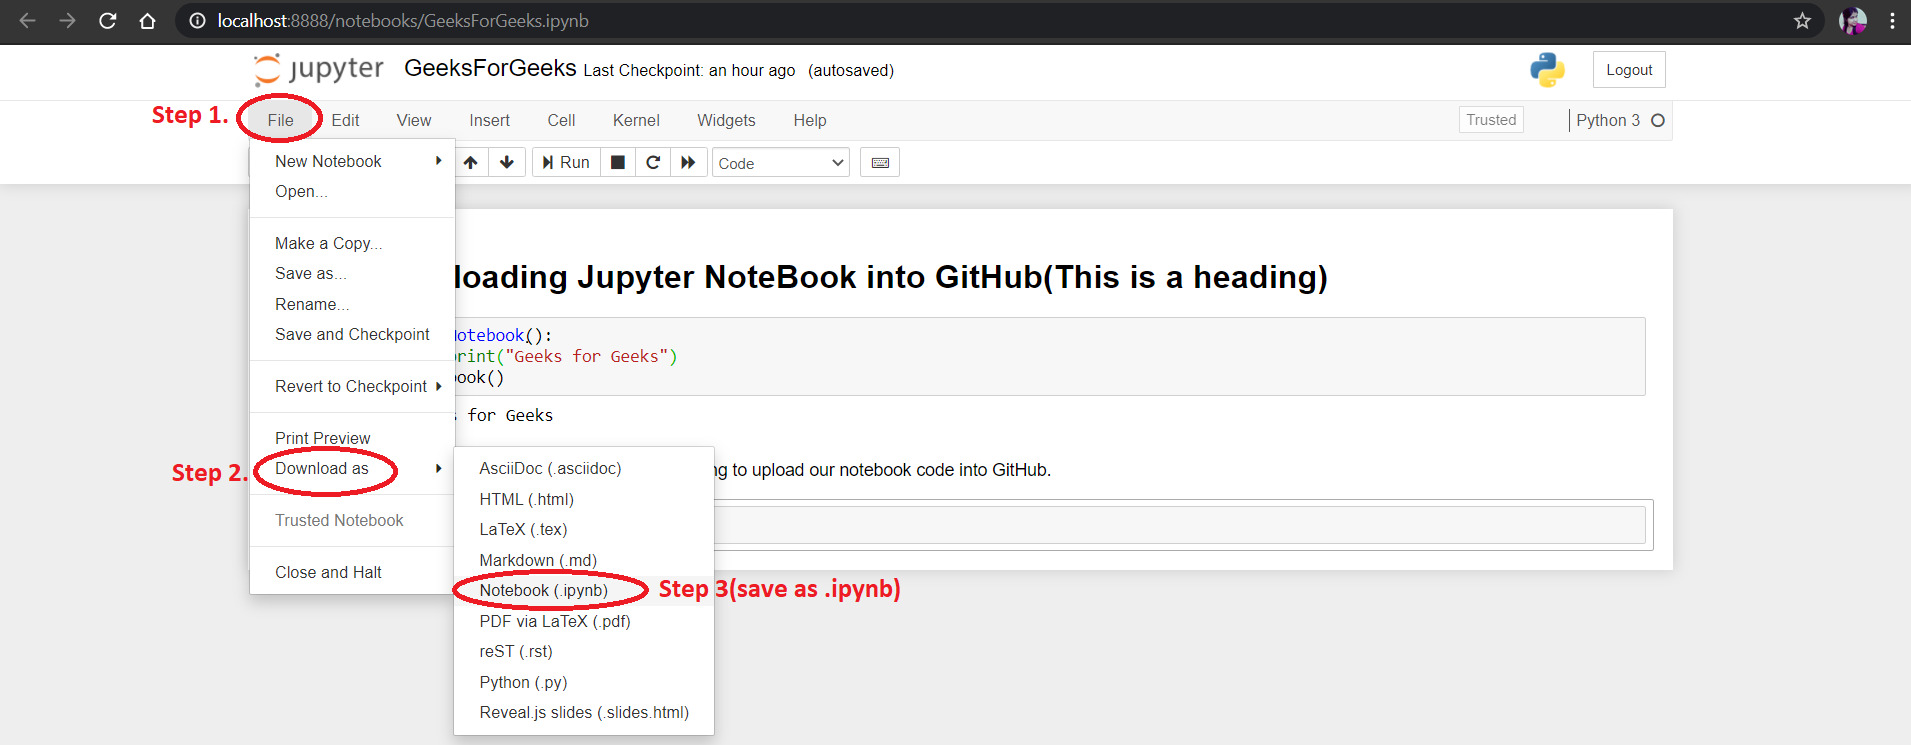
- In the code viewer, you will see the contents of the Jupyter Notebook file displayed on your screen. To download the file, click on the “Download” button located at the top right corner of the code viewer.
- If prompted, choose a directory on your local machine where you want to save the downloaded file. You can select an existing directory or create a new one specifically for storing your Jupyter Notebooks.
- After selecting the directory, click on the “Save” button to start the download process. The Jupyter Notebook file will be saved to your chosen location on your local machine.
Once the download is complete, you will have a local copy of the Jupyter Notebook file that you can open, modify, and execute using Jupyter Notebook software on your machine.
In the next step, we will learn how to open the downloaded Jupyter Notebook file in Jupyter Notebook for further analysis and interactivity.
Step 4: Opening the Downloaded Jupyter Notebook File
After successfully downloading the Jupyter Notebook file from GitHub, you can now open it in Jupyter Notebook software to explore, modify, and execute the code and data contained within.
Follow these steps to open the downloaded Jupyter Notebook file:
- Locate the downloaded Jupyter Notebook file on your local machine. Depending on your browser settings and the directory you chose during the download process, the file may be in your “Downloads” folder or any other directory you specified.
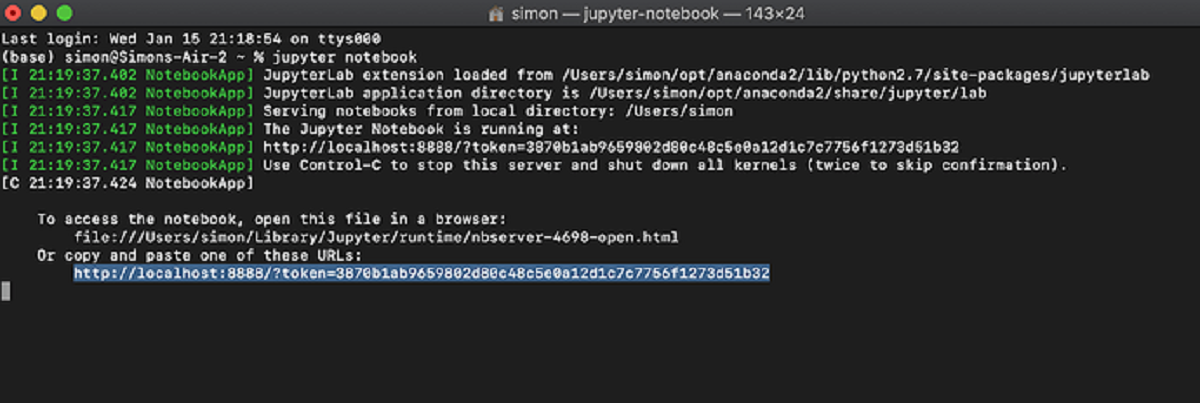
- Open the Jupyter Notebook application on your machine. If you have installed Jupyter Notebook using the recommended installation method, you can usually launch it by typing “jupyter notebook” in your command prompt or terminal.
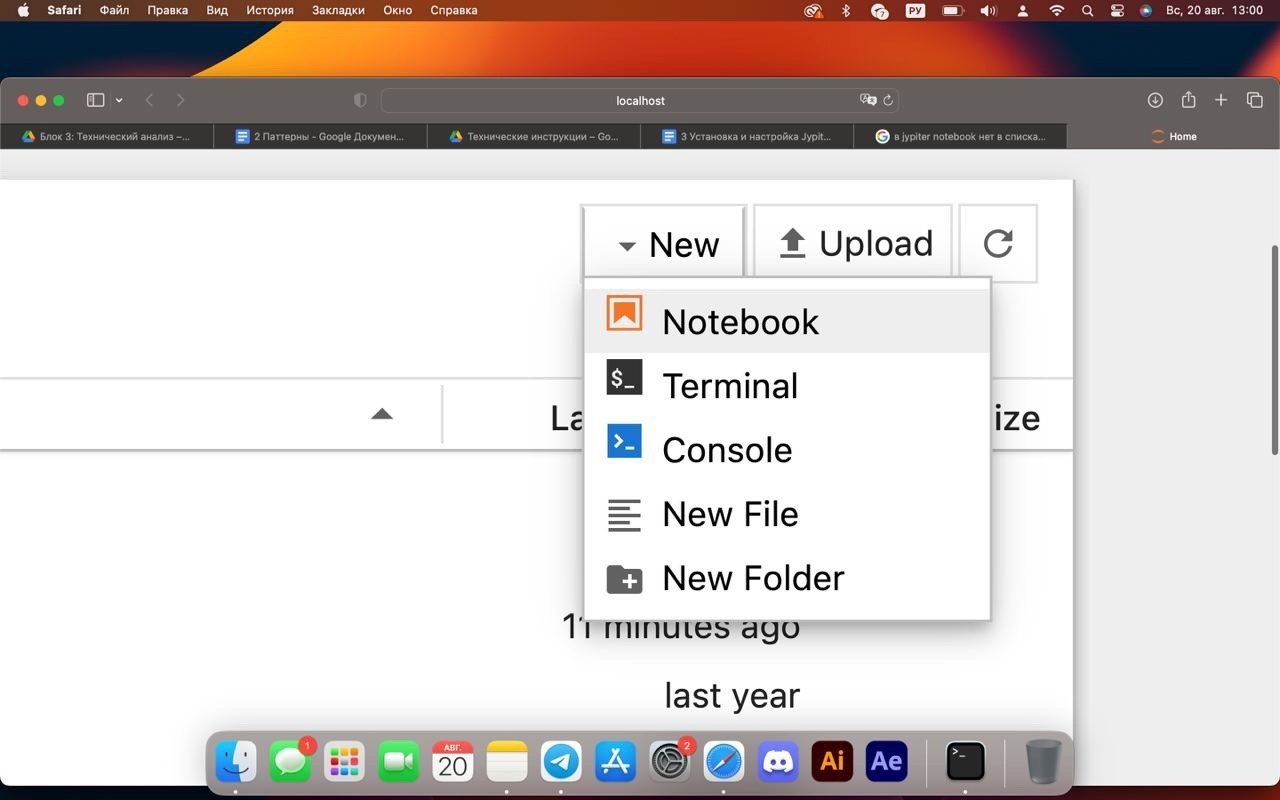
- Once the Jupyter Notebook opens in your browser, navigate to the directory where the downloaded Jupyter Notebook file is located. You can do this by clicking on the directories listed on the Jupyter Notebook home page.
- Click on the downloaded Jupyter Notebook file’s name to open it. This will load the notebook in a new browser tab.
- Now you have successfully opened the downloaded Jupyter Notebook file in the Jupyter Notebook software. You can interact with the code cells, execute the code, view the outputs, and make any necessary modifications to suit your needs.
Remember to save your changes periodically as you work on the notebook to ensure your progress is saved. You can do this by clicking on the “Save” button in the Jupyter Notebook toolbar or by using the keyboard shortcut.
Congratulations! You can now fully utilize the downloaded Jupyter Notebook file for your data analysis, visualization, or machine learning tasks. Explore the code, experiment with the data, and leverage the power of Jupyter Notebook for your projects.
Conclusion
Downloading a Jupyter Notebook from GitHub is a straightforward process that allows you to access and work with interactive code and data. By following the steps outlined in this article, you can easily download Jupyter Notebook files and explore the wonderful world of data analysis, visualization, and machine learning.
Throughout this tutorial, we covered the essential steps involved in downloading a Jupyter Notebook from a GitHub repository. We learned how to access the repository, locate the desired Jupyter Notebook file, download it to our local machine, and open it in the Jupyter Notebook software.
Remember, Jupyter Notebook is a versatile tool that facilitates collaboration and sharing among data scientists and developers. GitHub provides a platform for hosting and sharing Jupyter Notebooks, allowing you to learn from others, contribute to open-source projects, and showcase your own work.
Whether you are a beginner or an experienced data scientist, downloading Jupyter Notebooks from GitHub can greatly enhance your learning and productivity. You can explore various projects, analyze different datasets, and gain insights into cutting-edge techniques and methodologies.
So, go ahead and start downloading Jupyter Notebooks from GitHub to expand your knowledge and improve your data analysis skills. With Jupyter Notebook and GitHub, the possibilities are limitless.
Happy coding and happy exploring!