Introduction
Welcome to the world of Jupyter Notebook, a powerful tool for data analysis, code experimentation, and collaboration! Whether you are a student, a researcher, or a developer, Jupyter Notebook provides a user-friendly and interactive environment to explore and present your data. In this article, we will guide you through the process of downloading Jupyter Notebook on your Mac, so you can make the most out of this versatile tool.
Jupyter Notebook is an open-source web application that allows you to create and share documents that contain live code, equations, visualizations, and narrative text. It supports multiple programming languages, including Python, R, and Julia, making it a popular choice among data scientists and programmers.
Before we dive into the steps of downloading Jupyter Notebook, let’s quickly go over the benefits it offers:
- Interactive Coding: With Jupyter Notebook, you can run code blocks individually, which enables you to experiment and debug your code more efficiently.
- Data Visualization: Jupyter Notebook integrates seamlessly with libraries like Matplotlib and Seaborn, making it easy to create interactive visualizations of your data.
- Data Exploration: Jupyter Notebook allows you to analyze and manipulate data using pandas, NumPy, and other Python libraries, facilitating data exploration and insight generation.
- Documentation and Presentation: You can combine code, visualizations, and text in a single document, making it ideal for creating interactive tutorials, reports, and presentations.
- Collaboration: Jupyter Notebook supports version control systems like Git, enabling multiple users to collaborate on the same notebook and track changes.
Now that we have established the benefits of using Jupyter Notebook, let’s get started with the download process. The steps below will guide you through setting up Jupyter Notebook on your Mac, so you can begin your data analysis journey.
Step 1: Open the Terminal
The first step to download Jupyter Notebook on your Mac is to open the Terminal application. The Terminal is a command-line interface that allows you to interact with your computer’s operating system through text-based commands.
To open the Terminal, follow these simple steps:
- Click on the “Finder” icon in the dock, which is usually located at the bottom of your screen.
- In the Finder window, navigate to the “Applications” folder.
- Inside the Applications folder, open the “Utilities” folder.
- Finally, locate and double-click on the “Terminal” icon to launch the Terminal application.
Once the Terminal is open, you will see a text-based interface with a prompt indicating your username and the name of your computer. You are now ready to proceed to the next step in installing Jupyter Notebook.
Opening the Terminal might seem intimidating if you are new to command-line interfaces, but don’t worry! We will guide you through the entire installation process, ensuring a smooth experience.
Now that you have successfully opened the Terminal, we are ready to move on to the next step, which is installing Homebrew, a package manager for macOS.
Step 2: Install Homebrew
Homebrew is a popular package manager for macOS that makes it easy to install and manage software packages. We will use Homebrew to install Python, which is necessary for running Jupyter Notebook.
To install Homebrew, follow these steps:
- Open the Terminal application.
- Copy and paste the following command into the Terminal:
- Press Enter and wait for the installation to complete. You may be prompted to enter your password.
- Once the installation is finished, you can verify if Homebrew is correctly installed by running the following command:
shell
/bin/bash -c “$(curl -fsSL https://raw.githubusercontent.com/Homebrew/install/HEAD/install.sh)”
shell
brew –version
If Homebrew is installed, you will see the version number displayed in the Terminal.
Installing Homebrew provides us with a convenient way to install and manage software packages on our Mac. Now that Homebrew is set up, we can proceed to the next step: installing Python.
Step 3: Install Python
In order to run Jupyter Notebook, we need to have Python installed on our system. With Homebrew already set up, we can easily install Python using the Terminal.
To install Python, follow these steps:
- Open the Terminal application if it is not already open.
- Type the following command and press Enter:
- The installation process will begin. This may take a few minutes, depending on your internet speed.
- Once the installation is complete, you can verify the installation by running the following command:
shell
brew install python
shell
python –version
If Python is installed correctly, you will see the version number displayed in the Terminal.
Installing Python using Homebrew ensures that we have the latest version of Python and that it is properly integrated into our system. Now that Python is installed, we can proceed to the next step: installing Jupyter Notebook.
Step 4: Install Jupyter Notebook
Now that we have Python installed on our Mac, we can proceed to install Jupyter Notebook. Jupyter Notebook can be easily installed using the Python package manager, pip, which comes bundled with Python.
To install Jupyter Notebook, follow these steps:
- Open the Terminal application.
- Type the following command and press Enter:
- The installation process will begin, and you will see output in the Terminal indicating the progress of the installation.
- Once the installation is complete, you can verify the installation by running the following command:
shell
pip install jupyter
shell
jupyter notebook –version
If Jupyter Notebook is installed correctly, you will see the version number displayed in the Terminal.
By installing Jupyter Notebook, we now have access to a powerful tool for data analysis, code experimentation, and collaboration. Jupyter Notebook provides an interactive environment where we can combine code, visualizations, and narrative text.
With Jupyter Notebook successfully installed, we are almost ready to start using it. But before we do that, let’s verify the installation in the next step.
Step 5: Verify Installation
After installing Jupyter Notebook, it is important to verify that the installation was successful before proceeding. This step ensures that Jupyter Notebook is set up correctly on your Mac and ready for use.
To verify the installation, follow these steps:
- Open the Terminal application.
- Type the following command and press Enter:
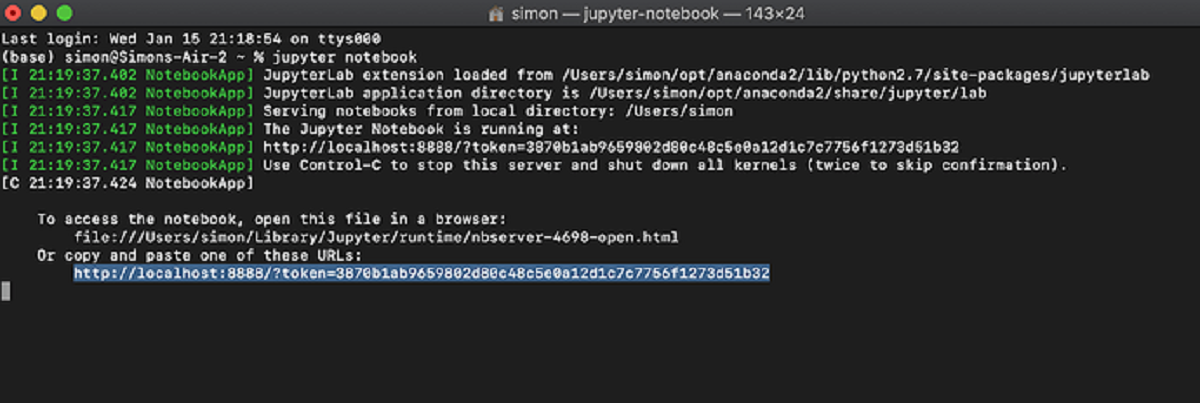
- This command will start the Jupyter Notebook server, and you will see output in the Terminal indicating that the server is running.
- A web browser window or tab will automatically open, displaying the Jupyter Notebook interface.
- At this point, you have successfully verified the installation of Jupyter Notebook. You can close the web browser window/tab and go back to the Terminal.
- To stop the Jupyter Notebook server, go back to the Terminal and press Ctrl+C (or Command+C).
shell
jupyter notebook
If the Jupyter Notebook server started successfully and you were able to access the Jupyter Notebook interface in your web browser, then the installation is verified and you are ready to start using Jupyter Notebook!
With Jupyter Notebook now installed and verified, you can take advantage of its interactive coding capabilities, data visualization tools, and collaborative features. Let’s move on to the final step: launching Jupyter Notebook.
Step 6: Launch Jupyter Notebook
Now that we have confirmed the successful installation of Jupyter Notebook and its verification, we can proceed to launch Jupyter Notebook and start using its powerful features. Launching Jupyter Notebook will open a web-based interface where you can create, edit, and run Jupyter Notebooks.
To launch Jupyter Notebook, follow these steps:
- Open the Terminal application.
- Navigate to the directory where you want to create or open a Jupyter Notebook. You can use the `cd` command to change directories.
- Type the following command and press Enter:
- The Jupyter Notebook server will start, and you will see output in the Terminal indicating that the server is running.
- A web browser window or tab will automatically open, displaying the Jupyter Notebook interface.
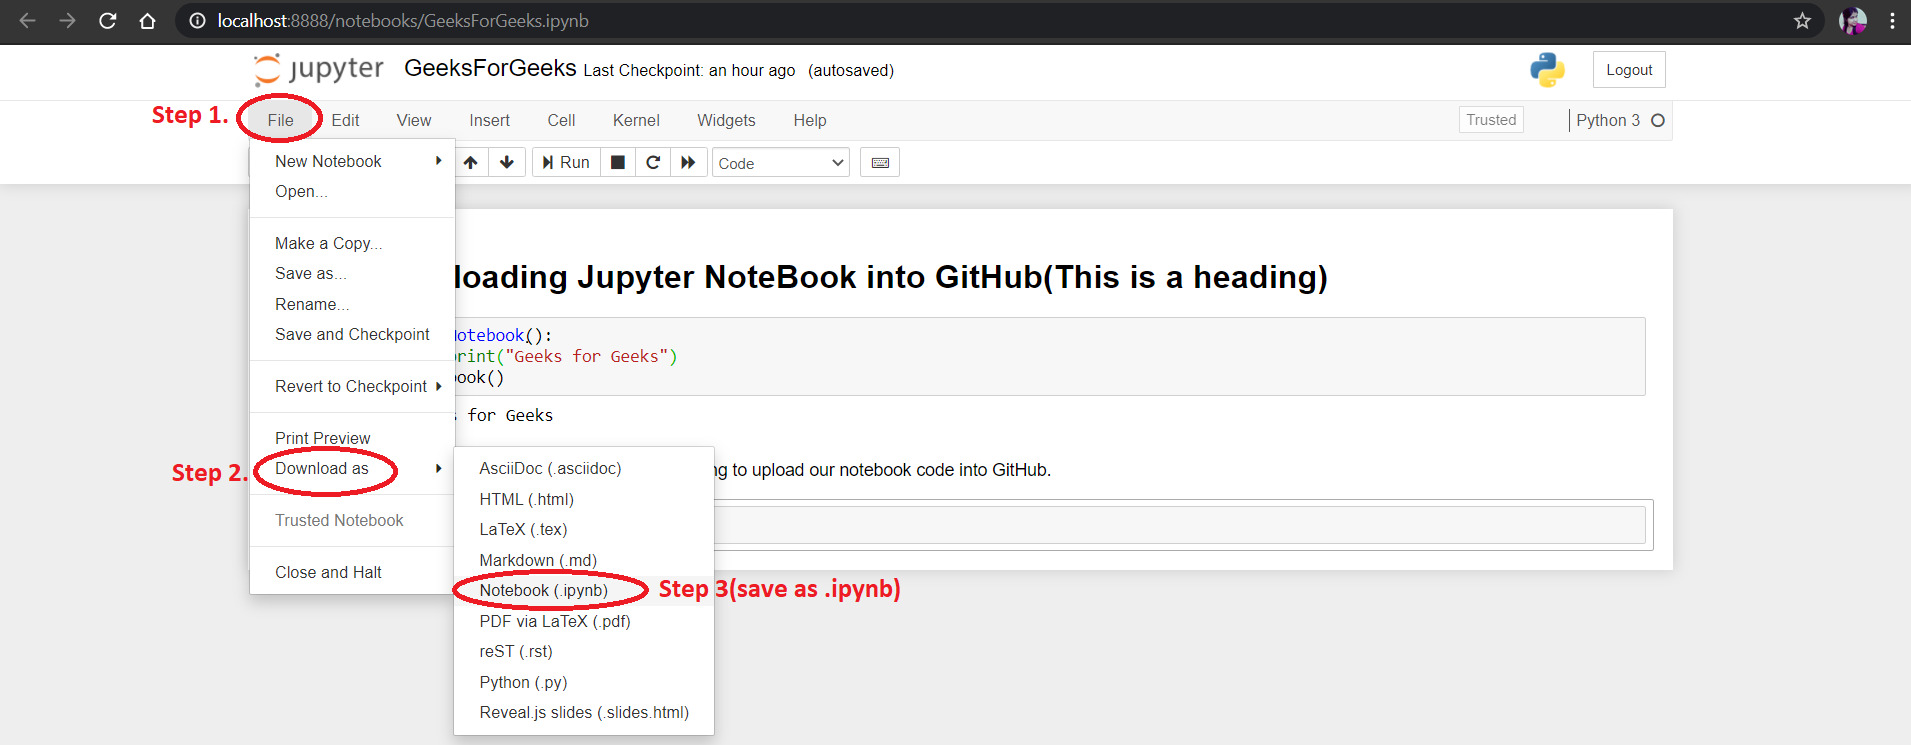
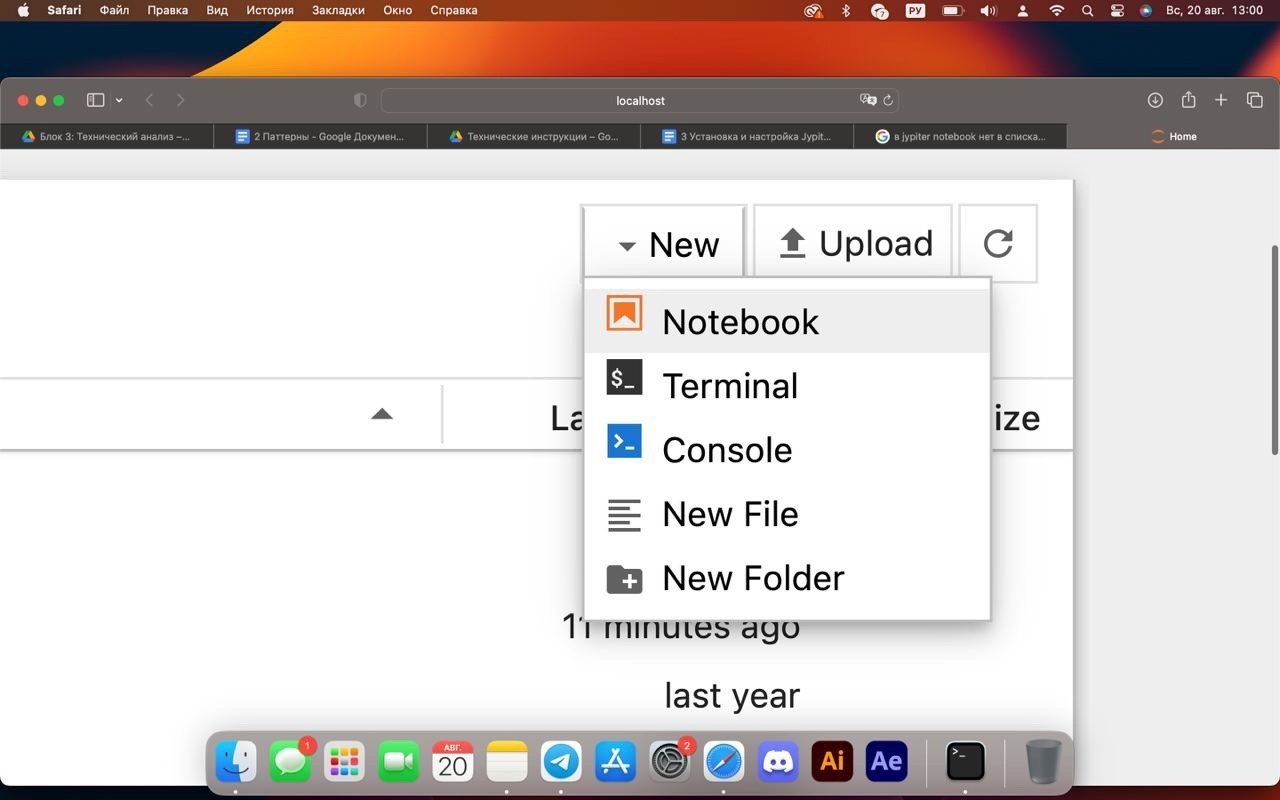
- You can now create a new Jupyter Notebook by clicking on the “New” button and selecting “Python 3” from the drop-down menu. Alternatively, you can open an existing Jupyter Notebook by navigating to the notebook file and clicking on it.
- Inside the Jupyter Notebook interface, you can execute code cells, add new cells, modify existing cells, and view the output.
- When you’re done working on your Jupyter Notebook, you can save and close it.
shell
jupyter notebook
Launching Jupyter Notebook gives you access to its interactive coding environment and allows you to explore, analyze, and visualize data using Python and other supported programming languages. With its intuitive interface and extensive functionality, Jupyter Notebook empowers you to efficiently work on data science projects, build machine learning models, and share your findings with others.
Congratulations! You have successfully launched Jupyter Notebook and are ready to unleash its potential. Happy coding!
Conclusion
Throughout this guide, we have walked you through the process of downloading and installing Jupyter Notebook on your Mac. Jupyter Notebook provides a versatile and interactive environment for data analysis, code experimentation, and collaboration.
We started by opening the Terminal, the command-line interface that allows us to interact with our computer’s operating system. Then, we installed Homebrew, a package manager for macOS, followed by the installation of Python using Homebrew. With Python in place, we proceeded to install Jupyter Notebook using the Python package manager, pip.
After the installation, we verified that Jupyter Notebook was successfully installed by running a command in the Terminal and accessing the Jupyter Notebook interface through a web browser. Finally, we launched Jupyter Notebook to start creating and running Jupyter Notebooks.
With Jupyter Notebook now installed and running on your Mac, you have gained a powerful tool that allows you to seamlessly combine code, visualizations, and narrative text. Jupyter Notebook enables you to explore data, experiment with code, and present your findings in an interactive and collaborative manner.
Now that you are equipped with the knowledge of how to download and install Jupyter Notebook, the possibilities are endless. Whether you are a data scientist, a researcher, or a developer, Jupyter Notebook will serve as your go-to tool for data analysis and code development.
So, go ahead and dive into the world of Jupyter Notebook. Unleash your creativity, solve complex problems, and discover new insights with this powerful tool.