Introduction
Python is a powerful and versatile programming language that is widely used in various fields, including web development, data analysis, machine learning, and more. If you are new to Python or looking to set up a dedicated Python workstation, this guide will walk you through the essential steps to get started. Whether you are a beginner or an experienced developer, having a well-equipped Python workstation will enhance your coding experience and productivity.
To set up a Python workstation, there are several key components that you need to consider. These include installing Python itself, choosing an Integrated Development Environment (IDE), setting up virtual environments, managing packages, version control, and more. In this guide, we will cover each of these aspects to ensure that you have a solid foundation for your Python development journey.
Having a dedicated Python installation is the first step in setting up your workstation. Python can be installed on various operating systems such as Windows, macOS, and Linux. We will provide detailed instructions on how to install Python on your preferred operating system.
Once Python is installed, choosing the right IDE is crucial for efficient and effective coding. An IDE provides a comprehensive development environment with features like code completion, debugging tools, and more. We will explore some popular IDE options and discuss their features and benefits to help you make an informed decision.
Virtual environments are an essential tool for isolating Python environments and managing dependencies. We will guide you through the process of setting up virtual environments, which enable you to work on different projects without conflicts.
Package management is another important aspect of developing with Python. We will introduce you to package managers like pip and conda, which allow you to easily install, update, and manage Python packages.
Version control is essential for collaborative coding and maintaining project history. We will discuss version control systems like Git and show you how to set up a repository to keep track of your code changes.
Python offers a vast collection of modules and libraries that extend its functionality. We will explore some popular libraries used for web development, data visualization, machine learning, and data science. Understanding these libraries will enable you to leverage existing tools and accelerate your development process.
For those working with databases, we will provide guidance on setting up a database and connecting it to your Python applications. Having the ability to interact with databases is crucial for handling data-driven applications effectively.
Data visualization is a powerful tool for presenting insights and patterns from data. We will introduce you to libraries like Matplotlib and Seaborn, which enable you to create visually appealing and informative charts and graphs.
Web development with Python is highly sought after, and we will guide you through the process of setting up a development environment and utilizing frameworks like Django or Flask to build robust and scalable web applications.
Lastly, for those interested in machine learning and data science, we will provide an overview of the Python libraries commonly used in these fields. From scikit-learn for machine learning algorithms to pandas for data manipulation, you will gain insights into the tools necessary for your data-driven projects.
Python Installation
Installing Python is the first step in setting up your Python workstation. Python is available for various operating systems, including Windows, macOS, and Linux. The installation process differs slightly depending on the operating system you are using, but the overall steps are similar.
To begin, you need to download the latest version of Python from the official Python website (python.org). Choose the version that corresponds to your operating system and click on the download link.
Once the download is complete, double-click on the installer and follow the on-screen instructions to install Python. During the installation process, you will have the option to customize certain settings, such as the installation location and adding Python to the system’s PATH variable. It is recommended to enable the “Add Python to PATH” option, as it allows you to access Python from the command line or terminal without specifying the full path to the Python executable.
After successfully installing Python, you can verify the installation by opening a command prompt (Windows) or terminal (macOS/Linux) and typing “python –version” or “python3 –version” (if multiple versions of Python are installed) and pressing Enter. This command will display the installed Python version, confirming that your installation was successful.
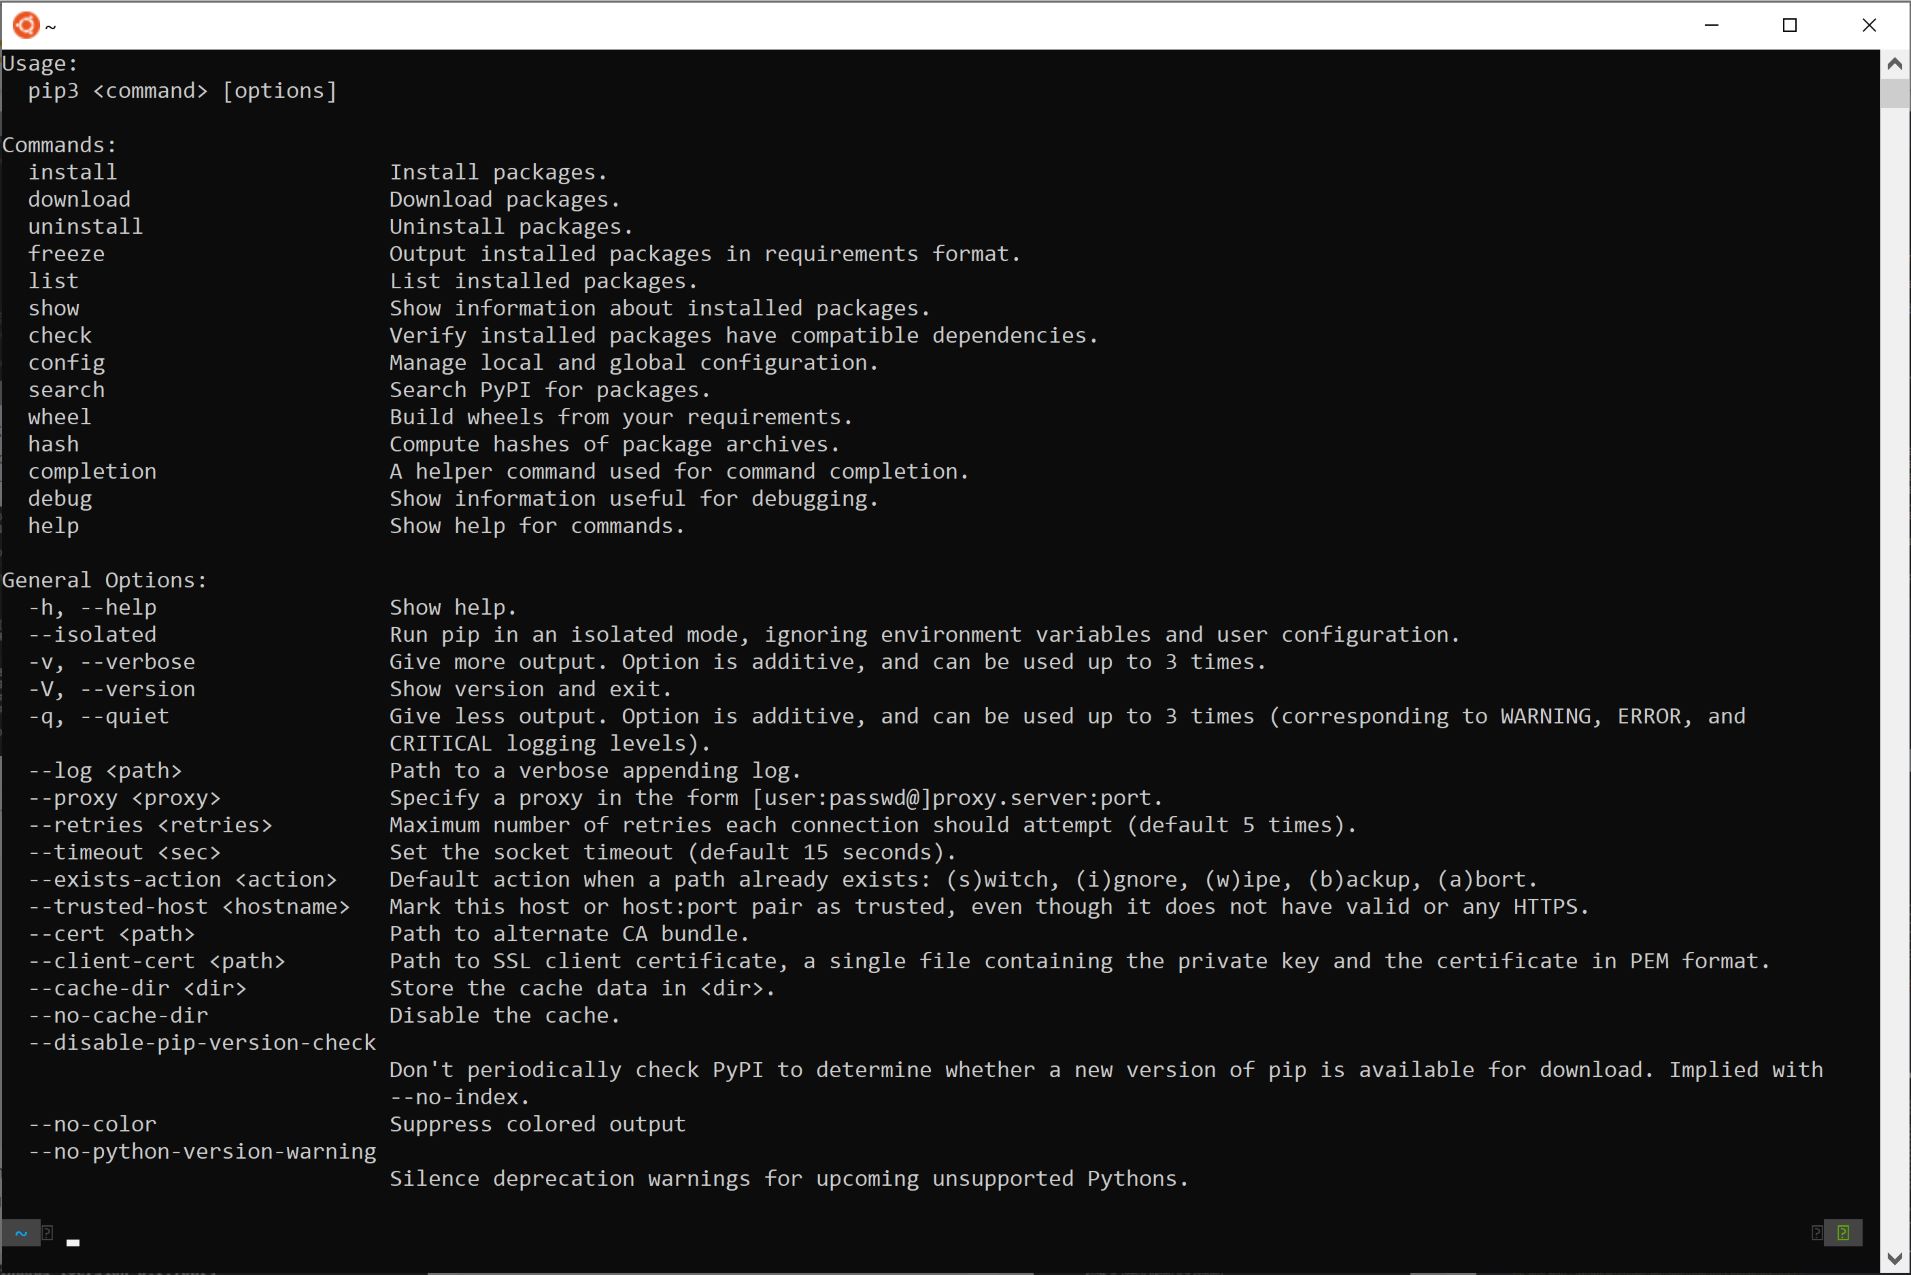
Python also comes with a package manager called pip, which allows you to easily install, upgrade, and manage Python packages. To ensure that pip is installed and up to date, you can run the command “pip –version” or “pip3 –version” (if multiple versions of Python are installed). If pip is not installed, you can install it by following the official documentation.
It is worth noting that Python has different major versions, such as Python 2 and Python 3. Python 2 is an older version that is no longer actively maintained, so it is recommended to use Python 3 for new projects. However, depending on your specific needs or legacy projects, you may still need to install Python 2 alongside Python 3. In such cases, it is important to specify the correct version when running Python commands or executing scripts.
In summary, installing Python is a straightforward process. By following the official documentation and selecting the appropriate version for your operating system, you can quickly set up Python on your workstation. Once installed, you will have access to a powerful programming language and an extensive ecosystem of packages and libraries that will enable you to build a wide range of applications.
Integrated Development Environment (IDE)
An Integrated Development Environment (IDE) is a software application that provides a comprehensive environment for writing, testing, and debugging code. While Python can be written using a simple text editor, using an IDE can greatly enhance your productivity by offering features like code completion, syntax highlighting, debugging tools, and more.
There are several IDE options available for Python, each with its unique set of features and benefits. Let’s explore some of the popular IDEs used by Python developers.
PyCharm: PyCharm is a powerful IDE developed by JetBrains. It offers a wide range of features, including intelligent code completion, code inspection, debugging, and integrated version control. PyCharm comes in two versions: the Community Edition (free) and the Professional Edition (paid). It is known for its user-friendly interface and seamless integration with other JetBrains products.
Visual Studio Code (VS Code): VS Code is a lightweight and versatile code editor that has gained popularity among developers. It offers an extensive marketplace of extensions, allowing you to customize and enhance your coding experience. VS Code supports various features like IntelliSense, debugging, Git integration, and more. It is highly customizable and can be adapted to fit different programming languages and frameworks, including Python.
Spyder: Spyder is an open-source IDE designed specifically for scientific computing with Python. It provides an interactive development environment with features like variable explorer, integrated debugger, and advanced code editor. Spyder is a good choice for data scientists and researchers who work with data manipulation and analysis.
Sublime Text: Sublime Text is a popular text editor that offers a vast selection of plugins and packages to extend its capabilities. While it is not specifically designed for Python, it provides a flexible and customizable environment for Python development. Sublime Text boasts a clean interface and powerful editing features like multiple selections, split editing, and command palette.
Jupyter Notebook: Jupyter Notebook is an open-source web application that allows you to create and share documents containing live code, visualizations, and narrative text. It is widely used in data science and interactive computing. Jupyter Notebook supports Python as well as other languages through kernels, making it a versatile choice for exploratory coding and data analysis.
These are just a few examples of the most popular IDEs for Python. The choice of IDE depends on your personal preferences, project requirements, and workflow. I recommend trying out different IDEs to see which one suits your needs the best. Many IDEs offer free versions or trial periods, allowing you to evaluate their features before making a decision. Ultimately, having a well-optimized IDE will contribute to a more efficient and enjoyable Python development experience.
Virtual Environments
Virtual environments are an essential tool for Python development, especially when working on multiple projects or collaborating with others. A virtual environment allows you to create separate and isolated Python environments, each with its own set of installed packages and dependencies. This ensures that project-specific dependencies do not conflict with each other, providing a clean and reproducible environment.
Setting up a virtual environment is straightforward and can be done using the built-in module called “venv” or third-party tools like “virtualenv” or “conda”. Here, we will focus on using the “venv” module, which comes bundled with Python 3.
To create a virtual environment, open a command prompt or terminal and navigate to the directory where you want to create the environment. Then, run the following command:
Windows:
python -m venv myenv
macOS/Linux:
python3 -m venv myenv
This command creates a new directory named “myenv” (you can use any name) in the current directory and sets up the virtual environment files and folders.
To activate the virtual environment, run the appropriate command based on your operating system:
Windows:
myenv\Scripts\activate
macOS/Linux:
source myenv/bin/activate
Once activated, you will notice that the command prompt or terminal prompt changes, indicating that you are now working within the virtual environment. Any subsequent Python-related commands will use the Python interpreter and packages installed within this environment.
To install packages within the virtual environment, use the “pip” command as you would normally, without the need for administrative privileges. For example, to install a package called “numpy”, you can run:
pip install numpy
To deactivate the virtual environment and return to your system’s default Python environment, simply run the “deactivate” command in the command prompt or terminal.
By utilizing virtual environments, you can ensure that your projects are self-contained and isolated, which makes it easier to manage dependencies and share the project with others. It also allows you to easily switch between different environments without affecting one another.
In summary, virtual environments provide a powerful way to manage project dependencies and create isolated Python environments. By encapsulating each project’s dependencies, virtual environments promote code portability and maintain a clean and organized coding workflow.
Package Management
Package management is a vital aspect of Python development, as it allows you to easily install, update, and manage external libraries and packages that enhance the functionality of your applications. Python provides a built-in package manager called pip, which is widely used by the Python community.
To install a package using pip, you can simply run the following command in your command prompt or terminal:
pip install package_name
Replace “package_name” with the name of the package you want to install. Pip will fetch the package from the Python Package Index (PyPI) and install it in the appropriate location in your Python environment.
You can also install a specific version of a package by specifying the version number:
pip install package_name==x.y.z
Here, “x.y.z” represents the desired version number of the package.
To update an installed package to the latest version, you can use the following command:
pip install --upgrade package_name
Pip also allows you to install packages from a requirements file. A requirements file is a plain text file that lists the dependencies of your project, including the package names and version numbers. This file can be shared with others, allowing them to install the exact same set of dependencies as your project. To install packages from a requirements file, use the following command:
pip install -r requirements.txt
Note that “requirements.txt” is the name of the requirements file, and it should be located in the current directory (or you can specify the file path if it’s located elsewhere).
In addition to pip, another popular package manager is conda. Conda is a cross-platform package manager that specializes in managing packages and environments for data science, scientific computing, and machine learning. It provides a more comprehensive solution compared to pip, as it not only handles Python packages but also manages packages with compiled dependencies and system-level packages.
To install a package using conda, you can run the following command:
conda install package_name
Conda also allows you to create and manage virtual environments using the following commands:
conda create --name env_name (to create a new environment)
conda activate env_name (to activate the environment)
conda deactivate (to deactivate the environment)
Both pip and conda are excellent package managers, but which one you choose depends on your specific needs and use cases. It is also worth noting that there are many other package managers available for Python, each with its unique features and benefits.
Having a robust package management system in place allows you to easily utilize external libraries and packages, save time on development, and ensure that your project’s dependencies are up to date. It is recommended to regularly update your packages to take advantage of bug fixes, performance improvements, and new features provided by the package maintainers.
Version Control
Version control is an essential tool for collaborative coding, keeping track of code changes, and managing different versions of your project. One of the most popular version control systems used by developers worldwide is Git. Git provides a distributed and decentralized approach to version control, allowing multiple developers to work on the same project simultaneously. In this section, we’ll explore how to set up a Git repository and the basic Git commands to manage your codebase efficiently.
To start using Git, you first need to install it on your workstation. Git is available for all major operating systems, and you can download the installer from the official Git website (git-scm.com). Once installed, you can open a command prompt or terminal and verify the installation by running the command:
git --version
To initiate a Git repository for your project, navigate to the project’s directory using the command prompt or terminal and run the command:
git init
This command initializes an empty Git repository in the current directory, creating a hidden .git folder that contains all the necessary files and data for version control.
Once you have a Git repository set up, you can start tracking changes to your codebase. The basic Git workflow involves three main stages: working directory, staging area, and repository. The working directory is where you make modifications to your code. When you’re ready to save those changes, you add the modified files to the staging area using the command:
git add file_name
Replace “file_name” with the name of the file you want to add. You can also use the command git add . to add all modified files in the current directory.
After adding files to the staging area, you can commit the changes to the repository, creating a new version of your codebase. The commit command includes a message that describes the changes made. To commit the changes, use the command:
git commit -m "Commit message"
Replace “Commit message” with a brief description of the changes made in the commit. It is a best practice to provide meaningful and descriptive commit messages that accurately reflect the changes made.
Git also offers branching and merging capabilities, allowing you to work on different features or experiment with new ideas without affecting the main codebase. To create a new branch, use the command:
git branch branch_name
Replace “branch_name” with the name of the branch you want to create. To switch to the newly created branch, use the command:
git checkout branch_name
Once you’ve made changes to the branch, you can merge it back into the main branch using the command:
git merge branch_name
This command integrates the changes from the specified branch into the current branch.
In summary, Git provides a powerful version control system that allows you to track changes, collaborate with others, and manage different versions of your project. Setting up a Git repository, adding files, committing changes, and utilizing branching and merging capabilities are fundamental Git commands that enable efficient code management and enhance collaboration within software development teams.
Python Modules and Libraries
Python is known for its extensive collection of modules and libraries, which provide additional functionality and simplify the development process. These modules and libraries cover a wide range of domains, including web development, data analysis, machine learning, and more. Understanding and utilizing these resources can significantly enhance your Python development capabilities. In this section, we will explore some popular Python modules and libraries.
Django: Django is a high-level web framework that simplifies the process of building robust and scalable web applications. It follows the Model-View-Controller (MVC) architectural pattern and provides features such as URL routing, database models, template engine, and authentication. Django is widely used in web development and provides a comprehensive solution for building complex web applications with ease.
Flask: Flask is a lightweight web framework that is easy to learn and highly customizable. It follows a micro-framework approach, focusing on simplicity and flexibility. Flask provides essential features for web development, including routing, template rendering, and support for extensions. It is suitable for small to medium-sized projects and is widely used for building RESTful APIs and small web applications.
numpy: numpy is a fundamental library for numerical computing in Python. It provides powerful N-dimensional array objects, along with a collection of mathematical functions to manipulate and analyze the data. numpy is widely used in scientific computing, data analysis, and machine learning due to its efficiency and ease of use.
pandas: pandas is a popular library for data manipulation and analysis in Python. It provides data structures like DataFrames that allow you to perform operations such as filtering, grouping, aggregation, and more. With pandas, you can easily handle and manipulate structured data, making it a valuable tool for working with datasets.
matplotlib: matplotlib is a plotting library that enables you to create a wide range of visualizations, including line plots, scatter plots, bar charts, histograms, and more. It provides a comprehensive set of functions to customize your plots and present data in a visually appealing manner. matplotlib is widely used for data visualization and exploratory data analysis.
scikit-learn: scikit-learn is a powerful machine learning library that offers a variety of algorithms and tools for classification, regression, clustering, and dimensionality reduction. It provides a consistent API and is widely used for tasks such as predictive modeling, feature extraction, and model evaluation.
These are just a few examples of the vast selection of modules and libraries available in Python. Depending on your specific needs and project requirements, there are many more libraries to explore, covering areas such as natural language processing (NLTK), image processing (OpenCV), deep learning (TensorFlow, PyTorch), and more. Utilizing these modules and libraries can significantly accelerate your development process and unlock new possibilities in your Python projects.
Setting up a Database
When working on projects that require data storage and retrieval, setting up a database is essential. Python provides several options for interacting with databases, both relational and non-relational. In this section, we will explore the steps involved in setting up a database in a Python development environment.
Relational Databases: For relational databases, one popular choice is PostgreSQL. To set up a PostgreSQL database, you first need to download and install PostgreSQL from the official website. During the installation process, you will be prompted to set a password for the default “postgres” user, which is required to access the database. Once the installation is complete, you can create a new database using a graphical tool like pgAdmin or by executing SQL commands through a command-line interface.
Another widely used relational database is MySQL. Similar to PostgreSQL, you need to download and install MySQL from the official website. During the installation, you will create a root user account and set the password. After installation, you can use a command-line tool like MySQL Shell or MySQL Workbench to create a new database and manage its tables and data.
Non-relational Databases: Non-relational databases, also known as NoSQL databases, offer a flexible and schema-less approach to data storage. One popular choice is MongoDB. To set up MongoDB, you need to download and install the MongoDB Community Server from the official website. Once installed, you can start the MongoDB server and interact with it using the Mongo Shell or a graphical tool like MongoDB Compass. MongoDB allows you to create and manage databases and collections without the need for a predefined schema.
After setting up your chosen database system, you can establish a connection to the database from your Python application. Python provides libraries like psycopg2 for PostgreSQL, mysql-connector-python for MySQL, and pymongo for MongoDB to interact with the respective databases. These libraries offer easy-to-use APIs for executing queries, inserting data, retrieving results, and managing database transactions.
It is good practice to abstract the database interaction logic into separate functions or classes to maintain a clean and modular codebase. This allows for efficient organization and separation of concerns.
In addition to the primary relational and non-relational database options mentioned above, there are numerous other database systems and libraries available in Python, each with its own set of features and use cases. Some examples include SQLite, Oracle Database, Redis, and Cassandra. The choice of database system depends on factors such as the nature of your project, data requirements, scalability, and performance needs.
Setting up a database in your Python development environment is crucial for storing and retrieving data efficiently. Understanding the steps involved and the available database options empowers you to make informed decisions and implement robust data management solutions in your Python projects.
Data Visualization
Data visualization is a powerful technique used to present complex and large datasets in a visual format, making it easier to understand patterns, trends, and relationships within the data. Python offers a range of libraries that provide comprehensive tools for creating captivating and meaningful visualizations. In this section, we will explore some popular data visualization libraries in Python and how to use them.
Matplotlib: Matplotlib is a versatile and widely used plotting library in Python. It provides a low-level interface for creating static, animated, and interactive visualizations. With Matplotlib, you can create line plots, scatter plots, bar charts, histograms, pie charts, and more. It offers extensive customization options for colors, labels, titles, and axes to create visually appealing and informative plots. Matplotlib is a fundamental tool for data visualization in Python and is often used in conjunction with other libraries.
Seaborn: Seaborn is built on top of Matplotlib and provides a high-level interface for creating attractive and informative statistical graphics. It offers a simplified API with built-in styling options, making it easy to create visually stunning visualizations with minimal code. Seaborn provides support for various plot types, including categorical plots, distribution plots, and regression plots. It also incorporates advanced statistical techniques to enhance the understanding of data patterns and relationships.
Plotly: Plotly is an interactive visualization library that allows you to create rich and interactive plots, charts, and dashboards. It offers a range of plot types, including line plots, scatter plots, bar charts, heatmaps, and geographic maps. Plotly generates interactive plots that can be embedded in web applications and shared online. It provides features like hover tooltips, zooming, panning, and animation to enhance the user experience and facilitate data exploration.
Bokeh: Bokeh is another interactive visualization library that targets modern web browsers. It provides a flexible and concise API for creating interactive plots and dashboards using techniques like WebGL rendering. Bokeh supports a wide range of visualizations, including line plots, scatter plots, bar charts, and geographic maps. It allows for interactive features like linked brushing, zooming, and hovering, enabling users to explore and analyze data dynamically.
Plotnine: Plotnine is a Python implementation of the grammar of graphics, inspired by the popular R package ggplot2. It provides an intuitive and expressive syntax for creating publication-quality visualizations. Plotnine allows you to create a wide range of plot types, customize aesthetics, and incorporate statistical transformations to reveal patterns and relationships in the data. With its grammar-based approach, Plotnine makes it easy to construct complex and layered visualizations.
These are just a few examples of the many data visualization libraries available in Python. The choice of library depends on your specific requirements and preferences. By leveraging the power of these libraries, you can create impactful visualizations that help communicate insights, support data-driven decision-making, and enhance the storytelling of your data.
Web Development
Python is a popular programming language for web development due to its simplicity, versatility, and the availability of powerful frameworks. In this section, we will explore the steps involved in setting up a Python web development environment and introduce two popular frameworks: Django and Flask.
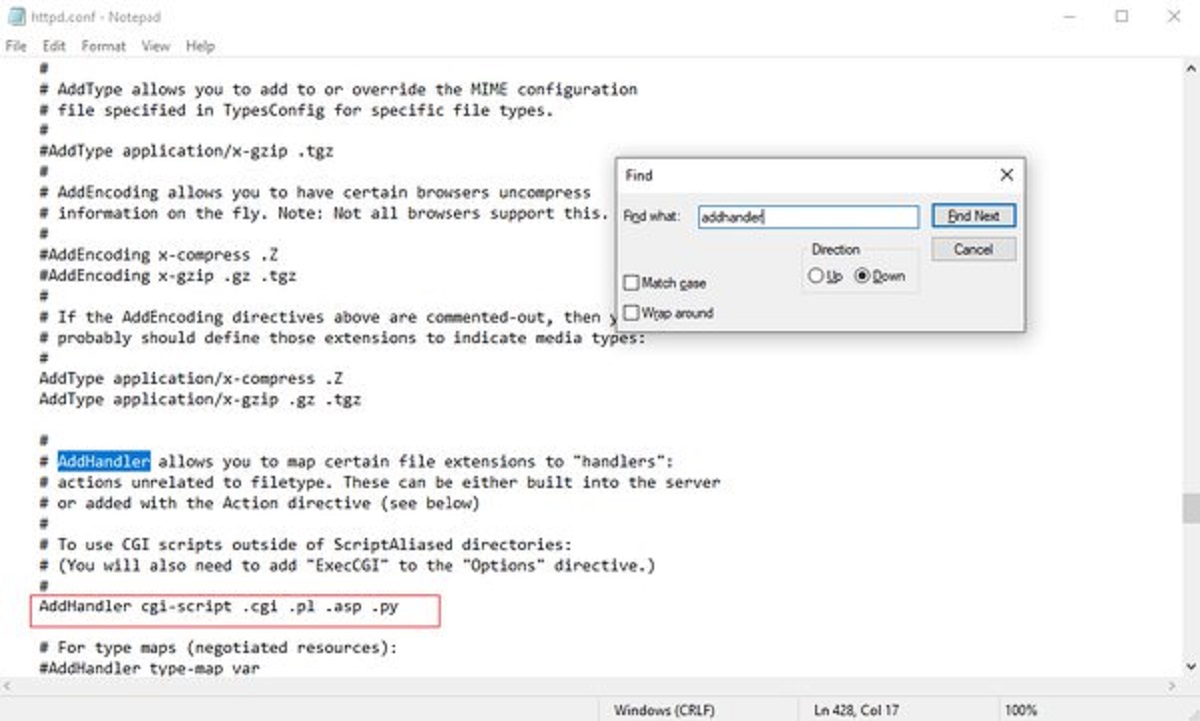
Setting up a Web Development Environment: To get started with web development in Python, you need to set up a development environment. This typically involves installing Python, a web server, and a database system. You can use Python’s built-in HTTP server for development purposes, but for production deployments, it is recommended to use robust web servers like Nginx or Apache. Depending on your project’s database requirements, you may set up a relational database system like PostgreSQL or MySQL, or a non-relational database like MongoDB.
Django: Django is a high-level web framework that follows the Model-View-Controller (MVC) architectural pattern. It allows you to quickly build scalable and secure web applications. Django provides a wide range of features out of the box, including an ORM (Object-Relational Mapping) for database management, automatic admin interface, URL routing, form handling, authentication, and more. Django’s batteries-included approach makes it well-suited for complex web applications, content management systems, and e-commerce platforms.
To start a Django project, you can use the “django-admin” command to create the project structure. Once the project is set up, you define models to represent your data, create views to handle user requests, and develop templates to render the HTML. Django’s powerful ORM simplifies database interaction by providing an intuitive API for querying and manipulating data. With Django’s extensive ecosystem and community support, you can find a wide range of reusable apps and packages to enhance your web application.
Flask: Flask is a lightweight web framework that follows a micro-framework approach. It provides a minimalistic and flexible core, giving you the freedom to choose your database, templating engine, and other components. Flask is well-suited for small to medium-sized projects and RESTful APIs. It provides essential features like URL routing, request/response handling, and session management. Flask allows for easy extension through its modular design, and you can add functionality through various Flask extensions available in the community.
To start a Flask project, you initialize an instance of the Flask class and define routes using decorators to map URLs to view functions. Flask also supports Jinja2 templating engine for rendering dynamic HTML templates. With its simplicity and flexibility, Flask offers developers the freedom to structure their applications based on their specific needs and preferences.
Both Django and Flask have vibrant communities that provide extensive documentation, tutorials, and support. Depending on your project requirements, you can choose the framework that best fits your needs. Django is ideal for large, complex projects that require a comprehensive feature set, while Flask is well-suited for smaller projects that emphasize simplicity and customization.
Web development in Python offers a powerful and efficient way to build robust and scalable web applications. Whether you choose Django or Flask, Python’s web frameworks provide the necessary tools and features to streamline your development process and create dynamic and interactive web experiences.
Machine Learning and Data Science
Python has become a language of choice for machine learning and data science due to its extensive ecosystem of libraries and frameworks. In this section, we will explore the resources available in Python for machine learning and data science tasks, enabling you to efficiently analyze and draw insights from data.
NumPy: NumPy is a fundamental library for numerical computing in Python. It provides support for large, multi-dimensional arrays and matrices, along with a collection of mathematical functions for performing efficient numerical operations. NumPy forms the foundation for many other libraries in the data science ecosystem, ensuring high-performance computations and data manipulation.
pandas: pandas is a popular library widely used for data manipulation and analysis. It provides flexible data structures, like DataFrames, for efficiently handling structured data. pandas offers a rich set of functions to clean, transform, and query data, making it a valuable tool for data preprocessing and exploration.
scikit-learn: scikit-learn is a comprehensive machine learning library that provides a wide range of algorithms and tools for classification, regression, clustering, and more. With scikit-learn, you can preprocess data, train models, evaluate performance, and make predictions or inferences from the data. It provides a consistent API, making it easy to experiment with different algorithms and techniques.
TensorFlow: TensorFlow is a powerful and popular open-source library for machine learning and deep learning. It allows you to build and train neural networks, including deep neural networks, using a flexible and intuitive API. TensorFlow offers a range of high-level APIs for ease of use and low-level APIs for maximum flexibility. It enables distributed computing for scaling machine learning tasks across multiple devices and platforms.
PyTorch: PyTorch is another widely used deep learning library in Python. It provides dynamic computational graphs, allowing for easier debugging and more flexibility during model development. PyTorch offers a wide array of pre-built model architectures, and it excels in research and prototyping due to its easy-to-understand code and dynamic nature.
Keras: Keras is a high-level neural networks library that can run on top of TensorFlow or others in the backend. It provides a user-friendly API for building and training deep learning models. Keras enables rapid prototyping and provides a range of predefined neural network architectures, making it suitable for beginners and experienced practitioners alike.
These are just a few examples of the tools available in Python for machine learning and data science. Python’s rich ecosystem makes it versatile for developing end-to-end data pipelines, from data preprocessing and exploration to model development and deployment. Whether you are working with structured data, images, text, or time series, Python provides the necessary tools and libraries to solve a wide range of machine learning and data science challenges.
Conclusion
In this guide, we have explored the essential components of setting up a Python workstation. From installing Python itself to choosing an integrated development environment (IDE), setting up virtual environments, managing packages, version control, and exploring various modules and libraries for web development, data visualization, machine learning, and data science, we have covered a wide range of topics.
Setting up a Python workstation is a crucial step towards becoming a proficient Python developer. By having a well-equipped workstation, you can enhance your coding experience, improve productivity, and take advantage of the vast ecosystem of modules and libraries available in Python for different domains.
Python’s versatility and simplicity make it a popular language for web development, data analysis, machine learning, and more. The availability of powerful frameworks and libraries such as Django and Flask for web development, NumPy and pandas for data manipulation, scikit-learn and TensorFlow for machine learning, and matplotlib and Plotly for data visualization enables you to tackle a wide range of projects effectively.
As you continue your journey in Python development, it is important to stay updated with the latest advancements in the Python ecosystem. Explore new libraries and frameworks, experiment with different techniques, and actively contribute to the Python community.
Remember, building a solid foundation in Python requires practice, patience, and continuous learning. Embrace challenges, seek opportunities to apply your skills, and never hesitate to seek help from the vast resources and communities available to you. With dedication and perseverance, you will continue to grow as a skilled Python developer.
So, set up your Python workstation, embark on exciting projects, and unlock the full potential of this powerful programming language!