Prerequisites
Before you can install pip on your Windows computer, there are a few prerequisites you need to have in place. These prerequisites ensure that the installation process goes smoothly and that you have all the necessary tools to start using pip. Here’s what you need:
- Python: First and foremost, you need to have Python installed on your computer. Pip is a package installer for Python, so it requires Python to be already set up. If you haven’t installed Python yet, you can download the latest version from the official Python website (python.org). Make sure to download the appropriate version for your operating system.
- Command Prompt: To run the necessary commands and install pip, you’ll need to open the Command Prompt. The Command Prompt is a command-line interpreter that allows you to interact with your computer through text-based commands. It comes pre-installed with Windows, so you should be able to access it easily by searching for “Command Prompt” in the Start menu.
- Internet Connection: Since pip installs packages from the internet, you’ll need a stable internet connection to download and install packages. Make sure you have a reliable internet connection before proceeding with the installation process.
Once you have these prerequisites in place, you’re ready to move on to the next steps and start installing pip on your Windows computer. Make sure to follow the instructions carefully to ensure a successful installation.
Step 1: Install Python
The first step in installing pip on your Windows computer is to install Python. Pip is a package installer for Python, so having Python installed is a prerequisite. Follow these steps to install Python:
- Visit the official Python website (python.org) and navigate to the “Downloads” section.
- Choose the appropriate Python version for your operating system. For Windows, you’ll typically want to download the latest stable release.
- Click on the download link to start the installation process. The installer should begin downloading automatically.
- Once the installer is downloaded, double-click on it to launch the installer. You may need administrator privileges to proceed.
- On the first installation screen, make sure to check the box that says “Add Python to PATH”. This will allow you to use Python from the Command Prompt.
- Choose the installation location for Python. The default location is usually fine, but you can choose a different directory if desired.
- Click on the “Install” button to begin the installation process. The installer will extract and install the necessary files.
- After the installation is complete, you should see a screen that says “Setup was successful”.
With Python successfully installed on your computer, you can now proceed to the next step of setting up the Python environment variables.
Step 2: Set up Python Environment Variables
To use Python and pip from the Command Prompt, you need to set up the Python environment variables. These variables specify the paths to the Python executable and its associated libraries, allowing the Command Prompt to recognize and run Python commands. Follow these steps to set up the Python environment variables:
- Open the Control Panel on your Windows computer.
- Navigate to System and Security, and then click on System. This will open the System Properties window.
- Click on the “Advanced system settings” link on the left side of the window. This will open the System Properties dialog box.
- In the System Properties dialog box, click on the “Environment Variables” button. This will open the Environment Variables window.
- In the “System variables” section, scroll down and find the “Path” variable. Select it and click on the “Edit” button.
- In the Edit Environment Variable window, click on the “New” button to add a new path.
- Enter the path to the Python installation directory. The default path is usually “C:\PythonXX” (where XX represents the version number), but you may have chosen a different path during the installation.
- Click on the “OK” button to save the path. Make sure the path appears in the list of paths in the “Path” variable.
- Click on the “OK” button to close the Environment Variables window.
- Click on the “OK” button to close the System Properties dialog box.
With the Python environment variables set up, you can now open the Command Prompt and start using pip to install packages and manage your Python environment.
Step 3: Open the Command Prompt
To install pip and manage packages, you need to open the Command Prompt on your Windows computer. The Command Prompt is a command-line interpreter that allows you to execute commands and interact with your computer using text-based commands. Follow these steps to open the Command Prompt:
- Click on the Start button in the bottom left corner of your screen.
- Type “Command Prompt” in the search bar.
- From the search results, click on the “Command Prompt” app to open it.
Alternatively, you can also open the Command Prompt by using the Run dialog box. Here’s how:
- Press the Windows key + R to open the Run dialog box.
- Type “cmd” or “cmd.exe” in the text box.
- Press Enter or click on the “OK” button to open the Command Prompt.
Once the Command Prompt is open, you can proceed to the next step – installing pip on your Windows computer.
Step 4: Install pip
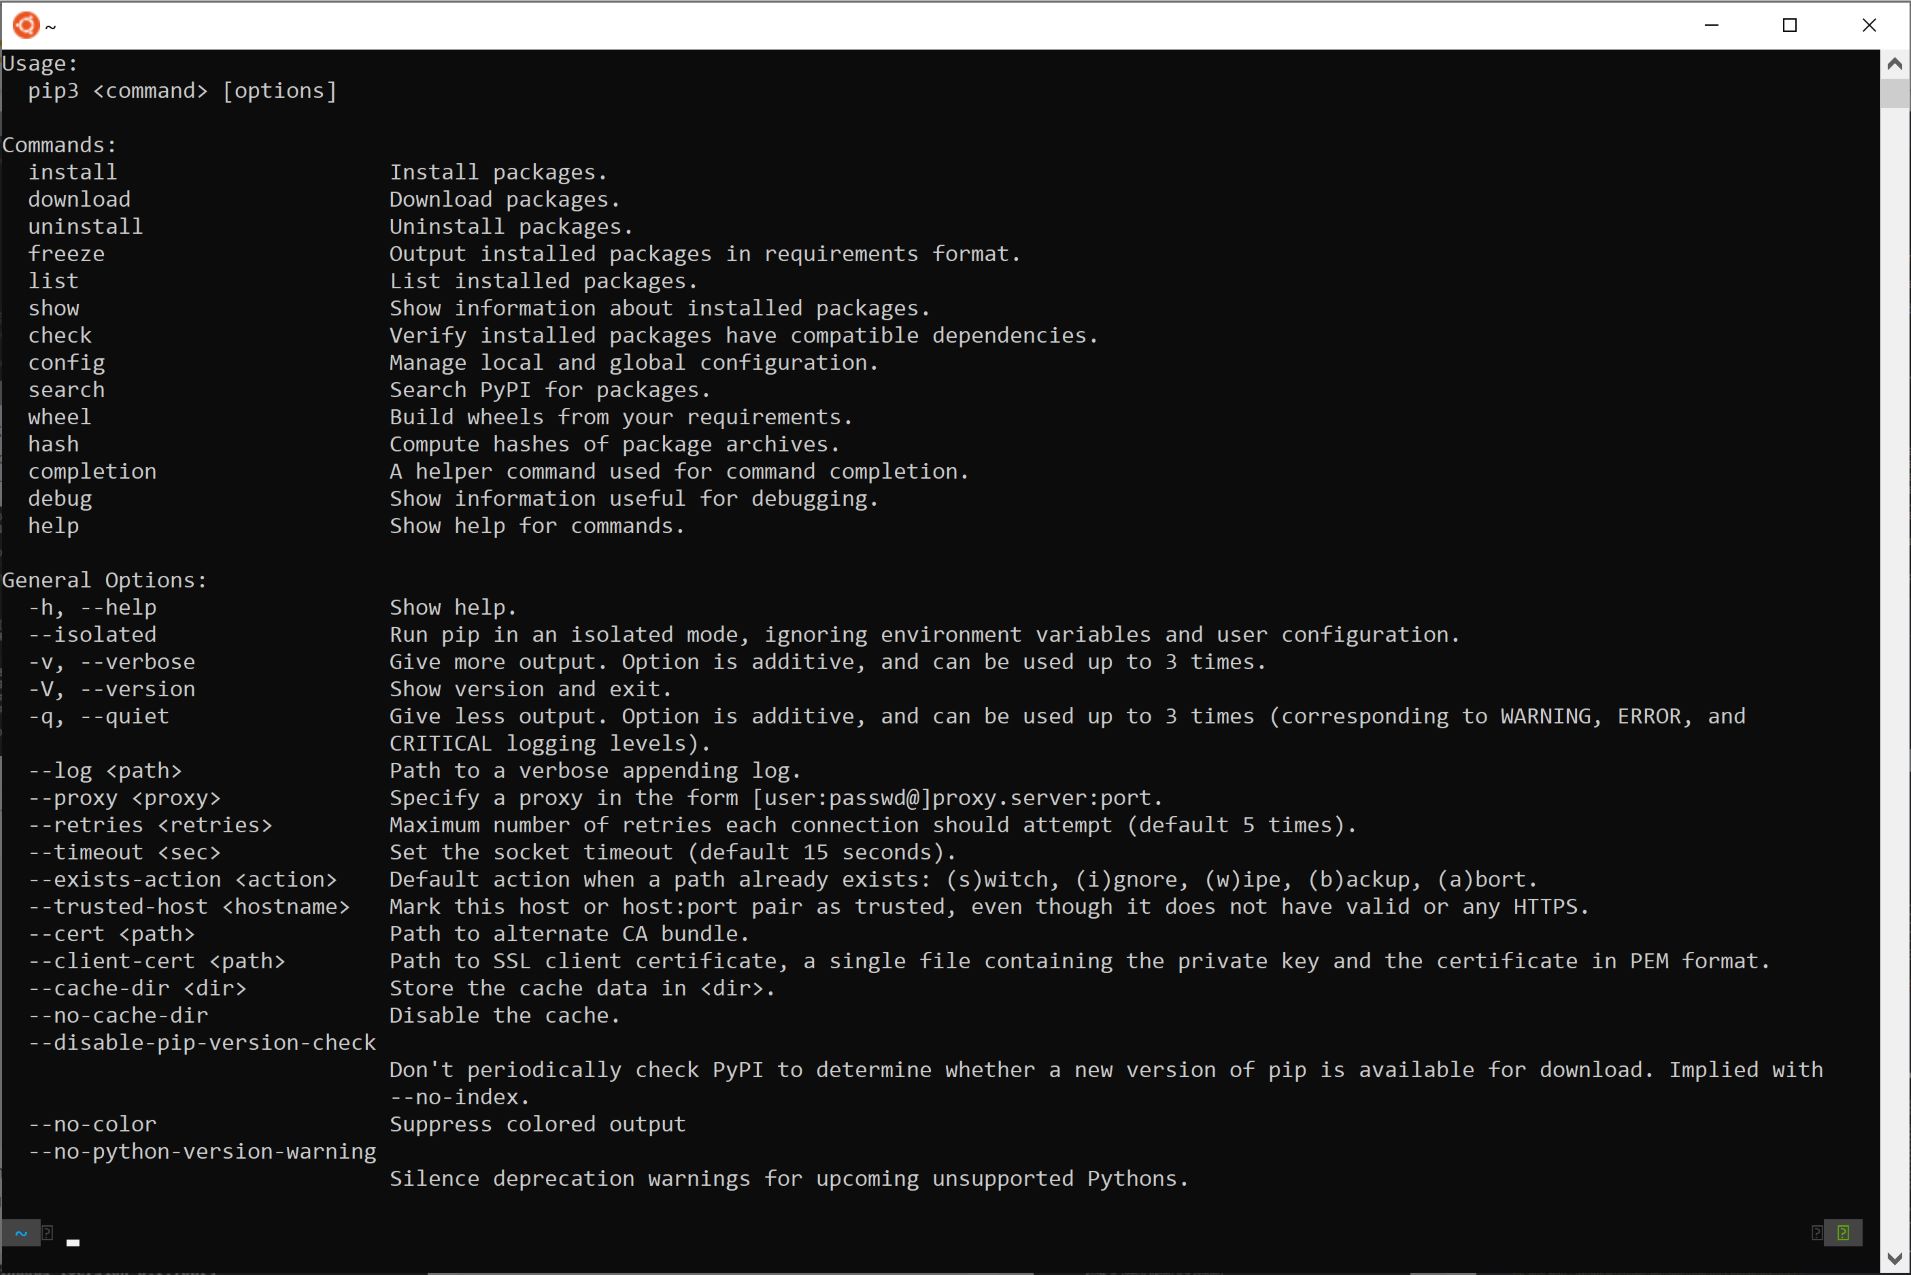
Now that you have Python installed and the Command Prompt open, you’re ready to install pip. Pip is a package management system used to install and manage software packages written in Python. Follow these steps to install pip on your Windows computer:
-
- In the Command Prompt, type the following command:
python get-pip.py- Press Enter to execute the command. This command will download and install the latest version of pip.
- Wait for the installation process to complete. You’ll see a series of progress messages indicating the installation status.
- Once the installation is done, you’ll see a message confirming that pip has been installed successfully.
It’s important to note that if you have multiple versions of Python installed on your computer, you need to make sure that you’re executing the command with the appropriate version. You can specify the version explicitly by using the Python executable’s full path instead of just typing “python” in the command.
With pip installed, you can now use it to install Python packages and manage your Python environment. Proceed to the next step to learn how to verify the installation.
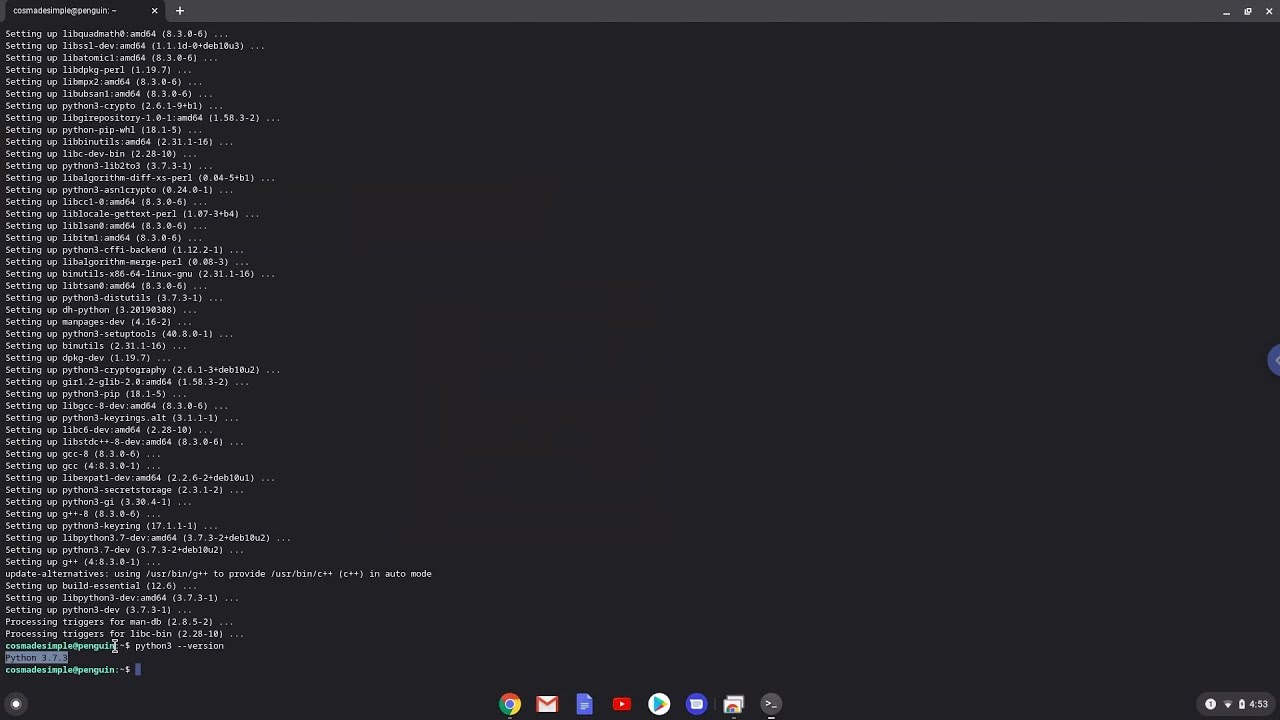
Step 5: Verify installation
After installing pip on your Windows computer, it’s essential to verify that the installation was successful. Verifying the installation will ensure that you can use pip to install and manage Python packages without any issues. Follow these steps to verify the installation of pip:
-
- In the Command Prompt, type the following command:
pip --version- Press Enter to execute the command. This command will display the version of pip installed on your system.
- Make sure that the output of the command shows the version number of pip without any errors. It should look something like “pip x.x.x” where “x.x.x” represents the version number.
- If you see the version number displayed, it means that pip is installed and working correctly on your Windows computer.
If you encounter any errors or if the command doesn’t display the version number, it could indicate that something went wrong during the installation process. In such cases, you may need to troubleshoot the installation or reinstall pip to resolve the issue.
With pip successfully installed and verified, you can proceed to the next steps to learn how to install packages, upgrade packages, and uninstall packages using pip.
Step 6: Install packages using pip
Now that pip is installed and verified, you can start using it to install packages for your Python projects. Pip allows you to easily install third-party libraries and modules, making it simple to enhance the functionality of your Python programs. Here’s how you can install packages using pip:
-
- In the Command Prompt, type the following command:
pip install package_name-
- Replace “package_name” with the name of the package you want to install. For example, to install the requests package, you would type:
pip install requests- Press Enter to execute the command. Pip will download the package from the Python Package Index (PyPI) and install it on your system.
- Wait for the installation process to complete. Pip will display progress messages indicating the status of the installation.
- Once the installation is finished, you’ll see a message confirming that the package has been installed successfully.
You can install multiple packages at once by separating their names with spaces. For example:
pip install package1 package2 package3After installing a package, you can import it in your Python code and start using its functionality. Pip will automatically manage the package’s dependencies and ensure that the required modules are installed as well.
Using pip to install packages is a convenient way to extend the capabilities of your Python projects. Proceed to the next step to learn how to upgrade packages using pip.
Step 7: Upgrade packages using pip
As software packages evolve and new versions are released, it’s essential to keep your installed packages up to date. Fortunately, pip makes it easy to upgrade packages to their latest versions. Here’s how you can upgrade packages using pip:
-
- In the Command Prompt, type the following command:
pip install --upgrade package_name-
- Replace “package_name” with the name of the package you want to upgrade. For example, to upgrade the requests package, you would type:
pip install --upgrade requests- Press Enter to execute the command. Pip will check for any available updates and download the latest version of the package.
- Wait for the upgrade process to complete. Pip will display progress messages indicating the status of the upgrade.
- Once the upgrade is finished, you’ll see a message confirming that the package has been upgraded successfully.
You can also upgrade multiple packages at once by separating their names with spaces:
pip install --upgrade package1 package2 package3It’s a good practice to regularly upgrade your packages to take advantage of bug fixes, new features, and improved performance. However, it’s important to note that major version upgrades of packages may introduce breaking changes, so it’s recommended to review the release notes and test your code after upgrading.
Now that you know how to upgrade packages using pip, you can keep your Python environment up to date with the latest versions of your installed packages. Proceed to the next step to learn how to uninstall packages using pip.
Step 8: Uninstall packages using pip
Sometimes, you may need to uninstall a package that you no longer need or want to remove from your Python environment. Pip makes the process of uninstalling packages straightforward. Follow these steps to uninstall packages using pip:
-
- In the Command Prompt, type the following command:
pip uninstall package_name-
- Replace “package_name” with the name of the package you want to uninstall. For example, to uninstall the requests package, you would type:
pip uninstall requests- Press Enter to execute the command. Pip will confirm your intent to uninstall the package.
- Enter “y” and press Enter to confirm the uninstallation.
- Pip will proceed to uninstall the package and remove it from your system.
- Once the uninstallation is complete, you’ll see a message confirming the successful removal of the package.
You can also uninstall multiple packages at once by separating their names with spaces:
pip uninstall package1 package2 package3It’s important to note that uninstalling a package will remove it completely from your Python environment, including any dependent packages that were installed alongside it. Exercise caution when uninstalling packages to avoid unintentionally removing essential dependencies.
Now that you know how to uninstall packages using pip, you can easily manage the packages in your Python environment. Congratulations on reaching the final step!
Conclusion
Congratulations! You have successfully learned how to install and use pip, the package installer for Python, on your Windows computer. With pip, you are now equipped with a powerful tool to manage and install third-party packages for your Python projects.
In this guide, we covered the essential steps to set up your Python environment, including installing Python itself, setting up the necessary environment variables, and opening the Command Prompt. We then walked through the installation of pip and verified its successful installation.
You also learned how to use pip to install packages, upgrade them to their latest versions, and uninstall them when necessary. These capabilities are crucial for keeping your Python environment up to date and ensuring that you have access to the latest features and bug fixes from the Python community.
Remember to use pip responsibly and be cautious when installing, upgrading, or uninstalling packages. It’s always a good practice to review the documentation, release notes, and dependencies of the packages you’re working with to ensure compatibility with your projects.
With your newfound knowledge of pip installation and usage, you can take your Python development to the next level. Happy coding!