Introduction
Welcome to the digital age, where downloading files has become a regular part of our online experience. Whether it’s downloading documents for work, music and movies for entertainment, or software and applications for personal use, the downloads folder on our PC can quickly fill up with a flurry of files. However, as time passes, some of these downloaded files may become obsolete or simply clutter up our system, taking up valuable storage space.
So, what can you do to tidy up your downloads folder and reclaim that precious space on your PC? In this article, we will explore various methods to help you delete downloads on your PC effectively.
By following these techniques, you can organize your downloads folder, remove unnecessary files, and optimize the performance of your computer. Whether you’re a Windows user or a Mac aficionado, we’ve got you covered with methods that are applicable across different operating systems.
Ready to learn how to effectively delete your downloads on your PC? Let’s dive in!
Methods to Delete Downloads on PC
Now that you understand the importance of decluttering your downloads folder, let’s explore some effective methods to delete downloads on your PC.
- Deleting Individual Downloaded Files: The simplest method to clean up your downloads folder is by manually deleting individual files. Open your downloads folder, select the files you wish to remove, right-click, and choose the “Delete” option. Alternatively, you can use the keyboard shortcut “Shift + Delete” to permanently delete the selected files without sending them to the recycle bin.
- Clearing Downloads Folder: If you have a large number of files in your downloads folder, clearing everything at once can be more efficient. To do this, open the downloads folder, press “Ctrl + A” to select all the files, and then press the “Delete” key. Confirm the deletion, and the files will be permanently removed from your system.
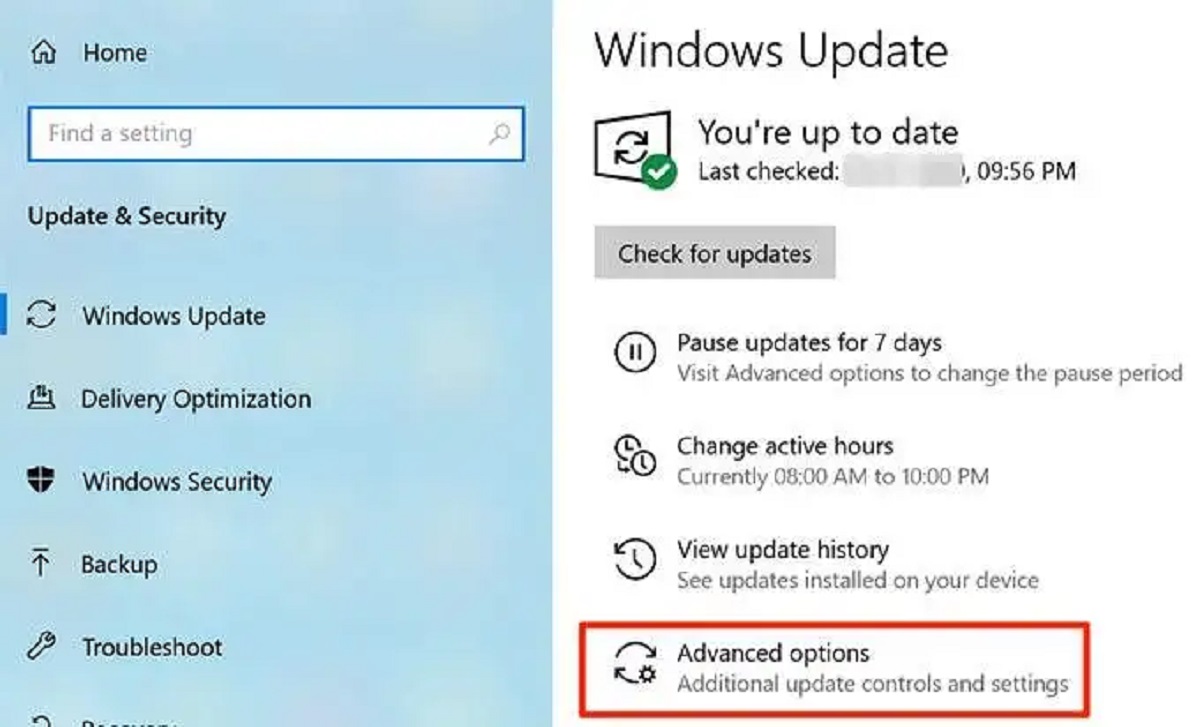
- Using Disk Cleanup Utility: Windows users can utilize the built-in Disk Cleanup utility to delete unnecessary files, including those in the downloads folder. Simply search for “Disk Cleanup” in the Windows search bar, select your main drive (usually C:), and choose the “Downloads” option from the list. Click “OK” to initiate the cleaning process, and the utility will remove all unnecessary files from your downloads folder.
- Deleting Downloads on Web Browsers: Web browsers often save downloaded files in separate folders. To delete downloads from your browser, open the browser settings, locate the downloads section, and follow the instructions to clear the list of downloaded files. Different browsers have varying methods for accessing and clearing their downloads history, so refer to your browser’s documentation for specific instructions.
These methods provide flexible options for managing and deleting your downloads on your PC. Whether you prefer a selective approach or a bulk deletion process, these techniques will help you regain valuable storage space and keep your system organized.
Now that you’re armed with the knowledge of various methods to delete downloads on your PC, go ahead and take action to declutter your system. Don’t let unnecessary files clog up your storage space any longer. Choose the method that suits your preferences and get rid of those unwanted downloads!
Deleting Individual Downloaded Files
One of the simplest and most straightforward methods to clean up your downloads folder is by deleting individual downloaded files. This method gives you the flexibility to choose which files to remove based on your preferences and requirements.
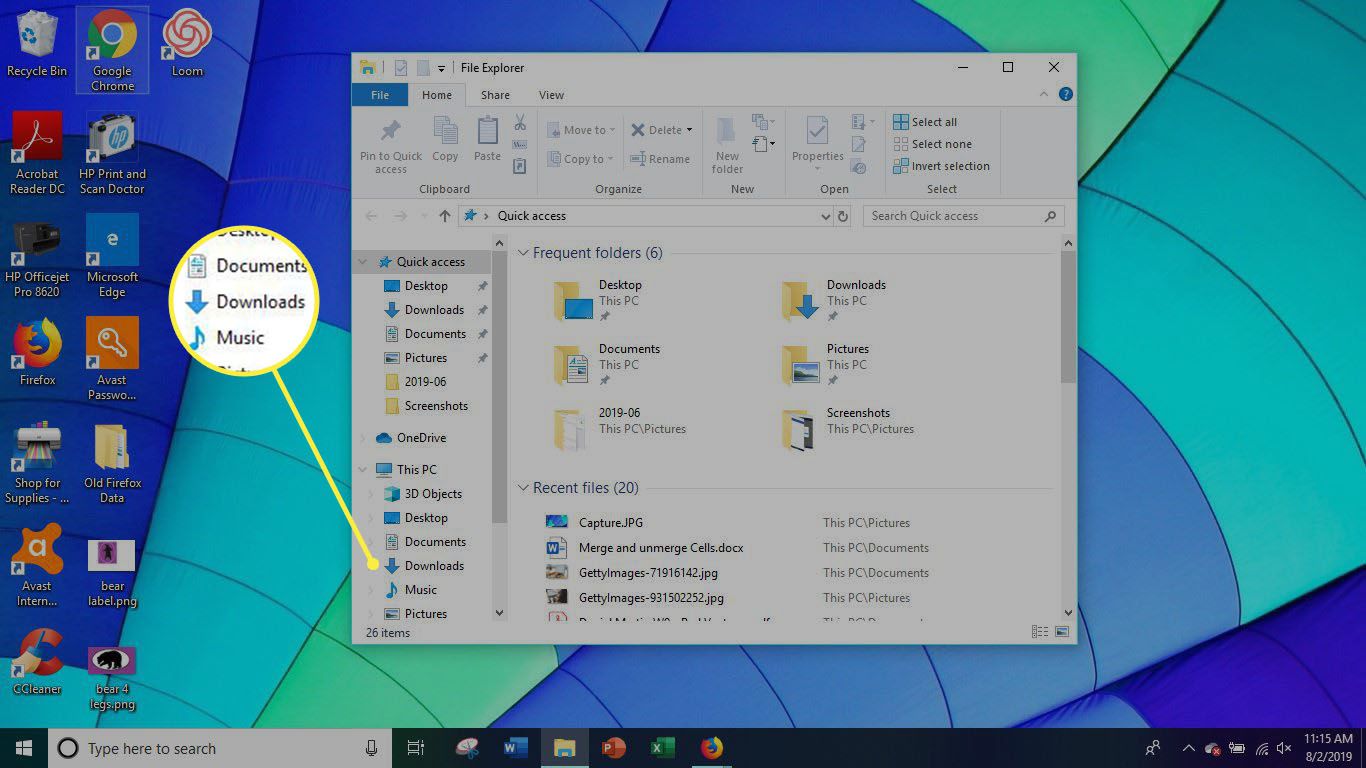
To delete individual downloaded files, open your downloads folder and locate the files that you want to remove. You can navigate to the downloads folder by clicking on the file explorer icon in your taskbar and selecting “Downloads” from the left sidebar.
Once you are in the downloads folder, you can use your mouse to select the files you wish to delete. To select multiple files, hold down the “Ctrl” key on your keyboard and click on each file you want to remove. Alternatively, you can select a range of files by clicking the first file, holding down the “Shift” key, and then clicking on the last file in the range.
After selecting the files, right-click on any of the selected files and choose the “Delete” option from the context menu. This will move the files to the recycle bin.
If you want to permanently delete the files without sending them to the recycle bin, you can use the keyboard shortcut “Shift + Delete” after selecting the files. Be cautious when using this method, as the files will be permanently removed from your system and cannot be recovered from the recycle bin.
Confirm the deletion, and the selected files will be removed from your downloads folder. Depending on the number and size of the files, this process may take a few moments to complete.
Deleting individual downloaded files gives you the flexibility to keep the files that you still need while removing those that are no longer relevant or taking up valuable storage space. Regularly reviewing and deleting individual files from your downloads folder can help keep it organized and prevent it from becoming cluttered over time.
Clearing Downloads Folder
If your downloads folder is filled with a large number of files, clearing the entire folder at once can be a more efficient method to declutter your PC.
To clear your downloads folder, start by opening the file explorer on your PC. You can do this by clicking on the file explorer icon in your taskbar or by pressing the “Windows key + E” on your keyboard.
In the file explorer, navigate to the location of your downloads folder. By default, the downloads folder is usually located in your user directory, which can be accessed by selecting your username from the left sidebar and then clicking on the “Downloads” folder.
Once you are in the downloads folder, press the “Ctrl + A” keyboard shortcut to select all the files in the folder. Alternatively, you can click on any file in the folder, press “Ctrl + A” to select all the files, or use the “Edit” menu at the top of the file explorer and choose the “Select All” option.
With all the files selected, press the “Delete” key on your keyboard or right-click on the selected files and choose the “Delete” option from the context menu. This will move all the files to the recycle bin.
Next, you need to empty the recycle bin to permanently delete the files from your PC. To do this, right-click on the recycle bin icon on your desktop and choose the “Empty Recycle Bin” option. Confirm the deletion, and the files will be permanently removed from your system.
It’s important to note that once the files are deleted from the recycle bin, they cannot be recovered. Therefore, make sure to double-check the files you are deleting before emptying the recycle bin.
Clearing your entire downloads folder is a quick and efficient method to remove all unnecessary files and free up valuable storage space on your PC. It provides a clean slate for new downloads and helps maintain an organized system.
Using Disk Cleanup Utility
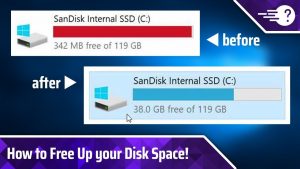
Windows users can take advantage of the built-in Disk Cleanup utility to easily delete unnecessary files, including those in the downloads folder. This utility helps free up disk space and optimize the performance of your PC.
To access and use the Disk Cleanup utility, follow these steps:
- Press the “Windows key + S” on your keyboard to open the Windows search bar.
- Type “Disk Cleanup” and click on the “Disk Cleanup” app from the search results.
- Once the Disk Cleanup utility opens, select the drive where your operating system is installed (usually the C: drive) and click “OK”.
- The utility will analyze the drive and present a list of files that can be deleted to free up space.
- Scroll down the list and locate the “Downloads” option. Check the box next to it to include downloads in the cleanup process.
- Click on the “OK” button to initiate the cleanup process.
- Confirm any prompts that appear to proceed with the cleanup.
The Disk Cleanup utility will now start removing unnecessary files from your system, including the files in your downloads folder. This process may take some time depending on the size of the files and the overall speed of your PC.
By utilizing the Disk Cleanup utility, you can easily delete unnecessary files, including those in your downloads folder, and regain valuable storage space on your PC. This method is especially useful if you want a comprehensive cleanup of your system, eliminating not only downloads but also other types of temporary files and system-generated files.
Regularly running the Disk Cleanup utility can help maintain the performance and efficiency of your PC, ensuring that you have enough disk space for new downloads and preventing your system from becoming cluttered.
Deleting Downloads on Web Browsers
Web browsers often have their own designated folders where downloaded files are saved. To effectively manage and delete downloads, it’s essential to understand how to delete downloads from within your specific web browser.
Here are the general steps to delete downloads on popular web browsers:
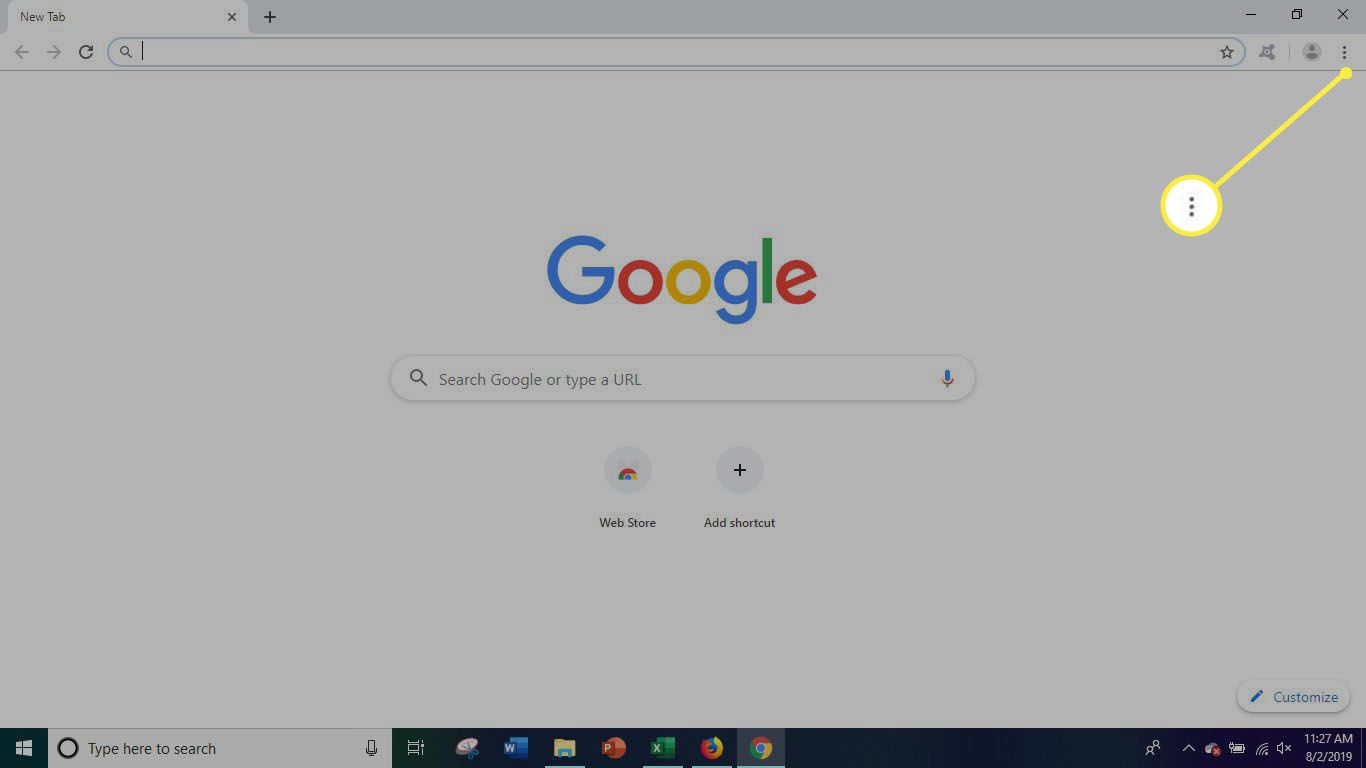
- Google Chrome: Open Google Chrome and click on the three-dot menu icon in the top-right corner. From the drop-down menu, hover over “More tools” and select “Clear browsing data”. In the pop-up window, make sure the “Downloads” option is selected, choose the time range for which you want to delete downloads, and click on “Clear data”.
- Mozilla Firefox: Open Mozilla Firefox and click on the three-line menu icon in the top-right corner. From the menu, select “Options” and go to the “Privacy & Security” tab. Scroll down to the “Downloads” section and click on the “Clear Downloads” button. Confirm the deletion, and your downloaded files will be removed.
- Microsoft Edge: Open Microsoft Edge and click on the three-dot menu icon in the top-right corner. From the menu, select “Settings” and go to the “Privacy, search, and services” tab. Scroll down to the “Clear browsing data” section and click on “Choose what to clear”. Make sure the “Downloads” option is selected and click on the “Clear” button to delete the downloads.
- Apple Safari: Open Apple Safari and click on “Safari” in the menu bar. From the drop-down menu, select “Preferences” and go to the “General” tab. Click on the “Remove All” button next to the “Downloads” heading to delete all downloaded files. Alternatively, you can browse the downloads list, right-click on specific files, and choose the “Remove from list” option.
These are general guidelines for deleting downloads on popular web browsers. However, please note that different browser versions and settings may have slight differences in the location and methods for deleting downloads. It’s always a good idea to refer to your browser’s official documentation or support resources for precise instructions.
Regularly clearing your browser’s downloaded files can help free up storage space and keep your browser running smoothly. It also ensures that your downloads are organized, making it easier to find and manage the files you need.
Conclusion
Taking the time to clean up your downloads on your PC is essential for maintaining an organized system and optimizing storage space. With the methods discussed in this article, you can effectively delete downloads and free up valuable disk space on your computer.
Whether you choose to delete individual downloaded files, clear your entire downloads folder, use the Disk Cleanup utility, or delete downloads within web browsers, it’s important to regularly review and remove unnecessary files. This not only helps keep your system organized but also improves the overall performance of your PC.
Remember, it’s crucial to exercise caution when deleting files, especially if you are permanently removing them from your system. Always double-check the files you are deleting and make sure to backup any important files before deleting them.
By adopting the habit of regularly managing your downloads folder, you can prevent it from becoming cluttered and overwhelmed with unnecessary files. This allows for a smoother workflow and easier access to the files that matter most to you.
So, go ahead and use these methods to declutter your downloads and optimize your PC’s storage. Enjoy a cleaner, more organized digital environment that will enhance your productivity and overall computer performance.
Start implementing these methods today and experience the benefits of a clean and efficient downloads folder on your PC!