How To Draw A Minecraft Creeper: A Beginner’s Guide to Pixel Art
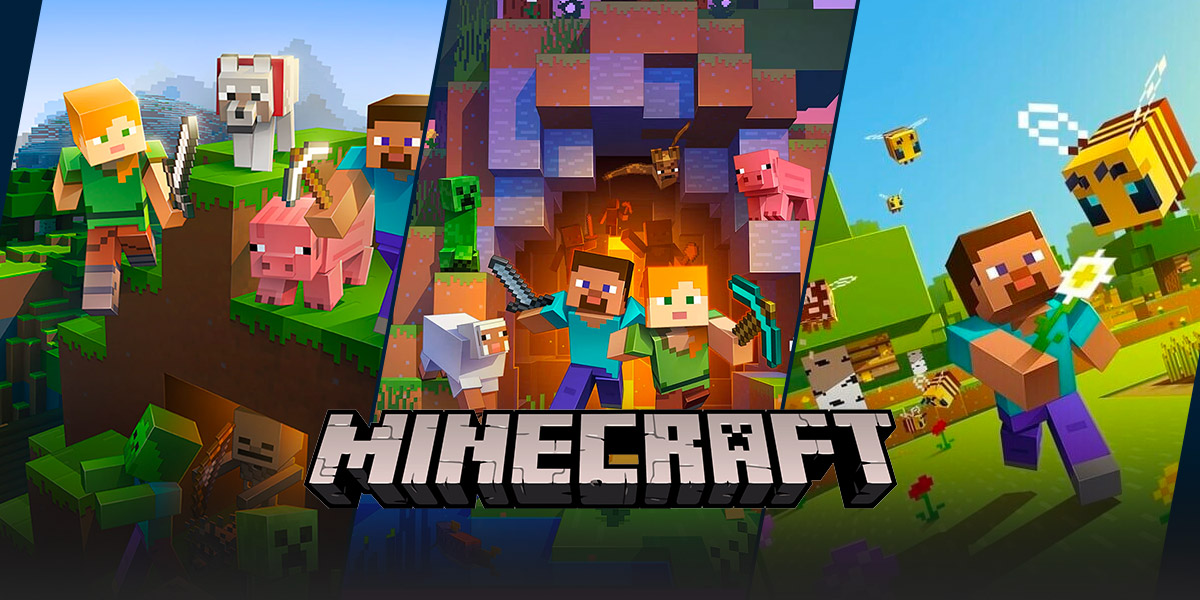
Welcome to the world of Minecraft, where creativity knows no bounds! One of the most iconic characters in this virtual universe is the Creeper. The Creeper is known for its distinctive green appearance and its explosive personality. Whether you’re an avid Minecraft player or a fan of pixel art, learning how to draw a Minecraft Creeper can be a fun and rewarding experience. In this blog post, we will provide you with step-by-step instructions on how to create your very own Minecraft Creeper masterpiece.
Key Takeaways:
- Pixel art is a popular form of digital art that utilizes small, square-shaped blocks to create images.
- Mastering the art of drawing a Minecraft Creeper can help you enhance your creativity and pixel art skills.
Step 1: Gather Your Materials
Before we start drawing, it’s important to gather all the necessary materials. Here’s what you’ll need:
- A blank sheet of paper
- A pencil
- An eraser
- A set of colored pencils or markers
Step 2: Sketch the Outline
Start by lightly sketching the basic outline of the Creeper using your pencil. Remember, the Creeper is a rectangular character with a distinct head and body shape. Take your time to get the proportions right, as this will serve as the foundation for the rest of your drawing.
Step 3: Add the Details
Now it’s time to add the details that bring the Creeper to life. Here are the key features to focus on:
- Face: The Creeper’s face is made up of two black rectangles for the eyes and a horizontal black rectangle for the mouth. Make sure to leave a small gap between the eyes and the mouth to capture its signature expression.
- Body: The Creeper’s body consists of various shades of green. Use lighter and darker greens to create depth and dimension. Don’t forget to add the vertical lines on its body to represent the squares.
- Legs: The Creeper has four legs, each made up of three rectangles. Make sure the legs are evenly spaced and proportionate to the body.
Step 4: Color It In
Once you’re happy with the outline and details, it’s time to bring some color to your drawing. Use your colored pencils or markers to fill in the different parts of the Creeper. Remember to use shades of green for the body, black for the face, and any other colors you desire for added flair. Be creative and make it your own!
Step 5: Final Touches
After coloring, take a moment to step back and admire your masterpiece. If there are any stray pencil lines or smudges, use your eraser to clean them up. You can also add shading or highlights to make your Creeper stand out even more.
Congratulations! You’ve successfully learned how to draw a Minecraft Creeper. Now, you can show off your artwork to your friends, display it on your wall, or even share it on social media. Remember, practice makes perfect, so feel free to experiment with different styles and techniques to further refine your pixel art skills.
Key Takeaways:
- Pixel art is a popular form of digital art that utilizes small, square-shaped blocks to create images.
- Mastering the art of drawing a Minecraft Creeper can help you enhance your creativity and pixel art skills.
We hope this guide has inspired you to unleash your inner artist and dive into the world of Minecraft pixel art. Happy drawing!


