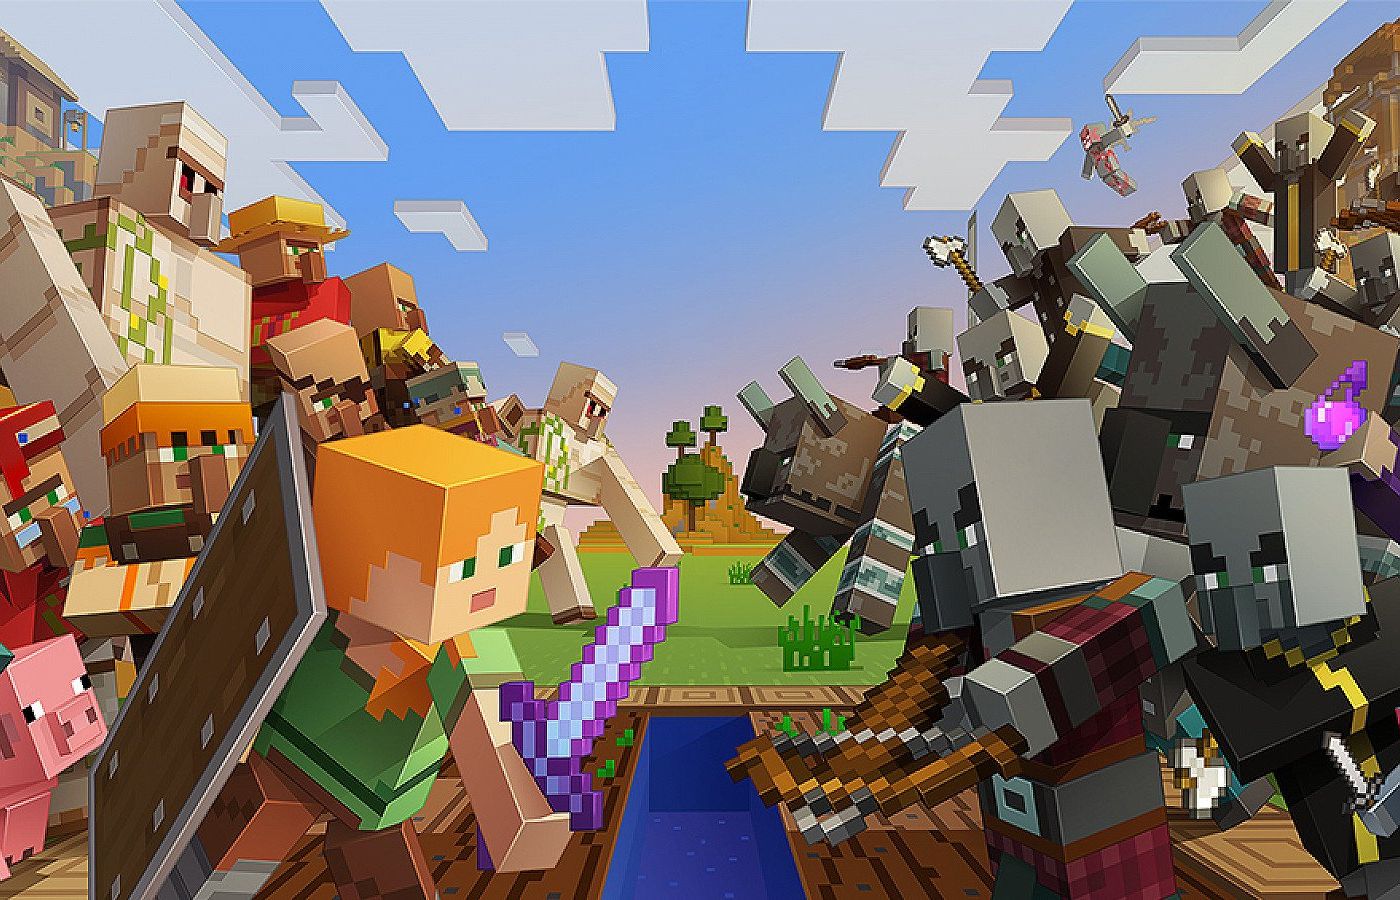
Unleash Your Creativity: Learn How to Draw a Minecraft Zombie
Are you a fan of Minecraft and want to bring your favorite game characters to life? If so, you’re in the right place! In this blog post, we’ll guide you through the step-by-step process of drawing a Minecraft Zombie. Whether you’re an experienced artist or just starting out, this tutorial is perfect for both kids and adults. So grab your pencils and get ready to immerse yourself in the pixelated world of Minecraft!
Key Takeaways:
- Learn how to draw a Minecraft Zombie step by step
- Discover tips and tricks to make your drawing more lifelike
Step 1: Gather Your Art Supplies
Before we start drawing, it’s essential to have the right tools. Here’s what you’ll need:
- A sketchbook or a blank sheet of paper
- Pencils (preferably with varying degrees of hardness)
- An eraser
Step 2: Begin with Basic Shapes
Start by sketching the general shape of the Minecraft Zombie. Remember, their overall form is a square or a rectangle. Begin with a large square for the head and a smaller rectangle below it for the body. Use light strokes, as these will serve as your guide and can be erased later.
Step 3: Add Facial Features
The next step is to add the unique facial features of the Minecraft Zombie. Draw two small square-shaped eyes, followed by a larger rectangular mouth with some jagged teeth. Don’t worry about making it perfect – the pixelated look adds to the character’s charm!
Step 4: Define the Body
Now, it’s time to define the body. Extend the rectangle from the lower body to create the legs. Add some curves at the bottom to create the feet. Next, draw a pair of square-shaped, blocky arms on either side of the body.
Step 5: Detailing Time!
Give your Minecraft Zombie some depth and definition by adding a few details. Draw some square-shaped patches on the body, signifying its deteriorated state. You can also add some pixelated patterns on the arms and legs to make them look blockier. Let your imagination run wild!
Step 6: Erase and Refine
Now that you have the main structure and details, erase any unnecessary lines and shadows. Clean up your drawing, refining the edges and making sure everything looks smooth.
Step 7: Coloring is Optional
As a final touch, you can color your Minecraft Zombie. Since Minecraft has a distinct pixelated style, consider using blocky, solid colors to fill in your drawing. Play around with shades and textures to make your creation come to life!
Congratulations! You have successfully drawn a Minecraft Zombie. You can now showcase your artwork to your friends and fellow Minecraft enthusiasts. Remember, the key to improving your drawing skills is practice. Keep exploring the Minecraft universe, try drawing different characters, and watch your artistic abilities soar!
Key Takeaways:
- Learn how to draw a Minecraft Zombie step by step
- Discover tips and tricks to make your drawing more lifelike