Introduction
When it comes to reliving the nostalgia of classic Nintendo Entertainment System (NES) games, the Jnes emulator stands out as a popular choice among retro gaming enthusiasts. This emulator allows users to play their favorite NES titles on modern devices, providing an authentic gaming experience reminiscent of the 8-bit era. While the keyboard can serve as a functional input device, many users prefer the tactile feedback and precision control offered by a game controller. Fortunately, Jnes supports various types of game controllers, including USB and Bluetooth options, allowing gamers to immerse themselves fully in the timeless classics of the NES library. In this guide, we will explore the steps to use a USB game controller and a Bluetooth game controller with the Jnes emulator, as well as the process of configuring the controller within the emulator settings.
Whether you’re a seasoned retro gamer or a newcomer eager to explore the iconic NES titles, incorporating a game controller into the Jnes emulator can elevate your gaming experience to new heights. With the ability to seamlessly connect and configure controllers, Jnes offers a user-friendly interface that caters to the diverse preferences of retro gaming enthusiasts. Let’s delve into the world of classic NES gaming and discover how to enhance your gameplay with the use of game controllers on the Jnes emulator.
Using a USB Game Controller
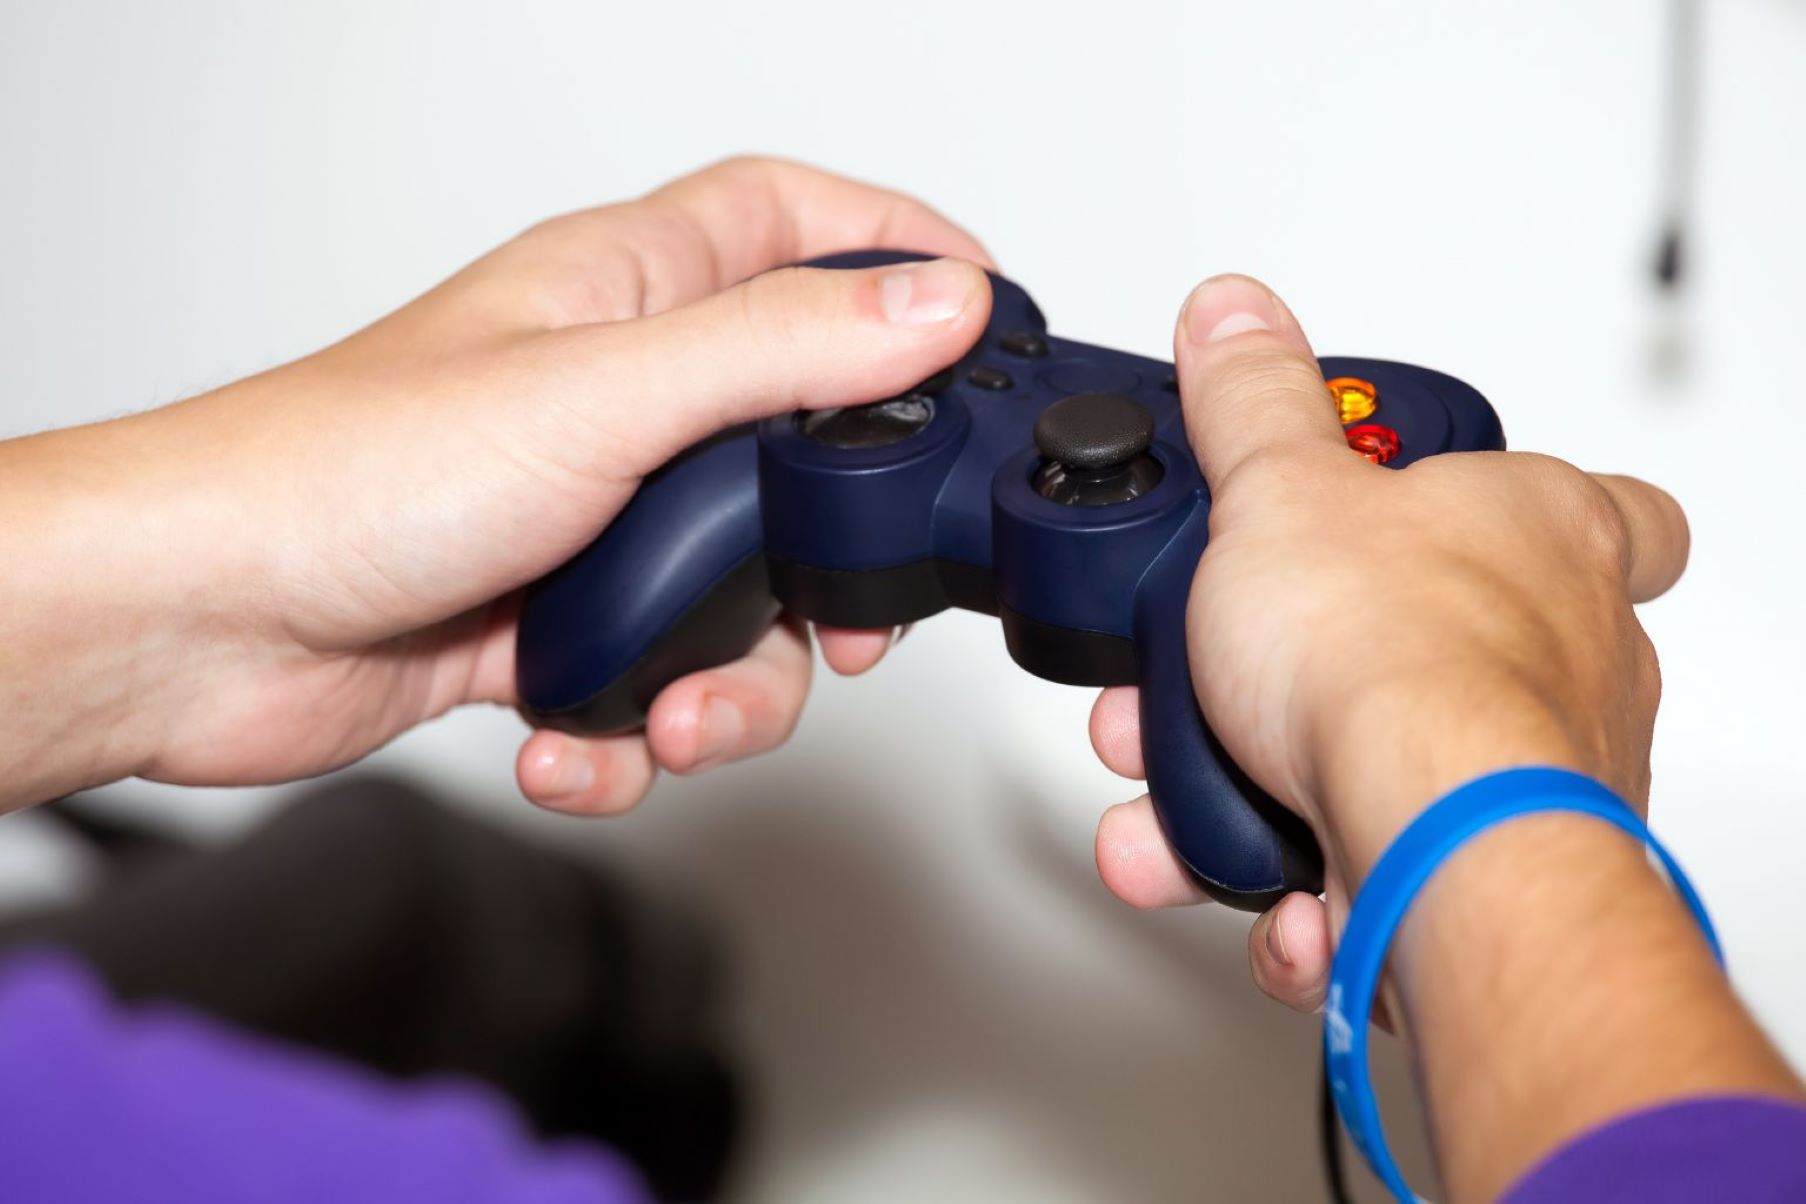
Connecting a USB game controller to the Jnes emulator is a straightforward process that enhances the gaming experience by providing tactile and responsive input. Before delving into the configuration within the emulator, it’s essential to ensure that the USB game controller is compatible with your system. Most modern USB game controllers are plug-and-play devices, meaning they can be connected to a computer via a USB port and recognized without the need for additional software installation. Once the USB game controller is connected and recognized by the system, users can proceed to configure it within the Jnes emulator.
To set up a USB game controller in the Jnes emulator, start by opening the emulator and navigating to the “Input” or “Controller” settings. Within this menu, locate the option to configure the input devices and select the USB game controller from the list of available devices. Once the controller is selected, users can map the buttons and axes according to their preferences, ensuring that the controller’s inputs align with the corresponding functions in the emulator. This customization allows for personalized control schemes, catering to individual gaming styles and preferences.
After mapping the buttons and axes, users can test the functionality of the USB game controller within the emulator to ensure that all inputs are responsive and accurately reflect the intended actions in-game. Once the controller is successfully configured and tested, users can seamlessly transition to playing their favorite NES titles with the enhanced control and precision offered by the USB game controller. Whether it’s maneuvering through platforming challenges or executing precise movements in action-packed games, the USB game controller enriches the gaming experience on the Jnes emulator, capturing the essence of classic NES gaming with modern convenience.
Using a Bluetooth Game Controller
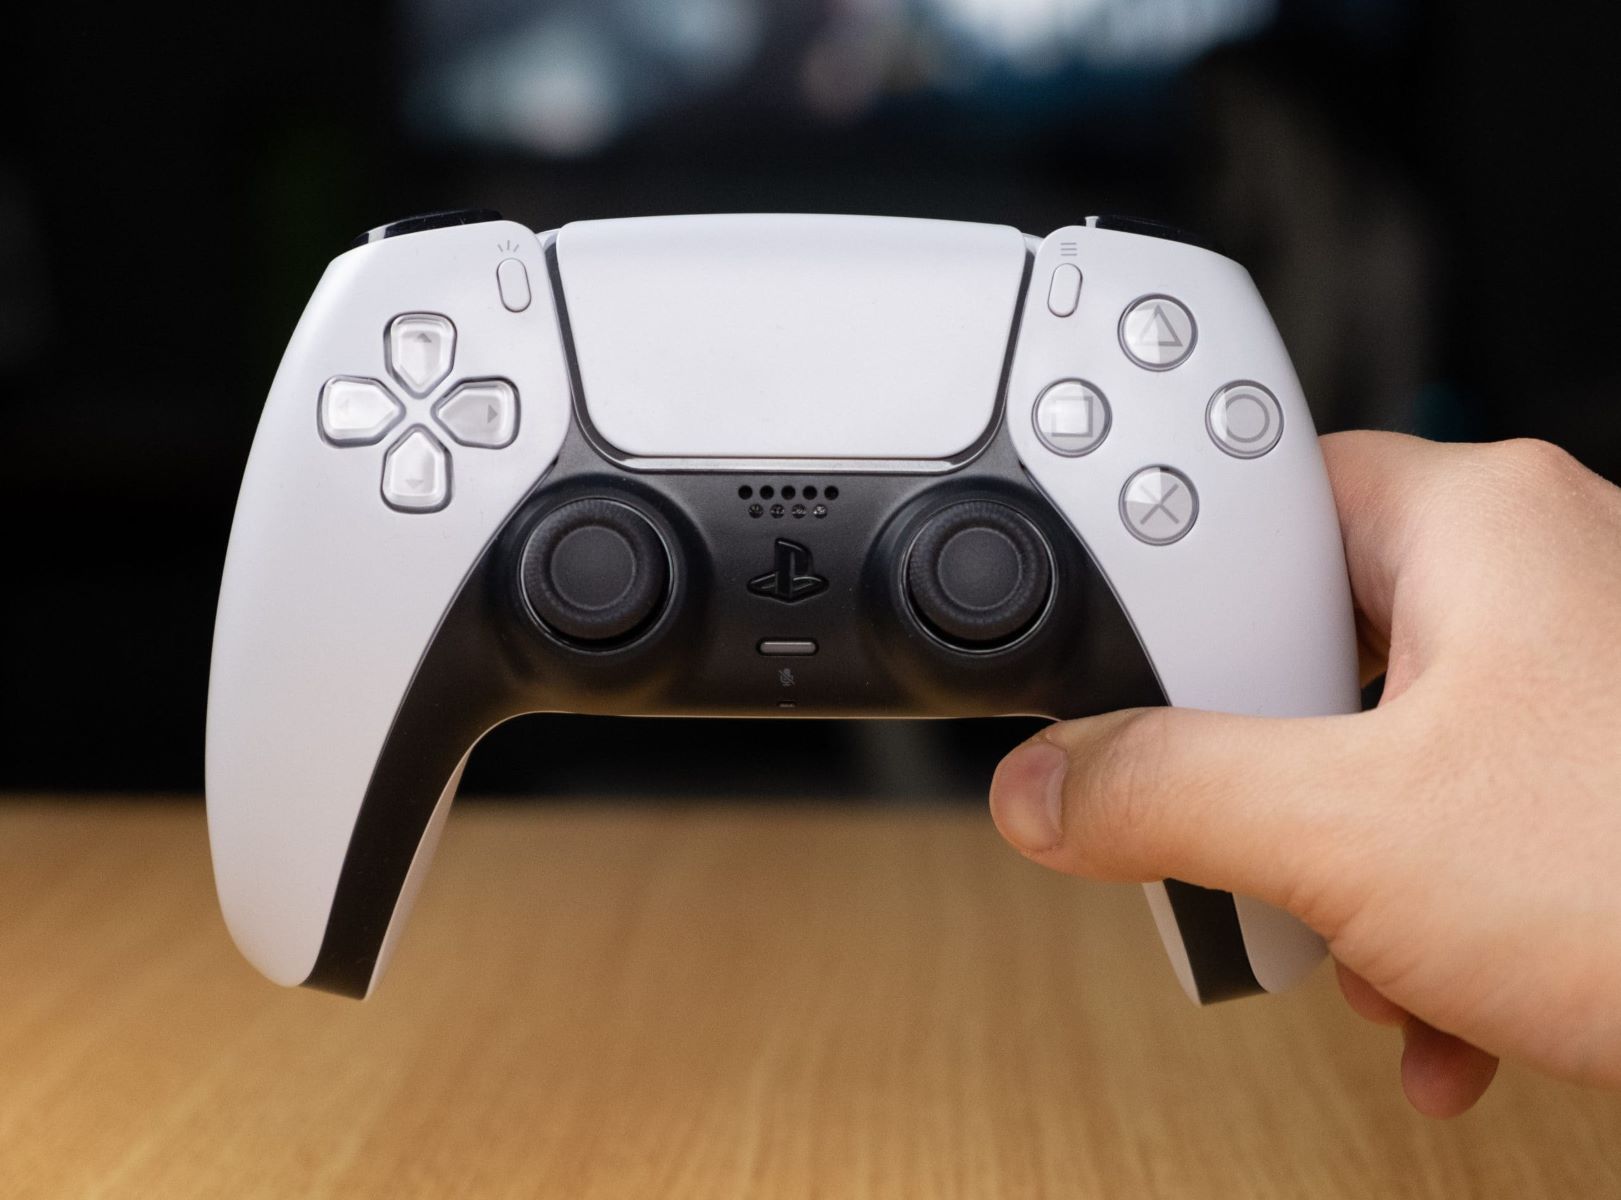
For gamers seeking wireless freedom and convenience, integrating a Bluetooth game controller with the Jnes emulator offers a seamless and immersive gaming experience. Bluetooth game controllers provide the flexibility to enjoy classic NES titles without the constraints of wired connections, allowing for comfortable gameplay from a distance. Before connecting a Bluetooth game controller to the Jnes emulator, it’s essential to ensure that the controller is compatible with the user’s system and that Bluetooth functionality is enabled.
To begin the setup process, users should activate the Bluetooth pairing mode on the game controller and initiate the pairing process on their computer or mobile device. Once the controller is successfully paired with the system, users can proceed to configure it within the Jnes emulator. Within the emulator’s settings, navigate to the “Input” or “Controller” menu and select the option to add a new input device. Locate the Bluetooth game controller from the list of available devices and establish the connection within the emulator.
After successfully connecting the Bluetooth game controller, users can customize the button and axis mappings to align with their preferred control scheme. This customization ensures that the controller’s inputs seamlessly translate to the corresponding actions within the emulator, providing a tailored gaming experience that reflects individual preferences. Once the configuration is complete, users can verify the functionality of the Bluetooth game controller by testing its responsiveness and accuracy in executing in-game commands.
With the Bluetooth game controller seamlessly integrated into the Jnes emulator, gamers can enjoy the timeless classics of the NES library with enhanced freedom and mobility. Whether it’s navigating through challenging levels or engaging in fast-paced gameplay, the wireless capabilities of the Bluetooth game controller add a new dimension to the retro gaming experience, allowing users to immerse themselves fully in the captivating world of classic NES titles.
Configuring the Controller in Jnes Emulator
Once a USB or Bluetooth game controller is connected to the system and recognized by the Jnes emulator, the next step involves configuring the controller within the emulator’s settings to ensure optimal functionality and seamless integration with gameplay. The process of configuring the controller in the Jnes emulator allows users to customize button mappings, adjust sensitivity, and fine-tune the input settings to align with their gaming preferences.
To initiate the configuration process, users should access the “Input” or “Controller” settings within the Jnes emulator. Within this menu, users can select the connected game controller from the list of available input devices. Once the controller is selected, users can proceed to map the buttons and axes according to their desired layout. This customization enables users to tailor the controller’s inputs to match the specific actions and functions within the NES games, providing a personalized and intuitive gaming experience.
In addition to button mapping, the Jnes emulator allows users to adjust sensitivity settings for the controller’s inputs, ensuring that the response to button presses and analog movements aligns with the desired gameplay experience. By fine-tuning the sensitivity, users can achieve precise control and responsiveness, enhancing their ability to maneuver through game environments and execute actions with accuracy.
Furthermore, the emulator’s configuration menu may offer options to customize additional settings such as input dead zones, calibration, and input profiles, providing advanced customization for users seeking a tailored gaming experience. These settings allow for nuanced adjustments that cater to individual preferences and playstyles, ensuring that the controller’s inputs align perfectly with the user’s gaming instincts.
Once the controller is configured to the user’s satisfaction, they can proceed to test its functionality within the emulator to verify that the customized settings deliver the intended responsiveness and precision. With the controller seamlessly integrated and finely tuned within the Jnes emulator, users can embark on their retro gaming adventures with confidence, knowing that their controller’s inputs align perfectly with the timeless classics of the NES library.