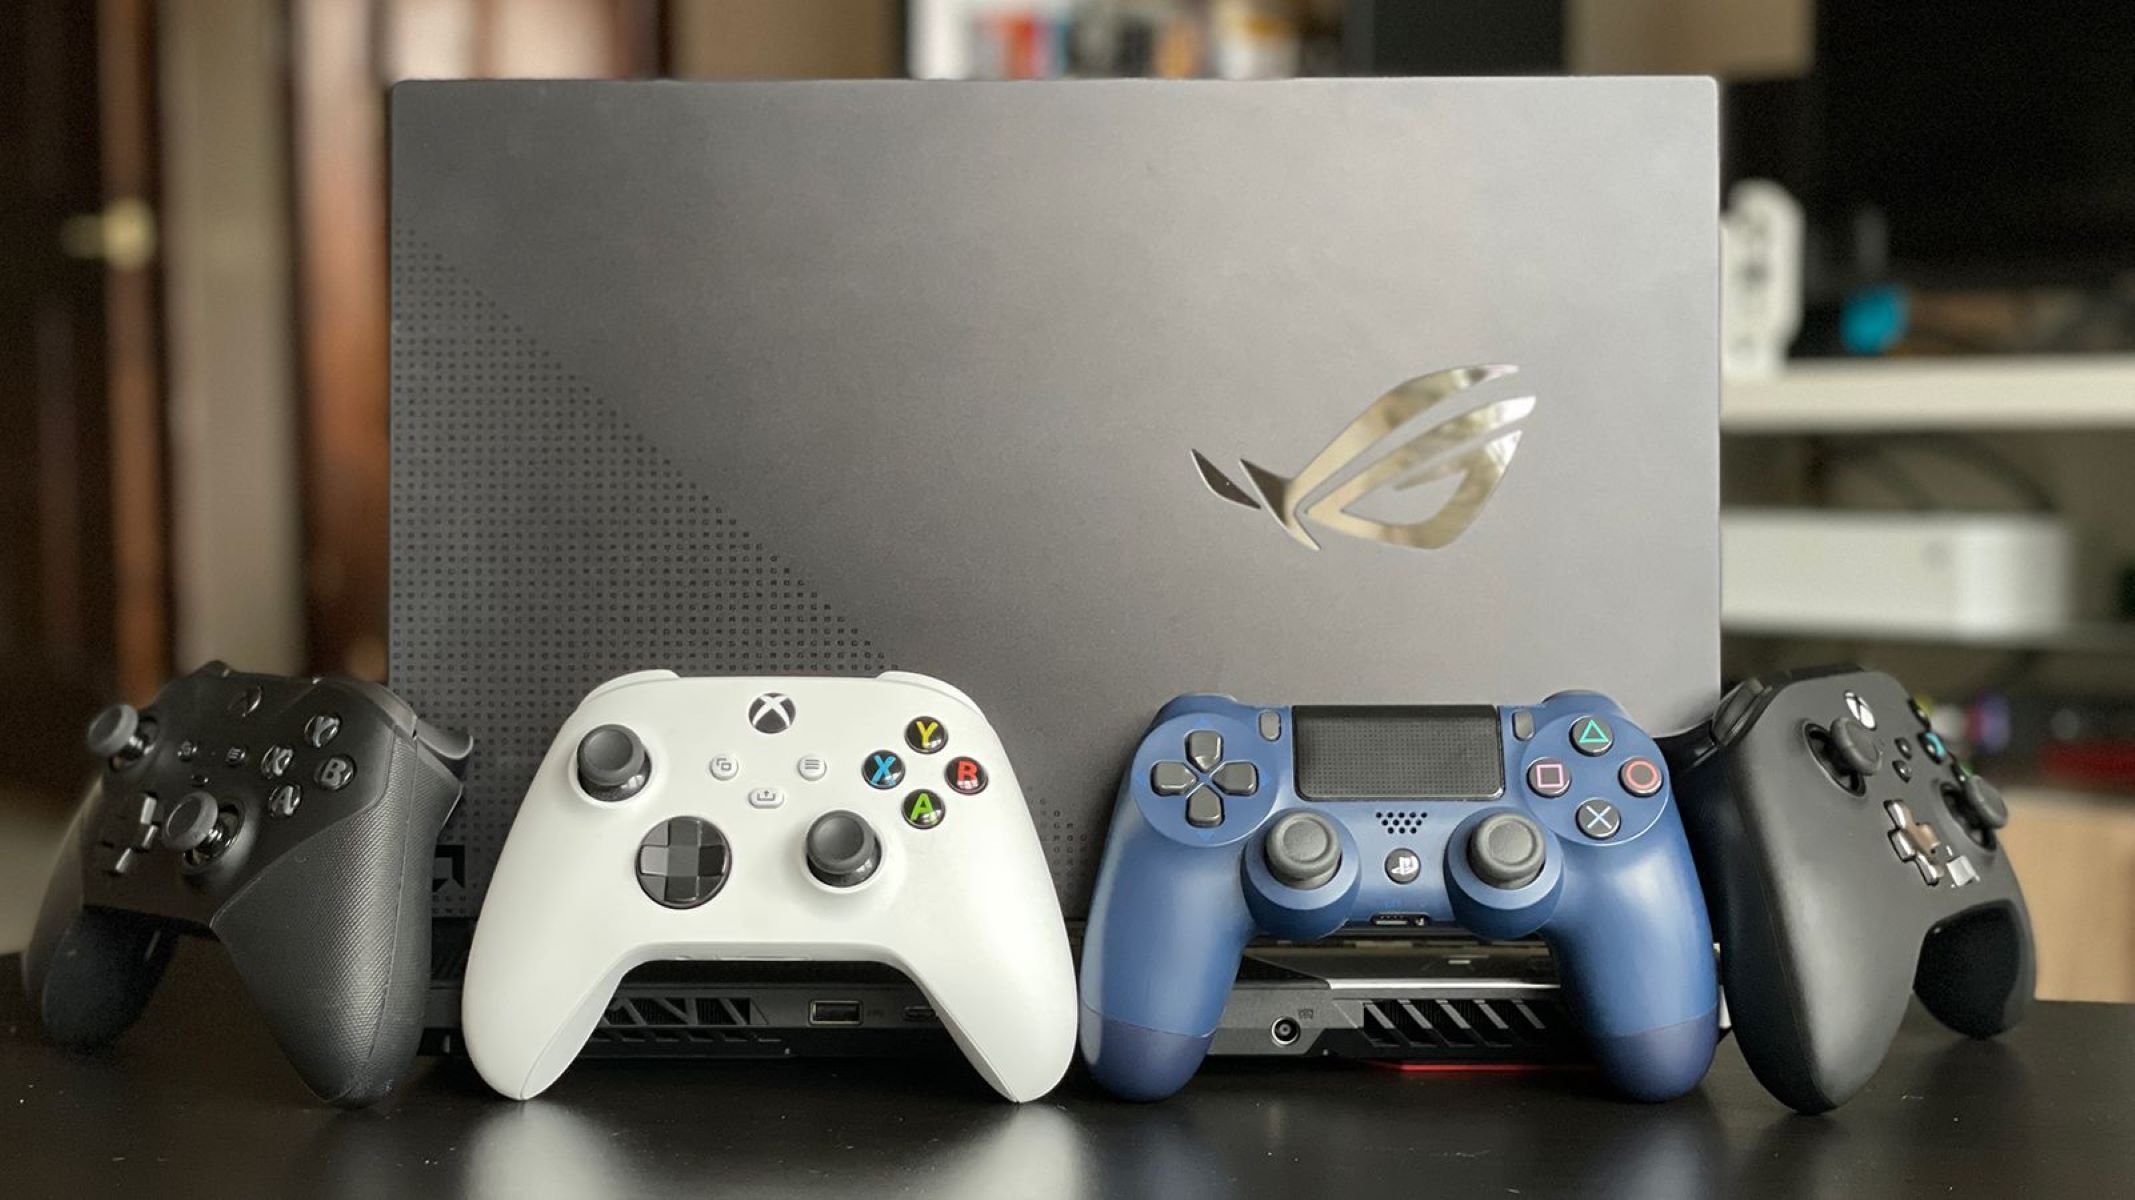
To set up a game controller for Call of Duty on PC, you connect your controller to Windows, let the system recognize it, and then adjust the in-game input settings to match your aim and button preferences. Competitive Call of Duty is officially played on PC with controllers, so this setup is a legitimate path for both casual and ranked play.
Before you start: is your controller ready for Call of Duty on PC?
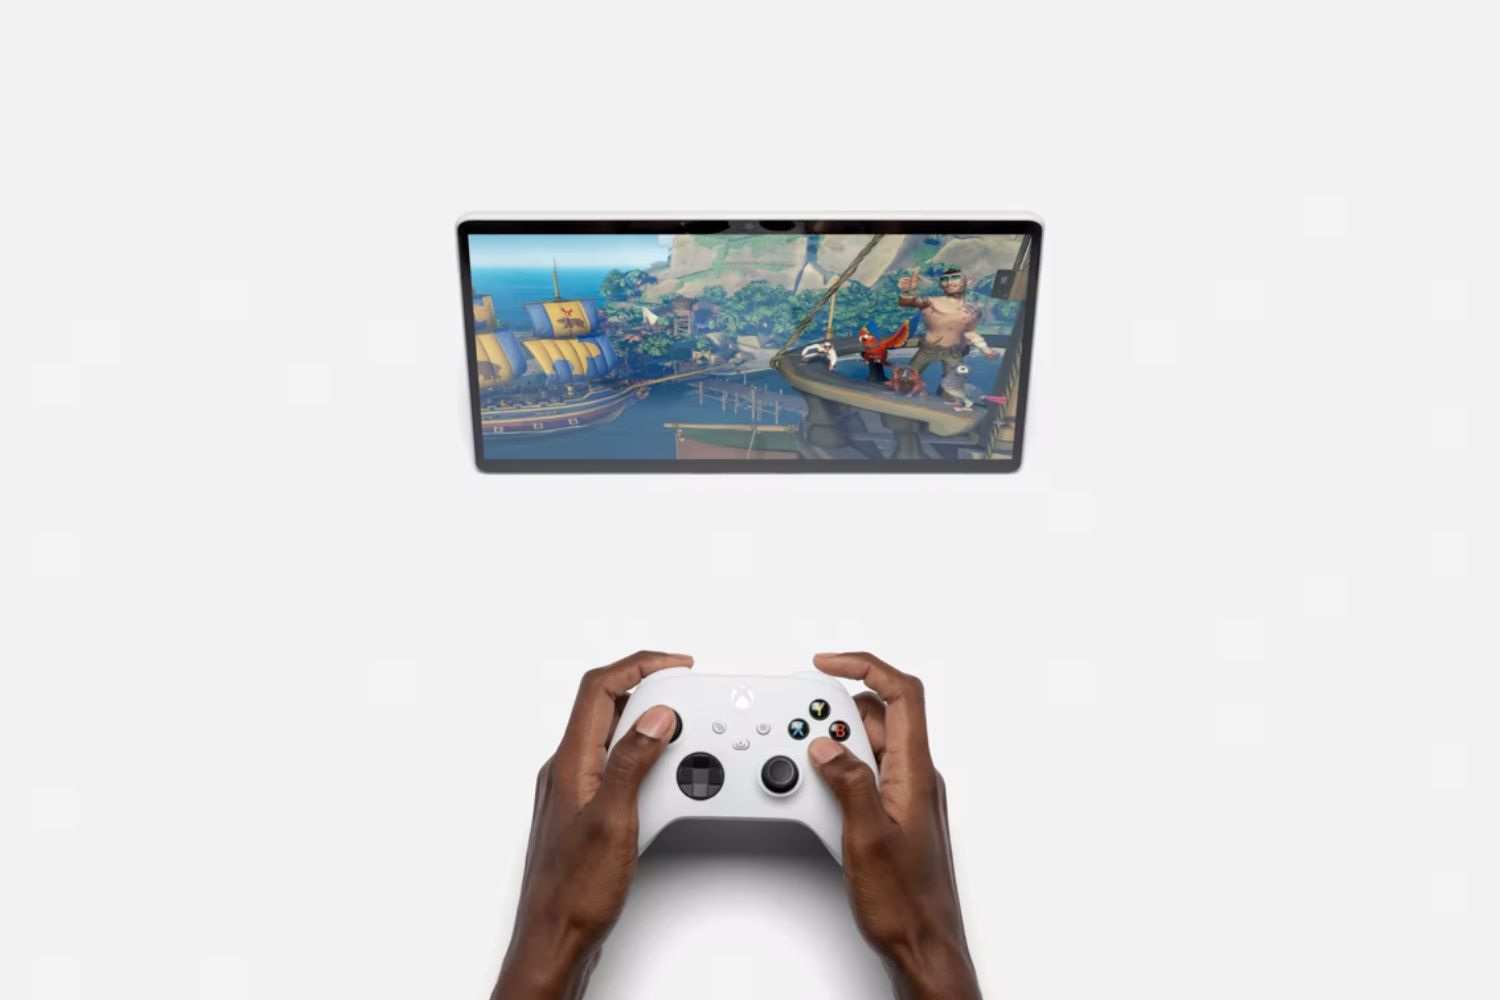
Call of Duty League professional matches and Challengers events are played on PC with controllers, and players must use League-approved controllers. That means your Xbox, PlayStation, or third-party gamepad is a valid tool for the game, not a compromise. Before you begin, check that your controller has a charge or a wired cable, that your PC has Bluetooth if you plan to go wireless, and that you know which model you own (Xbox, DualShock 4, or a third-party pad). You do not need any special hardware beyond what came with the controller.
Connect your game controller to the PC
There are three reliable ways to connect a controller to a Windows PC. The method you choose depends on your controller model and whether you prefer a cable or wireless freedom.
- Wired USB: Plug the controller’s USB cable into an available USB port on your PC. Windows will automatically detect the device and install the basic drivers. This is the most stable connection and avoids any wireless interference.
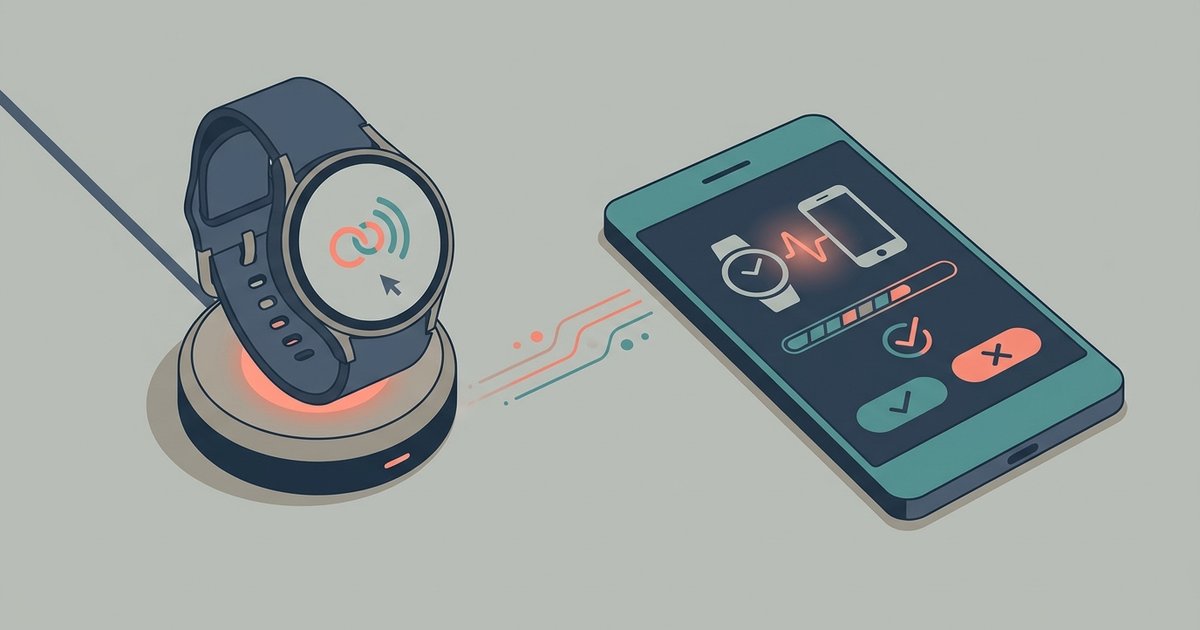
- Bluetooth: For a DualShock 4, ensure the controller is off, then hold the PlayStation and Share buttons simultaneously until the light bar double flashes. On your PC, open Bluetooth settings, select “Add Bluetooth or other device,” and choose the controller from the list. For Xbox Wireless Controllers, press and hold the pairing button on the top of the controller until the Xbox button blinks, then select it in Windows Bluetooth settings. If your PC lacks built-in Bluetooth, you can use a USB Bluetooth adapter.
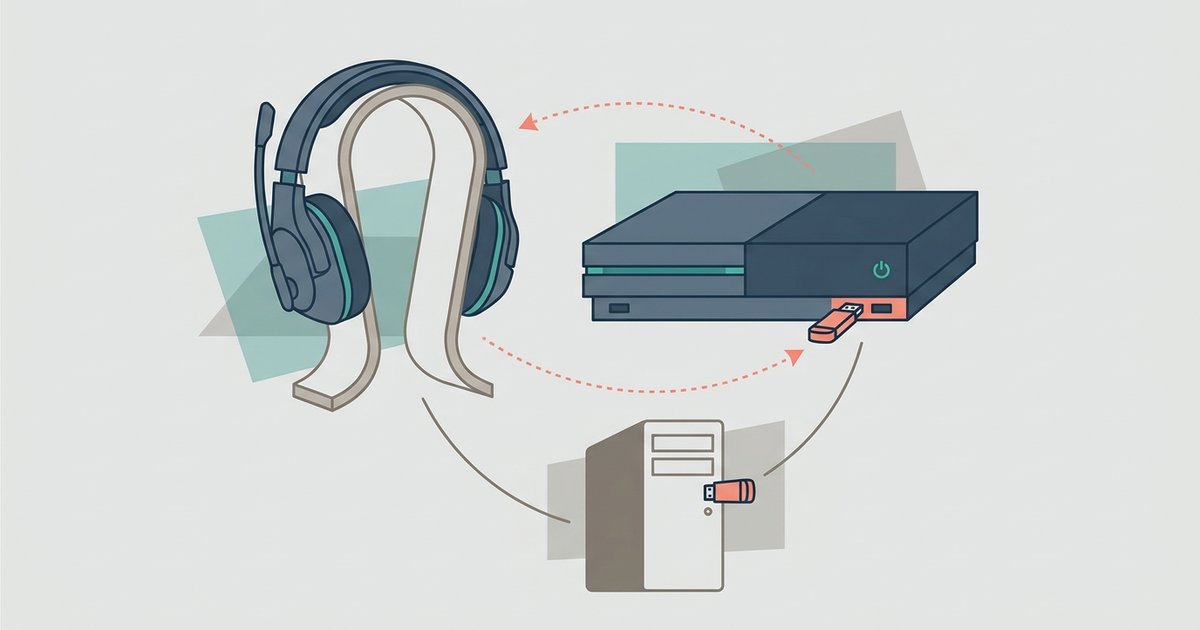
- Wireless adapter: Some controllers, like the Xbox Wireless Controller, support a dedicated wireless adapter that plugs into a USB port. Insert the adapter, then press the pairing button on the adapter and the controller simultaneously. Follow the manufacturer’s on-screen instructions to complete the pairing.
After connecting, verify the controller is recognized. Open the Control Panel, go to “Devices and Printers,” and look for your controller icon. If it appears without a warning symbol, the connection is successful. You can also open the Game Controllers settings by typing “joy.cpl” in the Windows search bar to test the buttons and sticks.
Install drivers and controller software
While Windows handles basic drivers automatically, installing the official software ensures full functionality and access to customization. For Xbox controllers, download the Xbox Accessories app from the Microsoft Store. For PlayStation controllers, use the official Sony software or the built-in Windows support that recognizes DualShock 4 as a generic input device. Third-party controllers often require the manufacturer’s dedicated tool, which you can find on the product’s official page or in the box documentation. Keep the software updated, as firmware updates fix compatibility issues with new Windows versions and games. If you are setting up a game controller on Windows for the first time, these tools also let you remap buttons and adjust stick sensitivity outside the game. Many of these same customization steps apply when you set up a game controller for world of tanks, where precise stick tuning can improve your aim.
Configure controller settings inside Call of Duty
Once the controller is connected and drivers are installed, launch Call of Duty and navigate to the Settings or Options menu. Look for the “Controller” or “Input” section. This is where you tailor the gamepad to your playstyle.
- Adjust aim assist: Call of Duty offers aim assist strength and type options. Choose the one that feels most sticky or subtle depending on your aiming style. Higher assist helps with tracking, lower assist gives you more manual control.
- Set sensitivity curves: Select a curve (linear, standard, or dynamic) that matches how you move the right stick. Linear is common for precise flick shots, while standard is more forgiving for beginners.
- Fine-tune dead zones: Reduce the dead zone on both sticks if you experience drift or want more responsive input. Increase it if your controller has worn sticks that cause unintended movement.
- Customize button mapping: Use the in-game button remapping feature to assign actions like slide, jump, or melee to different buttons. Many players prefer a “bumper jumper” layout to keep thumbs on the sticks.
- Toggle vibration: Turn off vibration if it interferes with your aim, or keep it on for immersion. Some players disable it for competitive play to reduce distraction.
After making these changes, test them in a private match or the training mode. Adjust one setting at a time to see how it affects your aim and movement. The goal is to make the controller feel like an extension of your hands, not a default preset.
Troubleshooting common connection problems
If your controller does not appear in Call of Duty or Windows, check the physical connection first. For Bluetooth, ensure the controller is not paired to another device (like a console) and that it is in pairing mode when you scan. If the controller shows up in Windows but not in the game, restart the game after connecting. For persistent issues, refer to sibling articles on input lag, the controller not showing up in joy.cpl, and disconnection when vibration activates. These cover specific fixes like updating Bluetooth drivers, changing USB ports, and disabling power-saving settings that cut off wireless devices. If you need to connect a Bluetooth game controller to Windows 10, the pairing steps above work exactly the same, but you may need to run the Bluetooth troubleshooter from Windows Settings if the device drops repeatedly. Most connection problems stem from outdated firmware or a low battery, so charge your controller and run the official software’s update check before digging deeper.