Introduction
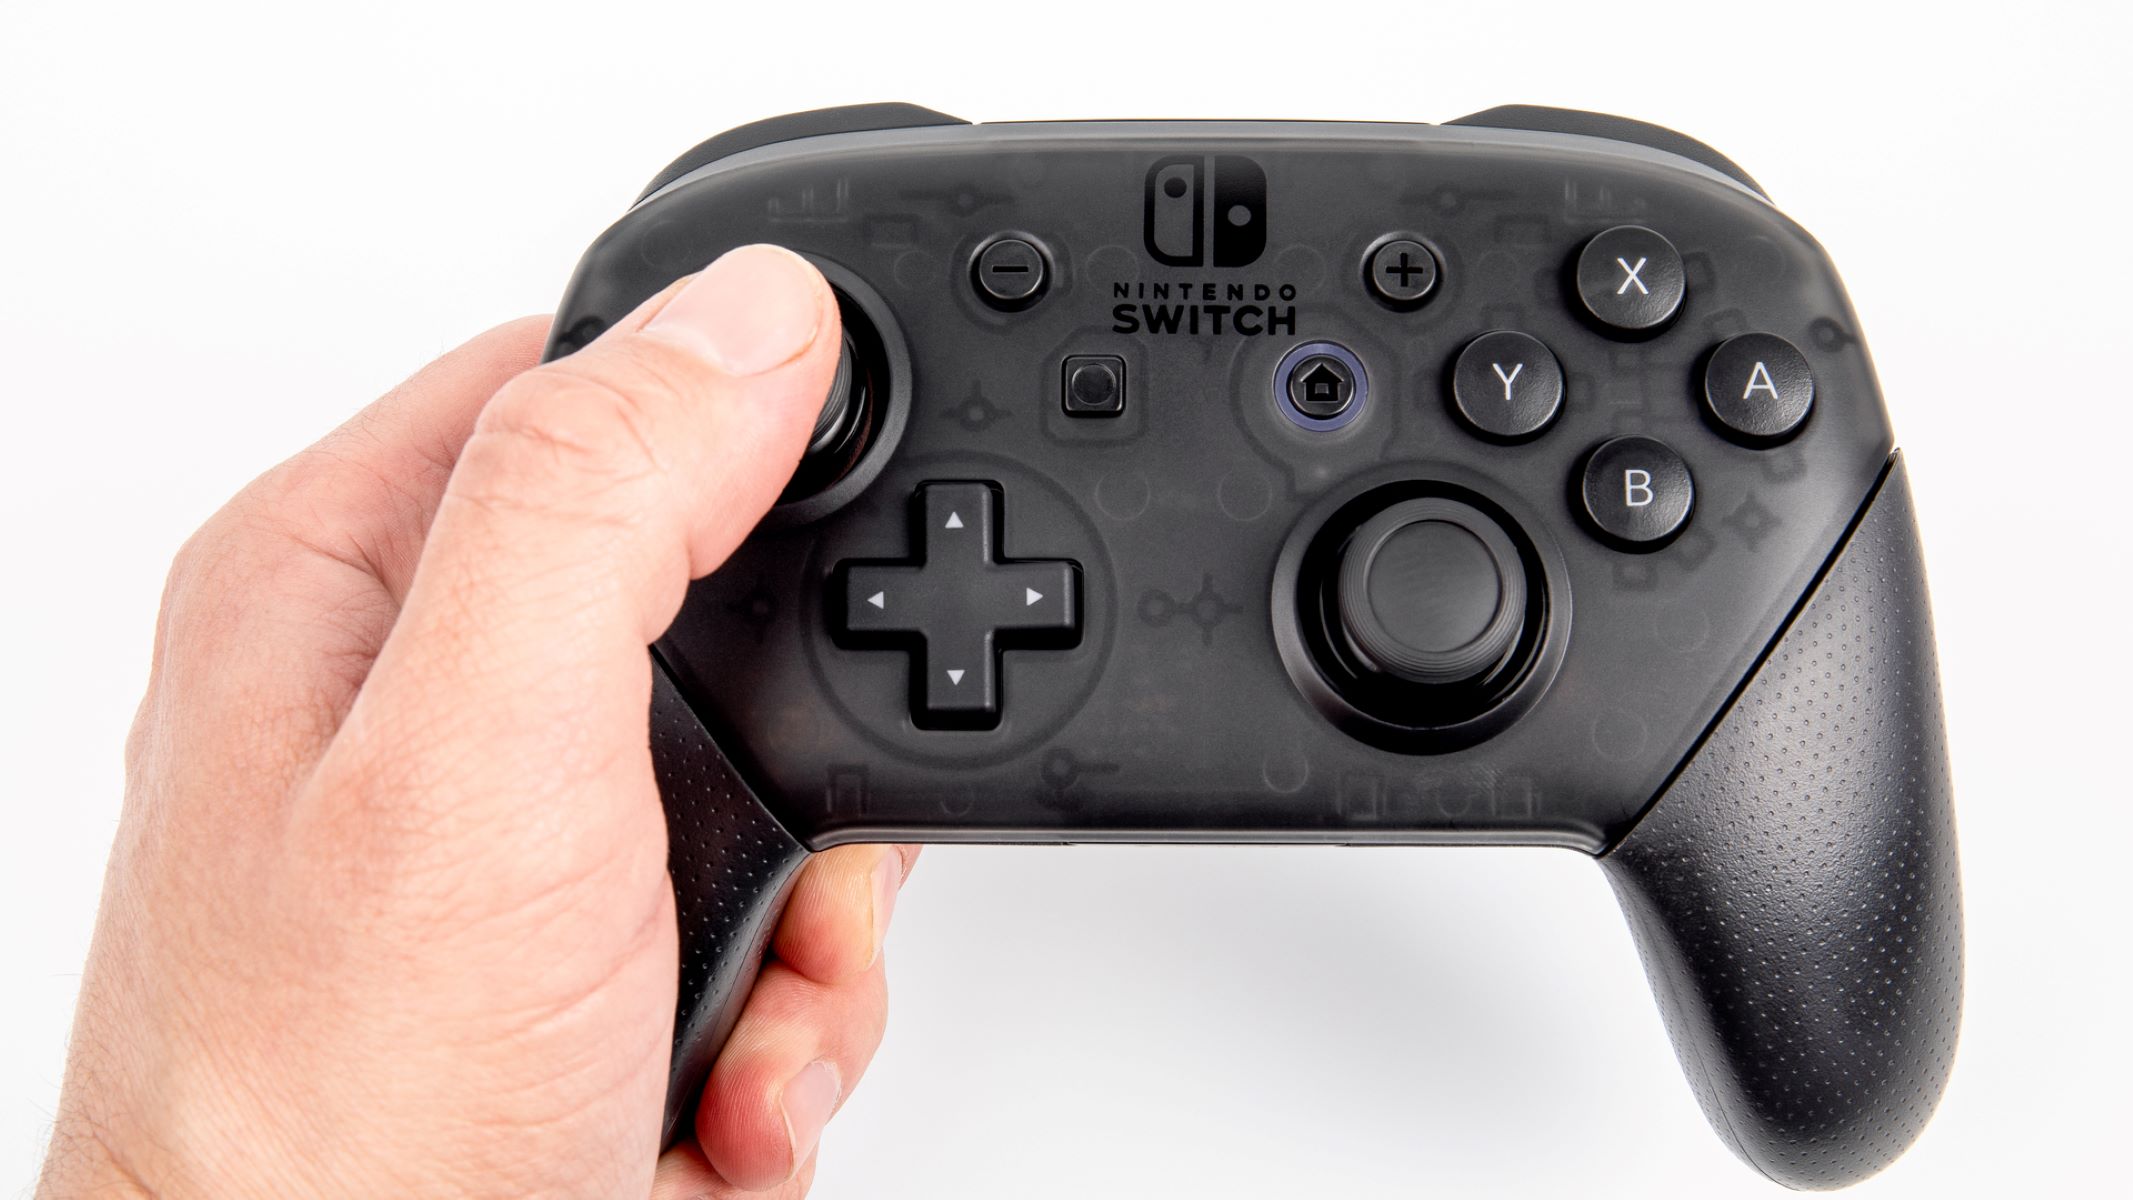
Welcome to our guide on how to connect a Pro Controller to your PC! If you’re a gaming enthusiast who prefers playing games on your personal computer, using a Pro Controller can be a great way to enhance your gaming experience. The Pro Controller offers a comfortable grip and intuitive controls that can greatly improve your gameplay. While the Pro Controller is primarily designed for use with gaming consoles, it is also possible to connect it to your PC for gaming purposes.
In this article, we will walk you through a step-by-step process to help you connect your Pro Controller to your PC. Whether you’re playing your favorite PC games or using emulators to replay classic console titles, this guide will ensure you have a smooth and hassle-free gaming experience. Before we dive into the steps, it’s important to note that the process may vary slightly depending on the operating system you’re using. The steps outlined here are generally applicable to Windows PCs, but we will also provide insights for Mac users where necessary.
By following this guide, you’ll be able to enjoy your favorite PC games with the comfort and precision of the Pro Controller. Ready to level up your gaming experience? Let’s get started!
Step 1: Check System Requirements
Before connecting your Pro Controller to your PC, it’s essential to ensure that your system meets the necessary requirements. By checking these requirements, you can avoid any compatibility issues and ensure a smooth connection process.
The system requirements for connecting a Pro Controller to a PC are minimal. Here’s what you need:
- A Windows PC with either Windows 7 or later versions installed (Mac users can check the next section for specific requirements).
- A USB-C cable or Bluetooth capabilities on your PC.
- The required software for connecting the Pro Controller, such as the official Nintendo Switch Pro Controller driver.
It’s important to note that if you don’t have Bluetooth capabilities on your PC, you’ll need to use a USB-C cable to make the connection. Most modern PCs have built-in Bluetooth, but older or budget models might require an external Bluetooth adapter.
If you’re using a Mac, you’ll need to ensure that your system is running macOS 10.10 or later. Additionally, your Mac should have built-in Bluetooth or an external Bluetooth adapter.
Remember to update your operating system and drivers to their latest versions for the best compatibility and performance. Once you’ve confirmed that your system meets these requirements, you’re ready to move on to the next step, which involves installing the necessary software for connecting your Pro Controller to your PC.
Step 2: Install the Required Software
To connect your Pro Controller to your PC, you’ll need to install the necessary software that allows your PC to recognize and communicate with the controller. The official Nintendo Switch Pro Controller driver is widely regarded as the most reliable option when it comes to connecting the Pro Controller to a PC.
Here’s how to install the required software:
- Open your preferred browser and go to the official Nintendo website.
- Navigate to the support section and search for the Pro Controller driver.
- Download the driver compatible with your operating system.
- Once the download is complete, locate the installer file and run it.
- Follow the on-screen instructions to install the driver on your PC.
- Restart your computer to complete the installation process.
It’s important to note that the steps may vary slightly depending on the driver version you’re downloading or if you’re using a third-party driver. However, the general process remains relatively similar.
After restarting your computer, the driver should be successfully installed and ready to use. Now, you can proceed to the next step, which covers activating Bluetooth on your PC or connecting the Pro Controller via USB-C cable, depending on your setup.
Step 3: Activate Bluetooth on Your PC
If your PC has built-in Bluetooth capabilities, you can connect your Pro Controller wirelessly by activating Bluetooth. Activating Bluetooth allows your PC to search for and connect to your Pro Controller without the need for any additional cables.
Here’s how to activate Bluetooth on your PC:
- Click on the Start menu and navigate to the Settings app.
- In the Settings app, select the “Devices” option.
- From the left sidebar, click on the “Bluetooth & other devices” tab.
- Toggle the Bluetooth switch to “On” to activate Bluetooth on your PC.
- Once Bluetooth is activated, your PC will start searching for nearby devices.
It’s important to note that the steps may vary slightly depending on the version of Windows you’re using. If you’re having trouble finding the Bluetooth settings, you can search for “Bluetooth” in the search bar within the Settings app for quick access.
Once Bluetooth is activated on your PC, we can proceed to the next step, which covers connecting the Pro Controller wirelessly to your PC.
Step 4: Connect the Pro Controller Wirelessly
Now that Bluetooth is activated on your PC, you can proceed to connect your Pro Controller wirelessly. This method eliminates the need for any cables and allows for a more flexible gaming experience.
Follow these steps to connect your Pro Controller wirelessly:
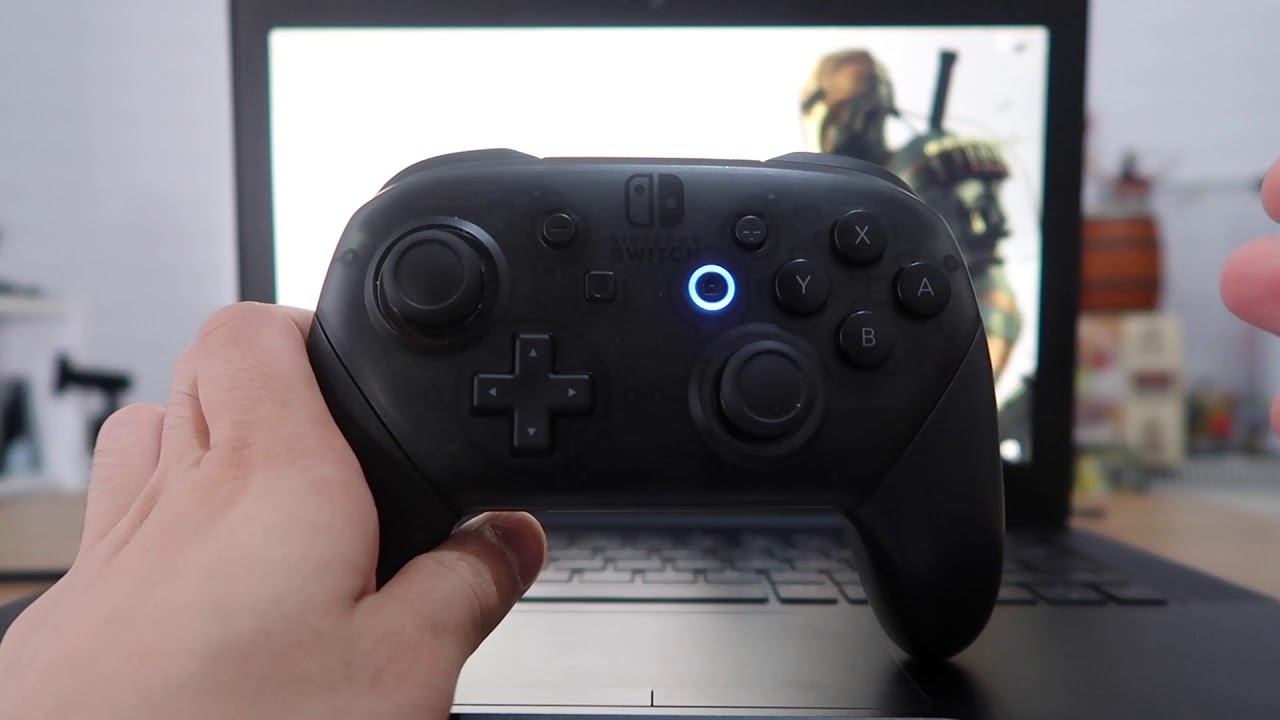
- On your Pro Controller, locate the small circular sync button located at the top of the controller, next to the USB-C port.
- Press and hold down the sync button until the LEDs on the controller start flashing.
- Go to your PC’s Bluetooth settings and click on the “Add Bluetooth or other device” option.
- In the device pairing window, select the “Bluetooth” option.
- Your PC will begin searching for nearby Bluetooth devices. Wait for the Pro Controller to appear in the list of available devices.
- Click on the Pro Controller in the list to initiate the pairing process.
- Follow any further on-screen instructions to complete the pairing process.
Once the pairing process is complete, your Pro Controller should be successfully connected to your PC wirelessly. The LEDs on the controller will stop flashing, indicating a stable connection.
If the connection is unsuccessful, double-check that Bluetooth is enabled on your PC and that you are following the correct steps. You can also try restarting your PC and the controller before attempting to connect again.
Congratulations! You’ve successfully connected your Pro Controller to your PC wirelessly. Now, it’s time to test the connection and ensure everything is working as expected. We’ll cover that in the next step.
Step 5: Test the Connection
After connecting your Pro Controller to your PC wirelessly, it’s crucial to test the connection to ensure that everything is functioning correctly. Testing the connection will allow you to verify if the controller is properly recognized by your PC and if all the buttons and inputs are working as expected.
Here’s how to test the connection:
- Launch your preferred game or gaming platform on your PC.
- Navigate to the game’s control settings or options menu.
- Look for the input settings or controller configuration section.
- Select the Pro Controller as your preferred input device.
- Once the controller is selected, perform various inputs such as button presses, joystick movements, and triggers to verify their functionality.
- Ensure that the inputs are correctly registered on-screen and that the controller is responsive.
If all the inputs are working correctly and the controller is responsive, congratulations! The connection between your Pro Controller and PC is successful.
However, if you encounter any issues during the testing phase, double-check the software installation and the connection steps. You can also try restarting your PC and the controller to see if that resolves any connectivity or functionality problems.
Additionally, refer to the game’s documentation or support resources for troubleshooting steps specific to the game you’re playing. There may be additional configuration settings or updates required to optimize the Pro Controller’s performance within certain games.
Once you have tested the connection and ensured everything is working smoothly, you are ready to enjoy your gaming experience with the Pro Controller on your PC.
Step 6: Troubleshooting Tips
While connecting your Pro Controller to your PC usually goes smoothly, there might be instances where you encounter issues or face challenges. In this step, we’ll provide you with some troubleshooting tips to help you overcome common problems and ensure a seamless gaming experience.
Here are some troubleshooting tips to consider:
- Restart your PC and the Pro Controller: Sometimes, a simple restart can resolve connectivity issues. Turn off your PC and restart it, then power off the Pro Controller and turn it back on before attempting the connection again.
- Update your drivers: Ensure that your PC’s Bluetooth drivers and any other related drivers are up to date. Visit the manufacturer’s website or use a driver updating software to check for the latest driver versions.
- Check for interference: External factors such as other Bluetooth devices, wireless routers, or even physical obstructions may interfere with the connection. Try moving closer to your PC or eliminating potential sources of interference.
- Disconnect other Bluetooth devices: If you have multiple Bluetooth devices connected to your PC, disconnect them temporarily to ensure they are not causing any conflicts with the Pro Controller connection.
- Try a different USB port: If you’re connecting the Pro Controller via a USB-C cable, try using a different USB port on your PC. Sometimes, issues can arise due to a faulty or incompatible USB port.
- Reinstall the driver: If the connection issues persist, you can try uninstalling and reinstalling the Pro Controller driver on your PC. Make sure to follow the installation steps correctly.
- Consult the official support resources: If none of the above troubleshooting tips work, it’s always a good idea to refer to the official support resources from Nintendo or the game you’re playing. They may have specific troubleshooting guides or forums where you can find solutions to your specific issue.
By following these troubleshooting tips, you can overcome common problems and ensure a smooth and reliable connection between your Pro Controller and PC.
Remember, patience and persistence are key when troubleshooting connectivity issues. With some troubleshooting and a bit of trial and error, you’ll be able to enjoy your gaming sessions with the Pro Controller on your PC.
Conclusion
Congratulations! You have successfully learned how to connect your Pro Controller to your PC. By following the steps outlined in this guide, you can now enjoy a seamless gaming experience with the comfort and precision of the Pro Controller.
We covered everything from checking the system requirements and installing the required software to activating Bluetooth on your PC, connecting the Pro Controller wirelessly, testing the connection, and troubleshooting common issues. With these steps, you can ensure a smooth and hassle-free connection process.
Remember to double-check that your PC meets the system requirements, install the necessary driver software, activate Bluetooth, or use a USB-C cable if required. By following the specific steps for your operating system, you can easily establish a stable connection between your Pro Controller and PC.
If you encounter any issues along the way, refer to the troubleshooting tips provided in this guide. Sometimes, a simple restart or driver update can resolve connectivity problems and enhance your gaming experience.
Now, armed with your Pro Controller, you’re ready to dive into your favorite PC games or revisit classic console titles using emulators. Enjoy the enhanced comfort, precise controls, and immersive gaming experience that the Pro Controller brings to your PC gaming sessions.
Thank you for choosing our guide as your resource for connecting the Pro Controller to your PC. Happy gaming!