Introduction
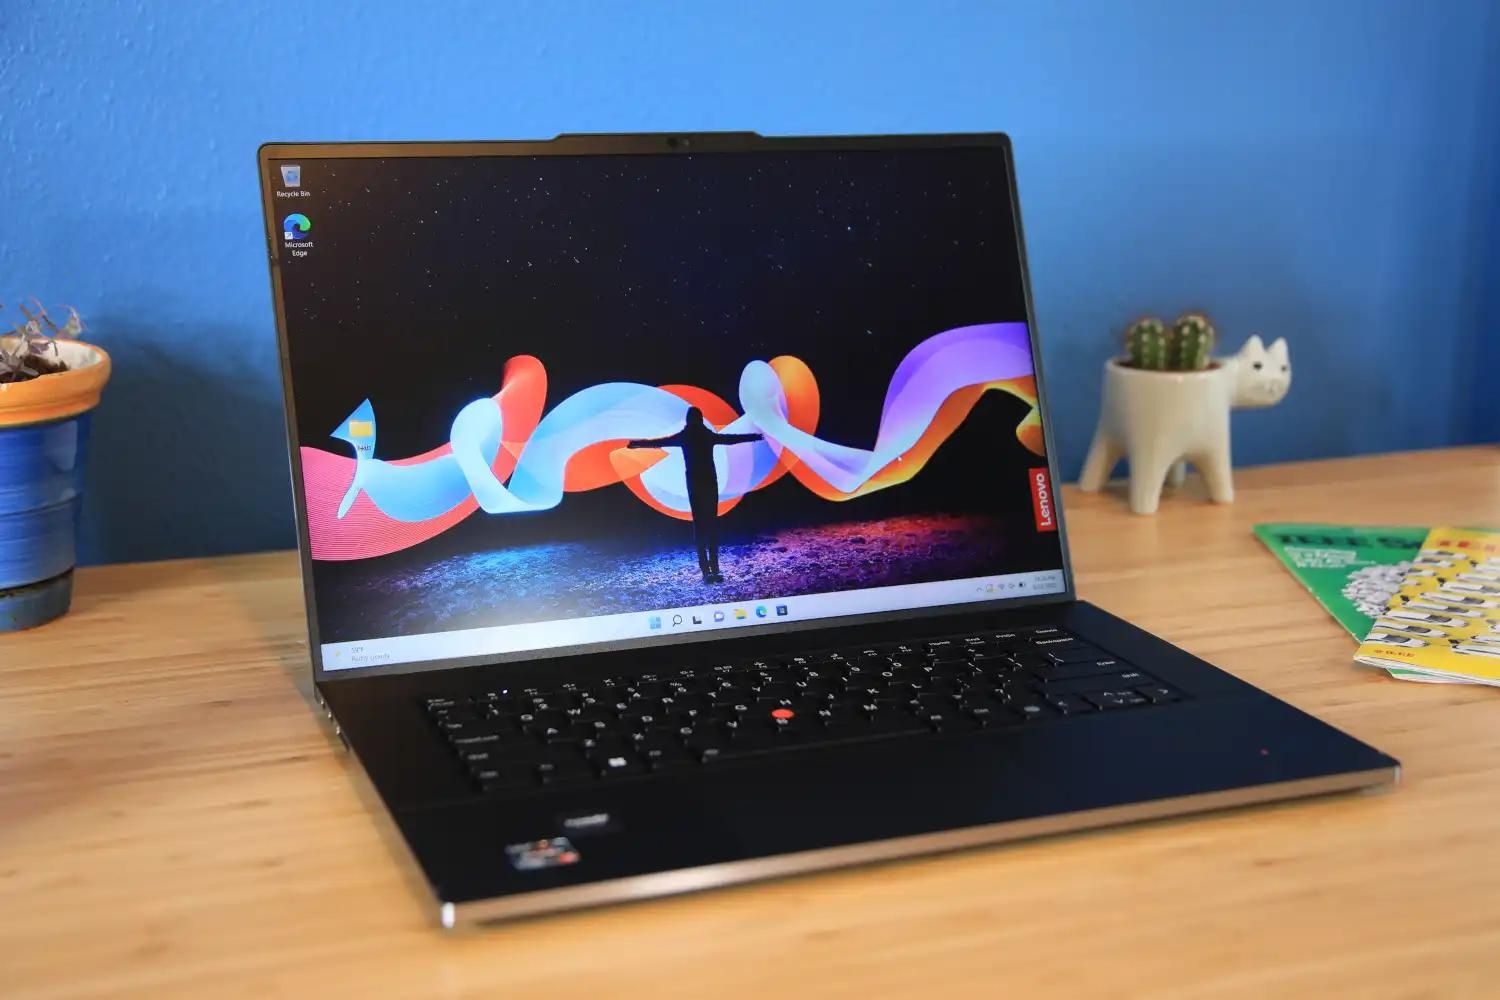
Welcome to the guide on how to turn off the mouse pad on your ThinkPad. ThinkPad laptops are renowned for their durability, reliability, and exceptional performance, making them a popular choice for professionals and students alike. However, the integrated mouse pad, while convenient for many users, may not be preferable for everyone. Whether you prefer using an external mouse or have other reasons for disabling the mouse pad, this article will walk you through various methods to accomplish this task.
The ability to turn off the mouse pad can be particularly useful in scenarios where accidental touches or unintended cursor movements disrupt your workflow. Additionally, if you frequently use an external mouse or other pointing devices, disabling the mouse pad can prevent interference and provide a more seamless user experience.
In the following sections, you'll discover multiple methods to disable the mouse pad on your ThinkPad. From convenient keyboard shortcuts to accessing specific settings within the system, each approach offers flexibility and ease of use. Whether you're a seasoned ThinkPad user or new to the brand, these methods are designed to cater to users of all levels of technical expertise.
By exploring these methods, you can gain greater control over your ThinkPad's input devices and tailor your computing experience to suit your preferences. So, if you're ready to optimize your ThinkPad's functionality and streamline your workflow, let's dive into the step-by-step instructions for turning off the mouse pad.
Method 1: Using Keyboard Shortcut
One of the quickest and most convenient ways to disable the mouse pad on your ThinkPad is by utilizing a simple keyboard shortcut. This method allows you to swiftly toggle the mouse pad on and off, providing instant control over the input device. Follow these steps to employ the keyboard shortcut:
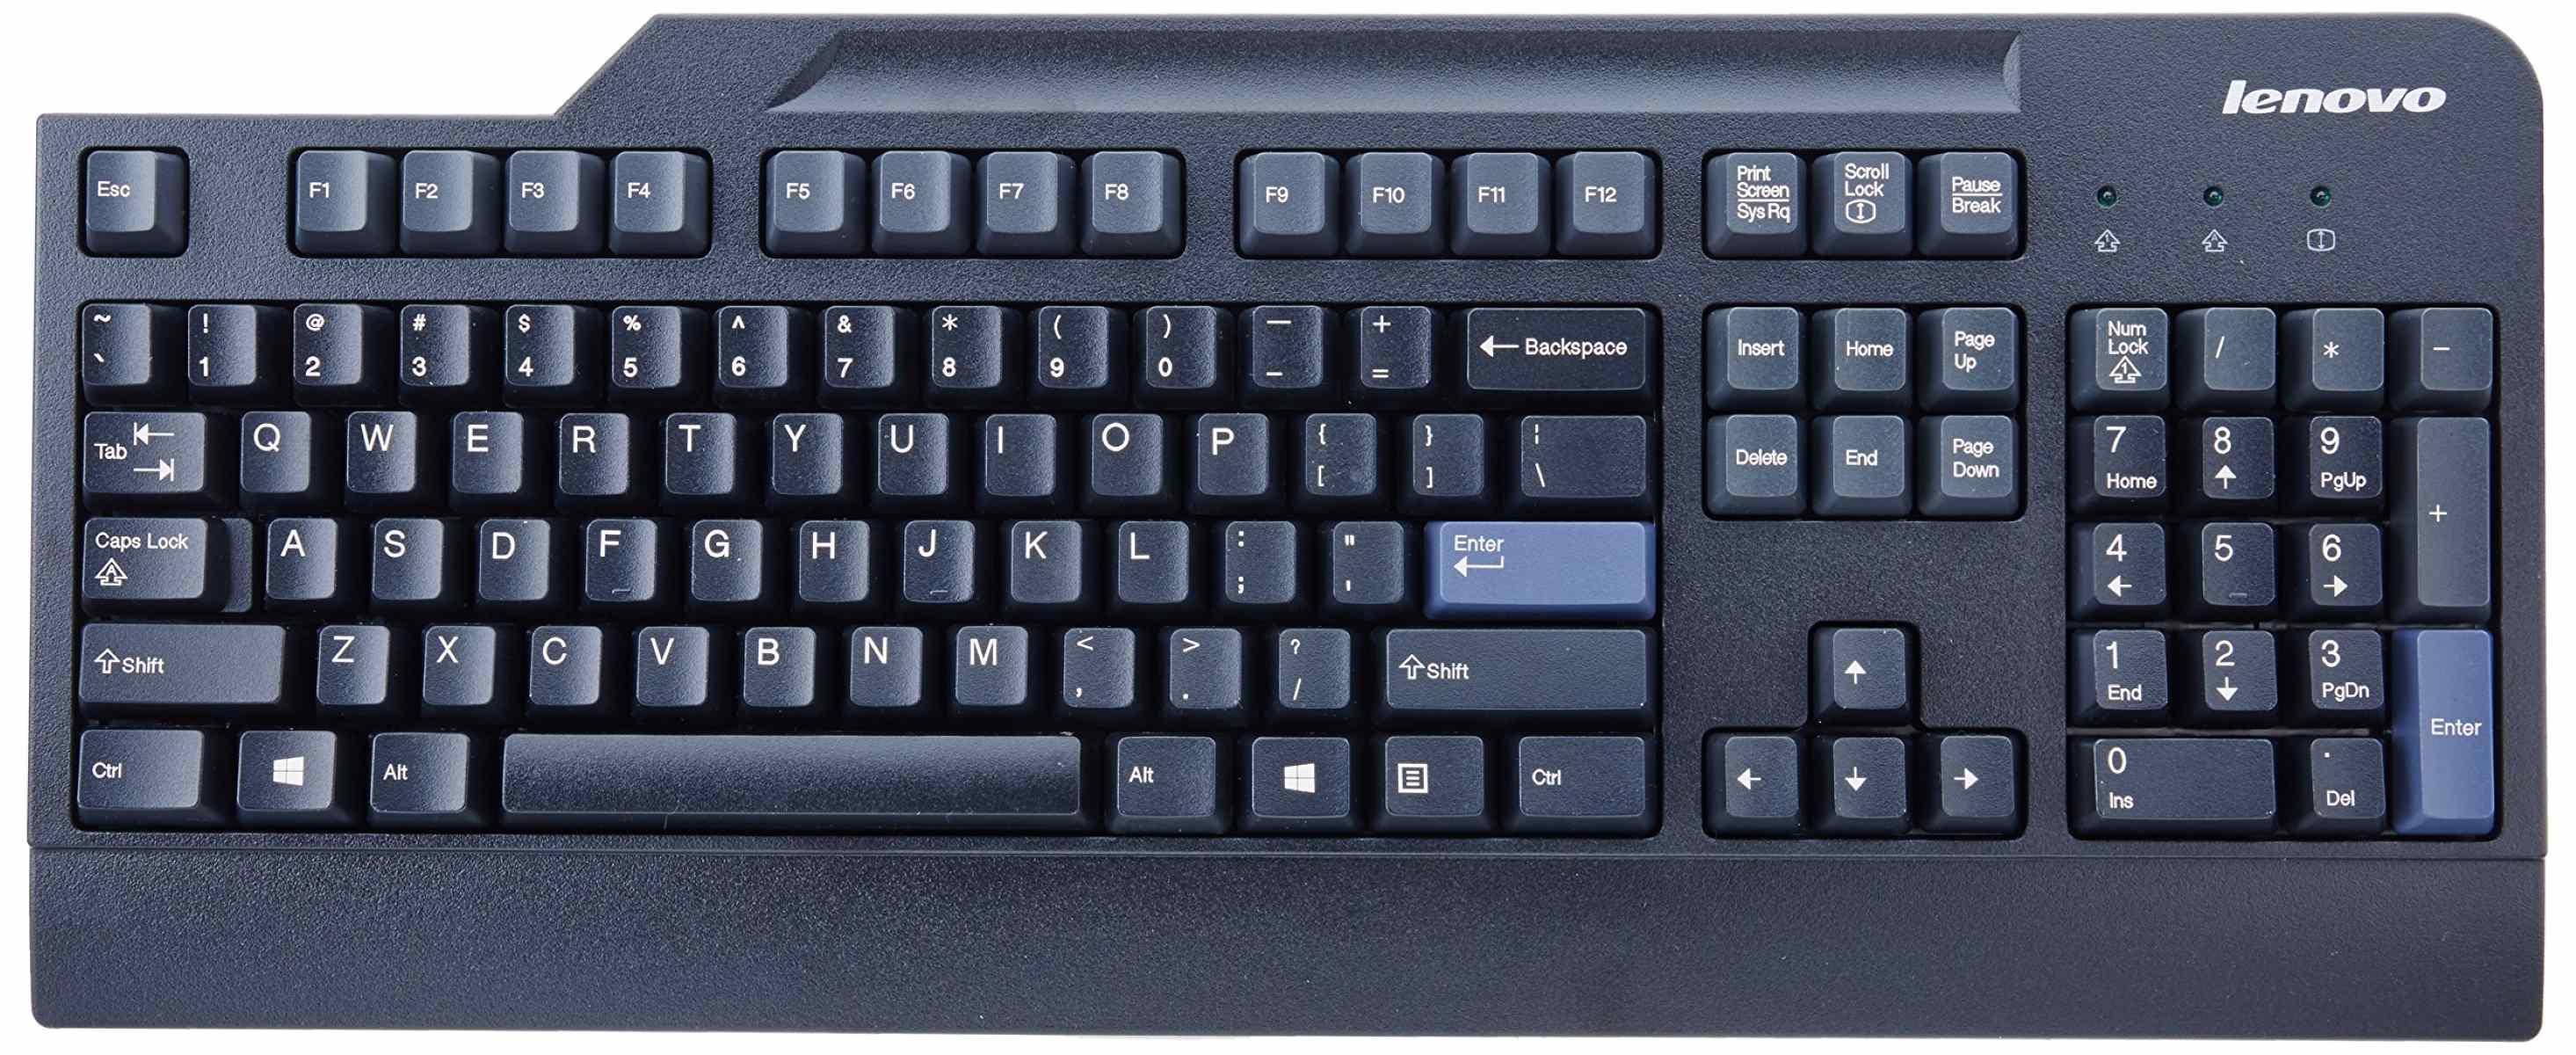
- Locate the Function Key: On most ThinkPad keyboards, you can find the function key dedicated to managing the mouse pad. Look for the “Fn” key, typically located in the bottom-left corner, and the corresponding function key with the mouse pad icon, often labeled as “F8” or “F9.”
- Press the Keyboard Shortcut: To turn off the mouse pad, press and hold the “Fn” key, then simultaneously press the designated function key for the mouse pad. This action should deactivate the mouse pad immediately, preventing further cursor movement or input from the touchpad.
- Re-enable the Mouse Pad: If you wish to re-enable the mouse pad using the keyboard shortcut, simply repeat the same key combination. Press and hold the “Fn” key, then simultaneously press the designated function key for the mouse pad once more. This action should reactivate the mouse pad, allowing you to resume using it as needed.
By leveraging this straightforward keyboard shortcut, you can swiftly switch the mouse pad on or off without the need to navigate through menus or settings. This method offers a convenient solution for temporarily disabling the mouse pad to accommodate your specific work preferences or external input device usage.
Whether you’re in a rush to disable the mouse pad during a presentation or need to quickly enable it for precise cursor control, the keyboard shortcut provides a seamless way to manage the mouse pad’s functionality. However, if you prefer a more permanent solution or need to access additional settings, explore the other methods outlined in this guide to further customize your ThinkPad’s input devices.
Method 2: Using Device Manager
Another method to turn off the mouse pad on your ThinkPad involves utilizing the Device Manager, a Windows utility that allows you to manage hardware devices and their drivers. This approach provides a more in-depth way to disable the mouse pad and offers additional control over device settings. Follow these steps to disable the mouse pad using the Device Manager:
- Access the Device Manager: To open Device Manager, right-click on the Start button and select “Device Manager” from the context menu. Alternatively, you can press the Windows key + X and choose “Device Manager” from the Power User menu.
- Locate the Mouse Pad: In the Device Manager window, expand the “Mice and other pointing devices” category to reveal the list of installed pointing devices, which should include the mouse pad. Look for a device name that includes “Touchpad,” “Synaptics,” or a similar identifier that corresponds to the mouse pad.
- Disable the Mouse Pad: Right-click on the mouse pad device and select “Disable device” from the context menu. A confirmation dialog may appear; click “Yes” to confirm the action. Once disabled, the mouse pad should immediately cease to function, preventing any further input from the touchpad.
- Re-enable the Mouse Pad: If you wish to enable the mouse pad again, return to the Device Manager, locate the disabled device, right-click on it, and select “Enable device.” This action should reactivate the mouse pad, allowing you to resume using it as needed.
Utilizing the Device Manager to disable the mouse pad provides a more comprehensive approach to managing the device, allowing you to fine-tune its behavior and easily enable or disable it as required. This method is particularly useful for users who prefer a more detailed control over their hardware devices and wish to customize device settings at a deeper level.
While the keyboard shortcut offers a quick way to toggle the mouse pad’s functionality, using the Device Manager allows you to make more permanent adjustments to the device’s status. Whether you need to temporarily disable the mouse pad or prefer to manage device settings with precision, the Device Manager method offers a versatile solution for customizing your ThinkPad’s input devices.
Method 3: Using Control Panel
Turning off the mouse pad on your ThinkPad can also be accomplished through the Control Panel, a central hub for managing various system settings and configurations in Windows. This method offers a user-friendly approach to customizing input devices and provides a straightforward way to disable the mouse pad. Follow these steps to disable the mouse pad using the Control Panel:
- Open the Control Panel: To access the Control Panel, right-click on the Start button and select “Control Panel” from the context menu. Alternatively, you can search for “Control Panel” in the Windows search bar and open it from the search results.
- Navigate to Mouse Settings: Within the Control Panel, locate and click on the “Hardware and Sound” category. Under the “Devices and Printers” section, click on “Mouse” to access the mouse settings.
- Disable the Mouse Pad: In the Mouse Properties window, navigate to the “Device Settings” or “Touchpad” tab, depending on the specific configuration of your system. Look for an option to disable the touchpad or mouse pad and click on it to deactivate the device. Click “Apply” and then “OK” to save the changes.
- Re-enable the Mouse Pad: If you need to re-enable the mouse pad, revisit the Mouse Properties window, navigate to the appropriate tab, and look for the option to enable the touchpad or mouse pad. Click on it to reactivate the device, then click “Apply” and “OK” to save the changes.
Using the Control Panel to disable the mouse pad provides a familiar and intuitive method for managing input devices, making it accessible to users of all experience levels. This approach allows you to modify mouse pad settings and toggle its functionality without delving into advanced system configurations.
Whether you prefer a graphical interface for adjusting device settings or need a straightforward way to disable the mouse pad, the Control Panel method offers a user-friendly solution. By leveraging the Control Panel’s capabilities, you can effortlessly customize your ThinkPad’s input devices to suit your specific preferences and optimize your computing experience.
Method 4: Using ThinkPad Settings
When it comes to managing the mouse pad on your ThinkPad, utilizing the dedicated ThinkPad settings provides a tailored approach to customizing input devices and accessing specific device configurations. This method offers a seamless way to disable the mouse pad directly through the ThinkPad settings interface, providing a comprehensive solution for ThinkPad users. Follow these steps to disable the mouse pad using ThinkPad settings:
- Access the ThinkPad Settings: Look for the ThinkPad Settings app on your system. You can typically find it in the Start menu or by searching for “ThinkPad Settings” in the Windows search bar. Open the app to access the ThinkPad-specific configurations and settings.
- Navigate to Mouse Pad Settings: Within the ThinkPad Settings app, locate the section related to input devices or mouse pad settings. Depending on your ThinkPad model and the installed software, the specific location of the mouse pad settings may vary, but it is commonly found under the “Input” or “Mouse” category.
- Disable the Mouse Pad: Once you’ve located the mouse pad settings, look for an option to disable the touchpad or mouse pad. Click on the appropriate toggle or setting to turn off the mouse pad. Save the changes if prompted, and exit the ThinkPad Settings app.
- Re-enable the Mouse Pad: If you need to re-enable the mouse pad through the ThinkPad settings, revisit the mouse pad settings section within the ThinkPad Settings app. Look for the option to enable the touchpad or mouse pad, and toggle it to the “on” position. Save any changes if required, and exit the app.
Utilizing the ThinkPad Settings app to manage the mouse pad offers a streamlined and tailored approach to customizing input devices, providing ThinkPad users with a dedicated interface for adjusting device settings. This method allows you to fine-tune the mouse pad’s behavior and toggle its functionality with ease, all within the ThinkPad-specific settings environment.
By leveraging the ThinkPad settings, you can effortlessly disable the mouse pad to accommodate your specific workflow or external input device usage. Whether you prefer a ThinkPad-centric method for managing device settings or need a seamless way to customize the mouse pad, the ThinkPad Settings app offers a convenient solution for optimizing your ThinkPad’s input devices.
Conclusion
Exploring the various methods to turn off the mouse pad on your ThinkPad empowers you to customize your computing experience according to your preferences and workflow. Whether you prefer a quick keyboard shortcut, a detailed approach through the Device Manager, a user-friendly method using the Control Panel, or a dedicated ThinkPad settings interface, the flexibility of these options allows you to tailor your ThinkPad’s input devices to suit your specific needs.
By utilizing the keyboard shortcut, you can swiftly toggle the mouse pad on and off, providing instant control over the input device without the need to navigate through menus or settings. This method offers a convenient solution for temporarily disabling the mouse pad to accommodate your specific work preferences or external input device usage.
Alternatively, using the Device Manager provides a more comprehensive approach to managing the mouse pad, allowing you to fine-tune its behavior and easily enable or disable it as required. This method is particularly useful for users who prefer a more detailed control over their hardware devices and wish to customize device settings at a deeper level.
The Control Panel method offers a user-friendly approach to customizing input devices, making it accessible to users of all experience levels. This method allows you to modify mouse pad settings and toggle its functionality without delving into advanced system configurations.
Finally, leveraging the dedicated ThinkPad settings interface provides a tailored approach to customizing input devices, allowing you to seamlessly disable the mouse pad and fine-tune its behavior within the ThinkPad-specific settings environment. This method offers ThinkPad users a convenient and streamlined way to manage their input devices according to their preferences.
By exploring these methods, you can gain greater control over your ThinkPad’s input devices and tailor your computing experience to suit your preferences. Whether you’re a seasoned ThinkPad user or new to the brand, these methods are designed to cater to users of all levels of technical expertise, enabling you to optimize your ThinkPad’s functionality and streamline your workflow according to your specific needs.


