Introduction
Understanding the Mouse Pad on Dell Laptops
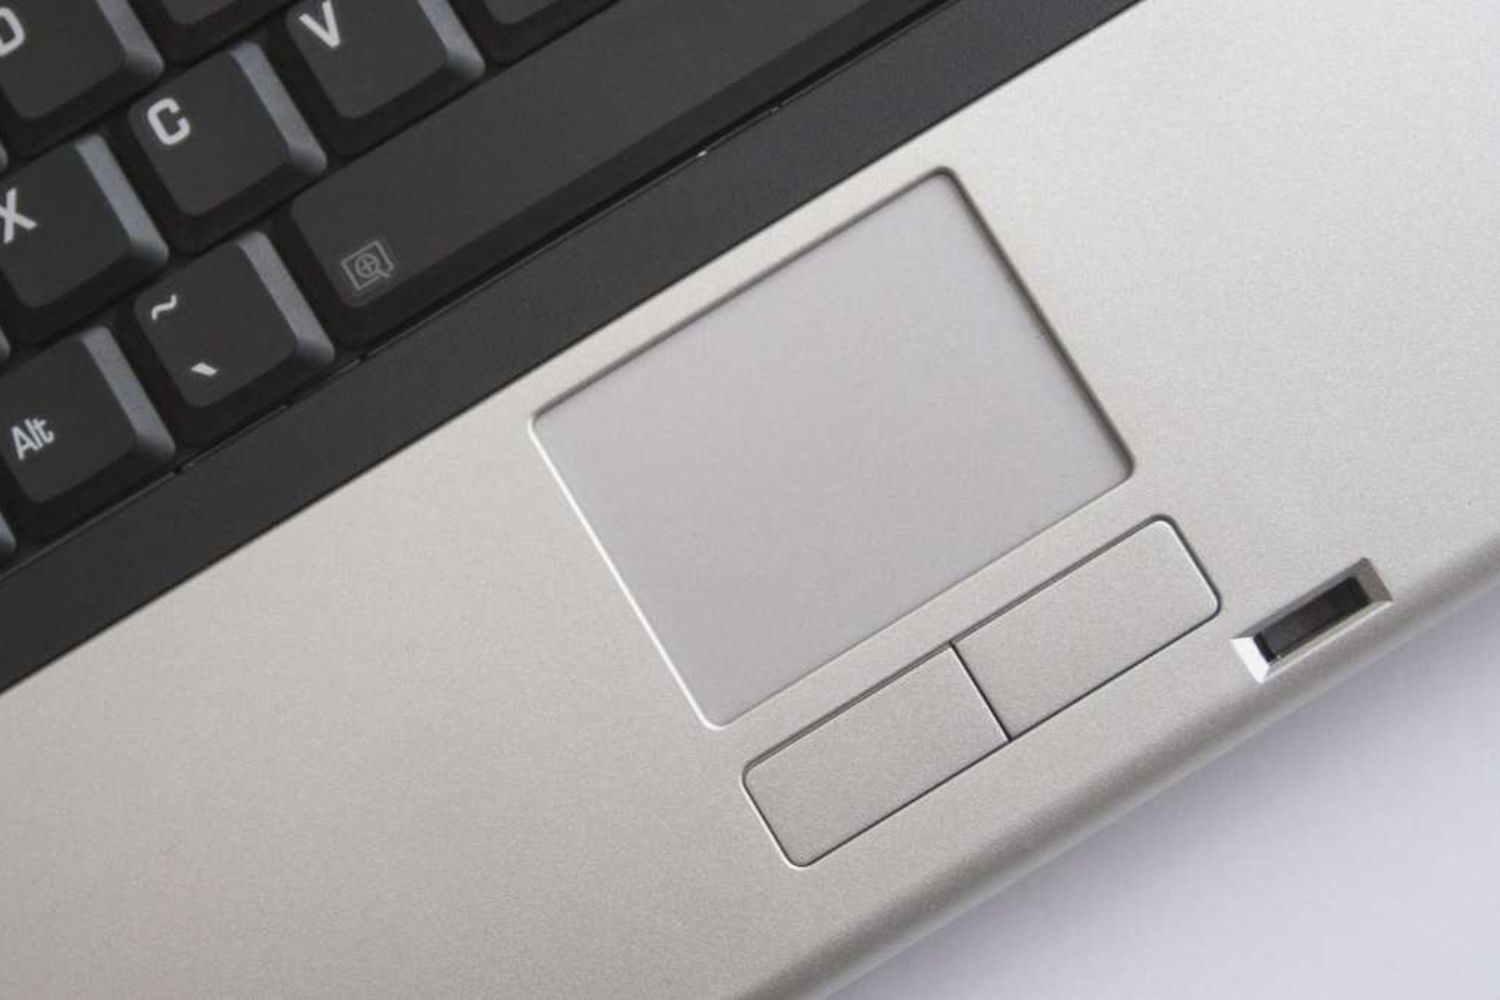
The mouse pad, also known as the touchpad, is an essential component of Dell laptops, offering a convenient way to navigate the screen without an external mouse. However, there are instances when users may prefer to disable the mouse pad, such as when using an external mouse or experiencing sensitivity issues. Fortunately, Dell laptops provide several methods to turn off the mouse pad, offering users flexibility and control over their device's input options.
In this guide, we will explore three effective methods to disable the mouse pad on Dell laptops. Whether you prefer using keyboard shortcuts, accessing the Device Manager, or navigating through the Control Panel, you'll find a suitable approach to meet your needs. By following these methods, you can effortlessly manage your laptop's input settings and enhance your overall user experience.
Now, let's delve into the step-by-step instructions for each method, empowering you to make informed decisions about your Dell laptop's touchpad functionality. Whether you're a tech-savvy individual or a casual user, these methods are designed to be user-friendly and accessible, allowing you to customize your laptop's settings with ease.
Let's begin by exploring the first method: using keyboard shortcuts to disable the mouse pad on your Dell laptop.
Method 1: Using Keyboard Shortcut
Disabling the Mouse Pad with Ease
One of the quickest and most convenient ways to turn off the mouse pad on your Dell laptop is by utilizing keyboard shortcuts. This method provides a seamless way to toggle the touchpad’s functionality, allowing you to effortlessly switch between using the mouse pad and an external mouse. Here’s a step-by-step guide to disabling the mouse pad using keyboard shortcuts:
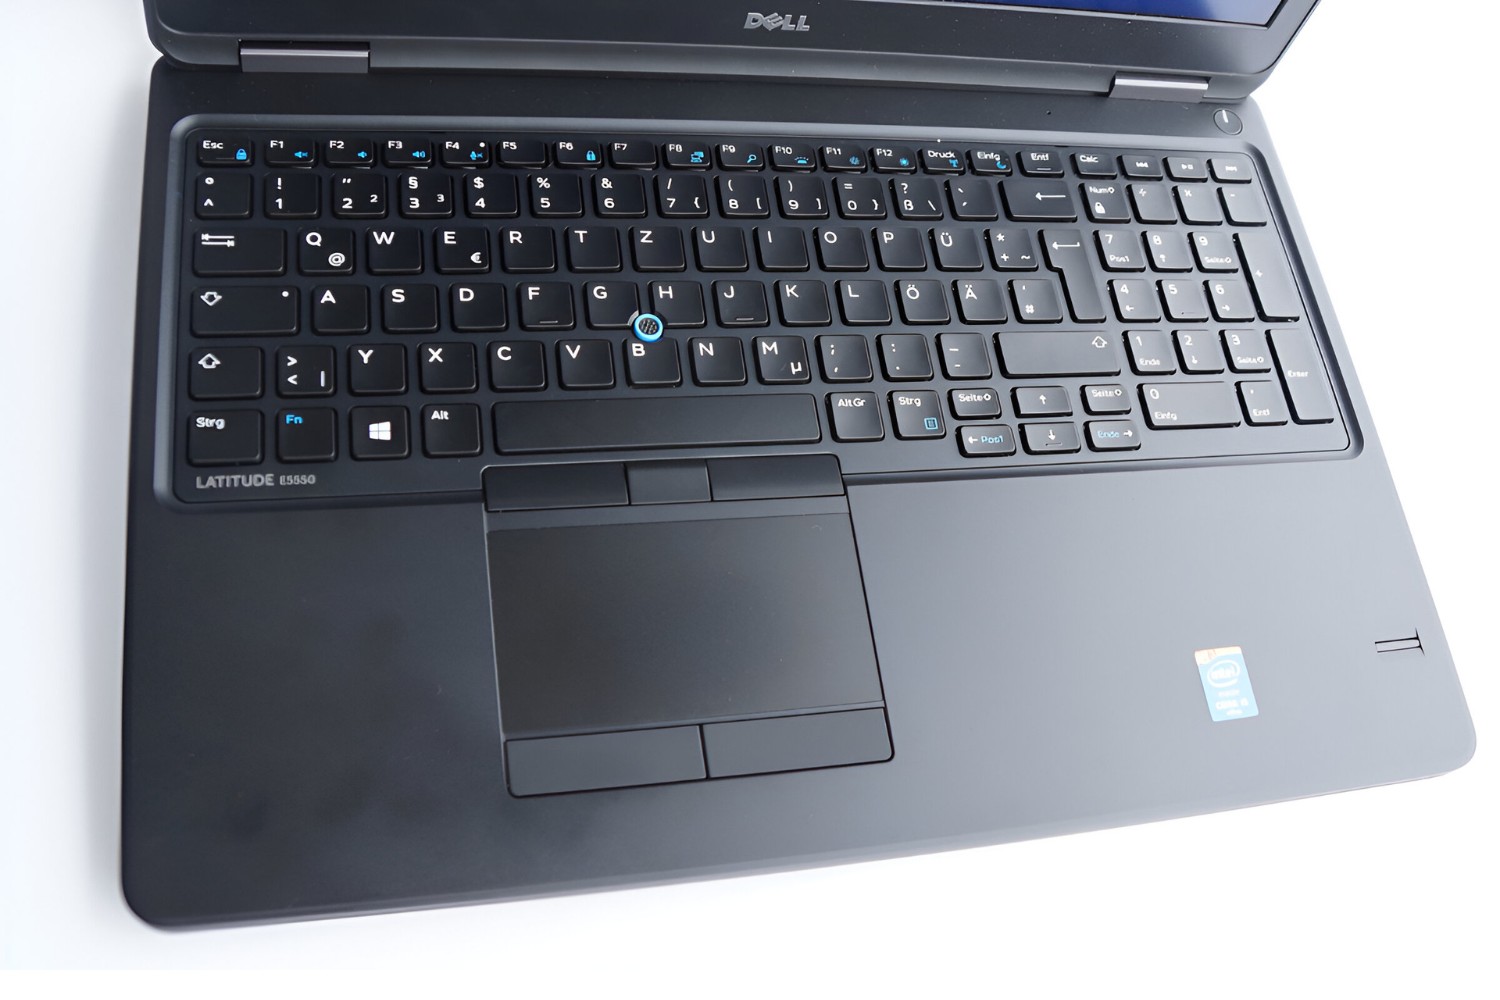
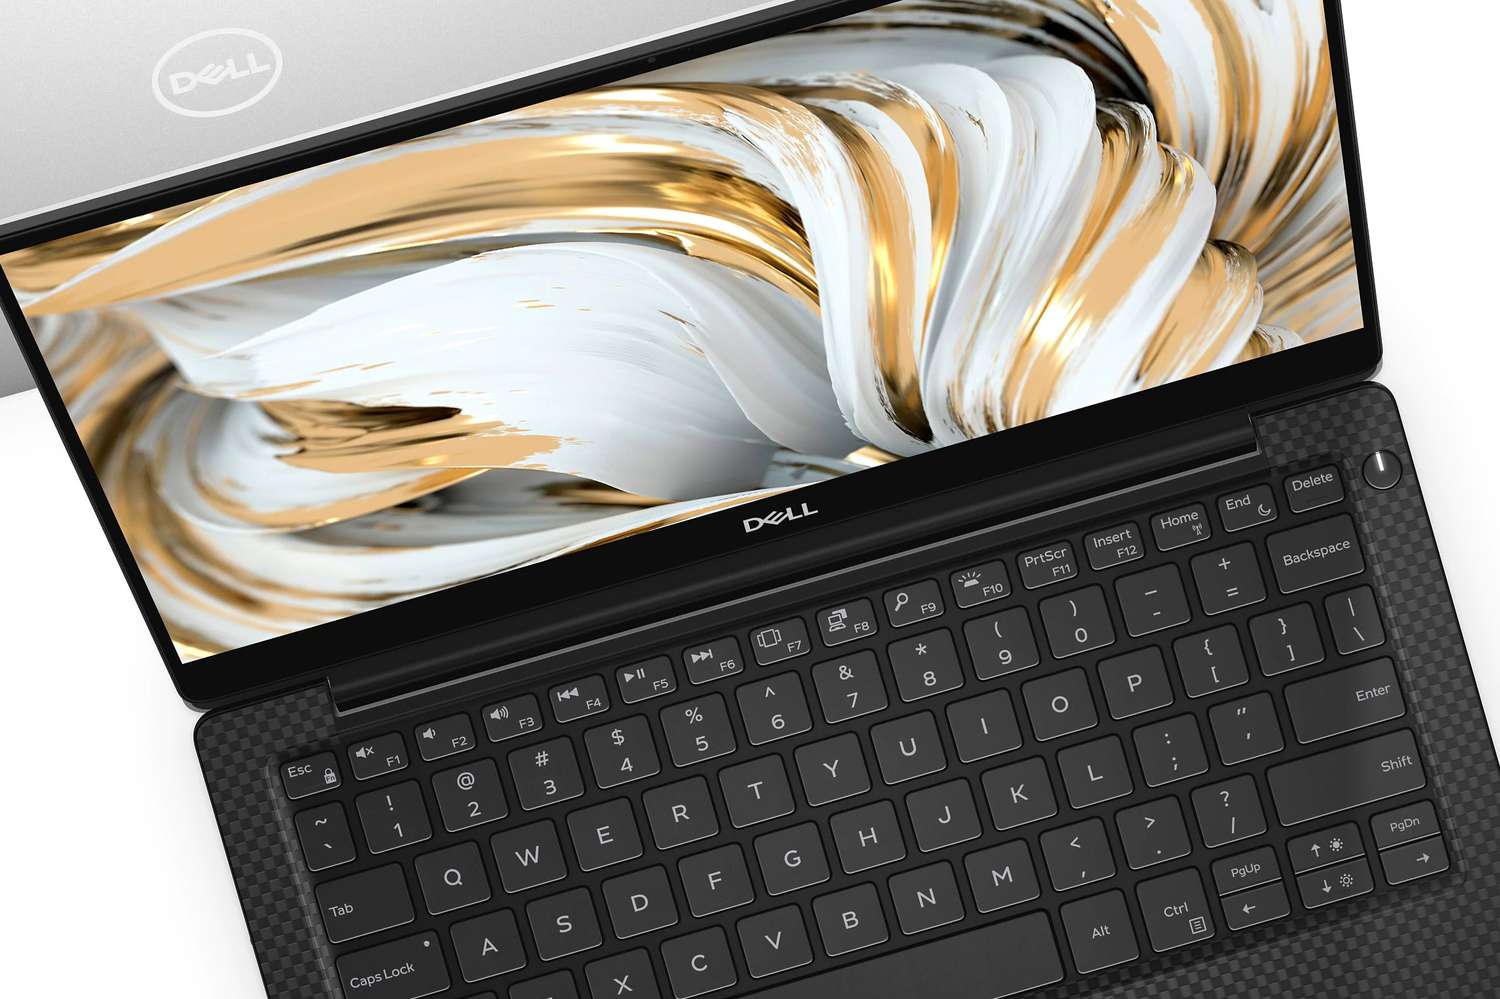
- Step 1: Begin by locating the “Fn” key on your Dell laptop’s keyboard. This key is typically positioned next to the Windows key on the bottom row.
- Step 2: Once you’ve identified the “Fn” key, look for the touchpad icon on one of the function keys (F1 to F12). The touchpad icon is often represented by a small rectangle with a dot at the top, indicating the touchpad’s surface.
- Step 3: To disable the mouse pad, press and hold the “Fn” key, then simultaneously press the function key containing the touchpad icon. This action triggers the keyboard shortcut to turn off the touchpad.
- Step 4: After pressing the designated function key, release both the “Fn” key and the function key with the touchpad icon. Your Dell laptop’s touchpad should now be disabled, allowing you to solely rely on an external mouse for navigation.
It’s important to note that the specific function key with the touchpad icon may vary depending on your Dell laptop model. Some laptops may use F5, F6, or other function keys to control the touchpad. Refer to your laptop’s user manual or online support resources to identify the correct function key for disabling the touchpad.
By employing this straightforward keyboard shortcut, you can seamlessly deactivate the mouse pad on your Dell laptop, catering to your preferences and enhancing your overall computing experience. Now, let’s explore an alternative method for disabling the touchpad using the Device Manager.
Method 2: Using Device Manager
Effortlessly Managing Touchpad Settings
If you prefer a more comprehensive approach to disabling the mouse pad on your Dell laptop, utilizing the Device Manager provides a robust solution. The Device Manager offers detailed control over various hardware components, including the touchpad, allowing you to modify settings and disable the device when needed. Here’s a step-by-step guide to using the Device Manager to turn off the mouse pad:
- Step 1: To access the Device Manager, right-click on the Windows Start button in the bottom-left corner of your screen. From the context menu that appears, select “Device Manager” to launch the application.
- Step 2: Within the Device Manager window, locate and expand the “Mice and other pointing devices” category. This section contains the touchpad and other pointing devices installed on your Dell laptop.
- Step 3: Once you’ve expanded the “Mice and other pointing devices” category, right-click on the touchpad device listed beneath it. Select “Disable device” from the context menu to deactivate the touchpad.
- Step 4: After choosing to disable the touchpad, a confirmation dialog may appear to ensure that you want to proceed with the action. Confirm the operation by clicking “Yes” or “Disable” to finalize the process.
By following these steps, you can effectively disable the touchpad using the Device Manager, providing a more in-depth approach to managing your laptop’s input devices. Additionally, the Device Manager allows you to re-enable the touchpad in the future if necessary, offering flexibility and control over your device’s configuration.
Utilizing the Device Manager empowers you to make precise adjustments to your Dell laptop’s touchpad settings, ensuring that your preferences are accommodated and enhancing your overall productivity. Now, let’s explore another method for turning off the touchpad by utilizing the Control Panel.
Method 3: Using Control Panel
Customizing Touchpad Preferences
Customizing the touchpad settings on your Dell laptop can be efficiently achieved through the Control Panel. This method offers a user-friendly interface for managing various system configurations, including the touchpad functionality. By accessing the Control Panel, you can navigate to the touchpad settings and disable the device according to your preferences. Here’s a step-by-step guide to using the Control Panel to turn off the mouse pad:
- Step 1: To access the Control Panel, click on the Windows Start button in the bottom-left corner of your screen and type “Control Panel” in the search bar. Select “Control Panel” from the search results to open the application.
- Step 2: Within the Control Panel, navigate to the “Hardware and Sound” category and click on “Mouse” to access the mouse properties window.
- Step 3: In the mouse properties window, locate the “Device Settings” or “Touchpad” tab, depending on your laptop’s configuration. Click on the tab to access the touchpad settings.
- Step 4: Within the touchpad settings, you should find an option to disable the touchpad. Check for a checkbox or toggle switch that allows you to turn off the touchpad functionality.
- Step 5: Once you’ve located the option to disable the touchpad, click on the checkbox or toggle switch to deactivate the device. Save the changes and exit the touchpad settings window.
By following these steps, you can effectively disable the touchpad using the Control Panel, providing a straightforward method for customizing your laptop’s input settings. The Control Panel offers an intuitive interface for managing various system configurations, ensuring that you can easily tailor the touchpad functionality to suit your preferences.
Utilizing the Control Panel empowers you to make personalized adjustments to your Dell laptop’s touchpad settings, allowing you to optimize your computing experience according to your specific needs. Whether you prefer using an external mouse or require temporary touchpad deactivation, the Control Panel provides a convenient solution for managing your device’s input options.
Conclusion
Managing the touchpad functionality on your Dell laptop is essential for optimizing your user experience and accommodating your individual preferences. Whether you prefer utilizing keyboard shortcuts, accessing the Device Manager, or navigating through the Control Panel, Dell laptops offer versatile methods to disable the mouse pad, providing users with flexibility and control over their device’s input options.
By exploring the step-by-step instructions for each method, you can effortlessly customize your laptop’s touchpad settings, ensuring that your computing environment aligns with your specific needs and preferences. Whether you’re a seasoned tech enthusiast or a casual user, these user-friendly methods are designed to empower you to make informed decisions about managing your Dell laptop’s touchpad functionality.
From utilizing keyboard shortcuts for quick touchpad deactivation to leveraging the Device Manager for comprehensive hardware control, Dell laptops offer a range of options for managing the touchpad with ease. Additionally, the Control Panel provides an intuitive interface for customizing touchpad preferences, allowing you to tailor the device settings according to your unique requirements.
By employing these methods, you can seamlessly disable the touchpad when using an external mouse, addressing sensitivity issues, or accommodating specific workflow preferences. The ability to customize touchpad settings enhances your overall productivity and ensures a personalized computing experience, reflecting Dell’s commitment to user-centric design and functionality.
As you navigate the diverse methods for turning off the mouse pad on your Dell laptop, you have the opportunity to tailor your device’s input options to suit your individual preferences, ultimately enhancing your overall user experience.


