Introduction
Are you an avid fan of racing games? Do you find yourself immersed in the virtual world of high-speed car chases and thrilling races? If so, you understand the importance of having reliable and responsive gaming equipment. One essential component for an immersive racing experience is a well-maintained racing wheel. However, over time, the 2-in-1 mini vibration racing wheel may begin to show signs of wear and tear, leading to decreased performance and diminished gameplay enjoyment.
In this guide, we will explore the process of tightening the internal components of the 2-in-1 mini vibration racing wheel to restore its responsiveness and ensure a more immersive gaming experience. By following these simple steps, you can breathe new life into your racing wheel, allowing you to fully enjoy the adrenaline-pumping action of your favorite racing games.
Whether you are a seasoned gaming enthusiast or a casual player looking to enhance your gaming setup, this step-by-step tutorial will equip you with the knowledge and skills needed to maintain and optimize your racing wheel. Get ready to dive into the intricate world of gaming hardware maintenance and experience the satisfaction of reviving your 2-in-1 mini vibration racing wheel to its former glory.
Join us as we delve into the process of disassembling, tightening, and reassembling the internal components of the racing wheel, culminating in a comprehensive testing phase to ensure that the adjustments have yielded the desired results. Get ready to elevate your gaming experience as we embark on this journey to enhance the performance of the 2-in-1 mini vibration racing wheel.
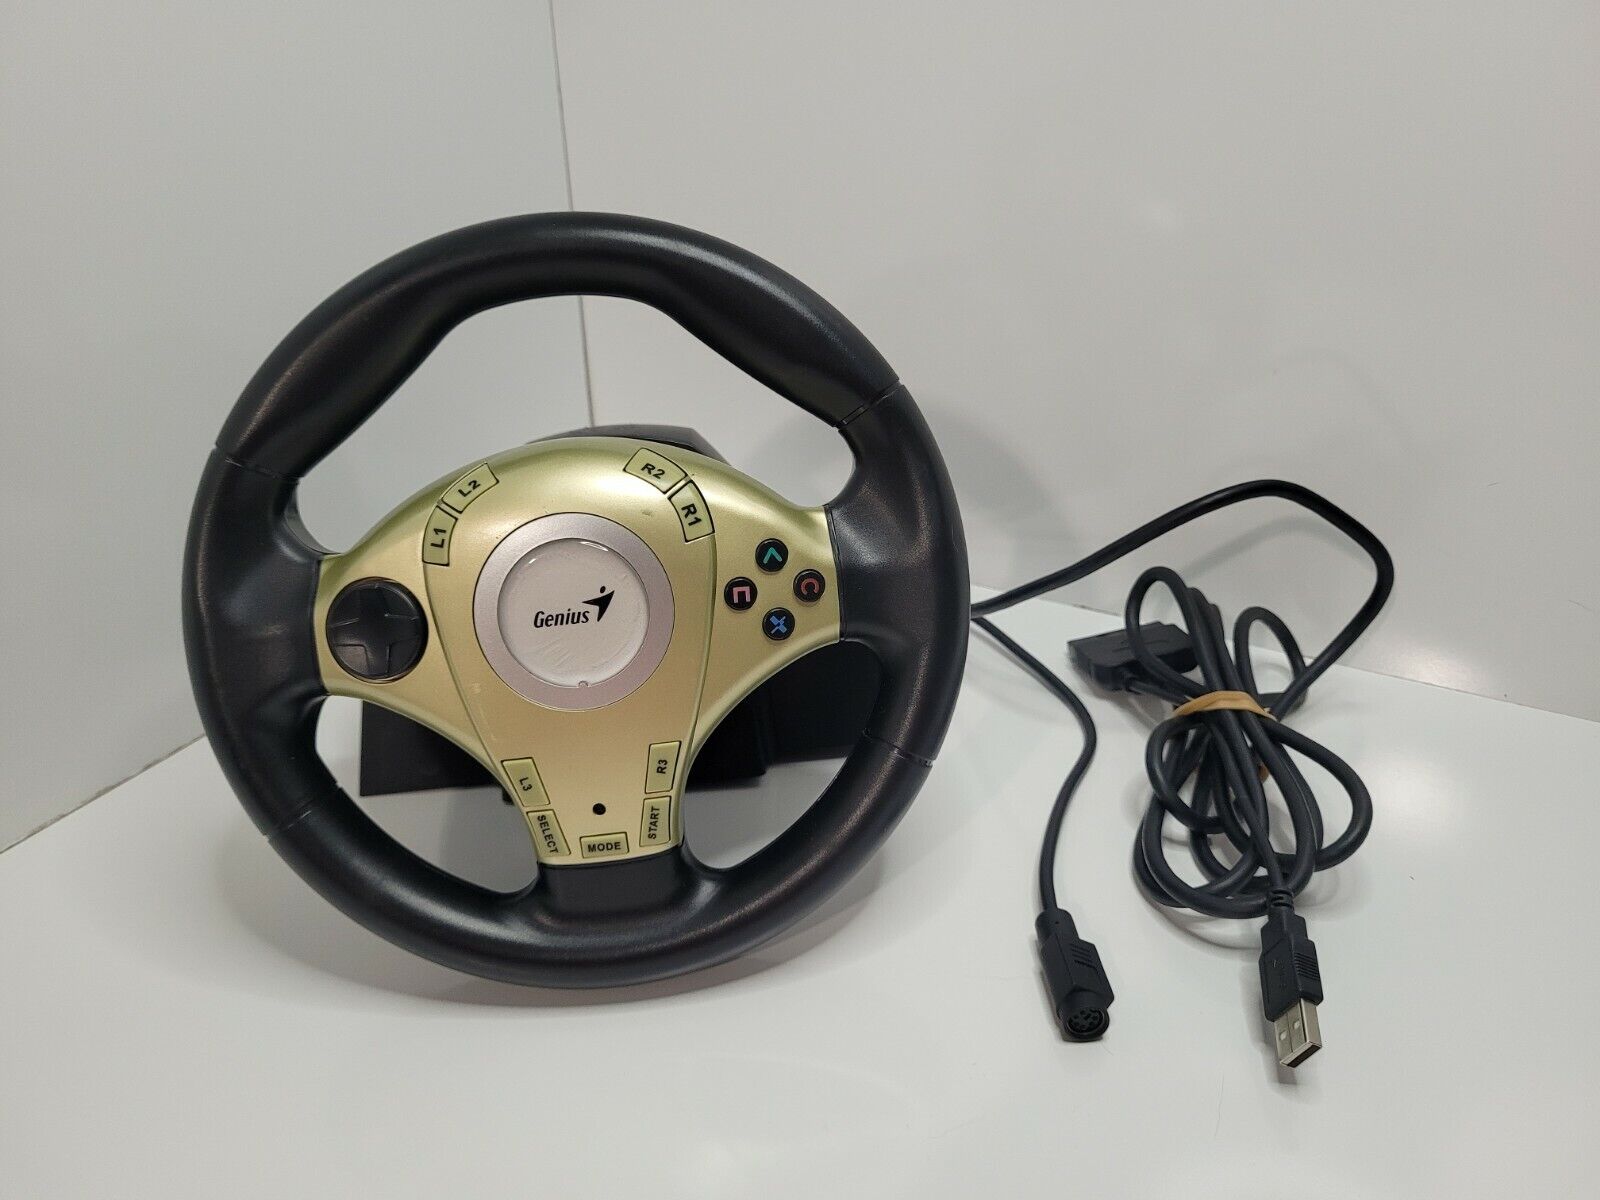
Understanding the 2-In-1 Mini Vibration Racing Wheel
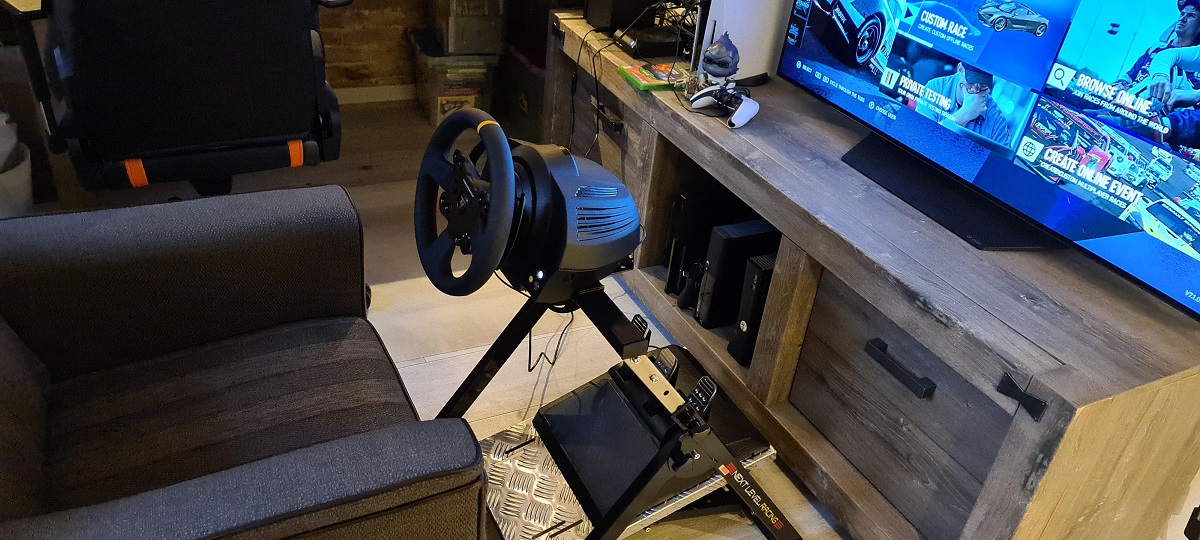
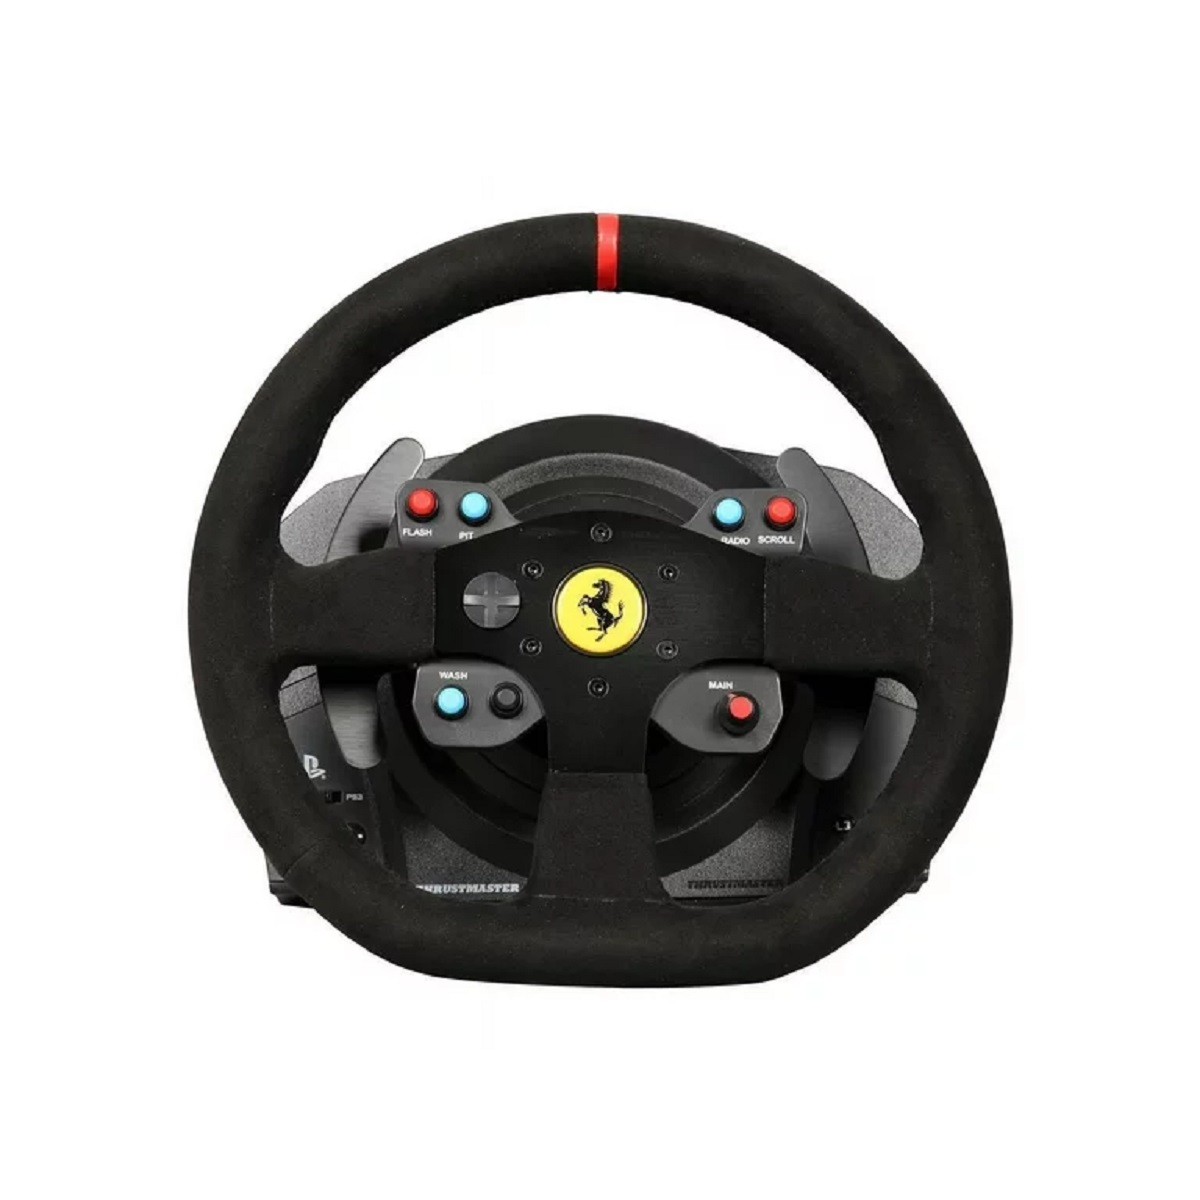
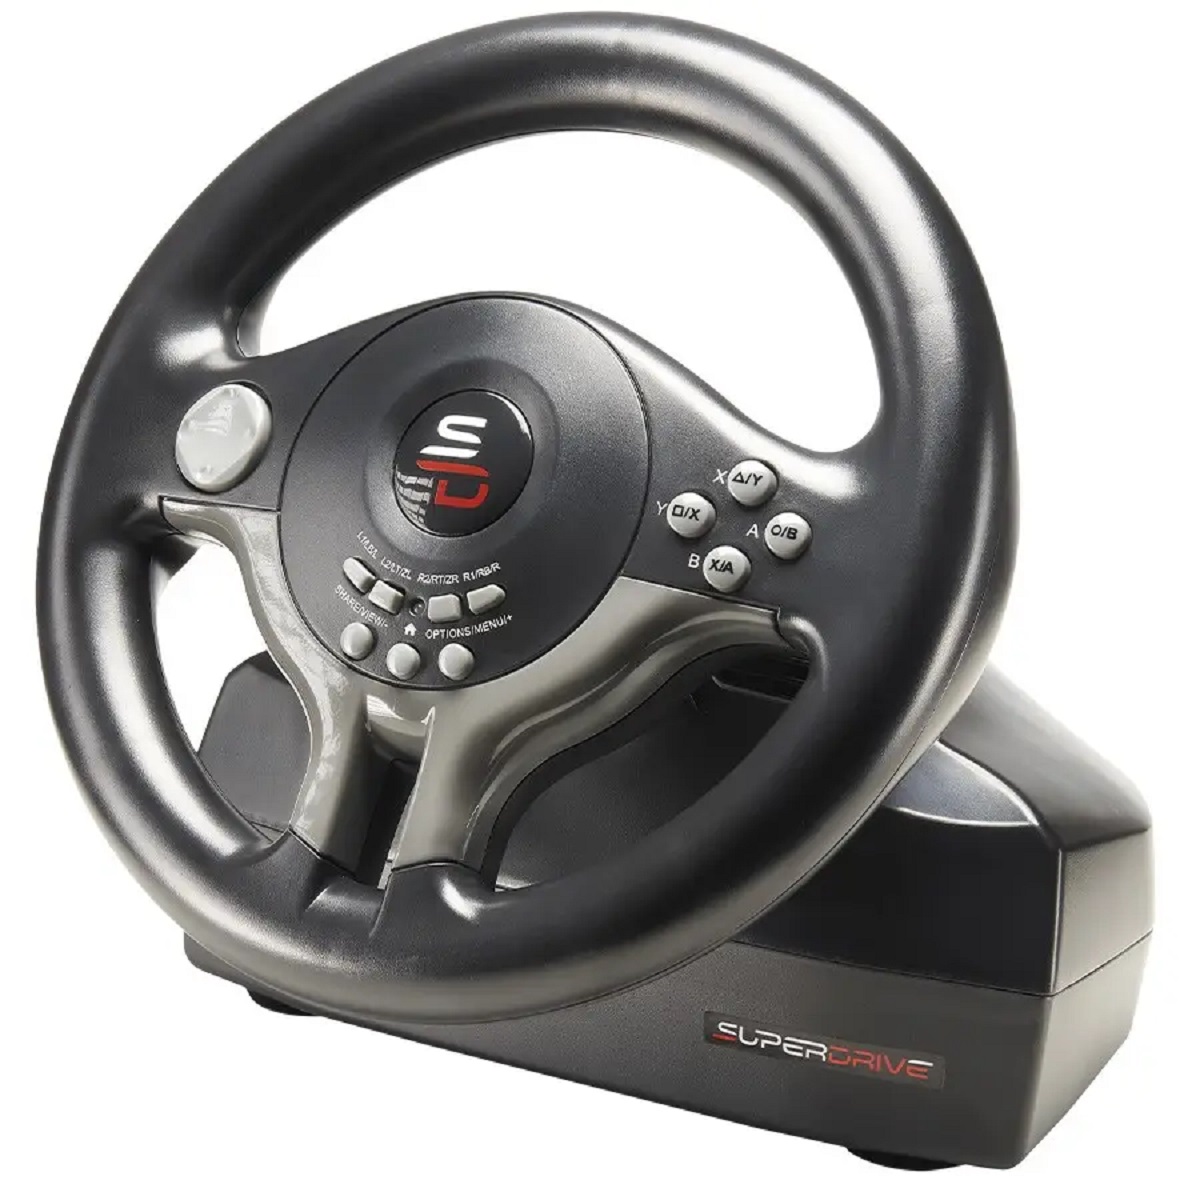
Before delving into the process of tightening the internal components of the 2-in-1 mini vibration racing wheel, it is essential to gain a comprehensive understanding of this gaming peripheral. The 2-in-1 mini vibration racing wheel is a compact and versatile gaming accessory designed to simulate the experience of driving a high-performance vehicle in racing games. Equipped with responsive controls, vibration feedback, and ergonomic design, this racing wheel aims to provide an immersive and realistic gaming experience.
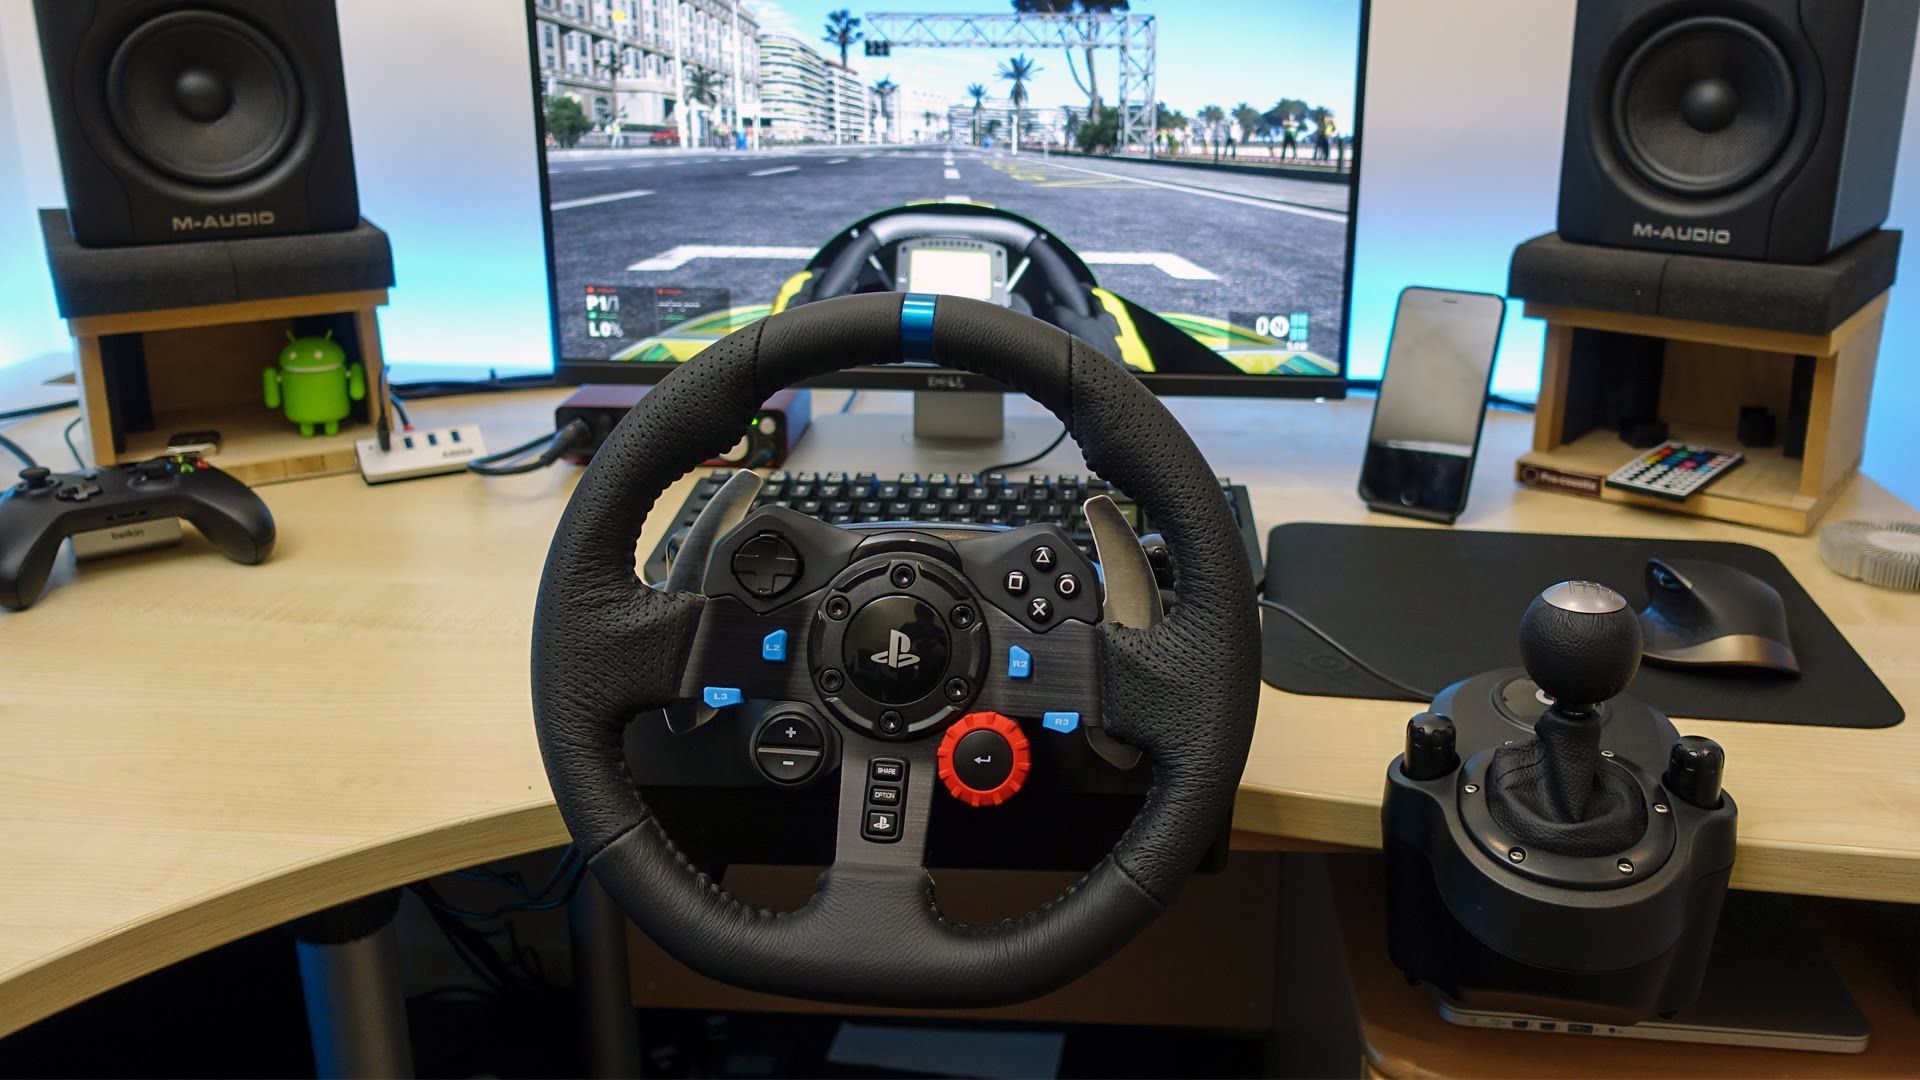
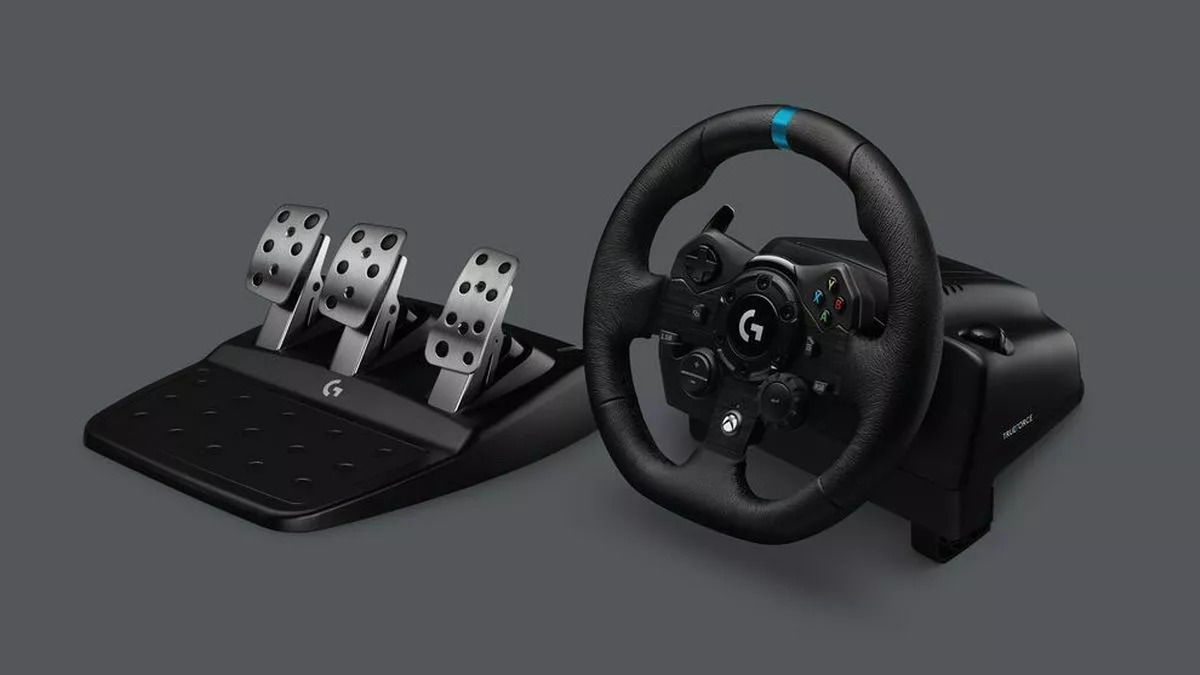
One of the key features of the 2-in-1 mini vibration racing wheel is its dual functionality, allowing it to be used with both gaming consoles and personal computers. This versatility makes it a popular choice among gaming enthusiasts who seek a seamless transition between different gaming platforms. Additionally, the inclusion of vibration feedback enhances the tactile experience, enabling players to feel the impact of collisions, road conditions, and other in-game events, further enhancing the overall gaming immersion.
Furthermore, the racing wheel incorporates a range of programmable buttons and responsive pedals, offering players precise control over their in-game vehicles. This level of control is particularly beneficial for racing simulations and competitive gameplay, where split-second decisions and accurate maneuvers can make the difference between victory and defeat.
Understanding the internal components of the racing wheel, including the motor, gears, and circuitry, is crucial for identifying potential areas of wear and optimizing the performance of the device. By gaining insight into the intricate mechanics of the 2-in-1 mini vibration racing wheel, users can develop a deeper appreciation for its functionality and make informed decisions when it comes to maintenance and enhancements.
With a solid understanding of the features and capabilities of the 2-in-1 mini vibration racing wheel, we are now prepared to proceed with the process of tightening its internal components, ensuring that it continues to deliver an exceptional gaming experience.
Tools and Materials Needed
Before embarking on the task of tightening the internal components of the 2-in-1 mini vibration racing wheel, it is essential to gather the necessary tools and materials to facilitate the maintenance process. By ensuring that you have the required items at your disposal, you can streamline the maintenance procedure and achieve optimal results. Here’s a comprehensive list of the tools and materials needed for this task:
- Phillips Head Screwdriver: A Phillips head screwdriver is essential for removing the screws that secure the casing of the racing wheel, allowing access to its internal components.
- Flathead Screwdriver: A flathead screwdriver may be necessary for certain models of the racing wheel, particularly for prying open the casing or accessing specific components.
- Lubricating Oil or Grease: Lubricating oil or grease is used to ensure smooth movement and reduced friction within the internal components of the racing wheel, contributing to improved responsiveness.
- Clean Cloth: A clean cloth is useful for wiping down the internal components and removing any accumulated dust or debris that may affect the performance of the racing wheel.
- Tweezers or Small Pliers: Tweezers or small pliers are handy for handling small components within the racing wheel, allowing for precision adjustments and placement.
- Replacement Parts (if necessary): Depending on the condition of the internal components, it may be prudent to have replacement parts on hand, such as gears, springs, or sensors, to address any worn or damaged elements.
By ensuring that you have these tools and materials readily available, you can proceed with confidence, knowing that you are equipped to address any maintenance requirements that may arise during the tightening process. With the necessary items in hand, you are prepared to embark on the journey of optimizing the performance of your 2-in-1 mini vibration racing wheel, ensuring a more immersive and enjoyable gaming experience.
Step 1: Disassembling the Racing Wheel
Before delving into the process of tightening the internal components of the 2-in-1 mini vibration racing wheel, it is essential to disassemble the device carefully to gain access to its internal mechanisms. This step-by-step guide will walk you through the process of disassembling the racing wheel, allowing you to inspect and address any potential issues within the device.
1. Prepare Your Workspace: Find a well-lit and spacious area to work on the disassembly process. Ensure that you have a clean, flat surface to lay out the components and screws as you remove them from the racing wheel.
2. Power Off the Racing Wheel: Prior to disassembly, make sure that the racing wheel is disconnected from any power source and turned off to prevent electrical hazards and ensure safety during the maintenance procedure.
3. Remove the Casing Screws: Using a Phillips head screwdriver, carefully remove the screws that secure the casing of the racing wheel. Place the screws in a small container or on a magnetic tray to prevent misplacement.
4. Gently Separate the Casing: Once the screws are removed, gently separate the casing of the racing wheel, taking care not to force it open. Some models may have clips or additional screws securing the casing, so proceed with caution to avoid damaging the device.
5. Identify Internal Components: As you open the casing, take note of the internal components, including the motor, gears, circuitry, and any other elements that contribute to the functionality of the racing wheel. Inspect these components for signs of wear, misalignment, or debris accumulation.
6. Document the Disassembly Process: Consider taking photos or making notes as you disassemble the racing wheel. This documentation can serve as a reference when reassembling the device and ensure that each component is returned to its correct position.
By following these steps, you can successfully disassemble the 2-in-1 mini vibration racing wheel, gaining access to its internal components and preparing for the subsequent task of tightening and optimizing its performance. With the casing removed and the internal mechanisms exposed, you are ready to proceed to the next phase of the maintenance process.
Step 2: Tightening the Internal Components
With the 2-in-1 mini vibration racing wheel disassembled, the next crucial step involves the process of tightening the internal components to address any potential issues affecting the device’s performance. This meticulous process aims to optimize the responsiveness and functionality of the racing wheel, ensuring a more immersive and enjoyable gaming experience. Follow these steps to effectively tighten the internal components of the racing wheel:
1. Inspect and Clean Internal Components: Carefully examine the internal components, including the motor, gears, and circuitry, for any signs of wear, misalignment, or debris accumulation. Use a clean cloth to gently wipe down these components, removing any dust or residue that may impede their functionality.
2. Check for Loose Screws and Connections: Inspect the screws and connections within the racing wheel for any signs of looseness or instability. Using a Phillips head screwdriver, systematically check and tighten the screws to ensure that all components are securely fastened in place.
3. Apply Lubrication as Needed: If you notice areas of friction or resistance within the internal mechanisms, apply a small amount of lubricating oil or grease to promote smooth movement and reduce wear on moving parts. Take care not to over-lubricate, as excess lubrication can attract dust and debris.
4. Adjust Tension and Alignment: Depending on the design of the racing wheel, you may need to make adjustments to the tension of springs, belts, or other components to ensure optimal responsiveness. Additionally, check the alignment of gears and sensors, making any necessary corrections to enhance their performance.
5. Securely Reassemble Components: As you tighten and adjust the internal components, ensure that each element is securely repositioned and fastened in place. Pay close attention to the alignment and placement of gears, ensuring that they mesh smoothly and function without interference.
6. Test the Responsiveness: After tightening the internal components, perform a preliminary test to gauge the responsiveness of the racing wheel. Check for smooth and accurate control inputs, as well as the effectiveness of vibration feedback, to assess the impact of the adjustments made.
By meticulously tightening the internal components of the 2-in-1 mini vibration racing wheel, you can address potential issues and optimize its performance, setting the stage for an enhanced gaming experience. With these adjustments in place, the racing wheel is poised to deliver heightened responsiveness and functionality, allowing you to fully immerse yourself in the excitement of virtual racing adventures.
Step 3: Reassembling the Racing Wheel
Having successfully tightened the internal components of the 2-in-1 mini vibration racing wheel, the next crucial phase involves reassembling the device to restore its structural integrity and functionality. Proper reassembly is essential to ensure that the racing wheel operates seamlessly and that all components are securely positioned for optimal performance. Follow these steps to effectively reassemble the racing wheel:
1. Organize Disassembled Components: Lay out the disassembled components of the racing wheel in a systematic manner, ensuring that screws, fasteners, and smaller elements are organized and easily accessible. Refer to any documentation or photos taken during the disassembly process to aid in reassembly.
2. Position Internal Components: Carefully position the internal components, including the motor, gears, circuitry, and any other elements, within the casing of the racing wheel. Ensure that each component is aligned correctly and fits securely within its designated space.
3. Reattach Casing and Secure Screws: Gently reattach the casing of the racing wheel, taking care to align it properly before securing it in place. Use the appropriate screws and a Phillips head screwdriver to fasten the casing, ensuring that each screw is tightened to the appropriate level without over-tightening.
4. Test for Structural Stability: Once the casing is reattached, perform a brief inspection to confirm that the racing wheel’s structural integrity has been restored. Check for any gaps or misalignments in the casing, and ensure that all components are securely enclosed within the device.
5. Perform Functionality Checks: Before fully enclosing the racing wheel, conduct functionality checks to ensure that the internal adjustments have positively impacted the device’s performance. Test the responsiveness of the controls, the functionality of the pedals, and the vibration feedback to confirm that the reassembly process has not compromised the racing wheel’s functionality.
6. Finalize Reassembly: Once you are satisfied with the structural stability and functionality of the racing wheel, proceed to finalize the reassembly by securing any remaining components or panels. Double-check the alignment of the casing and the integrity of the internal components before proceeding to the testing phase.
By diligently following these reassembly steps, you can effectively restore the 2-in-1 mini vibration racing wheel to its fully operational state, ensuring that the internal adjustments made during the tightening process are preserved and optimized. With the device reassembled, it is now time to proceed to the testing phase to confirm the success of the maintenance procedure.
Testing the Tightened Racing Wheel
With the 2-in-1 mini vibration racing wheel successfully reassembled after the meticulous tightening of its internal components, the final phase of the maintenance process involves comprehensive testing to evaluate the impact of the adjustments and ensure that the device operates at its optimal capacity. Follow these steps to effectively test the tightened racing wheel:
1. Power On and Calibration: Connect the racing wheel to your gaming console or computer and power it on. Allow the device to calibrate and initialize, ensuring that it is ready for testing.
2. Control Responsiveness: Test the responsiveness of the racing wheel’s controls, including the steering wheel, pedals, and programmable buttons. Ensure that inputs are registered accurately and that the device responds promptly to your commands.
3. Vibration Feedback: Evaluate the effectiveness of the vibration feedback during gameplay. Pay attention to the intensity and accuracy of the feedback, ensuring that it enhances the immersive experience without being excessive or disruptive.
4. Precision and Accuracy: Engage in a racing simulation or game that requires precise control and maneuvering. Assess the precision and accuracy of the racing wheel’s inputs, ensuring that it allows for nuanced and controlled gameplay.
5. Long-Term Performance: Test the racing wheel over an extended period, engaging in various gaming scenarios to gauge its long-term performance. Monitor for any signs of diminished responsiveness or unexpected behavior that may indicate unresolved issues.
6. Fine-Tuning as Needed: If you encounter any issues or inconsistencies during testing, consider fine-tuning the racing wheel’s settings or repeating specific maintenance steps to address the identified concerns. Continuously monitor and adjust the device to achieve the desired performance.
By conducting thorough testing of the tightened racing wheel, you can ascertain the effectiveness of the maintenance procedure and confirm that the internal adjustments have positively impacted the device’s performance. With the results of the testing phase informing the success of the maintenance process, you can proceed with confidence, knowing that the 2-in-1 mini vibration racing wheel has been optimized to deliver an enhanced and immersive gaming experience.
Conclusion
Embarking on the journey to tighten the internal components of the 2-in-1 mini vibration racing wheel has been a rewarding endeavor, culminating in the restoration of its responsiveness and functionality. By meticulously disassembling, tightening, and reassembling the racing wheel, you have taken proactive steps to optimize its performance, ensuring a more immersive and enjoyable gaming experience.
Throughout the maintenance process, you gained valuable insights into the intricate mechanics of the racing wheel, developing a deeper understanding of its internal components and their impact on its functionality. The careful application of lubrication, adjustment of tension, and meticulous reassembly have collectively contributed to the enhanced responsiveness and precision of the device.
As you conducted comprehensive testing to evaluate the impact of the adjustments, you reaffirmed the effectiveness of the maintenance procedure, confirming that the tightened racing wheel operates at its optimal capacity. The control responsiveness, vibration feedback, and long-term performance have all been scrutinized, allowing you to fine-tune the device as needed to achieve the desired performance.
Armed with the knowledge and skills acquired throughout this maintenance journey, you are well-equipped to maintain and optimize the performance of the 2-in-1 mini vibration racing wheel, ensuring that it continues to deliver an exceptional gaming experience in the long run. By embracing the proactive approach to maintenance outlined in this guide, you have empowered yourself to preserve the longevity and functionality of your gaming equipment, setting the stage for countless thrilling racing adventures in the virtual world.
With the racing wheel now tightened and primed for action, you can confidently immerse yourself in the adrenaline-pumping excitement of virtual racing, knowing that your gaming experience is enhanced by the meticulously maintained 2-in-1 mini vibration racing wheel.