Introduction
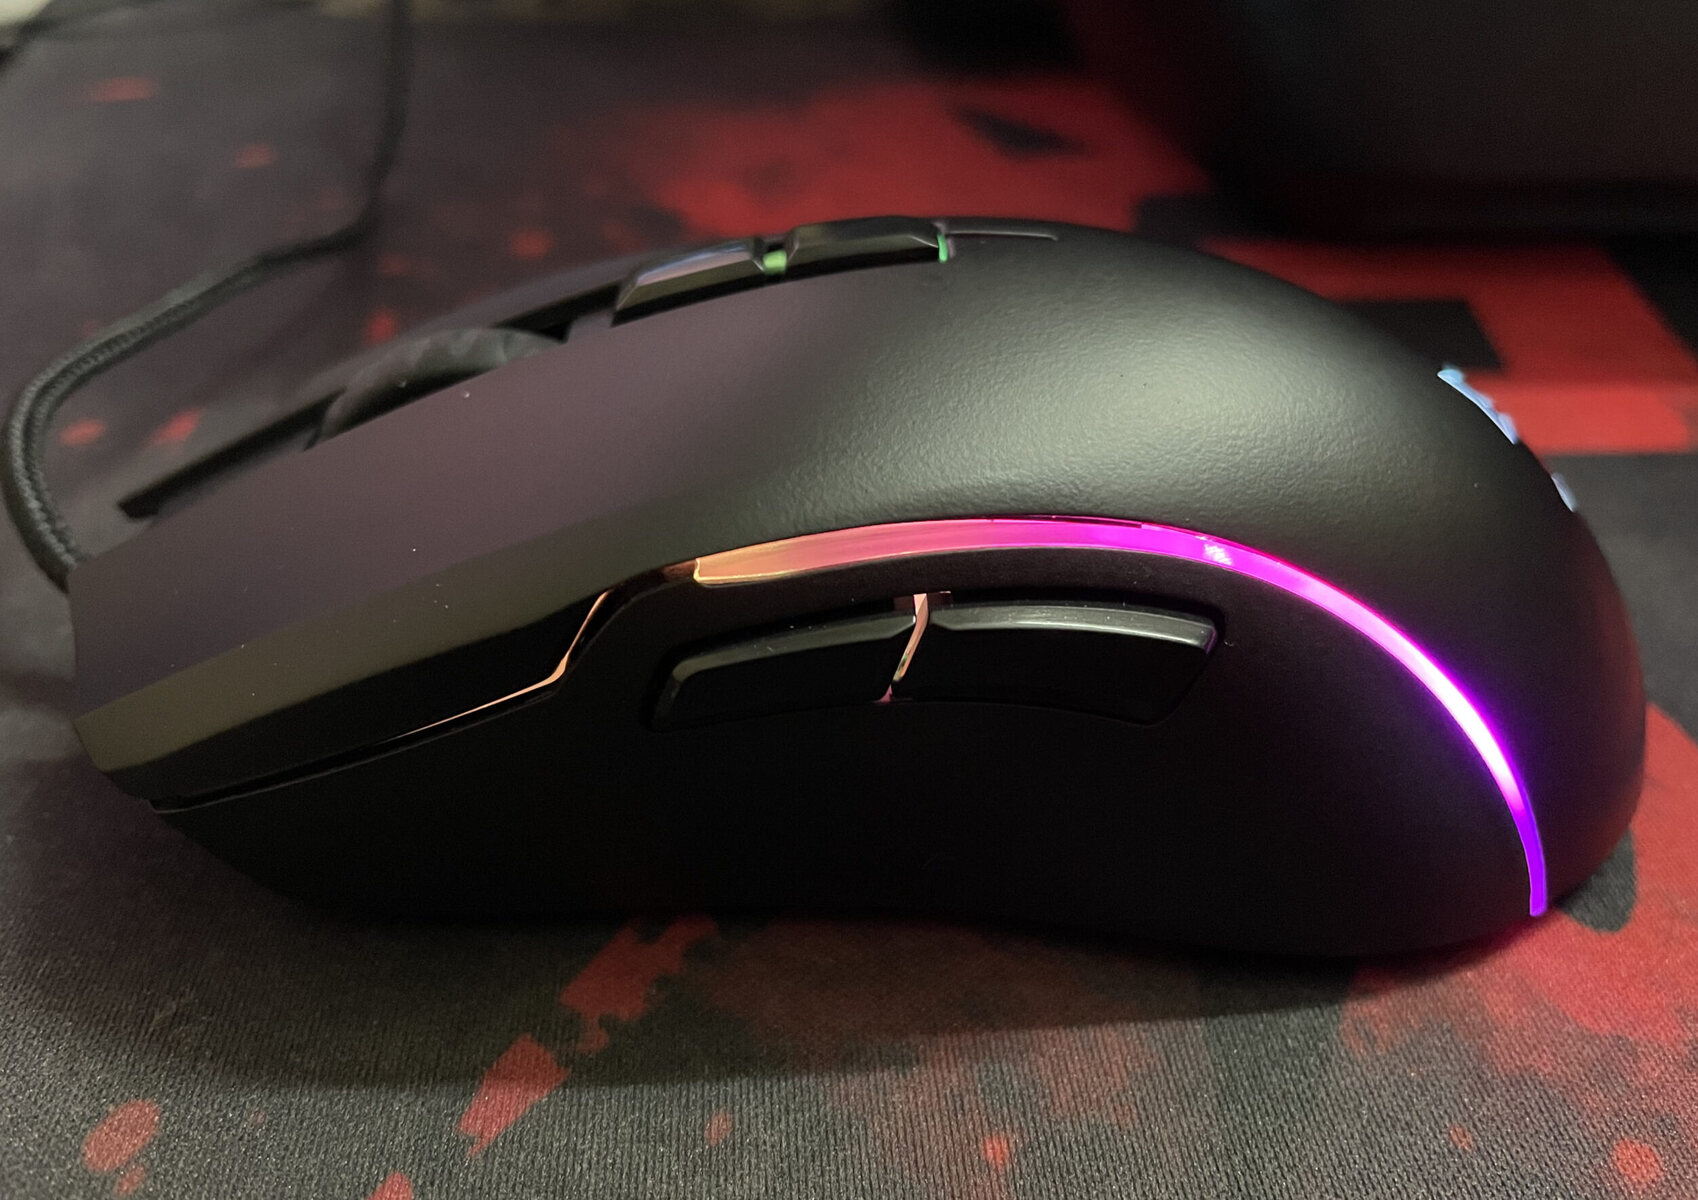
Do you own an Airfox gaming mouse that seems to be acting up? Don't worry, it's not uncommon for electronic devices to experience glitches from time to time. If you're encountering issues with your Airfox gaming mouse, a simple reboot might just be the solution you need. Rebooting your mouse can help resolve various problems such as unresponsiveness, erratic cursor movement, or connectivity issues. This guide will walk you through the steps to reboot your Airfox gaming mouse, so you can get back to enjoying a seamless and responsive gaming experience.
Whether you're an avid gamer or simply rely on your Airfox gaming mouse for everyday tasks, a malfunctioning mouse can be frustrating. Before you consider replacing it, it's worth trying to reboot the device to see if that resolves the issues. The process is straightforward and doesn't require any advanced technical knowledge. By following the steps outlined in this guide, you can effectively reboot your Airfox gaming mouse and potentially eliminate the issues you've been experiencing.
So, if you're ready to troubleshoot and revitalize your Airfox gaming mouse, let's dive into the simple yet effective steps to reboot it. Whether you're a tech enthusiast or a casual user, this guide will equip you with the know-how to tackle common mouse issues and get your Airfox gaming mouse back in top form. Let's get started!
Step 1: Unplug the Airfox Gaming Mouse
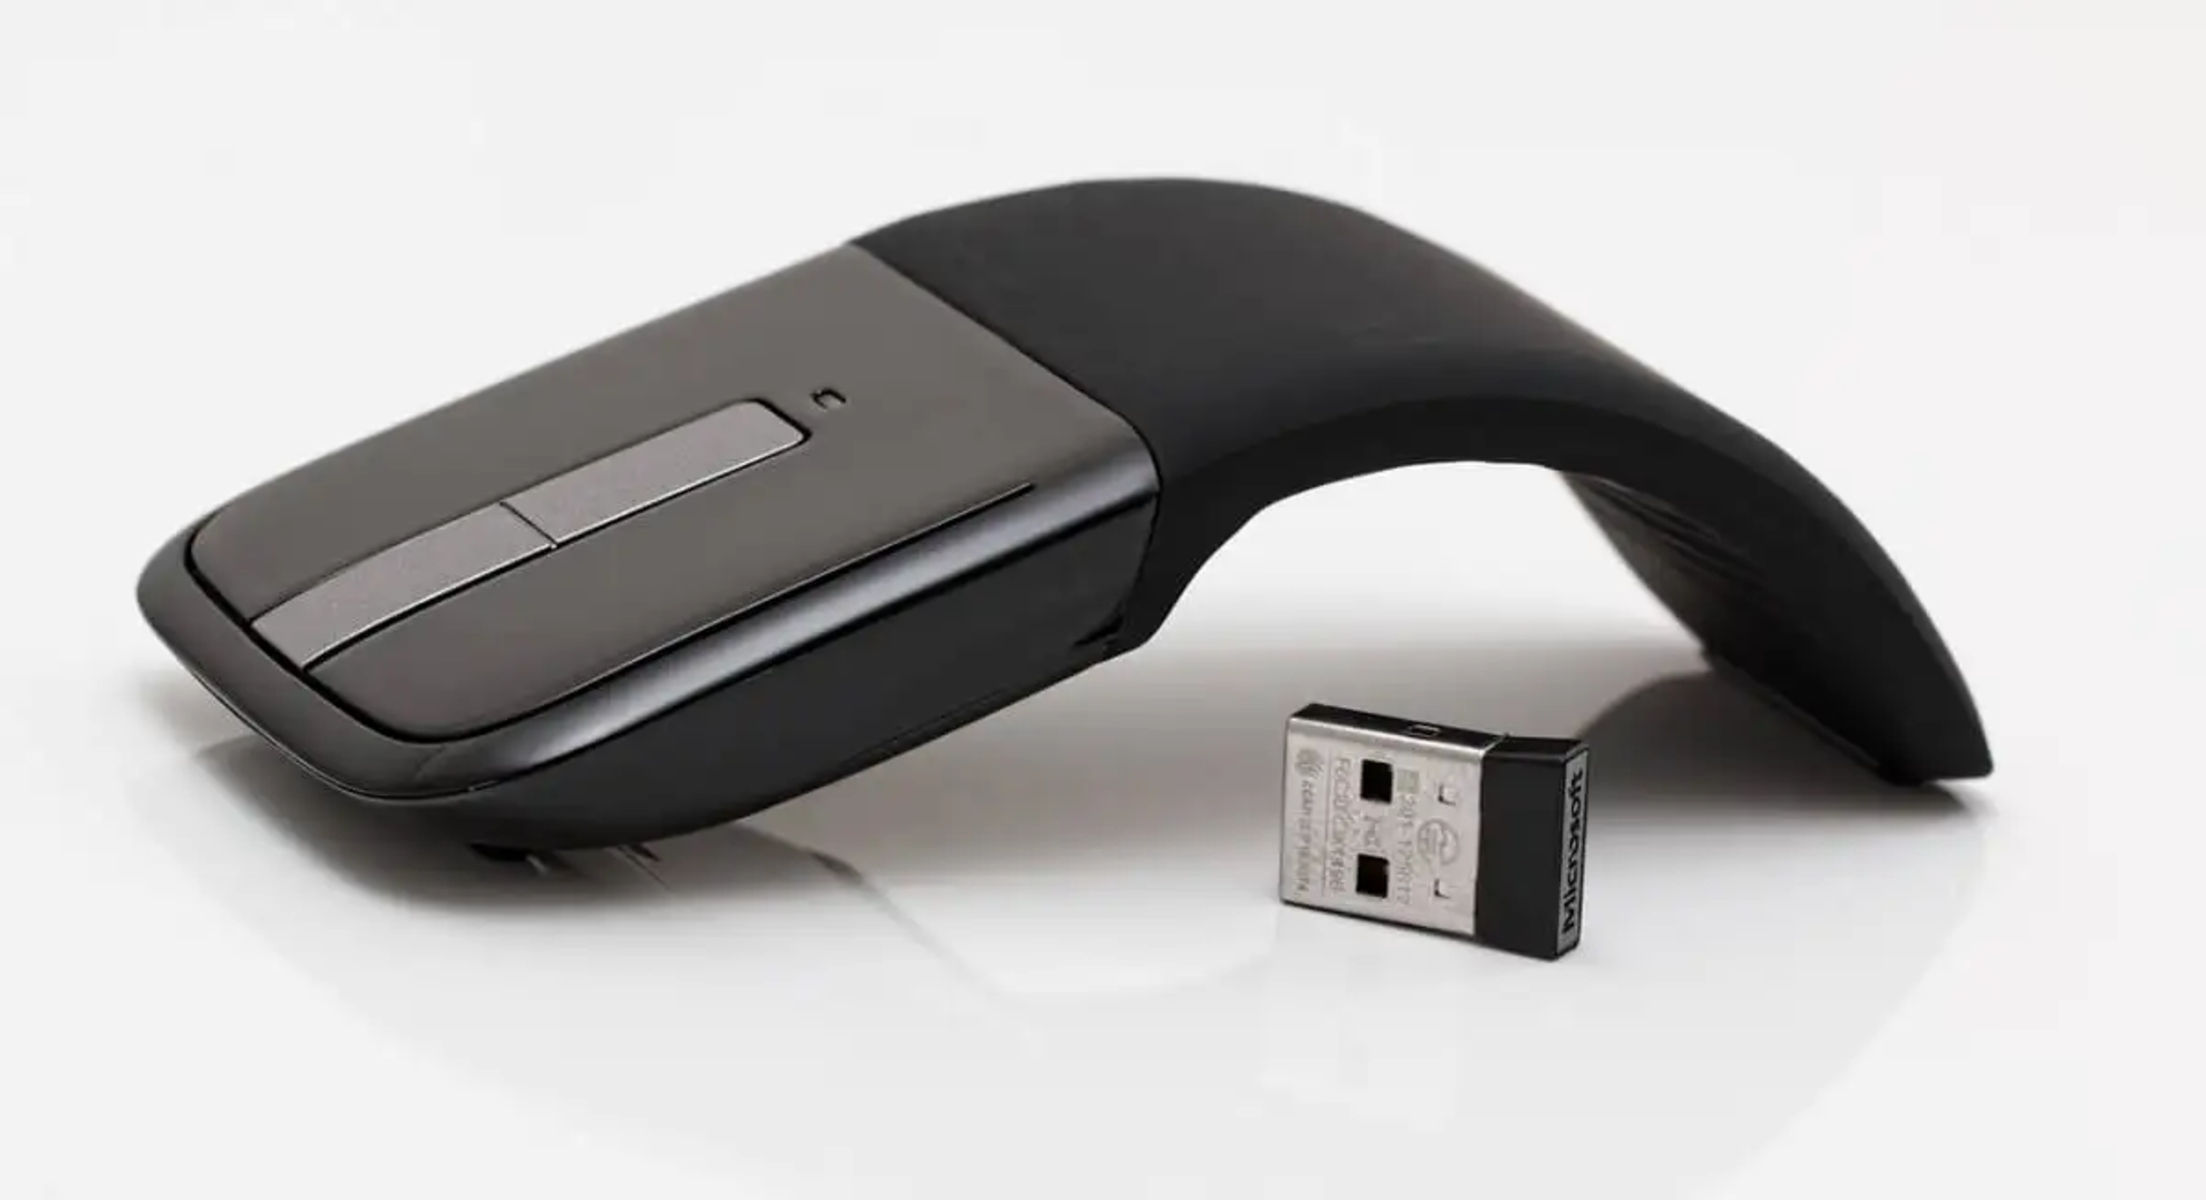
The first step in rebooting your Airfox gaming mouse is to unplug it from your computer or gaming device. This ensures that the mouse is disconnected from any power source and allows for a complete reset of the device. Locate the USB cable or wireless receiver that connects your Airfox gaming mouse to your computer and gently unplug it. If your mouse is wireless, remove the wireless receiver from the USB port. For a wired mouse, unplug the USB cable from the port on your computer. Once the mouse is unplugged, set it aside in preparation for the next steps.
Unplugging the mouse is a crucial initial step as it interrupts the current power supply to the device, initiating the reboot process. This action effectively halts any ongoing communication between the mouse and your computer, allowing for a fresh start when you proceed with the reboot. By disconnecting the mouse, you are setting the stage for a complete reset, which can often resolve various performance issues that may have arisen.
It’s important to handle the mouse and its cables delicately to avoid causing any damage during the unplugging process. Take care to gently remove the USB cable or wireless receiver to ensure that the connections remain intact and undamaged. Once the mouse is unplugged, you’re ready to move on to the next step in the rebooting process.
Step 2: Remove the Batteries
If your Airfox gaming mouse is powered by batteries, the next step in the reboot process is to remove the batteries from the mouse. Start by turning the mouse over to locate the battery compartment. Depending on the model of your Airfox gaming mouse, the battery compartment may be on the top or bottom of the device. Carefully open the compartment to access the batteries.
Once you have access to the batteries, carefully remove them from the compartment. Pay close attention to the orientation of the batteries and the correct method for removing them to avoid any damage to the battery contacts or the compartment itself. If your mouse uses rechargeable batteries, gently disconnect them from the mouse, ensuring that you handle them with care to prevent any accidental damage.
Removing the batteries is an essential step in the reboot process as it completely cuts off the power supply to the mouse. This action ensures that the mouse is fully powered down, allowing any residual charge to dissipate and facilitating a complete reset of the device. By removing the batteries, you are effectively initiating a power cycle for the mouse, which can help resolve issues related to power fluctuations or battery-related performance issues.
Once the batteries have been removed, take a moment to inspect the battery compartment for any signs of corrosion, debris, or other issues that may affect the performance of the mouse. If necessary, gently clean the compartment using a soft, dry cloth to ensure that it is free from any obstructions or contaminants. With the batteries removed and the compartment inspected, you’re ready to proceed to the next step in the reboot process.
Step 3: Press and Hold the Reset Button
Many Airfox gaming mice are equipped with a reset button that allows for a complete reboot of the device. To initiate the reset process, locate the reset button on your mouse. The reset button is typically situated on the underside of the mouse, near the battery compartment or within the recessed area of the device. Once you’ve identified the reset button, use a small, pointed object such as a pen tip or a paperclip to press and hold the reset button.
Pressing and holding the reset button triggers the reboot process, effectively restoring the mouse to its default settings and clearing any lingering issues that may have been affecting its performance. The duration for which the reset button needs to be held may vary depending on the model of the Airfox gaming mouse, so refer to the manufacturer’s instructions for specific guidance on this step.
While pressing the reset button, it’s important to apply gentle and consistent pressure to ensure that the button is engaged properly. This action initiates the reset sequence, allowing the mouse to undergo a complete reboot and reset any internal configurations that may be contributing to its performance issues. The reset button serves as a powerful tool for troubleshooting and resolving various issues that may arise with the mouse.
As you press and hold the reset button, you may notice indicator lights or other visual cues on the mouse that signal the reset process is underway. Pay attention to any changes in the mouse’s behavior or visual indicators that may accompany the reset sequence. Once the reset button has been held for the required duration, release it and proceed to the next step in the reboot process.
Step 4: Reinsert the Batteries
After completing the reset process, it’s time to reinsert the batteries into your Airfox gaming mouse. If you removed rechargeable batteries, reconnect them to the designated slots in the battery compartment. For non-rechargeable batteries, carefully insert them back into the compartment, ensuring that they are oriented correctly according to the polarity indicators inside the compartment.
When reinserting the batteries, take care to handle them gently and avoid forcing them into place. Proper alignment and insertion of the batteries are crucial to ensure that the mouse receives the necessary power supply for optimal performance. Once the batteries are securely back in place, close the battery compartment, ensuring that it is properly sealed to prevent any accidental dislodging of the batteries during use.
Reinserting the batteries is a critical step in the reboot process as it restores the power supply to the mouse, allowing it to boot up with the freshly reset configurations. This action provides the necessary energy for the mouse to function effectively and ensures that the reset process can take full effect. By reinserting the batteries, you are preparing the mouse to be powered back on and ready for the final steps in the reboot process.
Take a moment to ensure that the batteries are securely in place and that the battery compartment is closed and secured. Once you’ve confirmed that the batteries are reinserted correctly, you’re ready to proceed to the next step and power on the mouse to complete the reboot process.
Step 5: Plug the Mouse Back In
With the batteries reinserted and the reset process completed, it’s time to reconnect your Airfox gaming mouse to your computer or gaming device. If your mouse is wireless, insert the wireless receiver into an available USB port on your computer. Ensure that the receiver is securely plugged in to establish a stable connection between the mouse and your device. If your mouse is wired, gently plug the USB cable back into the appropriate port on your computer, ensuring a secure and stable connection.
Once the mouse is plugged back in, allow a few moments for the device to be recognized by your computer or gaming device. You may notice indicator lights or other visual cues on the mouse that indicate it is successfully connected and ready for use. If your mouse has customizable settings or additional features, you may need to reconfigure them according to your preferences after the reboot process.
Plugging the mouse back in is the final step in the reboot process, allowing the device to power up with the freshly reset configurations and restored power supply. By reconnecting the mouse to your computer or gaming device, you are enabling it to resume normal operation with the potential performance issues resolved. This step marks the completion of the reboot process, and you can now test the mouse to ensure that it is functioning as expected.
Once the mouse is plugged back in, take a moment to verify that it is responsive and functioning properly. Test the cursor movement, buttons, and any additional features to confirm that the reboot has effectively resolved any issues that were previously present. If the mouse is operating smoothly and responsively, you have successfully completed the reboot process and revitalized your Airfox gaming mouse for continued use.
Conclusion
Congratulations! By following the simple yet effective steps outlined in this guide, you’ve successfully rebooted your Airfox gaming mouse. Rebooting your mouse can be a quick and efficient way to troubleshoot and resolve various performance issues, restoring it to optimal functionality. Whether you were experiencing unresponsiveness, erratic cursor movement, or connectivity issues, the reboot process has likely addressed these issues, allowing you to enjoy a seamless and responsive gaming experience once again.
It’s important to remember that electronic devices, including gaming mice, may encounter occasional glitches or performance issues. Before considering a replacement, attempting a reboot can often resolve these issues and extend the lifespan of your device. The straightforward nature of the reboot process makes it accessible to both tech enthusiasts and casual users, empowering you to troubleshoot and revitalize your Airfox gaming mouse with ease.
As you continue to use your Airfox gaming mouse, consider implementing regular maintenance practices to keep it in top condition. This may include cleaning the mouse regularly, updating its drivers and firmware, and ensuring that the battery or power source is well-maintained. By taking proactive measures, you can prolong the longevity of your gaming mouse and minimize the likelihood of encountering performance issues in the future.
Remember that if you encounter persistent or complex issues with your Airfox gaming mouse, reaching out to the manufacturer’s support resources or seeking assistance from knowledgeable professionals can provide further guidance and solutions. Additionally, staying informed about firmware updates and troubleshooting tips specific to your mouse model can help you address any emerging issues effectively.
By rebooting your Airfox gaming mouse, you’ve demonstrated your ability to troubleshoot and resolve technical issues independently, enhancing your overall gaming experience and productivity. With a responsive and reliable mouse at your disposal, you can immerse yourself in gaming sessions or navigate everyday tasks with confidence, knowing that your mouse is performing at its best.