Introduction
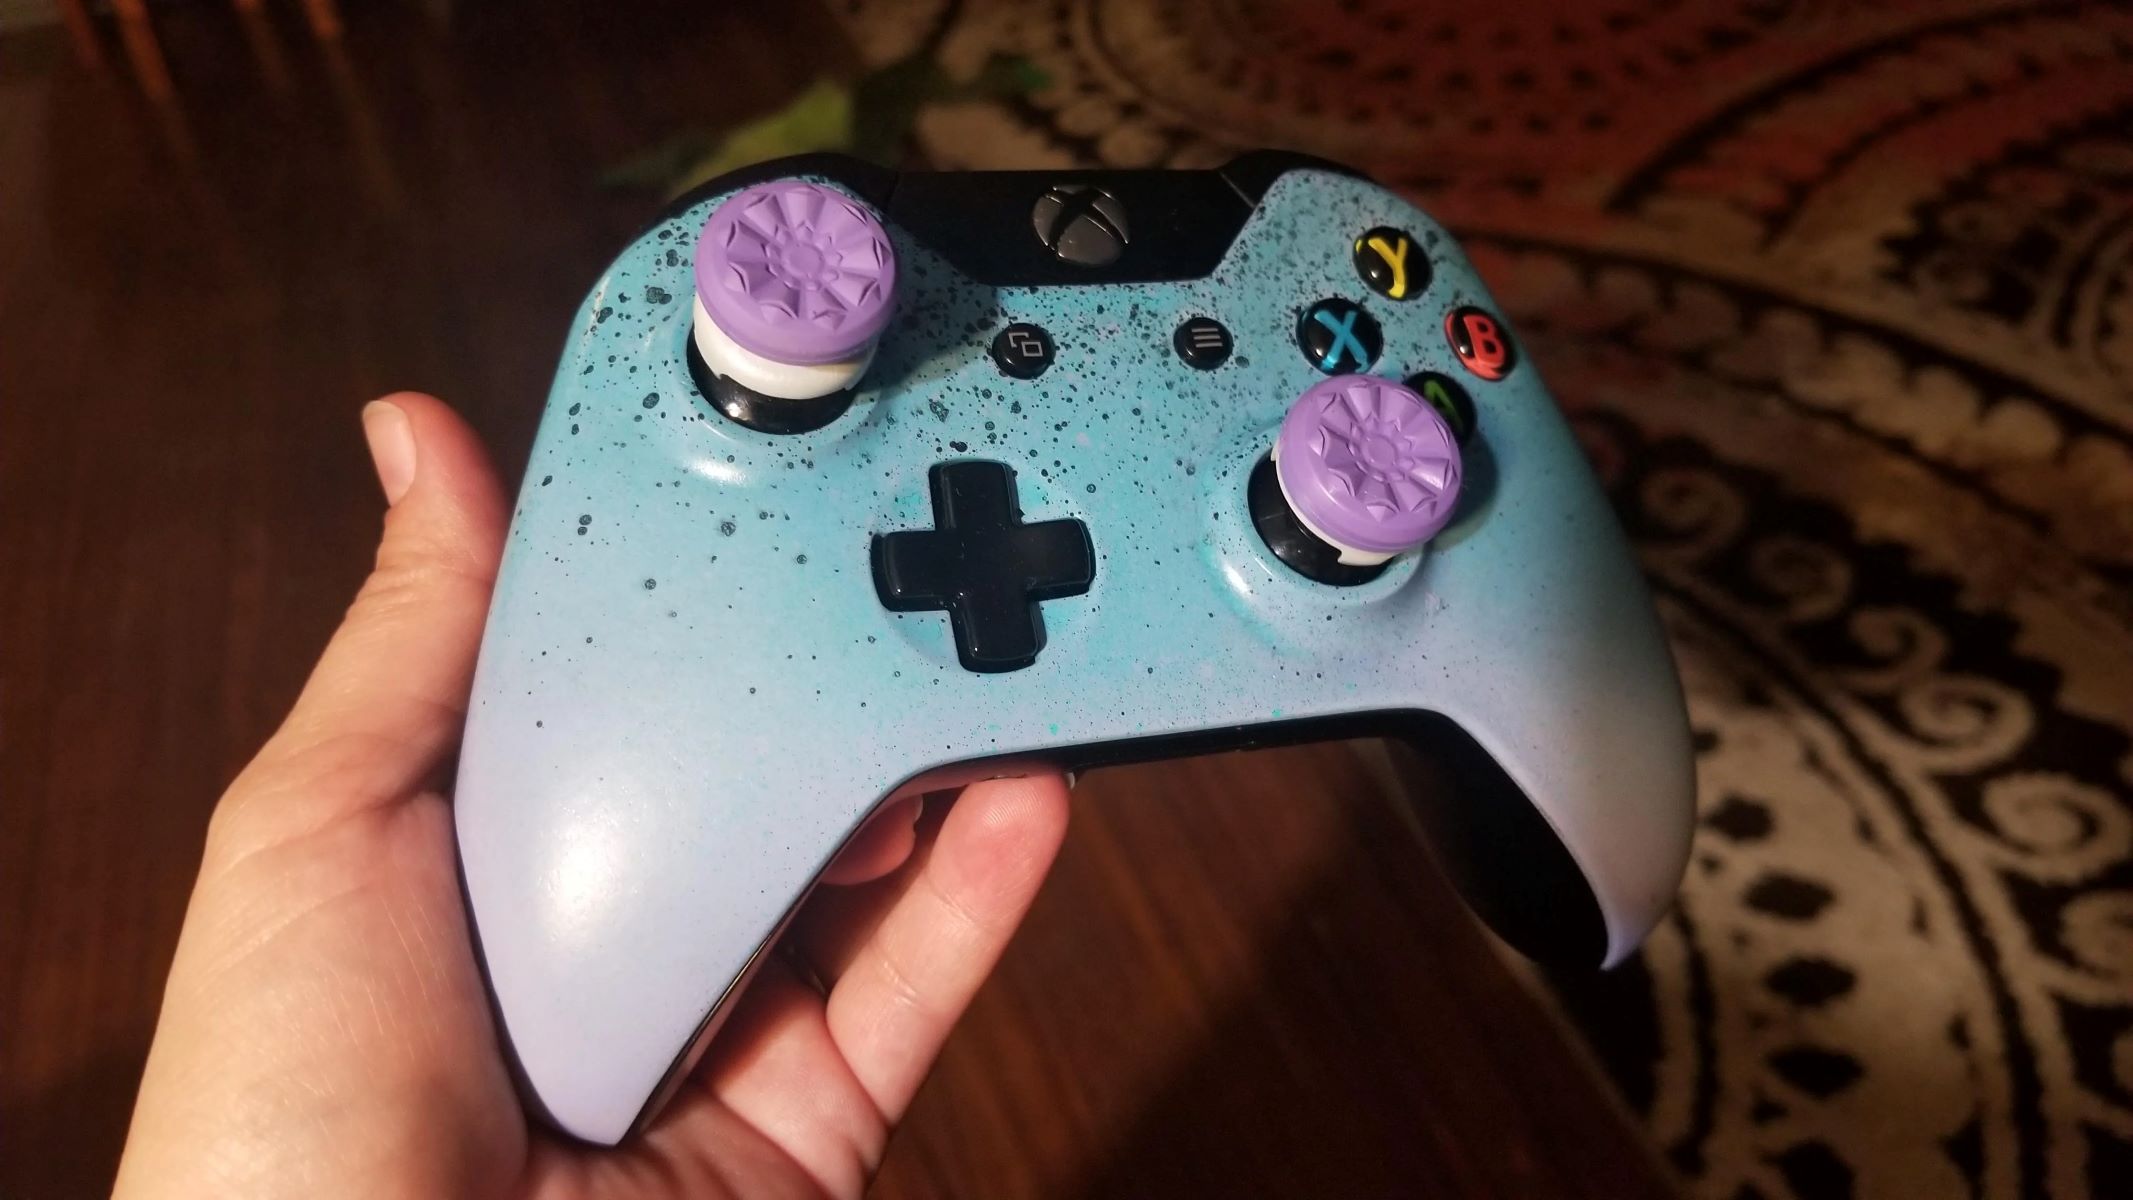
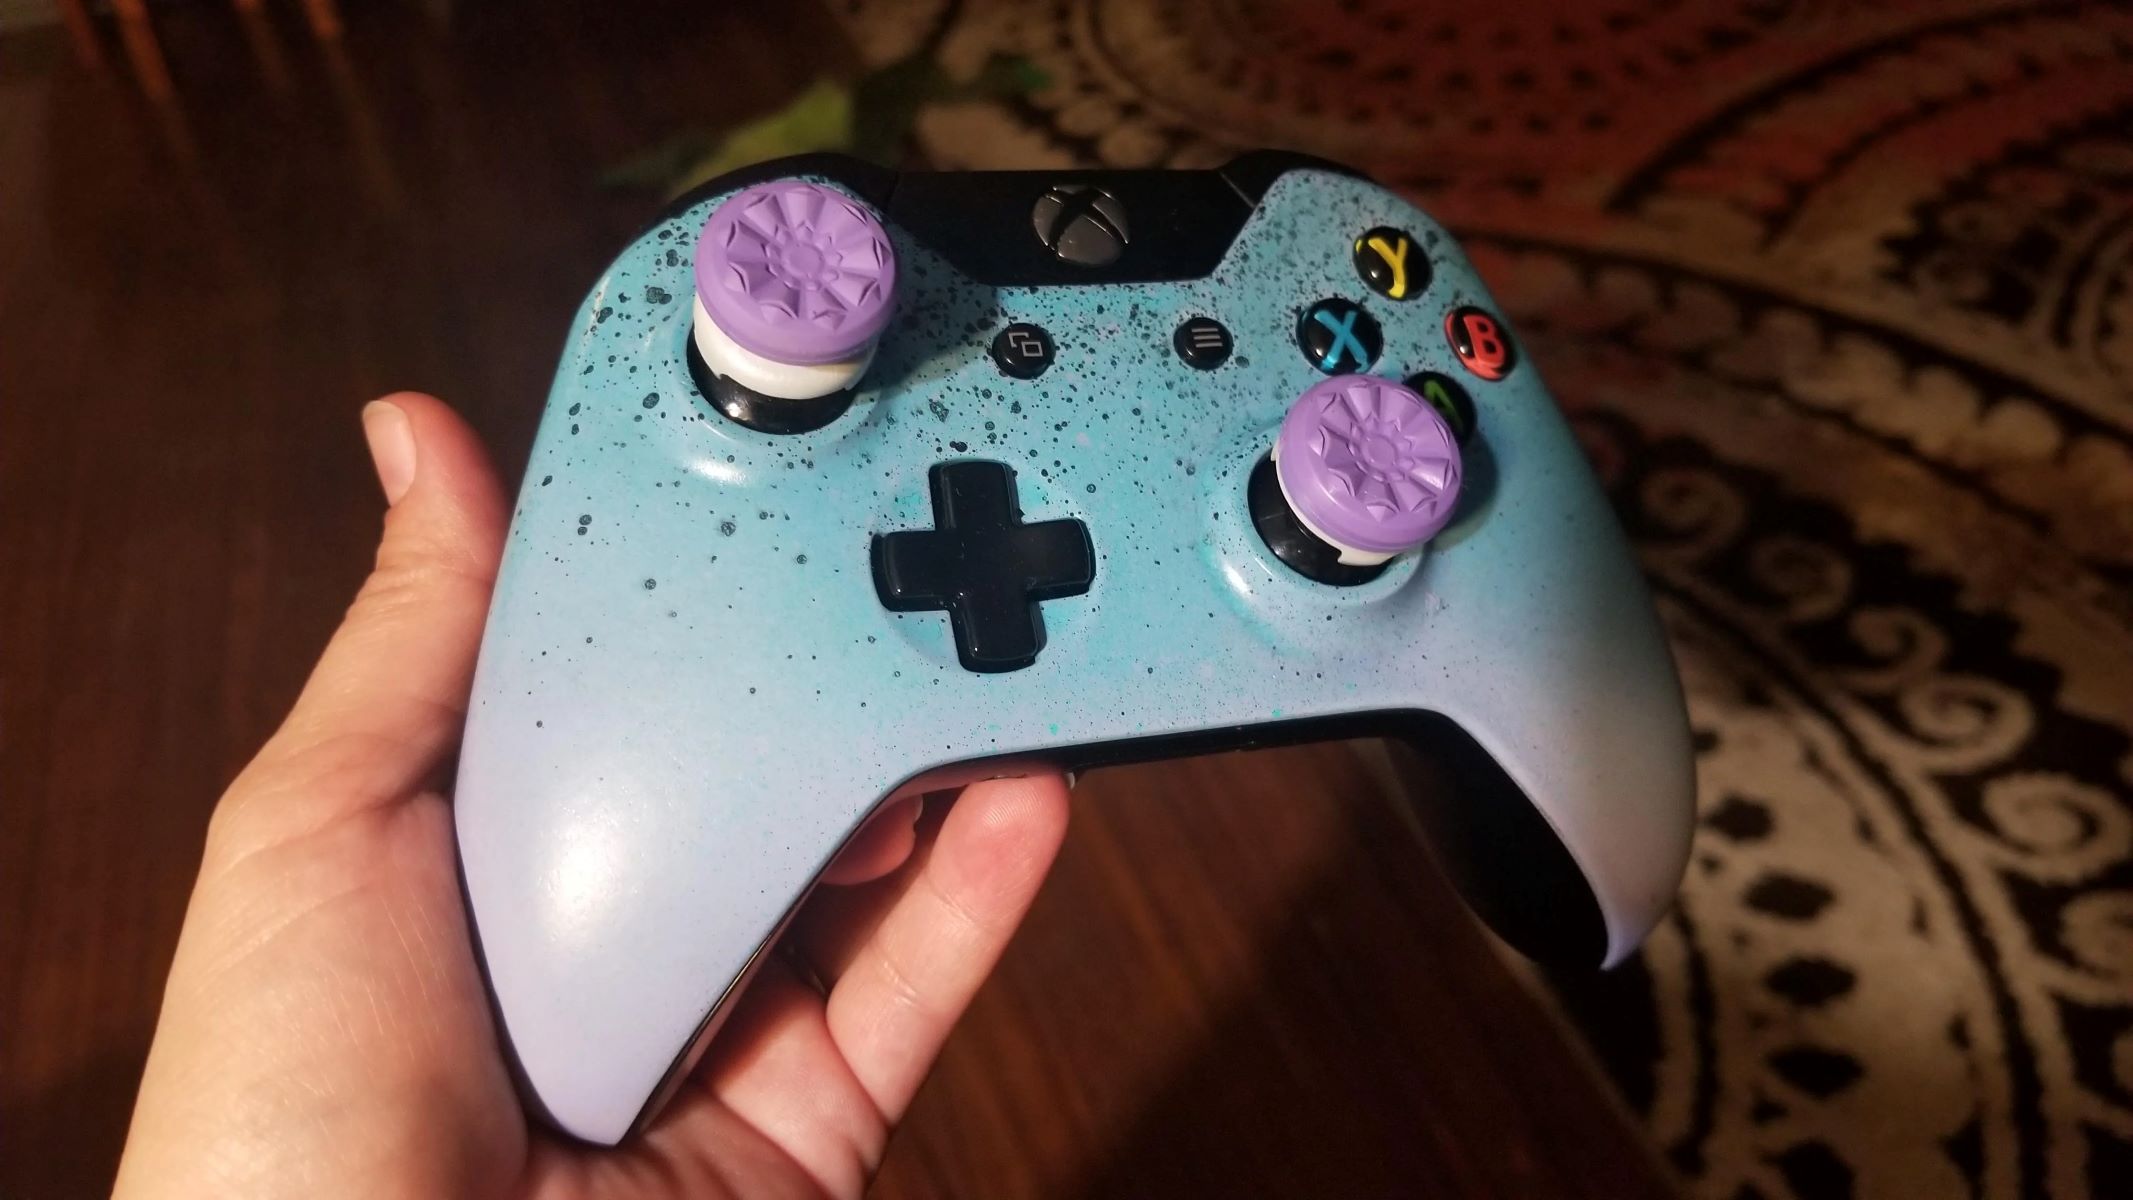
Are you a gaming enthusiast looking to add a personal touch to your gaming experience? One fantastic way to do so is by customizing your game controller with a professional paint job. Whether you want to showcase your favorite game, support your beloved sports team, or simply express your unique style, painting your game controller can be a fun and rewarding project.
Customizing your game controller through painting allows you to transform a standard, mass-produced accessory into a one-of-a-kind piece that reflects your personality and interests. It's a creative endeavor that offers a sense of ownership and pride each time you pick up the controller to embark on a gaming adventure.
In this comprehensive guide, we'll explore the step-by-step process of professionally painting a game controller, from choosing the right supplies to adding intricate details and applying a protective clear coat. By following these instructions, you can elevate your gaming experience and showcase your creativity every time you pick up your customized controller.
Let's dive into the exciting world of game controller customization and unleash your creativity through the art of professional painting. Whether you're a seasoned painter or a complete novice, this guide will equip you with the knowledge and skills needed to transform your game controller into a personalized masterpiece. So, grab your controller and let's embark on this thrilling journey of creativity and self-expression.
Choosing the Right Supplies
Before embarking on your game controller painting project, it’s essential to gather the right supplies to ensure a professional and durable finish. Here’s a comprehensive list of the supplies you’ll need:
- Game Controller: Select the controller you wish to customize. Ensure it’s clean and free of any dirt, oil, or debris.
- Sandpaper: Choose fine-grit sandpaper to gently roughen the surface of the controller, promoting paint adhesion.
- Primer: Opt for a high-quality plastic primer specifically designed for adhesion to gaming controllers.
- Paint: Acrylic or enamel paints in your desired colors will allow for vibrant and long-lasting results.
- Paintbrushes: Select a variety of fine paintbrushes for precise detailing and broader strokes.
- Painter’s Tape: Use painter’s tape to mask off areas you don’t want to paint, ensuring clean lines and professional results.
- Clear Coat: Choose a durable, high-gloss clear coat to protect the painted surface and provide a professional finish.
- Respirator Mask: Protect your respiratory system with a respirator mask to avoid inhaling paint fumes or particles.
- Protective Gloves: Wear gloves to keep your hands clean and shielded from paint and chemicals.
- Well-Ventilated Workspace: Set up your painting area in a well-ventilated space to ensure proper air circulation.
By gathering these supplies, you’ll be well-equipped to commence your game controller painting project with confidence. It’s crucial to invest in high-quality materials to achieve professional-looking results that will stand the test of time.
Now that you’ve assembled the necessary supplies, it’s time to prepare the controller for the painting process. In the next section, we’ll delve into the essential steps for preparing the controller and ensuring optimal paint adhesion.
Preparing the Controller
Before diving into the exciting process of painting your game controller, it’s crucial to prepare the surface properly to ensure that the paint adheres well and results in a professional finish. Follow these essential steps to prepare the controller:
- Clean the Controller: Start by thoroughly cleaning the controller with a mild detergent and water to remove any dirt, grease, or residue. Ensure the controller is completely dry before proceeding to the next step.
- Disassemble the Controller: If possible, disassemble the controller to access all its components. This step allows for easier and more thorough painting, ensuring that all parts receive the desired finish.
- Sand the Surface: Using fine-grit sandpaper, gently roughen the surface of the controller. This process promotes paint adhesion by providing a slightly textured surface for the primer and paint to grip onto.
- Clean Again: After sanding, clean the controller once more to remove any dust or particles resulting from the sanding process. A lint-free cloth and rubbing alcohol can be used to ensure a pristine surface for painting.
- Mask Off Areas: Use painter’s tape to mask off any areas of the controller that you do not want to paint. This step ensures clean lines and prevents accidental paint application on unwanted areas.
- Prime the Surface: Apply a plastic primer specifically designed for adhesion to gaming controllers. Follow the manufacturer’s instructions for the application and drying times of the primer.
By meticulously following these steps, you’ll create an ideal foundation for the paint, ensuring a professional and long-lasting finish on your game controller. Proper preparation is key to achieving the desired results and ensuring that your custom design stands the test of time.
With the controller now thoroughly prepared, you’re ready to move on to the next exciting phase: applying the base coat. This step sets the stage for bringing your creative vision to life on the surface of the controller.
Applying the Base Coat
Once the controller is meticulously prepared, it’s time to apply the base coat, which serves as the foundation for your custom design. Follow these steps to ensure a smooth and professional application of the base coat:
- Select the Base Color: Choose the primary color for your design and ensure that it complements your overall vision for the customized controller.
- Apply Thin, Even Coats: Using high-quality acrylic or enamel paint, apply thin, even coats of the base color to the prepared surface of the controller. Multiple thin coats are preferable to a single thick coat, as they minimize the risk of drips and ensure a smooth finish.
- Allow for Proper Drying Time: Follow the paint manufacturer’s instructions regarding drying times between coats. Patience during this phase will contribute to a professional-looking base coat.
- Inspect for Even Coverage: After applying the initial coats, inspect the controller for even paint coverage. Touch up any areas that may appear uneven or thin to achieve a consistent base color across the entire surface.
- Ensure Adequate Ventilation: Throughout the painting process, maintain proper ventilation in your workspace to facilitate the drying of the base coat and minimize the inhalation of paint fumes.
By meticulously applying the base coat, you’re setting the stage for the subsequent steps of adding intricate designs and details to your customized game controller. The base coat not only provides a solid backdrop for your creativity but also serves as a protective layer for the surface of the controller.
With the base coat successfully applied and dried, you’re now ready to infuse your unique style and creativity into the design of the controller. The next section will guide you through the exciting process of adding intricate designs and personalized details to your gaming accessory.
Adding Design and Details
With the base coat serving as the canvas for your creativity, it’s time to infuse your unique style and personal touch into the design of your game controller. Whether you’re aiming for a sleek and minimalist look or an intricate and colorful design, the following steps will guide you through the process of adding detailed designs to your customized controller:
- Create a Design Plan: Before applying any paint, sketch out your design ideas on paper or digitally. This step allows you to visualize the layout and placement of various elements on the controller.
- Use Fine Brushes for Precision: When adding intricate details, opt for fine paintbrushes that enable precise strokes and delicate detailing. This is especially important for small logos, symbols, or text.
- Employ Masking Techniques: Utilize painter’s tape and stencils to create clean lines and geometric shapes in your design. This technique is particularly useful for achieving sharp edges and well-defined patterns.
- Layering and Blending: Experiment with layering and blending colors to create depth and visual interest in your design. Gradual color transitions and shading can elevate the overall aesthetic of the controller.
- Take Breaks for Evaluation: Periodically step back and evaluate your progress to ensure that the design is developing according to your vision. This allows for adjustments and refinements before committing to the final details.
Adding intricate designs and personalized details to your game controller is a truly rewarding and creative process. It provides an opportunity to showcase your artistic skills and express your individuality through a functional and visually appealing accessory.
Now that your custom design has been meticulously applied to the controller, it’s time to protect and preserve your artistic creation by applying a clear coat. The next section will guide you through the crucial step of applying a clear coat to ensure the longevity and durability of your custom-painted game controller.
Applying the Clear Coat
As the final protective layer for your custom-painted game controller, the clear coat plays a crucial role in preserving the integrity and longevity of your design. Follow these essential steps to ensure a seamless and durable application of the clear coat:
- Choose a High-Quality Clear Coat: Select a clear coat specifically formulated for use on painted surfaces, ensuring durability and resistance to wear and tear.
- Apply Thin, Even Coats: Utilize a steady hand to apply thin, even coats of the clear coat to the entire surface of the controller. Multiple thin coats are preferable to a single heavy coat, as they minimize the risk of runs and ensure a smooth finish.
- Allow for Adequate Drying Time: Follow the manufacturer’s instructions regarding drying times between coats. Patience during this phase is essential to achieve a professional-looking and durable clear coat.
- Protect from Dust and Debris: Ensure that the controller is placed in a clean and dust-free environment while the clear coat is drying to prevent particles from adhering to the surface.
- Inspect for Uniform Coverage: After applying the clear coat, inspect the controller for uniform coverage and address any areas that may appear uneven or incomplete. A consistent clear coat ensures overall protection for your custom design.
By meticulously applying the clear coat, you’re not only safeguarding the integrity of your custom-painted game controller but also enhancing the visual appeal of the design. The clear coat provides a glossy and professional finish, elevating the overall aesthetic of the controller while offering protection against daily wear and tear.
With the clear coat successfully applied and dried, your custom-painted game controller is now equipped to withstand the rigors of gaming while showcasing your unique style and creativity. The final section will guide you through the exciting phase of adding the finishing touches and reassembling the controller for immediate use.
Final Touches and Reassembly
With the painting process complete and the protective clear coat applied, it’s time to add the final touches to your custom-painted game controller and prepare it for reassembly. Follow these essential steps to ensure a seamless and professional finish:
- Inspect for Imperfections: Carefully examine the controller for any imperfections or blemishes in the paint or clear coat. Touch up any areas that may require additional attention to achieve a flawless finish.
- Remove Masking: Gently remove the painter’s tape and any stencils that were used during the painting process. This step reveals the clean lines and sharp edges of your custom design.
- Reassemble the Controller: Once the paint and clear coat have fully dried, reassemble the controller, ensuring that all components fit together snugly and securely. Take care to follow the manufacturer’s guidelines for reassembly.
- Test Functionality: Before putting the controller back into regular use, test its functionality to ensure that all buttons, triggers, and joysticks are in proper working condition. This step confirms that the reassembly was successful.
- Admire Your Custom Creation: Take a moment to admire your custom-painted game controller and appreciate the creativity and effort that went into transforming a standard accessory into a personalized masterpiece.
With the final touches in place and the controller reassembled, you now possess a unique and professionally painted game controller that reflects your individual style and creativity. Whether you’re showcasing your favorite colors, displaying your gaming allegiance, or expressing your artistic talents, your custom-painted controller is ready to enhance your gaming experience in a truly distinctive way.
By following the step-by-step process outlined in this guide, you have successfully embarked on a rewarding journey of self-expression and creativity, culminating in a custom-painted game controller that is as functional as it is visually captivating.


