Introduction
Cleaning your game controller is an essential part of maintaining your gaming experience. Over time, controllers can accumulate dirt, dust, and grime from regular use, which can affect their performance and longevity. By regularly cleaning your game controller, you can ensure that it remains in optimal condition and continues to provide a seamless gaming experience.
Whether you're an avid gamer or an occasional player, knowing how to properly clean your game controller is a valuable skill. Not only does it help maintain the controller's functionality, but it also promotes good hygiene and ensures that your gaming sessions are comfortable and enjoyable.
In this guide, we'll walk you through the step-by-step process of cleaning your game controller, covering everything from gathering the necessary supplies to effectively cleaning the exterior, buttons, joysticks, and hard-to-reach crevices. By following these simple yet effective cleaning techniques, you can prolong the lifespan of your game controller and keep it in top-notch condition.
So, grab your supplies and let's dive into the world of game controller maintenance!
Gather Your Supplies
Before embarking on the cleaning process, it’s essential to gather the necessary supplies to ensure a thorough and effective cleaning of your game controller. Here’s what you’ll need:
- Clean, Lint-Free Cloths: These are essential for wiping down the controller and removing any dust or residue.
- Isopropyl Alcohol: A high-percentage isopropyl alcohol solution is ideal for disinfecting and cleaning the controller’s surfaces.
- Cotton Swabs: These are perfect for reaching small crevices and areas around buttons and joysticks.
- Canned Air or Compressed Air Duster: This is useful for blowing away dust and debris from hard-to-reach areas without causing damage to the controller.
- Mild Soap and Water Solution: For cleaning the exterior of the controller, a gentle soap and water solution can be effective.
- Small Screwdriver (if applicable): If your controller is designed to be disassembled for cleaning, a small screwdriver may be necessary.
Having these supplies on hand will ensure that you’re well-equipped to tackle the cleaning process and address various aspects of the controller’s surface and components. With these tools at your disposal, you can proceed with confidence, knowing that you have everything needed to maintain your game controller.
Preparing the Controller
Before diving into the cleaning process, it’s important to prepare your game controller to ensure that the cleaning efforts are effective and safe for the device. Here are the essential steps to prepare the controller for cleaning:
- Power Off the Controller: Ensure that the controller is powered off and disconnected from any gaming console or device. This minimizes the risk of accidental button presses and allows for a more thorough cleaning process.
- Remove Batteries (if applicable): If your controller operates on batteries, remove them before proceeding with the cleaning. This prevents any potential damage to the electronic components and ensures a safer cleaning experience.
- Check for Manufacturer Guidelines: Some controllers come with specific cleaning instructions from the manufacturer. It’s advisable to review these guidelines to ensure that you’re following the recommended cleaning methods and avoiding any actions that may void the warranty or cause damage.
- Inspect for Damage: Take a moment to inspect the controller for any visible damage, such as cracks, loose components, or excessive wear. Addressing any existing issues before cleaning can prevent further damage during the cleaning process.
By following these preparatory steps, you can set the stage for a thorough and safe cleaning process. Taking the time to prepare the controller ensures that the subsequent cleaning efforts are focused and effective, promoting the longevity and performance of your game controller.
Cleaning the Exterior
The exterior of your game controller is prone to accumulating dust, fingerprints, and general grime from regular use. To maintain its appearance and hygiene, as well as to prevent any build-up from affecting the device’s functionality, it’s essential to clean the exterior thoroughly. Here’s how to do it:
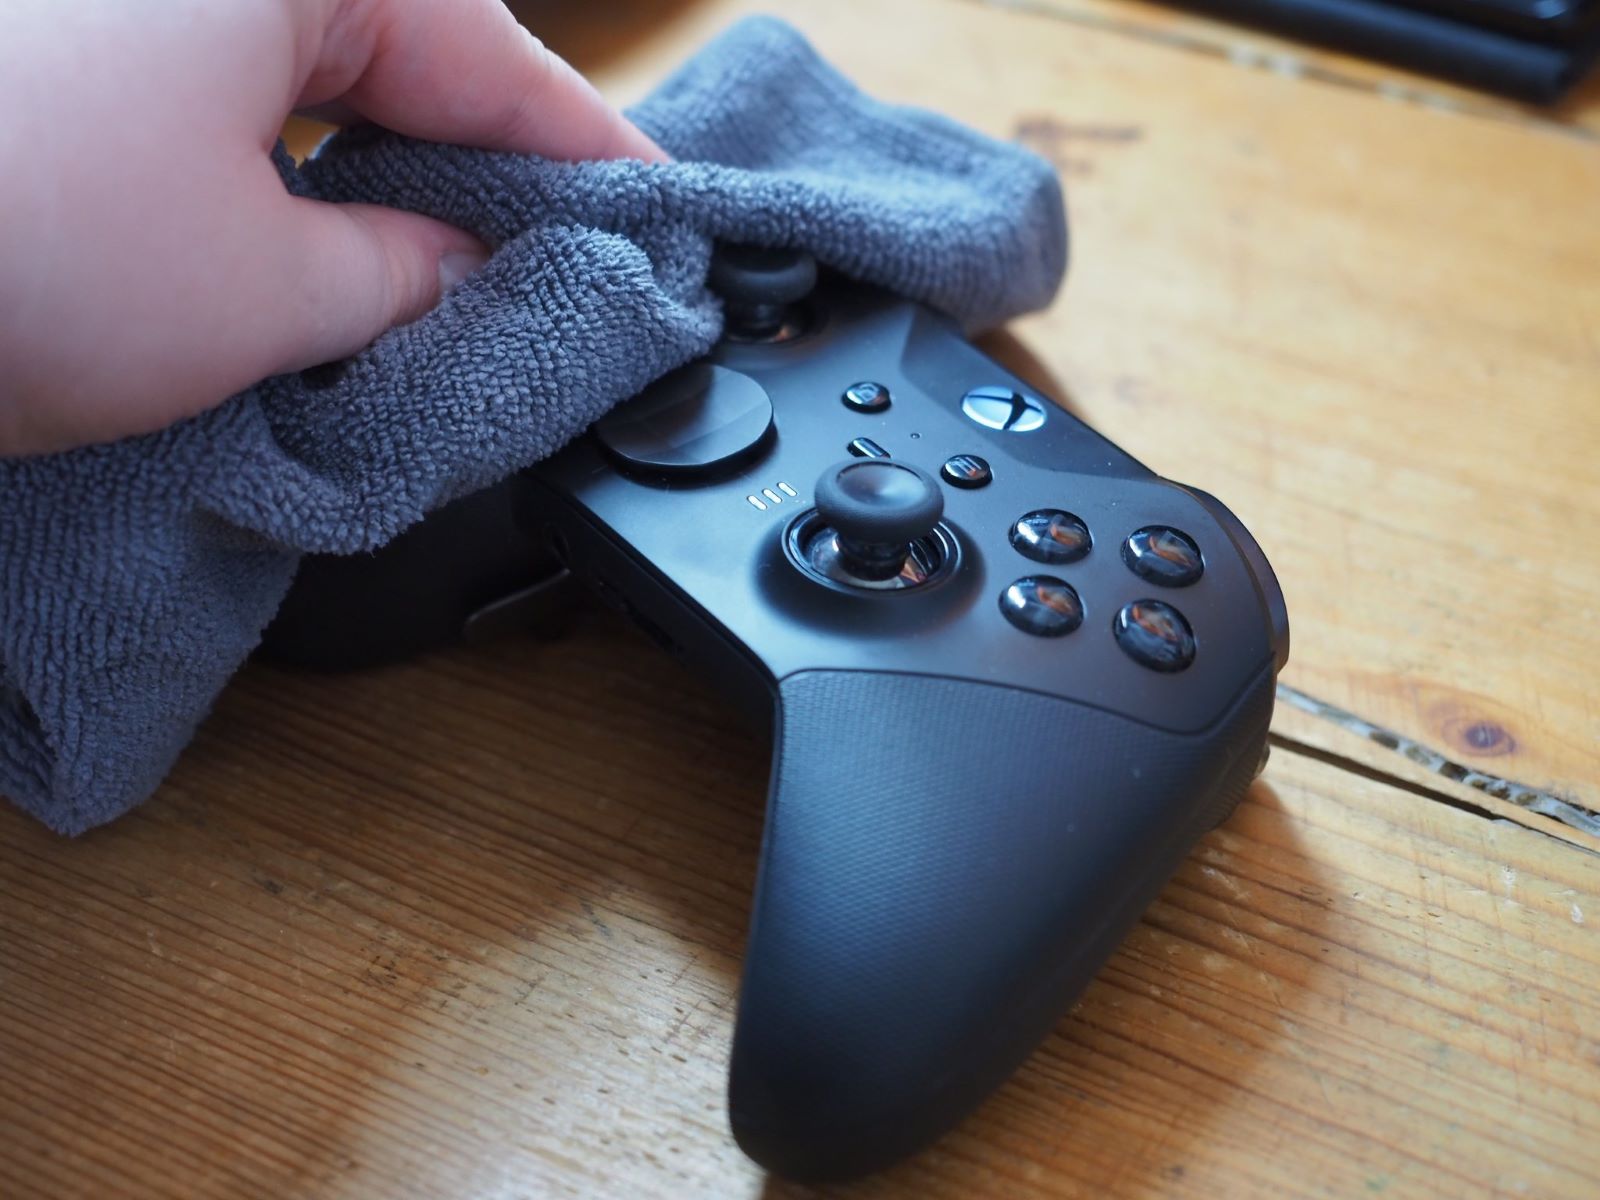
- Wipe Down with a Lint-Free Cloth: Begin by using a clean, lint-free cloth lightly dampened with water or a mild soap solution to wipe down the exterior surfaces of the controller. This helps remove surface-level dirt and smudges without causing damage to the device.
- Disinfect with Isopropyl Alcohol: To sanitize the controller, dampen a portion of the cloth with isopropyl alcohol and gently wipe down the surfaces. This step helps eliminate germs and bacteria that may have accumulated on the controller, especially in high-touch areas.
- Pay Attention to Seams and Joints: Use a cotton swab dipped in isopropyl alcohol to clean along the seams and joints of the controller, where dirt and grime can often accumulate. This targeted approach ensures that these hard-to-reach areas are thoroughly cleaned.
- Dry the Controller: After cleaning with the alcohol solution, use a dry lint-free cloth to wipe down the controller and ensure that it is completely dry before reassembly or further cleaning.
By following these steps, you can effectively clean the exterior of your game controller, leaving it looking fresh and free from surface contaminants. This not only enhances the visual appeal of the controller but also contributes to a more hygienic gaming experience.
Cleaning the Buttons and Joysticks
The buttons and joysticks of your game controller are crucial components that require special attention during the cleaning process. Over time, these areas can accumulate dirt, dust, and debris, leading to sticky buttons or unresponsive controls. Here’s how to effectively clean the buttons and joysticks:
- Use Compressed Air: Begin by using canned air or a compressed air duster to blow away any loose debris and dust from around the buttons and joysticks. This step helps dislodge surface-level dirt and prepares the components for more targeted cleaning.
- Spot-Clean with Isopropyl Alcohol: Dampen a cotton swab with isopropyl alcohol and gently clean around the edges and surfaces of the buttons and joysticks. This helps remove any built-up grime and disinfects these high-contact areas.
- Exercise the Controls: While cleaning, gently press the buttons and move the joysticks in different directions to expose hidden areas to the cleaning process. This movement helps dislodge any debris that may be obstructing the controls’ functionality.
- Dry Thoroughly: After spot-cleaning, use a dry cotton swab or lint-free cloth to ensure that the buttons and joysticks are completely dry before reassembly. This step prevents any moisture from affecting the controller’s performance.
By following these steps, you can effectively clean the buttons and joysticks of your game controller, ensuring that they remain responsive and free from debris. Maintaining these essential components contributes to a more enjoyable gaming experience and prolongs the lifespan of your controller.
Cleaning the Creases and Crevices
The creases and crevices of your game controller often harbor hidden dirt and grime, requiring special attention during the cleaning process. These hard-to-reach areas can impact the overall cleanliness and functionality of the controller if neglected. Here’s how to effectively clean the creases and crevices:
- Utilize Cotton Swabs: Dip a cotton swab in isopropyl alcohol and carefully clean along the creases and edges of the controller, especially where the front and back panels meet. This targeted approach helps remove accumulated dirt and residue from these confined spaces.
- Inspect Speaker Grilles and Ports: Use a combination of compressed air and cotton swabs to clean the speaker grilles and ports, ensuring that no debris obstructs the sound output or input functionality of the controller. This step is particularly important for controllers with integrated audio features.
- Address Charging Ports (if applicable): If your controller includes a charging port, use a dry cotton swab to gently remove any debris or lint that may have accumulated inside the port. This prevents connectivity issues and ensures uninterrupted charging functionality.
- Check for Residue Around Buttons: Inspect the areas around the buttons and triggers for any sticky residue or debris. If present, use a clean, damp cloth to gently wipe these areas, ensuring that the buttons operate smoothly.
By paying close attention to the creases and crevices of your game controller, you can maintain its overall cleanliness and functionality. These often-overlooked areas play a significant role in the controller’s performance, and thorough cleaning ensures that they remain free from hidden dirt and debris.
Drying and Reassembling the Controller
Once the cleaning process is complete, it’s crucial to ensure that the controller is thoroughly dried and reassembled to maintain its functionality and appearance. Here’s how to effectively dry and reassemble your game controller:
- Air Drying: Allow the controller to air dry for a sufficient period, ensuring that all moisture from the cleaning process has evaporated. Placing the controller in a well-ventilated area can expedite the drying process.
- Double-Check Drying: Inspect the controller to confirm that all components, including buttons, joysticks, and crevices, are completely dry before reassembling. Any residual moisture may affect the controller’s performance if overlooked.
- Reassemble the Controller: Once fully dry, carefully reassemble the controller, ensuring that all components are securely fitted and aligned. Follow any specific reassembly instructions provided by the manufacturer, if applicable.
- Test Functionality: Before using the controller, perform a quick functionality test to ensure that all buttons, triggers, and joysticks operate smoothly. This step verifies that the cleaning process did not impact the controller’s performance.
By thoroughly drying and reassembling the controller, you can complete the cleaning process with confidence, knowing that the device is ready for seamless gaming experiences. This final step ensures that the controller maintains its functionality and appearance, allowing you to enjoy uninterrupted gameplay.