Introduction
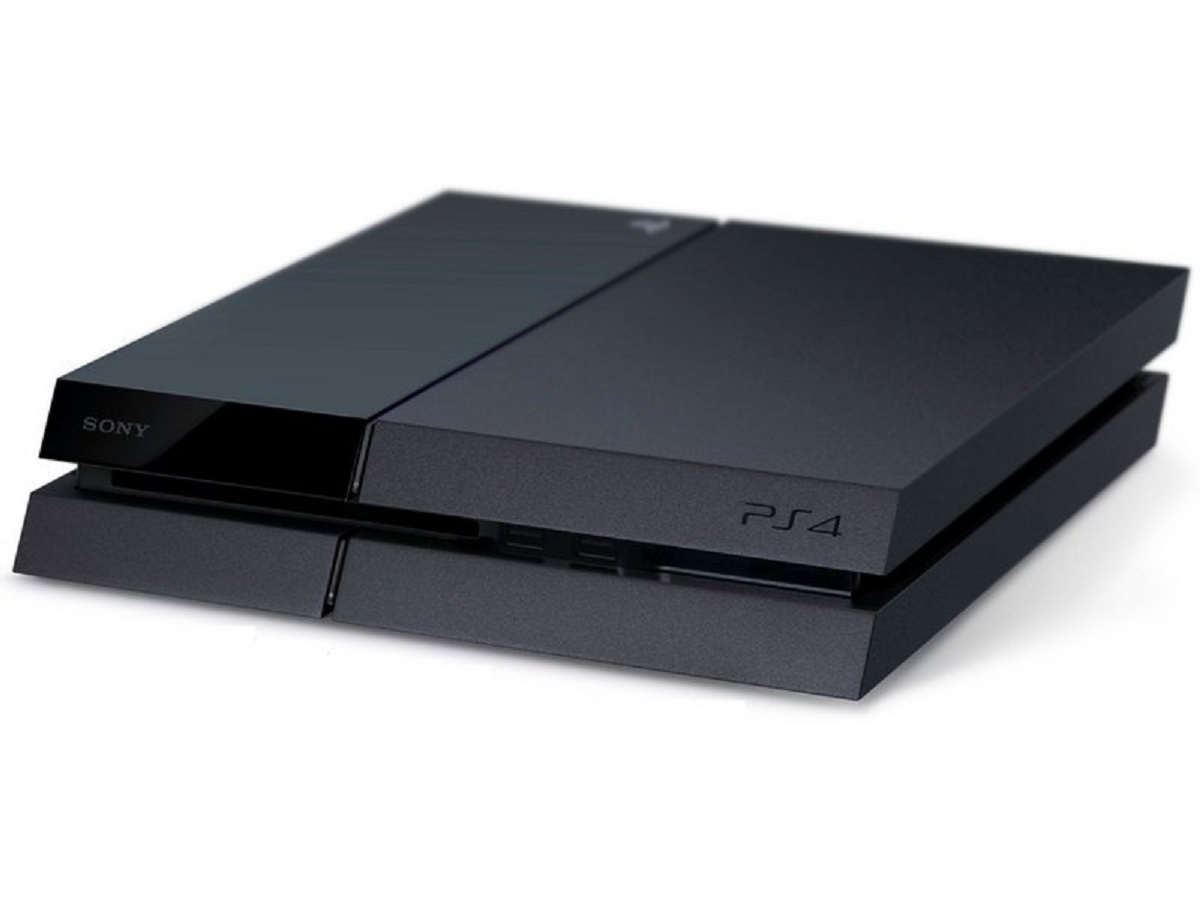
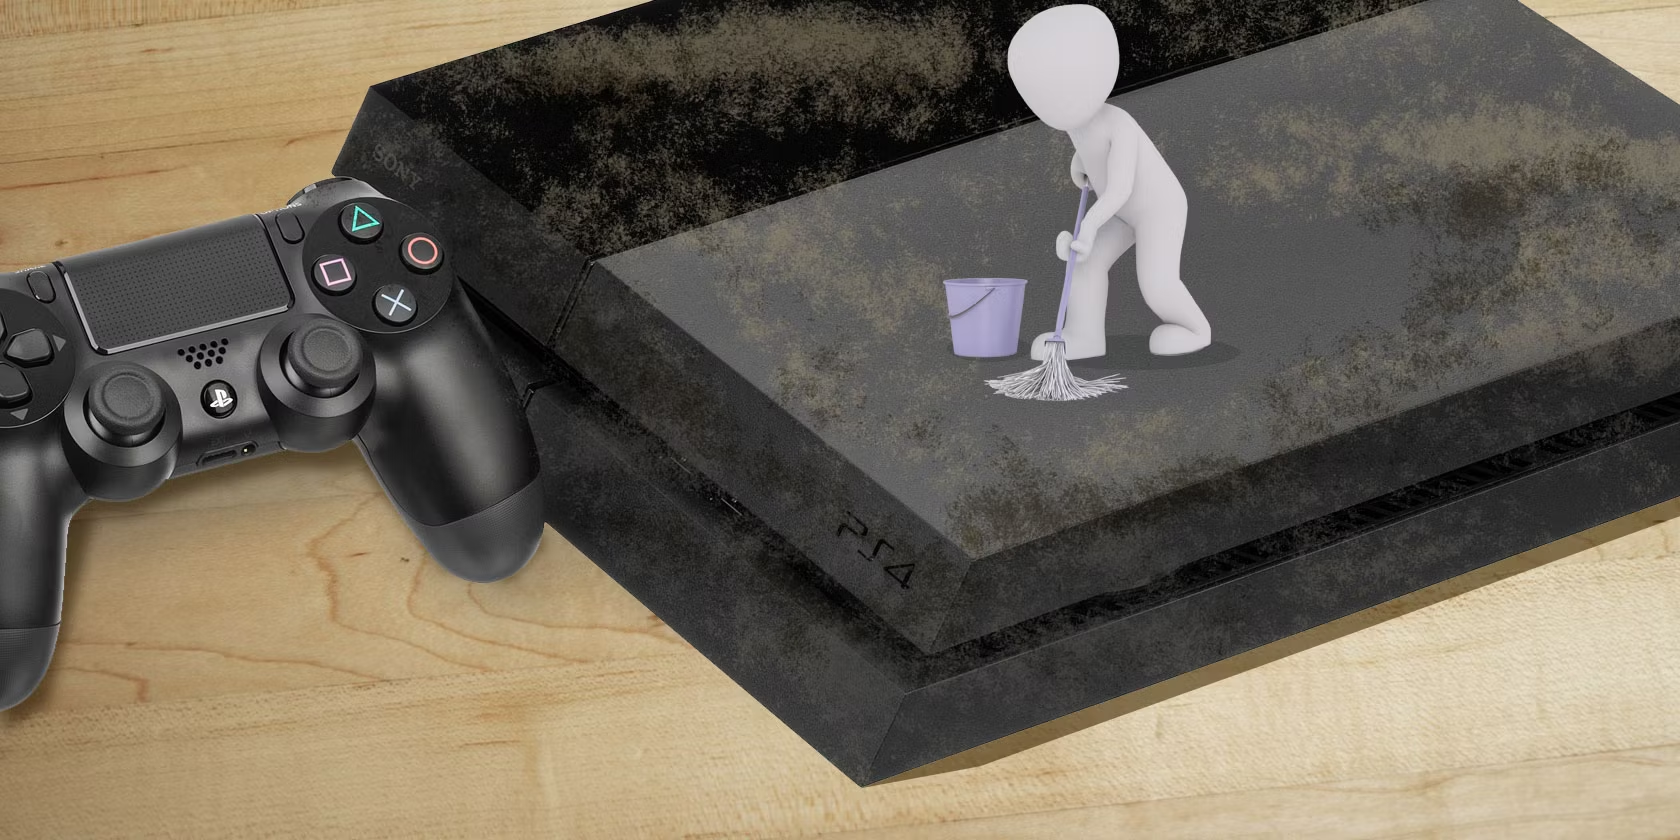
Welcome to our guide on how to clean a Playstation 4! Over time, your beloved gaming console can accumulate dust, dirt, and grime, which can affect its performance and even lead to overheating issues. Regularly cleaning your Playstation 4 not only helps improve its longevity but also ensures optimal gaming experience.
Before you dive into the cleaning process, it’s important to understand that opening your Playstation 4 may void the warranty. If your console is still under warranty, it’s best to contact the manufacturer for professional cleaning or guidance. However, if you’re confident and want to take matters into your own hands, we’re here to help you with step-by-step instructions.
Remember, safety is paramount, so make sure to follow the necessary precautions and use the proper tools. We also recommend reading through the entire guide before starting to get a better understanding of the process.
Now, let’s gather the tools you’ll need and get started on cleaning your Playstation 4!
Safety Precautions
Before you begin cleaning your Playstation 4, it’s important to take certain safety precautions to ensure your well-being and prevent any damage to the console.
1. Turn off and unplug the Playstation 4: Before you start cleaning, make sure the console is turned off and unplugged from the power source. This will prevent any electrical accidents and ensure your safety.
2. Clean in a well-ventilated area: Find a clean and well-ventilated space to work in. A well-ventilated area will help prevent the accumulation of dust particles and ensure that you have enough fresh air while cleaning.
3. Use antistatic gloves: To protect the internal components of your Playstation 4 from static discharge, consider wearing antistatic gloves. This will prevent any potential damage caused by static electricity during the cleaning process.
4. Avoid using harsh chemicals: When cleaning the exterior and interior parts of your Playstation 4, refrain from using harsh chemicals such as alcohol or ammonia-based cleaners. These chemicals can damage the plastic surfaces and sensitive components of the console. Instead, opt for gentle cleaning solutions or use a damp cloth for cleaning.
5. Be gentle and careful: While cleaning, handle the console and its components with care. Avoid applying excessive pressure or force, as this can cause damage. Take your time and be patient to ensure a thorough yet gentle cleaning process.
6. Do not dismantle the console if under warranty: If your Playstation 4 is still under warranty, opening it up for cleaning may void the warranty. In this case, contact the manufacturer’s customer service for professional cleaning or guidance.
By following these safety precautions, you’ll be able to clean your Playstation 4 effectively and safely. Now that you’re aware of the necessary precautions, let’s move on to the tools you’ll need for the cleaning process.
Tools Needed
Before you start cleaning your Playstation 4, make sure you have the necessary tools to properly and effectively clean the console. Here’s a list of the essential tools you’ll need:
- Cotton swabs: Cotton swabs are perfect for reaching small and delicate areas of your Playstation 4, such as the crevices and corners of the exterior.
- Microfiber cloth: A microfiber cloth is great for gently wiping down the exterior surfaces of your console without leaving any scratches or residue behind.
- Compressed air: Compressed air can help remove stubborn dust and debris from the ventilation system, fan, and other hard-to-reach areas. Make sure to use a can of compressed air specifically designed for electronics.
- Soft brush: A soft brush, such as a clean, dry paintbrush or a small makeup brush, is useful for dusting off the console’s exterior and removing any loose debris.
- Isopropyl alcohol: If necessary, isopropyl alcohol can be used to clean stubborn stains or sticky residues on the exterior surfaces. Be sure to use a mild concentration and apply it to a cloth rather than directly on the console.
- Screwdriver: Depending on the type of Playstation 4 model you have, you may need a screwdriver to remove the dust cover or access certain internal components. Check your console’s user manual or online resources to determine the specific type and size of screwdriver required.
Having these tools ready will ensure that you have everything necessary to clean your Playstation 4 effectively. Now that you’re equipped with the right tools, let’s move on to the step-by-step cleaning process!
Step 1: Power Off and Unplug the Playstation 4
Before you start cleaning your Playstation 4, it’s crucial to power off the console and unplug it from the power source. This ensures your safety and prevents any electrical accidents during the cleaning process. Follow these steps:
- Save your progress and close any running applications or games on your Playstation 4.
- Press and hold the power button on the front of the console until you hear a beep and the power indicator light turns off. This indicates that the console has powered down.
- Once the console is powered off, unplug the power cord from the back of the Playstation 4 and disconnect any other cables or accessories that may be connected.
By powering off and unplugging your Playstation 4, you eliminate the risk of electric shock and ensure the safety of both yourself and the console. With this done, you can proceed to the next step and prepare to clean the console’s exterior.
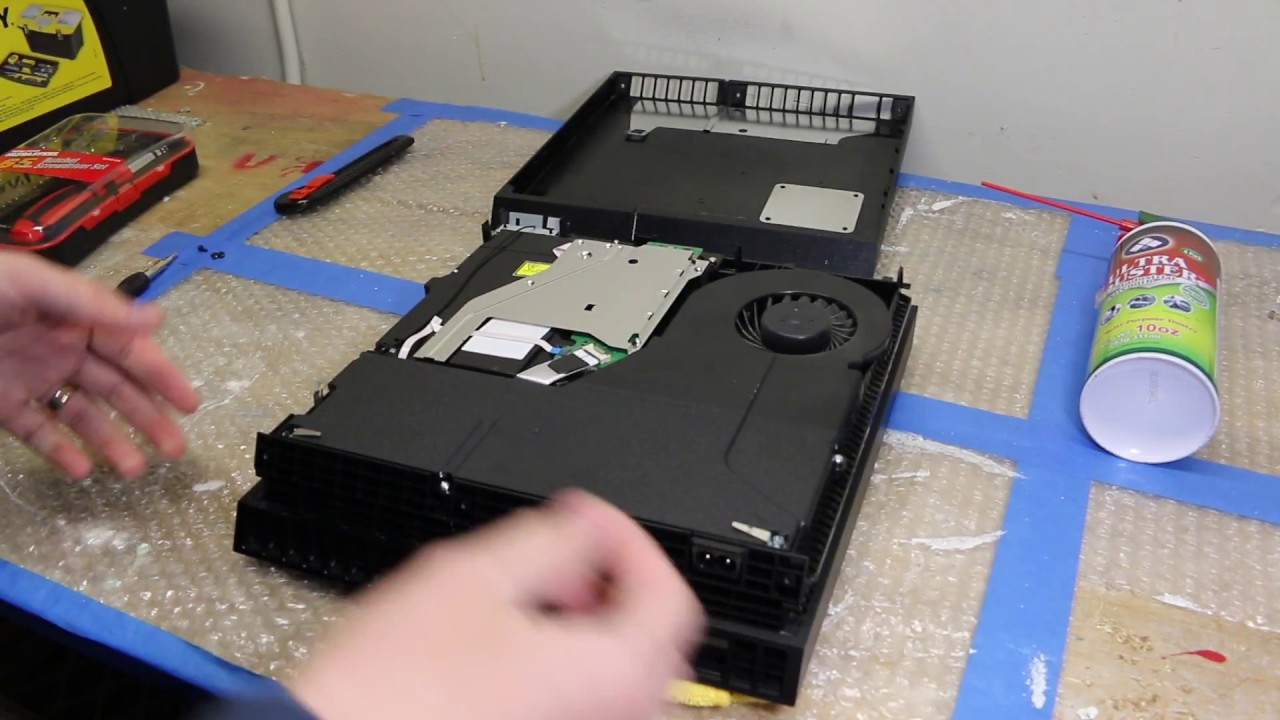
Step 2: Removing the Dust Cover
Removing the dust cover is the first step towards accessing the interior of your Playstation 4 for a thorough cleaning. Follow these steps to safely remove the dust cover:
- Locate the dust cover on the back of your Playstation 4. It is a plastic panel that covers the ventilation system.
- Using a screwdriver or the appropriate tool, carefully unscrew the screws that are holding the dust cover in place.
- Place the screws in a secure location so that they don’t get misplaced.
- Gently lift the dust cover from the console, making sure not to apply excessive force or damage any of the delicate components.
Once you have successfully removed the dust cover, set it aside for cleaning. You can proceed to the next step, which involves cleaning the exterior surfaces of your Playstation 4.
Step 3: Cleaning the Exterior
Now that you have removed the dust cover, it’s time to start cleaning the exterior of your Playstation 4. Follow these steps to ensure a thorough cleaning:
- Take a soft, lint-free microfiber cloth and gently wipe down the exterior surfaces of the console. Start from the top and work your way down, paying attention to areas that may accumulate dust or fingerprints.
- If there are stubborn stains or sticky residues on the console, dampen a cloth with a small amount of isopropyl alcohol. Gently wipe the affected areas, being careful not to let any liquid seep into the console.
- Use cotton swabs to clean the crevices and corners of the console. Dip the cotton swabs in isopropyl alcohol if necessary to remove any dirt or grime.
- Use a soft brush, such as a clean, dry paintbrush or a small makeup brush, to dust off the exterior surfaces of the Playstation 4. Pay special attention to ventilation areas and ports to ensure they are clear of any debris.
- Once you have cleaned the exterior, take a dry microfiber cloth and gently buff the console to remove any remaining residue or streaks.
Remember to be gentle and avoid applying excessive pressure while cleaning the exterior. This will help prevent any accidental damage to the console. With the exterior cleaning complete, you can now move on to cleaning the ventilation system in the next step.
Step 4: Cleaning the Ventilation System
The ventilation system plays a crucial role in keeping your Playstation 4 cool during extended gaming sessions. Dust and debris can accumulate in the vents, hindering proper airflow and potentially causing overheating issues. Follow these steps to clean the ventilation system:
- Take a can of compressed air designed for electronics and hold it upright.
- Locate the ventilation openings on the sides and back of the Playstation 4.
- Gently insert the nozzle of the compressed air can into each vent and apply short bursts of air to dislodge any dust or debris. Be sure to hold the can upright to prevent any liquid from being released.
- Repeat this process for all the ventilation openings, moving the can in a sweeping motion to cover the entire area.
- Once you have finished using the compressed air, allow the console to sit for a few minutes to allow any dislodged dust to settle.
- Using a soft brush or cotton swabs, gently remove any remaining dust or debris from the ventilation openings.
It’s important to note that the compressed air can cause the dislodged dust to fly out of the vents. To prevent it from settling back into the console, perform this step in a well-ventilated area away from electronics or sensitive surfaces.
By cleaning the ventilation system, you ensure optimal airflow and prevent potential overheating issues. With this step complete, you can move on to cleaning the other internal components of your Playstation 4.
Step 5: Cleaning the Hard Drive
Keeping the hard drive of your Playstation 4 clean can help improve its performance and ensure smooth gameplay. While you won’t be physically cleaning the hard drive, this step involves managing and optimizing the storage space. Follow these steps:
- Power on your Playstation 4 and navigate to the main menu.
- Select “Settings” from the menu and choose “System Storage Management.”
- Select “Applications” to view a list of installed games and applications.
- Review the list and identify any games or applications that you no longer use or need.
- Delete unwanted games or applications by selecting them and choosing the “Delete” option.
- When prompted, confirm the deletion to free up storage space on the hard drive.
- Consider transferring large game files or saved data to an external storage device if you’re running out of space on the hard drive.
By regularly managing your hard drive’s space, you can prevent it from becoming cluttered and optimize its performance. Removing unnecessary games and applications can free up storage, allowing your Playstation 4 to run smoothly and efficiently.
With the hard drive cleaning complete, you can proceed to clean the power supply in the next step.
Step 6: Cleaning the Power Supply
The power supply is an integral part of your Playstation 4, and keeping it clean is essential for optimal performance and longevity. Follow these steps to safely clean the power supply:
- Ensure that your Playstation 4 is turned off and unplugged from the power source.
- Locate the power supply unit, typically located at the back of the console.
- Using a can of compressed air, gently blow air into the vents of the power supply unit to remove any dust or debris that might have accumulated.
- Be thorough and make sure to cover all the ventilation openings to ensure proper airflow.
- Use a soft brush or cotton swabs to remove any stubborn dust or debris from the power supply vents.
- Be gentle and avoid applying excessive pressure to prevent any damage to the power supply unit.
It’s important to keep the power supply clean to prevent dust buildup, which can obstruct airflow and lead to overheating issues. Regular cleaning ensures that your Playstation 4 operates efficiently and reduces the risk of hardware problems.
With the power supply now cleaned, you can move on to cleaning the disc drive in the next step.
Step 7: Cleaning the Disc Drive
A clean disc drive is crucial for the proper functioning of your Playstation 4’s game discs. Dust or debris in the disc drive can cause read errors and affect gameplay. Follow these steps to clean the disc drive:
- Ensure that your Playstation 4 is turned off and unplugged from the power source.
- Locate the disc drive on the front of the console.
- Using a can of compressed air, blow short bursts of air into the disc drive to remove any dust or dirt that might have accumulated.
- Be thorough and cover the entire disc drive, including the tray area and any visible gaps or openings.
- If there are any visible smudges or fingerprints on the disc drive, use a microfiber cloth lightly dampened with water to gently clean the surface.
- Avoid using cleaning solutions or excessive moisture, as it can damage the disc drive.
- Allow the disc drive to dry completely before inserting any discs.
Regularly cleaning the disc drive helps ensure smooth disc loading and reading, preventing potential gameplay interruptions. By keeping the disc drive free from dust and debris, you can enjoy seamless gaming experiences.
With the disc drive cleaned, you can move on to the last step – cleaning the controller.
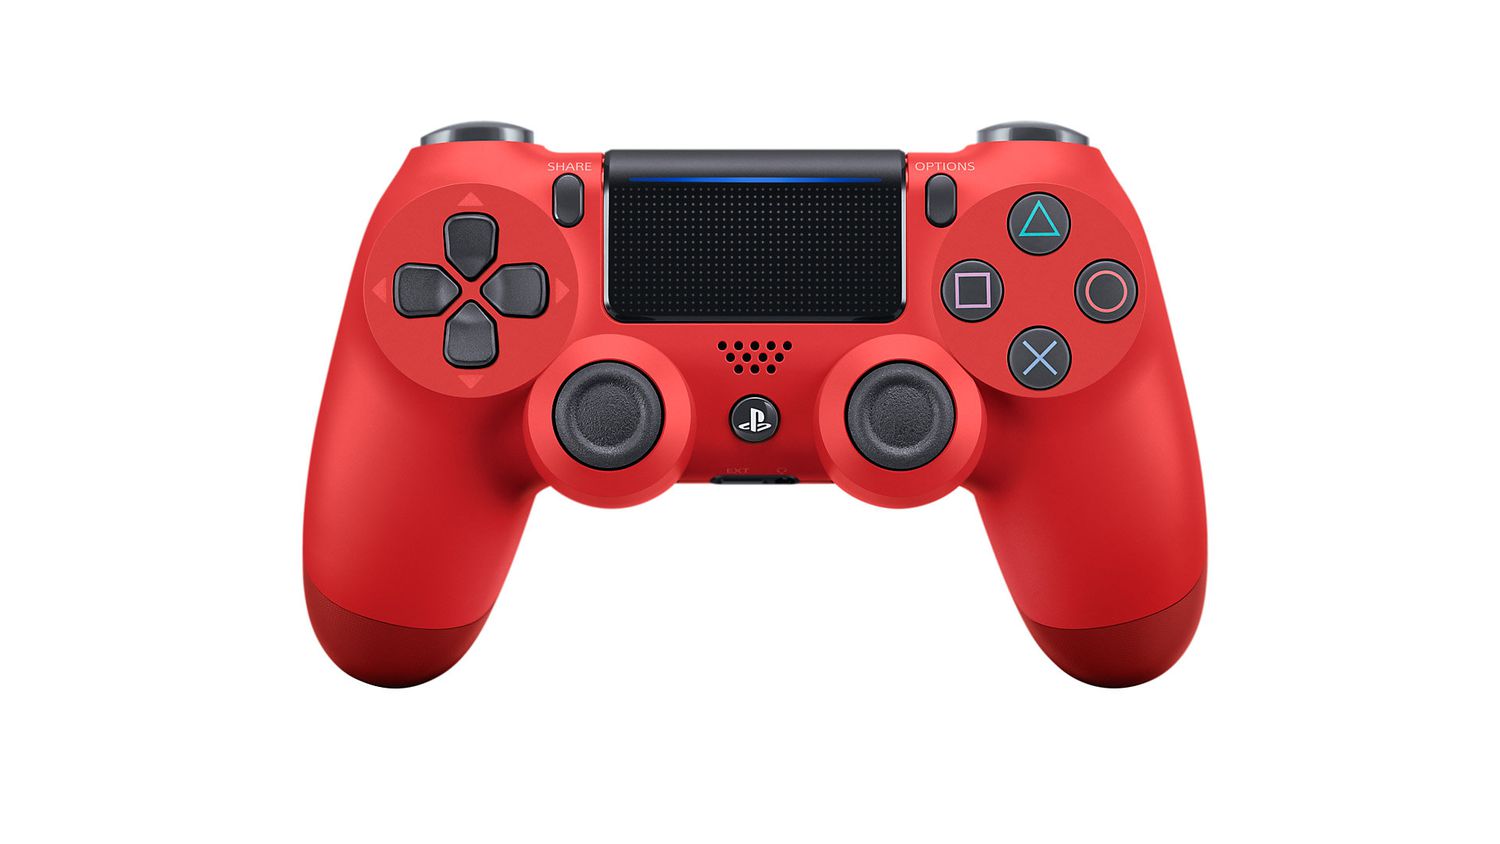
Step 8: Cleaning the Controller
A clean and well-maintained controller is essential for an enjoyable gaming experience. Over time, controllers can accumulate dirt, sweat, and debris, which can affect their performance. Follow these steps to effectively clean your Playstation 4 controller:
- Disconnect the controller from your Playstation 4.
- Gently remove the battery pack (if applicable) or the batteries from the controller.
- Use a soft, lint-free cloth lightly dampened with water or a mild cleaning solution to wipe down the exterior surfaces of the controller. Pay attention to buttons, analog sticks, and any textured areas.
- For harder-to-reach crevices or areas with stubborn dirt, use cotton swabs dipped in a mixture of water and mild soap.
- Be cautious not to get excess liquid on the controller, as it can cause damage.
- Allow the controller to air dry completely before reassembling and reconnecting it.
- Once dry, reinsert the battery pack or batteries and reconnect the controller to the Playstation 4.
Regularly cleaning your controller not only keeps it looking clean but also helps ensure smooth button presses and responsive analog sticks for accurate gameplay. By maintaining a clean controller, you can fully enjoy your gaming sessions.
With the controller cleaned, you’re now ready to move on to the final steps of repositioning and reconnecting the parts in the next section.
Step 9: Repositioning and Reconnecting the Parts
After completing all the cleaning steps, it’s time to reposition and reconnect the various parts of your Playstation 4. Follow these steps to ensure everything is properly aligned and connected:
- Place the dust cover back onto the console and align it with the screw holes.
- Using the appropriate screwdriver or tool, carefully screw the dust cover back in place.
- Double-check that all the screws are securely tightened but avoid overtightening to prevent any damage.
- Reposition the Playstation 4 in its designated location and reconnect all the necessary cables and accessories, including the power cord, HDMI cable, and controllers.
- Ensure that all connections are secure and properly inserted.
- Power on your Playstation 4 and verify that everything is functioning as expected.
By repositioning and reconnecting the parts correctly, you ensure that your Playstation 4 is ready for optimal performance and gaming enjoyment. Take a moment to test out a game or application to ensure that everything is working smoothly.
Congratulations! You have successfully completed the cleaning process for your Playstation 4. By following these steps regularly, you can keep your console in top shape and enjoy uninterrupted gaming experiences.
Conclusion
Congratulations on successfully cleaning your Playstation 4! By following the step-by-step guide provided, you have not only improved the aesthetic appeal of your console but also ensured its optimal performance and longevity.
Throughout the cleaning process, we emphasized the importance of safety precautions, such as powering off the console and using the appropriate tools. We also highlighted the significance of maintaining a clean exterior, ventilation system, power supply, disc drive, and controller to enhance overall gaming experience and prevent potential issues.
Remember to regularly clean your Playstation 4 to prevent dust and debris from accumulating, as they can hinder performance and lead to overheating problems. By following a cleaning routine, you’ll ensure that your console runs smoothly and provides you with countless hours of gaming enjoyment.
If your Playstation 4 is still under warranty, it’s essential to check the manufacturer’s guidelines regarding cleaning and maintenance to avoid any warranty-related issues. In such cases, reaching out to professional support for cleaning or guidance is recommended.
We hope that this guide has been helpful in guiding you through the cleaning process. By keeping your Playstation 4 clean, you are taking a proactive step towards maximizing its lifespan and optimizing your gaming experience.
Now that you have a pristine Playstation 4, it’s time to enjoy your favorite games and immerse yourself in a world of digital adventures. Happy gaming!