Introduction
Welcome to this guide on how to pair a PlayStation headset! Whether you have just purchased a brand new headset or you’re troubleshooting connectivity issues with your existing one, this article will provide you with step-by-step instructions to ensure a seamless pairing process.
A PlayStation headset is an essential accessory for gaming enthusiasts, offering an immersive audio experience that enhances gameplay and communication with other players online. By following the simple steps outlined here, you’ll be able to connect your headset to your PlayStation console in no time.
It’s worth noting that the pairing process may vary slightly depending on the specific model of your headset. However, the general steps we will cover in this guide should apply to most PlayStation headset models on the market.
Before we begin, make sure you have the following items ready:
- PlayStation console
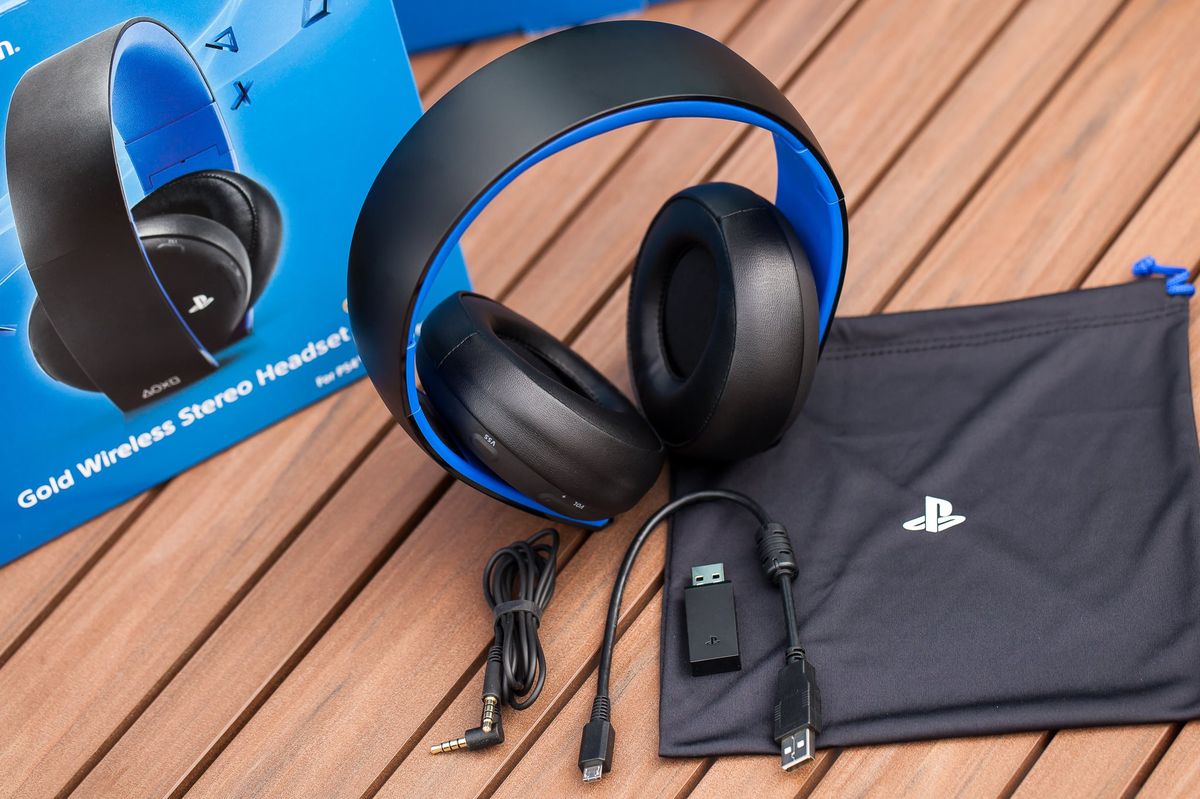
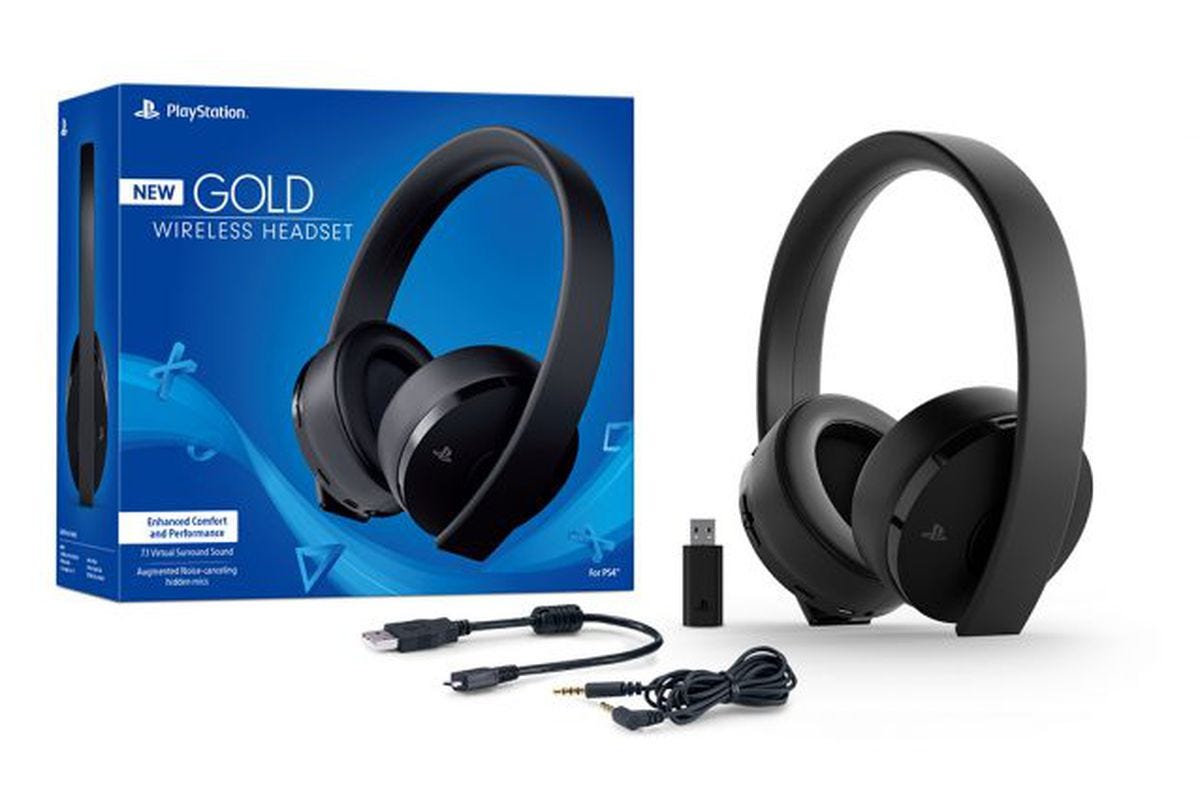
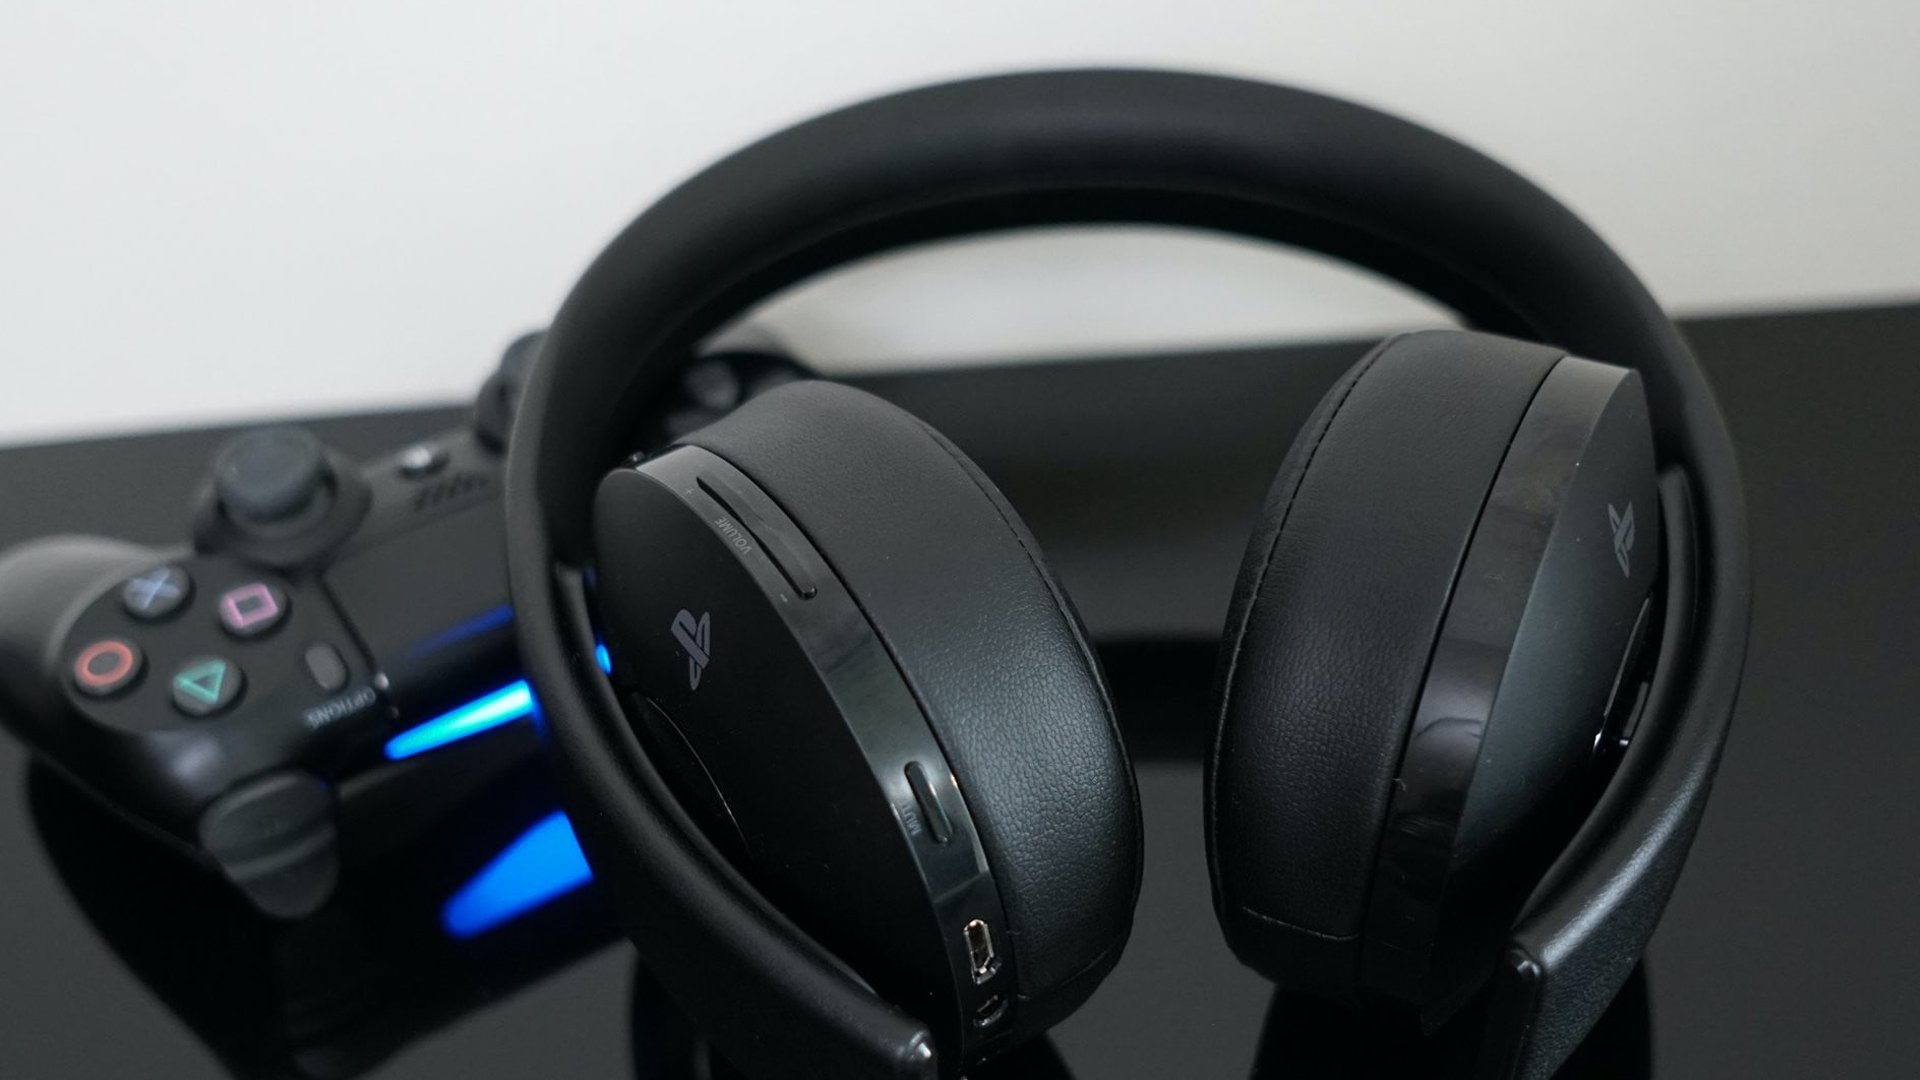
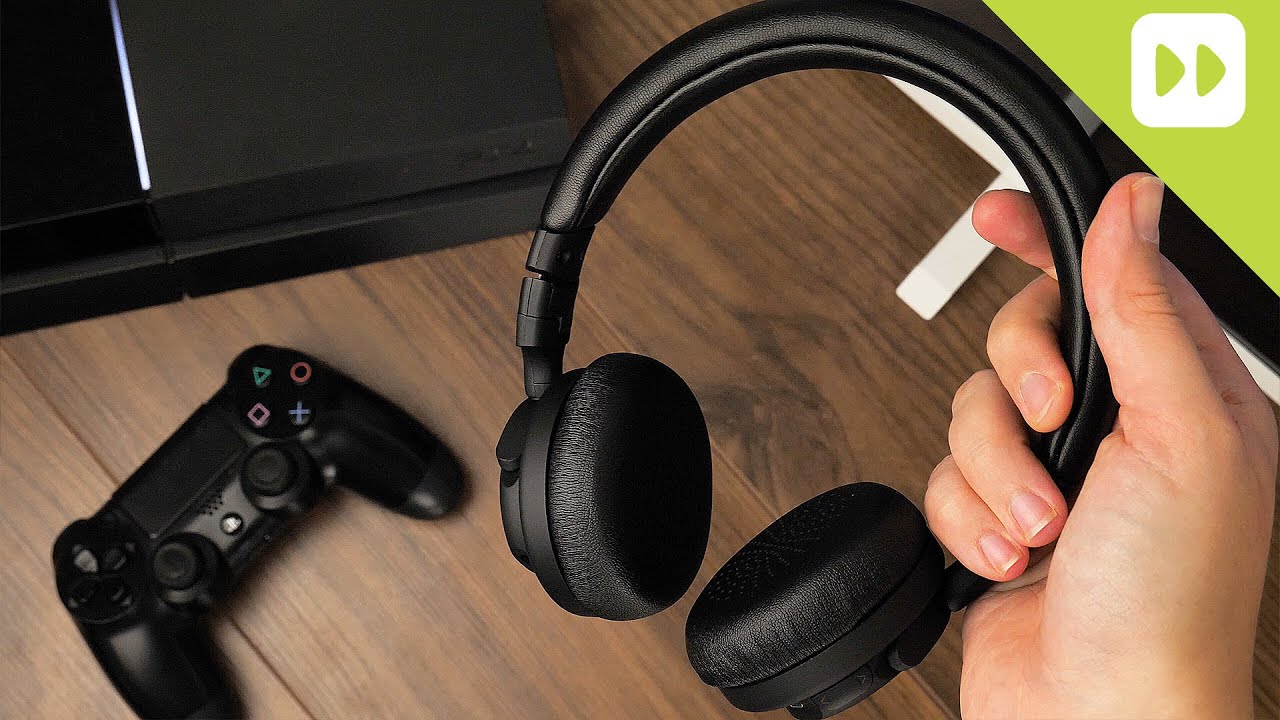
- PlayStation headset
- Micro USB cable (for charging)
Once you have these items ready, you can proceed to the next section to learn how to charge your headset before the pairing process.
Step 1: Charging
Before you begin the pairing process, it’s important to ensure that your PlayStation headset is fully charged. This will ensure optimal performance and prevent any interruptions during your gaming session.
To charge your headset, follow these steps:
- Locate the charging port on your headset. It is typically located on the side or bottom of the headset.
- Take the micro USB cable and connect one end to the charging port of your headset.
- Connect the other end of the cable to a USB port on your PlayStation console or any other USB power source, such as a computer or wall adapter.
- Once connected, the indicator light on the headset will start to blink or illuminate, indicating that the charging process has started.
- Allow your headset to charge for the recommended time specified by the manufacturer. This is usually around 2-3 hours, but it may vary depending on the model.
- During the charging process, avoid using the headset or disconnecting the cable to ensure a complete charge.
- Once fully charged, disconnect the micro USB cable from both the headset and the power source.
With your PlayStation headset now charged, you can move on to the next step to learn how to turn on the headset and prepare it for pairing.
Step 2: Turning on the Headset
After ensuring that your PlayStation headset is fully charged, the next step is to turn it on. Follow these instructions to power on your headset:
- Locate the power button on your headset. It is usually located on one of the ear cups or the control panel.
- Press and hold the power button for a few seconds until you see the indicator light on the headset turn on.
- Release the power button once the indicator light is illuminated, indicating that the headset is powered on.
- Some headsets may have additional buttons or switches for specific functionalities, such as volume control or microphone mute. Familiarize yourself with the functions of these buttons if your headset has them.
Once your PlayStation headset is powered on, you are ready to enter pairing mode to establish a wireless connection with your PlayStation console. Proceed to the next step to learn how to put your headset in pairing mode.
Step 3: Entering Pairing Mode
In order to establish a wireless connection between your PlayStation headset and the console, you need to put the headset into pairing mode. Follow these steps to enter pairing mode:
- Make sure your PlayStation headset is turned off before starting the pairing process.
- Locate the pairing button on your headset. It is typically located on the side or bottom of the headset, near the charging port.
- Press and hold the pairing button for a few seconds until you see the indicator light on the headset start to blink or flash rapidly. This indicates that the headset is now in pairing mode.
- Release the pairing button once the indicator light is blinking.
- Keep in mind that the duration of time required to enter pairing mode may vary depending on the headset model. Consult the user manual for specific instructions.
With your PlayStation headset now in pairing mode, it’s time to move on to the next step to learn how to connect your headset to the PlayStation console.
Step 4: Connecting to the PlayStation
Now that your PlayStation headset is in pairing mode, you can proceed with connecting it to your PlayStation console. Follow these instructions to establish the wireless connection:
- Turn on your PlayStation console and navigate to the “Settings” menu.
- Select “Devices” and then choose “Bluetooth Devices” from the available options.
- On the Bluetooth devices screen, select “Add a New Device” to search for available devices.
- Wait for your PlayStation console to detect the headset. Once the headset’s name appears on the screen, select it to initiate the pairing process.
- Follow any additional prompts or on-screen instructions to complete the pairing process. This may involve entering a passcode or confirming the pairing request on both the console and the headset.
- Wait for the console to establish a successful connection with your headset. Once connected, you should see a notification or indicator confirming the pairing status.
It’s worth noting that the steps to connect your headset may slightly vary depending on the PlayStation console model and software version. Refer to the user manual or online documentation specific to your console for detailed instructions.
With the wireless connection established between your PlayStation headset and the console, you can move on to the final step to test the functionality of your headset.
Step 5: Testing the Headset
After successfully connecting your PlayStation headset to the console, it’s important to test its functionality to ensure that everything is working as intended. Follow these steps to test your headset:
- Put on your PlayStation headset and make sure it is properly positioned over your ears.
- Launch a game or any multimedia application on your PlayStation console that supports audio output through the headset.
- As the audio starts playing, check if you can hear the sound through your headset. Adjust the volume using the volume control buttons or switches on the headset if necessary.
- Engage in an online voice chat or communication feature using your headset’s built-in microphone. Speak into the microphone and check if your voice is being transmitted clearly to other players or participants.
- If you encounter any issues with the audio or microphone, double-check the connections, make sure the headset is charged, and consult the troubleshooting section of the user manual for further assistance.
Take this opportunity to explore the different features and functionalities of your PlayStation headset, such as any additional controls or customization options. Familiarize yourself with the various settings to optimize your gaming experience.
Congratulations! You have successfully paired and tested your PlayStation headset. Now you can enjoy immersive sound and seamless communication while gaming on your PlayStation console.
If you experience any ongoing issues or have further questions about your headset, refer to the user manual or reach out to the manufacturer’s customer support for additional assistance.
Conclusion
Pairing your PlayStation headset is a straightforward process that allows you to enjoy an enhanced gaming experience with immersive audio and seamless communication. By following the steps outlined in this guide, you should now be able to successfully pair your headset with your PlayStation console.
Remember to ensure that your headset is fully charged before starting the pairing process. Take the time to familiarize yourself with the power button, pairing button, and any other additional controls or features specific to your headset model.
Entering pairing mode is crucial for establishing a wireless connection between your headset and the console. Once in pairing mode, you can proceed to the console’s Bluetooth settings to search for and connect to your headset.
After the successful connection, it’s important to test your headset’s functionality. Test the audio output and microphone to ensure they are working properly. Adjust the volume and explore any customization options to optimize your gaming experience.
If you encounter any issues during the pairing process or while testing your headset, consult the user manual or contact the manufacturer’s customer support for assistance. They will be able to provide you with troubleshooting steps and address any concerns you may have.
Now that you have successfully paired and tested your PlayStation headset, you can fully immerse yourself in the world of gaming, enjoying rich sound effects, clear communication, and an enhanced gaming experience.