Introduction
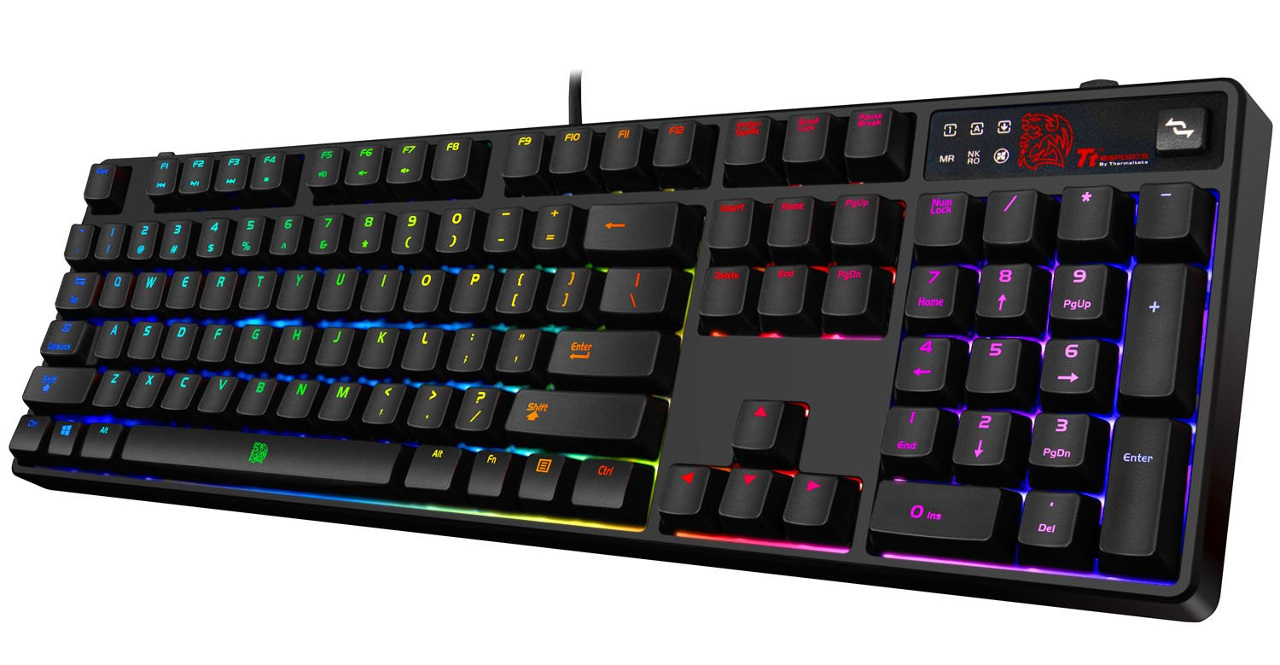
Welcome to the world of mechanical keyboards, where every keystroke feels satisfying and the customizable LED lights add a touch of personal flair to your setup. Whether you're a gaming enthusiast, a programmer, or simply someone who appreciates the aesthetic appeal of a well-lit keyboard, knowing how to change the lights on your mechanical keyboard can be a valuable skill. In this guide, you will learn the step-by-step process of replacing the LED lights on your mechanical keyboard, allowing you to customize its appearance and keep it shining brightly for years to come.
As you embark on this journey, it's essential to approach the task with patience and attention to detail. While the process may seem intricate at first, with the right tools and guidance, you'll soon become adept at swapping out LED lights with ease. Whether you're looking to replace a single malfunctioning LED or embark on a full customization project, this guide will equip you with the knowledge and confidence to tackle the task effectively.
Before diving into the practical steps, it's important to note that different mechanical keyboards may have varying methods for accessing and replacing LED lights. Therefore, it's advisable to consult your keyboard's user manual or manufacturer's guidelines for specific instructions tailored to your model. With that said, this guide will provide a general overview that applies to many mechanical keyboards, serving as a valuable starting point for your lighting customization endeavors.
So, gather your tools, prepare a well-lit workspace, and let's illuminate the path to transforming the lights on your mechanical keyboard. Whether you're aiming for a vibrant rainbow effect, a subtle monochrome glow, or anything in between, this guide will empower you to bring your keyboard's lights to life in the way that best suits your style and preferences. Let's dive into the world of mechanical keyboard illumination and unleash your creativity in the realm of customizable LED lights.
Tools and Materials Needed
Before embarking on the journey of changing the lights on your mechanical keyboard, it’s essential to gather the necessary tools and materials to ensure a smooth and efficient process. Here’s a list of items you’ll need:
- Keycap Puller: This tool is essential for safely removing the keycaps from your mechanical keyboard without damaging them or the switches underneath.
- Tweezers or Small Pliers: These tools will come in handy for handling and manipulating the tiny LED lights inside the keyboard.
- Replacement LED Lights: Depending on the type of LED lights used in your keyboard, ensure you have the correct replacements on hand. LED lights come in various sizes and colors, so be sure to acquire the ones that match your preferences and keyboard specifications.
- Workspace Lighting: Adequate lighting in your workspace is crucial for clearly seeing the components inside the keyboard and ensuring precision during the replacement process.
- Clean Cloth: Having a lint-free cloth on hand can help you wipe down the keycaps and keyboard surface, keeping them free from dust and fingerprints during the process.
- Small Container or Tray: Using a container or tray to store the removed keycaps can help keep them organized and prevent any from getting lost during the procedure.
- Optional: Soldering Iron and Solder (if applicable): Some mechanical keyboards may require soldering to replace the LED lights. If your keyboard’s LEDs are soldered onto the circuit board, having a soldering iron and solder will be necessary for desoldering the old lights and soldering the new ones in place.
By ensuring you have these tools and materials at your disposal, you’ll be well-prepared to tackle the task of changing the lights on your mechanical keyboard with confidence and precision. With everything in place, you’re ready to proceed to the next steps of the process.
Removing the Keycaps
Before accessing the LED lights on your mechanical keyboard, you’ll need to remove the keycaps to gain clear visibility and safe access to the underlying components. Here’s a step-by-step guide to removing the keycaps:
- Prepare Your Workspace: Find a well-lit and spacious area to work in, ensuring that you have ample room to lay out the keycaps as you remove them.
- Use a Keycap Puller: Take your keycap puller and gently position its wire loops under the edges of the keycap you want to remove. Ensure that the puller is centered and aligned to avoid bending or damaging the keycap or the switch beneath it.
- Apply Even Pressure: With the keycap puller in place, apply even pressure and gently pull upwards to dislodge the keycap from the switch. It’s important to exert consistent force to prevent the keycap from snapping or becoming misshapen during removal.
- Store the Keycaps: As you remove each keycap, place them in a designated container or tray, arranging them in a layout that corresponds to their positions on the keyboard. This organization will make reassembly much easier later on.
- Inspect and Clean: Once all the keycaps are removed, take a moment to inspect the exposed switches and clean the keyboard surface using a clean, lint-free cloth. This will help ensure that the area is free from debris and ready for the next steps in the process.
By following these steps, you’ll successfully remove the keycaps from your mechanical keyboard, setting the stage for accessing and replacing the LED lights beneath them. With the keycaps safely stored and the keyboard surface prepared, you’re now ready to move on to the next phase of the LED replacement process.
Accessing the LED Lights
With the keycaps successfully removed, you’ve cleared the path to accessing the LED lights on your mechanical keyboard. This phase of the process involves identifying the location of the LED lights and gaining access to them for replacement. Here’s how to proceed:
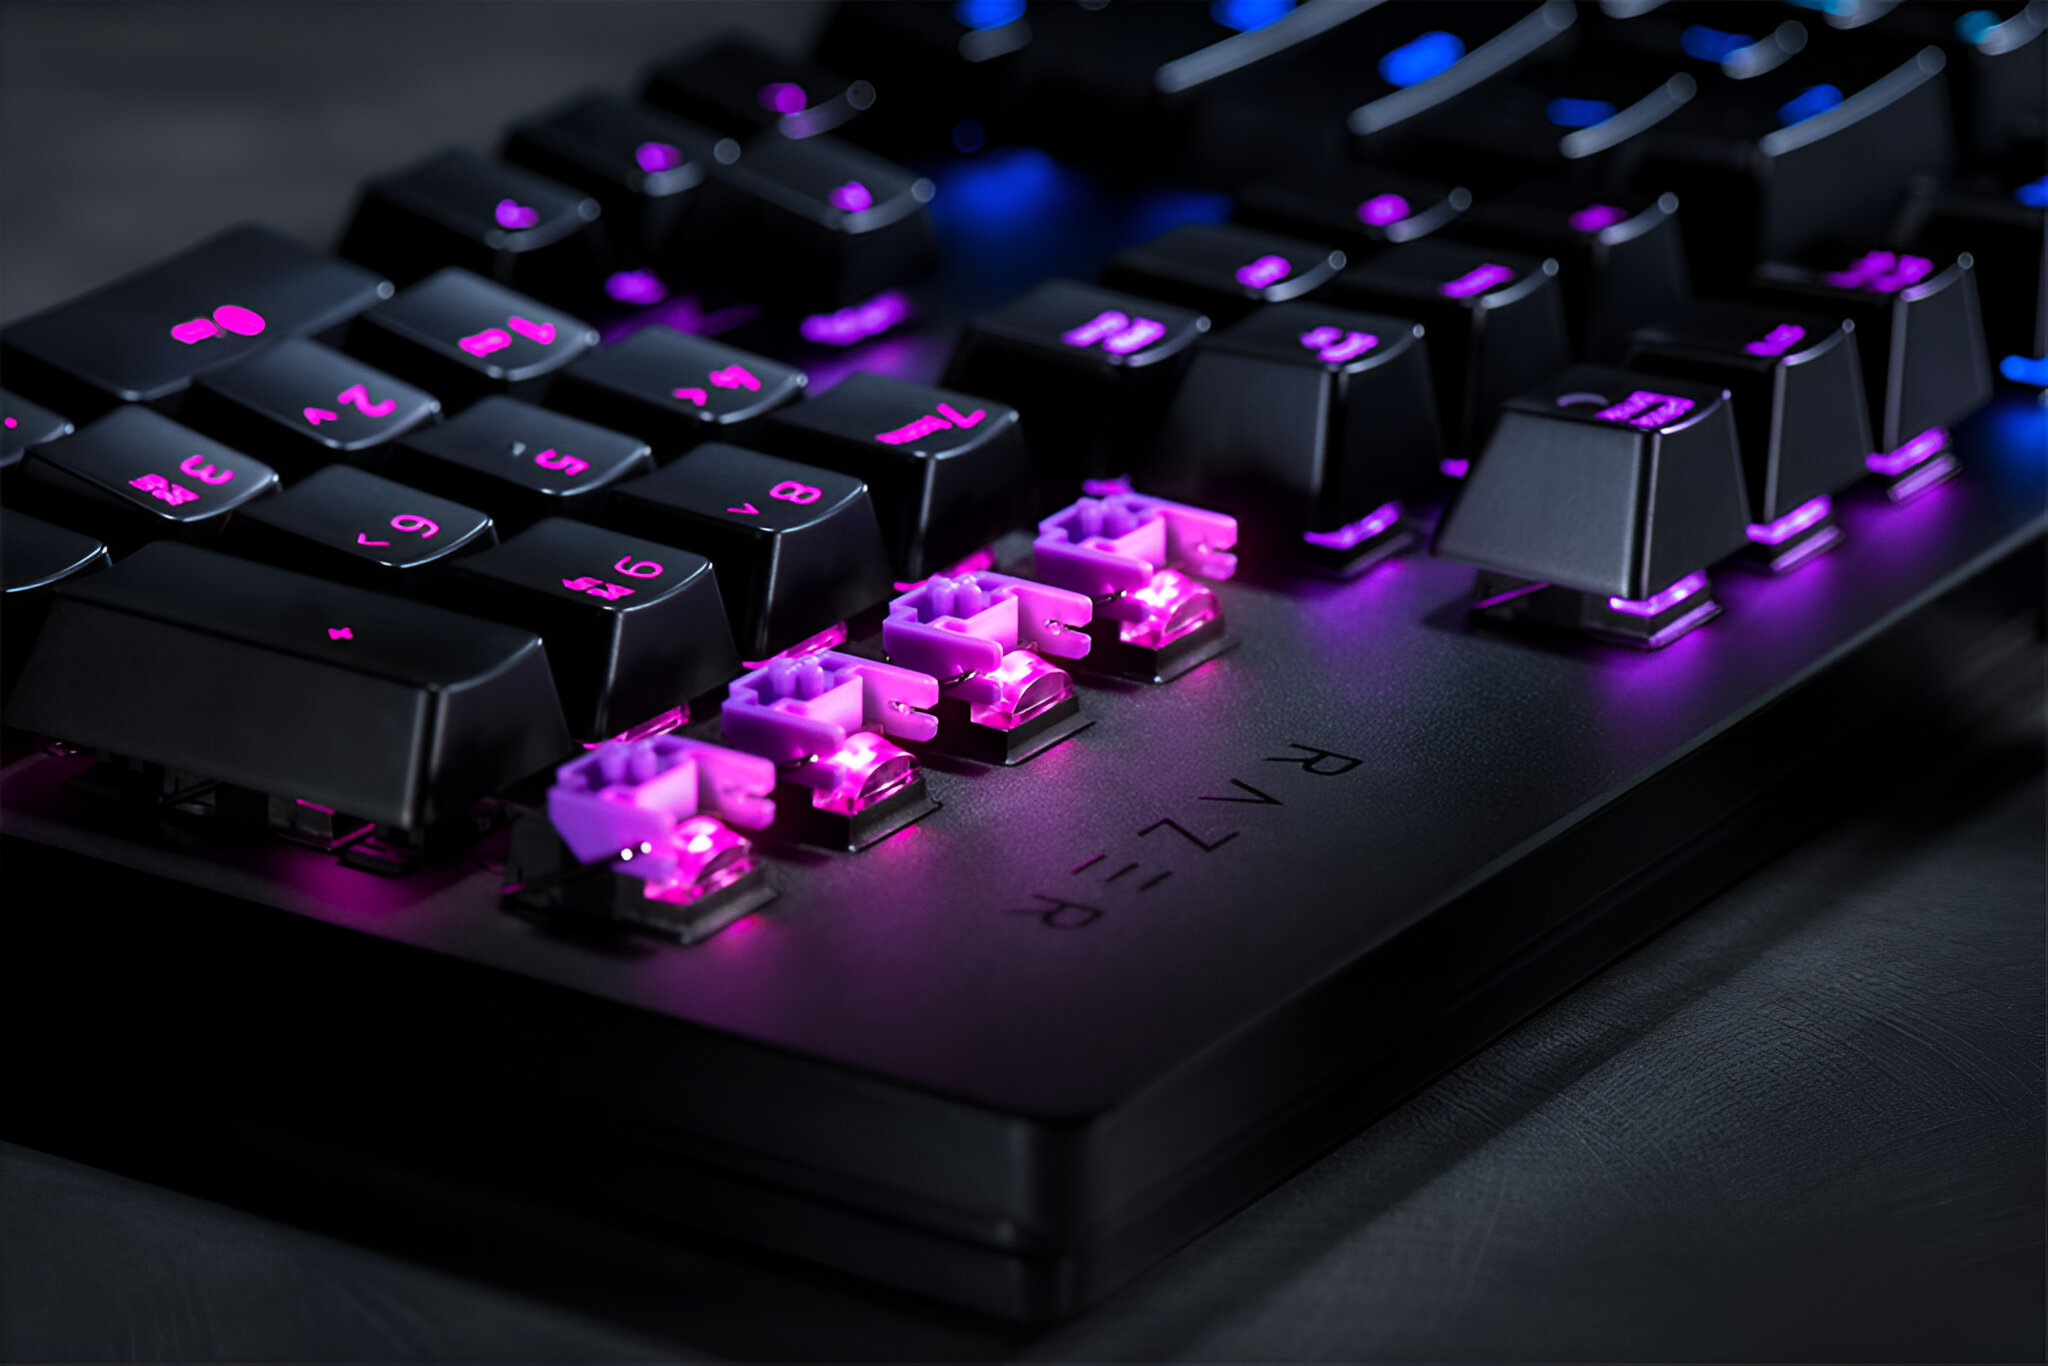
- Locate the LED Lights: Depending on the design of your mechanical keyboard, the LED lights may be situated directly on the switches or mounted on the circuit board beneath the switches. Take a moment to identify the precise location of the LED lights to prepare for the next steps.
- Inspect the Mounting Mechanism: If the LED lights are mounted on the circuit board, carefully examine the mounting mechanism to determine the method of attachment. Some LED lights may be secured with clips, while others may require desoldering if they are soldered onto the board.
- Ensure Proper Workspace Lighting: Adequate lighting is crucial at this stage to clearly see the LED lights and their connections. Position your workspace lighting to provide optimal visibility without casting shadows that could hinder your work.
- Exercise Caution: When handling the keyboard’s internal components, it’s important to exercise caution and avoid applying excessive force that could damage the delicate switches, circuitry, or LED lights. Gentle and deliberate movements are key to a successful LED replacement process.
By carefully following these steps, you’ll be fully prepared to access the LED lights on your mechanical keyboard, setting the stage for the subsequent phase of replacing the lights with precision and confidence. With a clear understanding of the LED light locations and the necessary precautions in place, you’re ready to proceed to the next crucial step in the process.
Replacing the LED Lights
Now that you’ve accessed the LED lights on your mechanical keyboard, it’s time to proceed with the replacement process. Whether you’re swapping out malfunctioning lights or customizing the keyboard’s illumination to suit your preferences, the following steps will guide you through the LED replacement process:
- Identify the LED Specifications: Before removing the existing LED lights, ensure that you have the correct replacement lights that match the specifications of your keyboard. LED lights come in various sizes and colors, so it’s crucial to have the right ones on hand to maintain uniformity and functionality.
- Remove the Old LED Lights: If the existing LED lights are mounted on the circuit board, use caution and the appropriate tools to desolder them carefully. If the LEDs are secured with clips, gently release the clips to detach the old lights from their positions.
- Install the New LED Lights: Carefully position the new LED lights in place, ensuring that they align correctly with the polarity markings on the circuit board. If soldering is required, follow best practices for soldering to securely attach the new lights without causing damage to the surrounding components.
- Test the Connections: Once the new LED lights are in position, it’s advisable to test the connections and functionality before reassembling the keyboard. This step ensures that the replacement lights are functioning as intended and that they illuminate the keys effectively.
- Exercise Precision and Patience: Throughout the LED replacement process, precision and patience are paramount. Take your time to align the new lights accurately and ensure that all connections are secure before proceeding to the next phase of the process.
By diligently following these steps, you’ll effectively replace the LED lights on your mechanical keyboard, rejuvenating its illumination and potentially customizing its visual appeal to suit your preferences. With the new lights in place and functioning as intended, you’re now ready to proceed to the final phase of the process: testing the newly installed LED lights.
Testing the New Lights
With the LED lights successfully replaced on your mechanical keyboard, it’s time to ensure that they are functioning as intended before reassembling the keyboard. Testing the new lights will allow you to verify their functionality and address any potential issues promptly. Here’s a step-by-step guide to testing the newly installed LED lights:
- Reconnect the Keyboard: Carefully reconnect the keyboard to your computer or power source, ensuring that all connections are secure and in place.
- Power On the Keyboard: Turn on the keyboard and observe the illumination of the newly installed LED lights. Take note of any keys that may not be lighting up or any irregularities in the lighting pattern.
- Test Individual Keys: Press each key on the keyboard to verify that its corresponding LED light illuminates as expected. This step will help identify any keys that may require further adjustment or troubleshooting.
- Observe Uniformity and Brightness: Assess the uniformity and brightness of the LED lights across the keyboard. Ensure that the lighting is consistent and visually appealing, with no dim or flickering lights that could indicate connectivity issues.
- Addressing Issues: If you encounter any keys with non-functional or irregularly lit LED lights, revisit the connections and positioning of the replacement lights. Troubleshoot any issues systematically to ensure that all keys illuminate correctly.
By meticulously testing the new LED lights, you’ll be able to confirm their proper functionality and address any potential issues before reassembling the keyboard. This thorough testing phase ensures that the keyboard’s illumination is restored to its optimal state, providing a visually captivating and functional experience when using the keyboard for various tasks and activities.
Conclusion
Congratulations! You’ve successfully navigated the process of changing the LED lights on your mechanical keyboard, unlocking the potential for personalized illumination and rejuvenating the visual appeal of your trusted input device. By following the step-by-step guide outlined in this article, you’ve gained valuable insights into the intricacies of accessing, replacing, and testing LED lights, empowering you to customize and maintain your keyboard with confidence.
As you reflect on the journey of LED replacement, it’s important to recognize the patience, precision, and attention to detail that are essential in this endeavor. From carefully removing the keycaps to delicately handling the LED lights and ensuring their proper functionality, each phase of the process contributes to the overall success of the task.
Furthermore, the knowledge and skills you’ve acquired in this process extend beyond the specific task of LED replacement. You’ve gained a deeper understanding of the internal components of your mechanical keyboard, fostering a sense of familiarity and confidence in maintaining and customizing your cherished input device.
Whether you’ve embarked on this journey to address malfunctioning LED lights, customize the keyboard’s visual aesthetic, or simply explore the inner workings of your mechanical keyboard, your dedication to this task is commendable. The ability to modify and personalize the illumination of your keyboard adds a touch of individuality to your computing experience, reflecting your unique style and preferences.
As you reassemble your keyboard, basking in the glow of the newly installed LED lights, take pride in the knowledge that you’ve not only mastered the art of LED replacement but also enhanced your connection to a device that accompanies you through countless keystrokes and computing endeavors.
With the LED lights shining brightly and your keyboard revitalized, you’re now equipped to continue your digital pursuits with a renewed sense of ownership and pride in your customized mechanical keyboard.


