Introduction
When it comes to launching a successful campaign on Indiegogo, the visuals you use can make a significant impact. One key aspect of creating compelling visuals is ensuring that your images are properly sized and optimized for the platform. Poorly sized images can either appear pixelated and unprofessional or could slow down page loading times, affecting the user experience.
In this article, we’ll explore the importance of image sizes on Indiegogo and guide you through the process of sizing your pictures correctly for different sections of your campaign. Whether you’re creating images for the campaign header, story, perks, updates, gallery, or social media sharing, we’ll provide you with the essential information you need to make your images stand out.
Understanding the ideal image sizes for each section and optimizing them accordingly will not only enhance the visual appeal of your campaign but also help convey your message effectively to potential backers.
So, let’s dive in and discover the best practices for sizing pictures for Indiegogo.
Understanding Image Sizes
Before we dive into the specifics of sizing images for Indiegogo, it’s important to have a basic understanding of image sizes and how they can impact the overall appearance and performance of your campaign.
Image size refers to the dimensions of an image, usually measured in pixels. It determines the width and height of the image and affects how it is displayed on different devices. When it comes to Indiegogo, different sections of your campaign have specific image size requirements. By knowing these requirements, you can ensure that your images look professional and load quickly.
It’s also essential to consider the file size of your images. Large file sizes can slow down your campaign’s page loading speed, leading to a frustrating experience for potential backers. Therefore, it’s recommended to optimize your images by reducing their file sizes while maintaining their visual quality.
Another important aspect to keep in mind is image resolution. Resolution refers to the number of pixels per inch (ppi) in an image. Higher resolution images result in crisper and more detailed visuals. However, displaying high-resolution images on the web can be a trade-off between quality and loading speed.
By understanding image sizes, file sizes, and resolutions, you can make informed decisions when it comes to sizing and optimizing your images for Indiegogo. In the following sections, we’ll explore the specific image size requirements for different sections of your campaign and provide you with practical tips to help you create visually appealing campaigns that capture the attention of potential backers.
Image Sizes for Different Sections on Indiegogo
Indiegogo offers several sections where you can showcase your campaign’s visuals, each with its own recommended image sizes. Here, we’ll discuss the image size requirements for different sections of your Indiegogo campaign.
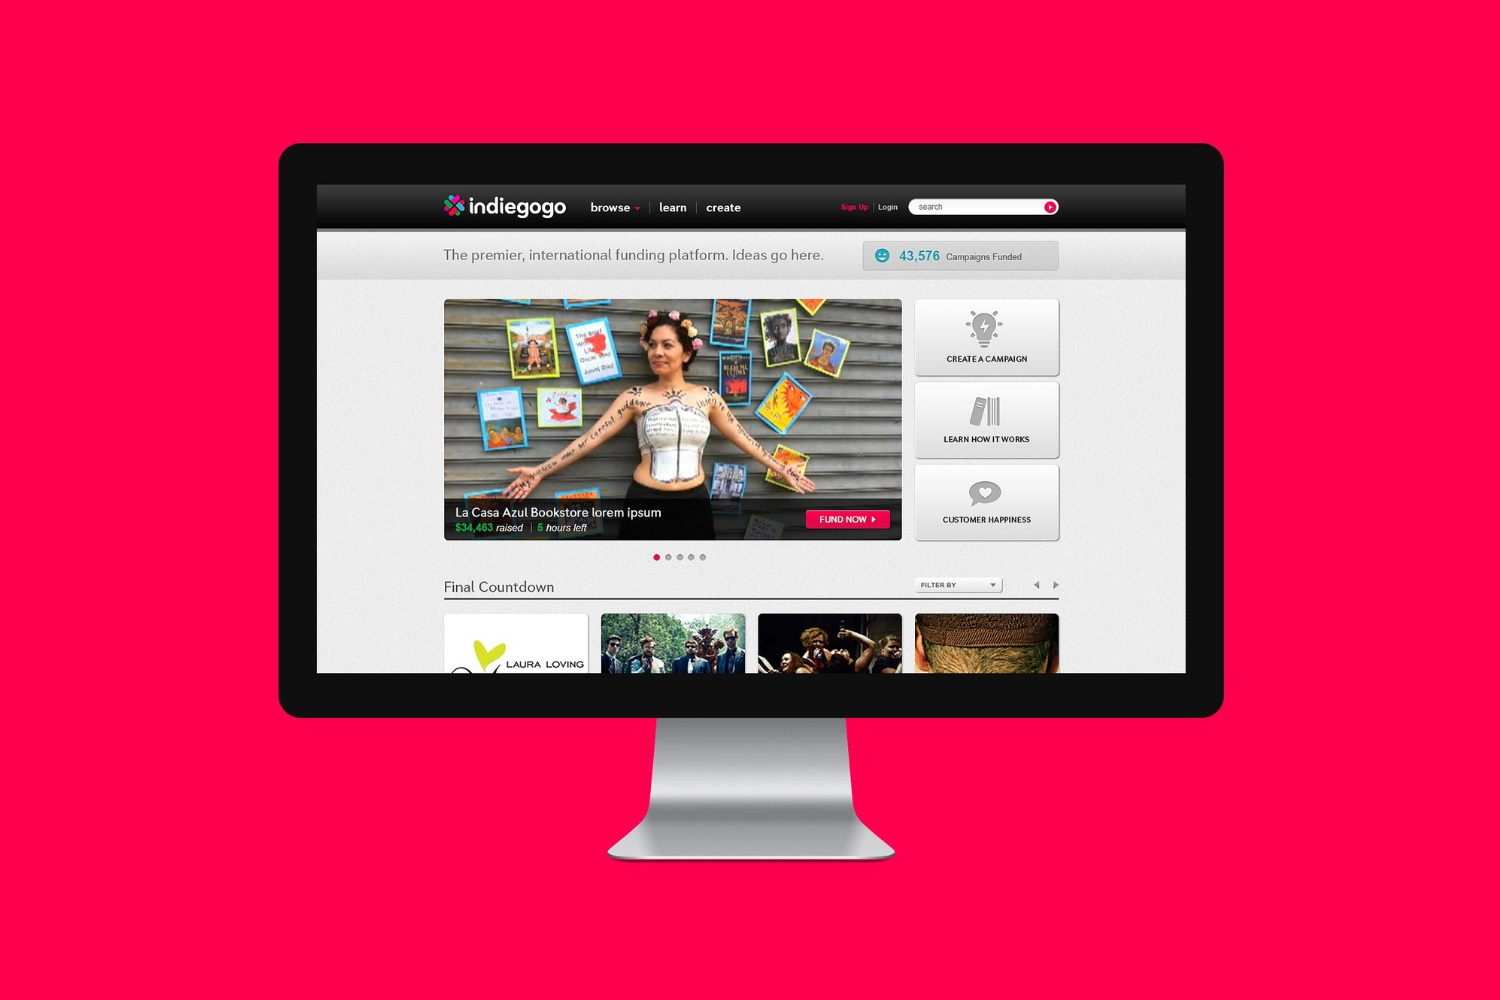
1. Campaign Header: The campaign header is the first thing that potential backers see. For the best results, use an image with dimensions of 1080 x 607 pixels. This size ensures that your header looks sharp and visually appealing.
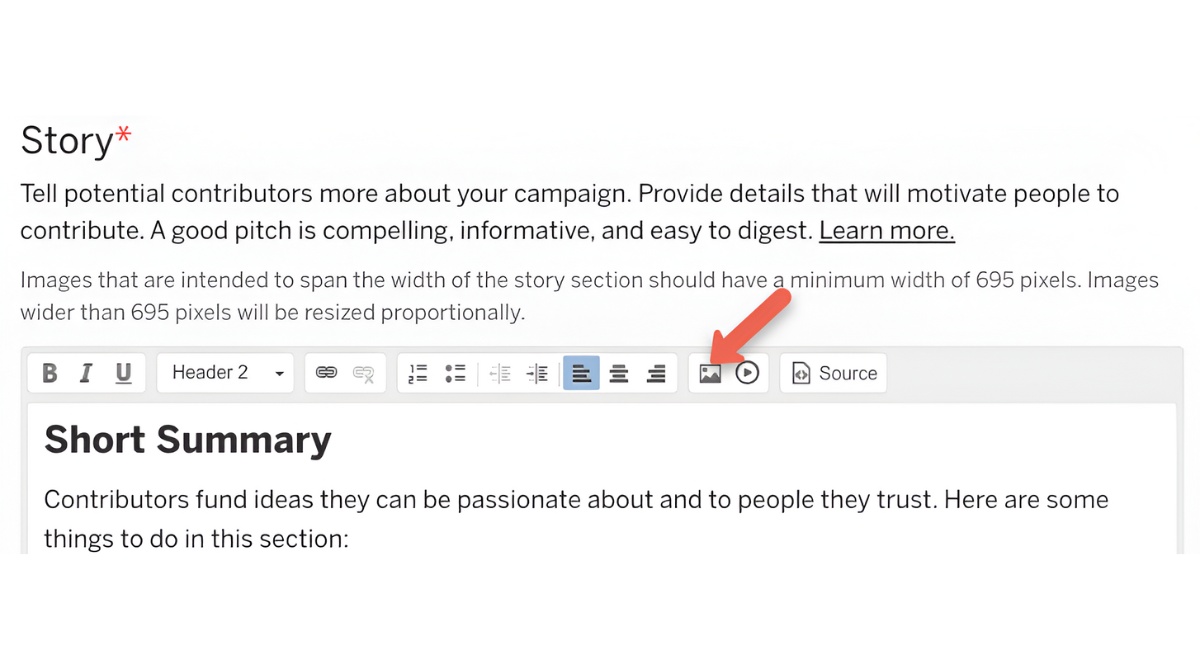
2. Campaign Story: Your campaign story is where you can provide detailed information about your project. While you have more flexibility in terms of image sizes in this section, it’s recommended to use high-resolution images with a width of at least 1200 pixels. This ensures that the images are clear and engaging, providing an immersive experience for your backers.
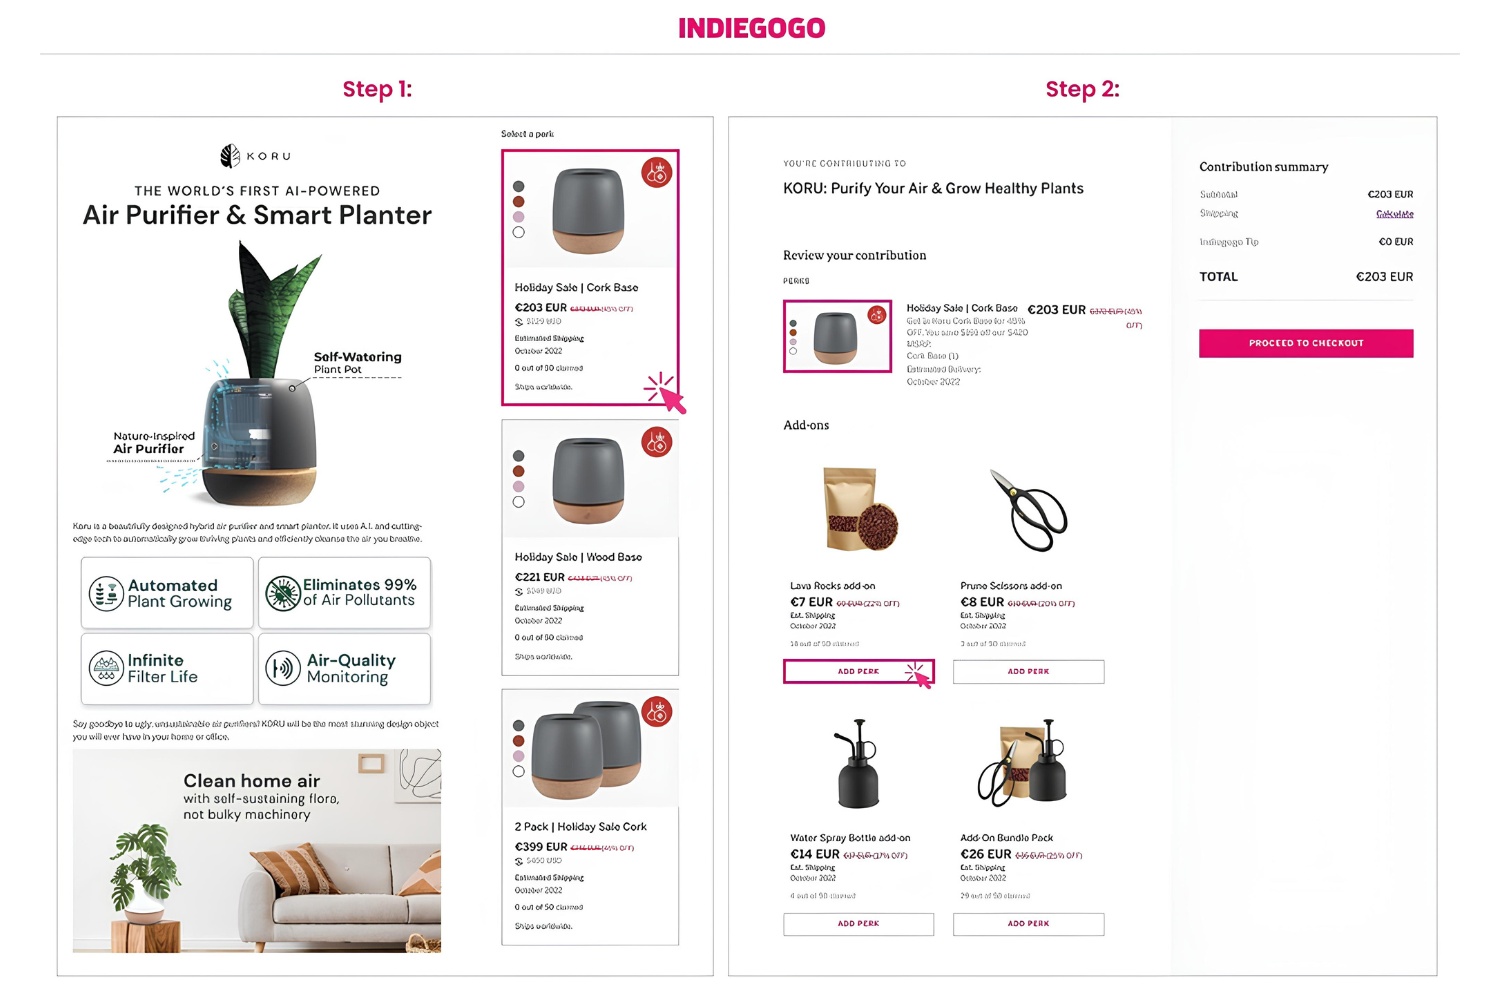
3. Perks and Rewards: When showcasing your perks and rewards, it’s important to make them visually enticing. For the best results, use images with a minimum width of 600 pixels. This size allows potential backers to get a clear view of your perks and rewards, increasing the chances of conversion.
4. Campaign Updates: Keeping your backers updated throughout your campaign is crucial. When adding images to your updates, aim for a minimum width of 800 pixels. By using images of this size, your updates will look visually appealing and professional.
5. Campaign Gallery: The campaign gallery is an excellent opportunity to showcase your project’s visuals in a visually appealing manner. For the best results, use images with a minimum size of 1200 x 800 pixels. This size ensures that your images are sharp and vibrant, creating a lasting impression on potential backers.
6. Social Media Sharing: When promoting your campaign on social media platforms, it’s essential to use eye-catching images. While the ideal image size for social media varies across platforms, a safe approach is to use images with a width of at least 1200 pixels. Additionally, consider using landscape orientation for better compatibility with different platforms.
By following these recommended image sizes for different sections on Indiegogo, you can ensure that your campaign looks professional and engaging, while also optimizing your images for a seamless user experience.
Creating and Sizing Images for the Campaign Header
The campaign header is one of the most important elements of your Indiegogo campaign. It’s the first thing that potential backers see, so it’s essential to make a strong first impression. Here are some tips on creating and sizing images for the campaign header:
1. Image Dimensions: Indiegogo recommends using images with dimensions of 1080 x 607 pixels for the campaign header. This size ensures that your header image looks crisp and professional, regardless of the device your potential backers are using.
2. Clarity and Relevance: Your campaign header image should be clear, visually appealing, and relevant to your project. It should convey the essence of your campaign and capture the attention of potential backers. Use high-quality images that reflect the vision and message of your project.
3. Branding and Logo: Incorporate your campaign’s branding and logo in the header image. This helps establish your campaign’s identity and builds trust with potential backers. Ensure that your logo is clear and well-placed, without overpowering the overall design.
4. Text Overlay: Consider adding text overlay to your campaign header image. This can include your campaign slogan, a compelling call-to-action, or key information about your project. Use legible fonts and contrasting colors to make the text stand out without distracting from the overall visual appeal.
5. Optimize File Size: While it’s important to have high-quality images, make sure to optimize the file size of your header image. Compress the image without sacrificing too much quality to ensure faster loading times. This is crucial for a smooth user experience, as slow-loading pages can deter potential backers.
When creating and sizing images for the campaign header, remember that it’s the first impression you make on potential backers. Invest time and effort into creating a visually stunning and compelling header image that represents your campaign effectively.
By following these tips and adhering to the recommended image dimensions, you can ensure that your campaign header stands out and grabs the attention of potential backers.
Sizing Images for the Campaign Story
The campaign story is where you have the opportunity to provide detailed information about your project and connect with potential backers on a deeper level. To make your campaign story visually engaging, here are some guidelines for sizing your images:
1. Image Width: Indiegogo doesn’t have strict image size requirements for the campaign story section. However, it’s recommended to use images with a width of at least 1200 pixels. This ensures that your images appear clear and visually appealing on different devices.
2. Balance and Placement: When adding images to your campaign story, aim for a balanced mix of text and visuals. Ensure that the images enhance the story and provide additional context or visual appeal. Consider using different alignment options, such as center, left, or right, to create a visually pleasing layout.
3. Image Quality: Use high-resolution images to maintain clarity and crispness in your campaign story. This is particularly important if you’re showcasing detailed product shots or close-up images. Avoid using images that appear pixelated or low in quality, as this can diminish the overall impact of your story.
4. Resize and Optimize: If you need to resize your images to fit the width of your campaign story section, make sure to maintain the aspect ratio to avoid distorting the images. Additionally, optimize the file sizes of your images without compromising too much quality. This helps ensure fast loading times for your campaign story.
5. Captions and Descriptions: Provide relevant and informative captions or descriptions for your images in the campaign story. This enhances the storytelling aspect and helps potential backers understand the significance of each image in relation to your project.
Remember, the images you include in your campaign story play a vital role in capturing the attention and interest of potential backers. By following these guidelines and sizing your images appropriately, you can effectively enhance your campaign story’s visual appeal and engagement.
Optimizing Images for Perks and Rewards
When it comes to showcasing the perks and rewards of your Indiegogo campaign, using visually appealing images is crucial in attracting potential backers. Here’s how you can optimize your images to make your perks and rewards stand out:
1. Image Width: Use images with a minimum width of 600 pixels for your perks and rewards. This ensures that the images are clear and display well on different devices. Be mindful of the aspect ratio to avoid distortion when resizing the images.
2. High-Quality Images: Opt for high-resolution images that highlight the quality and features of your perks. Clear and detailed product images can give potential backers a better idea of what they’ll receive in exchange for their contribution.
3. Consistent Image Style: Maintain a consistent image style throughout your perks and rewards section. Use a similar background, lighting, or branding elements to create a cohesive and visually appealing experience. This helps establish a sense of professionalism and trust.
4. Multiple Views or Variations: If applicable, include multiple images showcasing different angles or variations of the perk. This allows potential backers to visualize the product more effectively and makes it more enticing for them to back your campaign.
5. Optimize File Size: Compress your perk images without compromising too much quality to ensure fast loading times. Large image file sizes can slow down your campaign page, resulting in a negative user experience. Strike a balance between image quality and file size.
6. Captions and Descriptions: Accompany each perk image with clear and concise captions or descriptions. Clearly explain the features, benefits, or specifications of the perk to help potential backers understand its value.
By optimizing your images for perks and rewards, you can make your offerings visually appealing, engaging, and enticing to potential backers. High-quality and well-presented images can significantly impact your campaign’s success in attracting support and reaching your funding goals.
Sizing Images for Campaign Updates
Keeping your backers updated throughout your Indiegogo campaign is crucial for maintaining their engagement and support. Including images in your campaign updates can make them more visually appealing and impactful. Here are some guidelines for sizing your images in campaign updates:
1. Image Width: Aim for a minimum image width of 800 pixels for your campaign updates. This ensures that your images are clear and well-displayed, whether viewed on a computer, tablet, or smartphone.
2. Relevancy and Context: Choose images that are relevant to the content of your update. Whether you’re sharing progress, announcing new features, or showing behind-the-scenes glimpses, the images should provide visual support and enhance the message you’re conveying.
3. Image Aspect Ratio: Resize your images while maintaining their original aspect ratio. This ensures that the image doesn’t appear stretched or distorted. Tools such as image editors or content management systems can help you resize and maintain the aspect ratio of your images.
4. Consistent Style: Maintain a consistent visual style throughout your campaign updates. This can include using a similar filter, color scheme, or composition for your images. Consistency creates a cohesive and professional look for your updates, boosting their visual appeal.
5. Optimize File Size: Compress your images to reduce their file size without compromising too much on the image quality. This optimization helps in minimizing loading times for your campaign updates and ensures a smooth browsing experience for your backers.
6. Complement with Text: Pair your images with descriptive text to provide additional context or explanation. Captions or short descriptions can help in clarifying the purpose or significance of the image within the update.
By following these guidelines, you can effectively size your images for campaign updates, making them visually appealing, informative, and engaging for your backers. Remember, compelling visual content has the power to captivate your audience and keep them invested in the progress of your campaign.
Choosing the Right Image Size for the Campaign Gallery
The campaign gallery on Indiegogo is where you can showcase a collection of images that highlight different aspects of your project. To make the most of this section and create a visually appealing gallery, it’s important to choose the right image size. Here’s how:
1. Minimum Size: Indiegogo recommends using images with a minimum size of 1200 x 800 pixels for the campaign gallery. This ensures that your images are visually appealing and look professional when viewed on different devices.
2. Aspect Ratio: Maintain the original aspect ratio of your images when resizing them for the campaign gallery. This ensures that they are not distorted or stretched, providing a more pleasing viewing experience for your backers.
3. Image Variety: Include a diverse range of images in your campaign gallery to showcase different aspects of your project. This can include product shots, team photos, behind-the-scenes images, or customer testimonials. Variety adds interest and helps potential backers connect with your project on a deeper level.
4. High-Quality Images: Use high-resolution images to capture the details and essence of your project. Crystal-clear visuals will grab the attention of potential backers and convey professionalism and a commitment to quality.
5. Image Organization: Organize your images in a logical and visually appealing manner. Consider using captions, titles, or descriptions to provide context for each image. This helps potential backers understand the significance of the image and its connection to your project.
6. Image Optimization: Optimize your images for web viewing by compressing the file size without compromising too much on quality. This ensures faster loading times and a smoother browsing experience for your supporters.
By choosing the right image size and selecting engaging visuals, you can create an impressive campaign gallery that showcases the highlights and unique aspects of your project. A visually captivating gallery enhances your campaign’s credibility and increases the chances of attracting backers and achieving your funding goals.
Image Sizes for Social Media Sharing
When promoting your Indiegogo campaign on social media platforms, it’s important to use images that are optimized for each specific platform. Different social media platforms have varying image size recommendations to ensure optimal display and engagement. Here’s a guide to image sizes for social media sharing:
1. Facebook: For shared posts or link previews on Facebook, use images with a recommended size of 1200 x 628 pixels. This size ensures that your images appear clear and eye-catching in the Facebook news feed.
2. Twitter: When sharing images on Twitter, aim for a minimum size of 1200 x 675 pixels for optimal display. Twitter will automatically crop the image to fit within its aspect ratio, so make sure the most important elements are within the visible area.
3. Instagram: Instagram is a highly visual platform, and the recommended image size for square posts is 1080 x 1080 pixels. For landscape posts, use an image size of 1080 x 566 pixels, and for vertical posts, use 1080 x 1350 pixels.
4. LinkedIn: When sharing images on LinkedIn, the recommended image size is 1200 x 627 pixels. This size ensures that your images appear clear and professional in LinkedIn’s news feed and on your profile.
5. Pinterest: Pinterest is known for visual inspiration, and pins tend to perform best with images that have a vertical orientation. The ideal image size for Pinterest is 600 x 900 pixels or a 2:3 aspect ratio.
6. Other Platforms: For other social media platforms, such as Snapchat or TikTok, it’s best to consult their respective guidelines for image sizes and aspect ratios to ensure your images are displayed optimally.
By optimizing your images for social media sharing, you can effectively capture the attention of your target audience and drive engagement with your Indiegogo campaign. Tailoring your images to each platform’s specific recommendations increases the likelihood of your content being shared, liked, and ultimately, driving traffic back to your campaign.
Conclusion
Properly sizing and optimizing images for your Indiegogo campaign is essential for creating a visually appealing and engaging experience for potential backers. By understanding the recommended image sizes for different sections of your campaign, you can ensure that your visuals appear professional and load quickly on various devices.
From the campaign header to the campaign story, perks and rewards, campaign updates, campaign gallery, and social media sharing, each section requires careful consideration of image size and quality. By following the guidelines provided in this article, you can make informed decisions on image dimensions, aspect ratios, and file size optimization.
Remember to choose high-quality images that accurately represent your project, maintain a consistent visual style throughout your campaign, and provide relevant captions or descriptions to enhance understanding and engagement.
Optimizing your images for different sections of your Indiegogo campaign not only improves the overall appearance and professionalism but also contributes to a seamless user experience. This can lead to increased engagement, higher conversion rates, and ultimately, the success of your crowdfunding campaign.
So, take the time to invest in properly sizing and optimizing your images, and watch as your campaign shines, capturing the attention and support of backers who share your passion and vision.