Introduction
When it comes to running a successful crowdfunding campaign on platforms like Indiegogo, visual appeal plays a crucial role in capturing the attention and interest of potential backers. While a compelling campaign video is essential, adding multiple images can further enhance the overall impact of your project and help convey your message effectively. In this guide, we will explore how to display multiple images alongside your campaign video on Indiegogo.
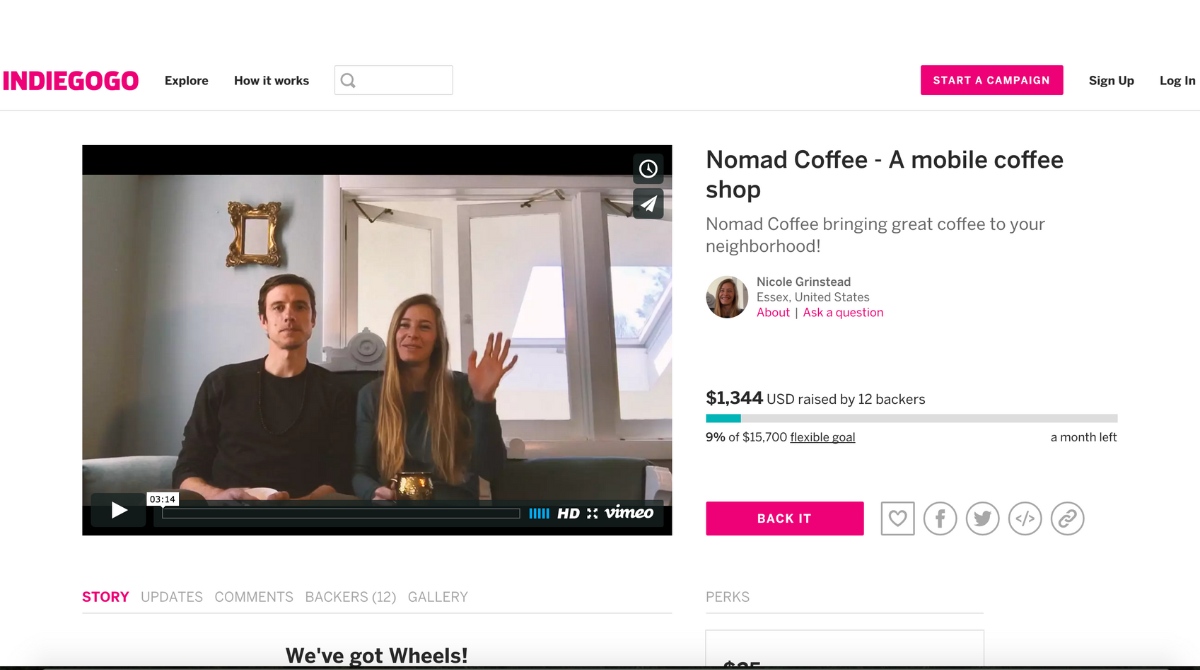
Indiegogo allows creators to upload multiple images to showcase their product, highlight different features, and provide a visual representation of their campaign. By integrating images into your campaign page, you can enhance engagement, create a strong visual identity, and increase your chances of attracting potential backers.
Whether you are launching a new gadget, a fashion line, or a personal development project, properly displaying multiple images can help you tell a compelling story, generate excitement, and build trust among your target audience. This guide will walk you through the step-by-step process of uploading, arranging, and linking images to your Indiegogo campaign, as well as customizing their display to create an engaging visual experience for your backers.
So, if you’re ready to take your campaign to the next level by incorporating multiple images into your Indiegogo project, let’s dive into the details and learn how to make your campaign page visually appealing and captivating!
Why Displaying Multiple Images is Important
Adding multiple images to your Indiegogo campaign has numerous benefits that can significantly impact the success of your crowdfunding efforts. Here are some reasons why displaying multiple images is important:
1. Visual Storytelling: Images have the power to convey emotions, messages, and stories in a way that words alone cannot. By including multiple images, you can paint a comprehensive picture of your project, showcasing different angles, features, and details that capture the essence of what you’re offering. This visual storytelling helps potential backers better understand your project and connect with it on an emotional level.
2. Enhanced Product Presentation: When presenting a product or idea, the ability to showcase it from various perspectives can greatly enhance its appeal. By displaying multiple images, you can highlight different functionalities, color options, or design variations, giving potential backers a clearer understanding of what they can expect. This ultimately increases their confidence in your product and increases the likelihood of them pledging their support.
3. Increased Credibility: Multiple images provide evidence of the progress you’ve made on your project. They demonstrate that you have invested time and effort into developing a tangible product or concept. Displaying images of prototypes, sketches, or work in progress can help establish credibility and build trust among potential backers, increasing the chances of them supporting your campaign.
4. Attention-Grabbing Visualization: In a crowded crowdfunding marketplace, it’s important to stand out from the competition. Eye-catching images have a higher chance of capturing the attention of potential backers as they scroll through campaign pages. By displaying multiple images that are visually appealing and representative of your project, you can create a strong first impression and entice viewers to explore your campaign further.
5. Improved Engagement and Conversion: Images are effective at grabbing and retaining attention. By incorporating multiple images into your campaign, you can create a more engaging experience for potential backers. When people are captivated by what they see, they are more likely to stay on your page, read the accompanying text, watch your video, and ultimately convert that interest into a pledge.
By recognizing the importance of displaying multiple images in your Indiegogo campaign, you can leverage the power of visual storytelling and create a compelling presentation that resonates with your audience. The next sections will guide you through the step-by-step process of uploading, arranging, and customizing the display of your images on Indiegogo, helping you effectively communicate your message and increase your chances of crowdfunding success.
Step 1: Uploading Images to Your Indiegogo Campaign
Uploading images to your Indiegogo campaign is a straightforward process that allows you to showcase your product, concept, or idea visually. Follow these steps to upload images to your Indiegogo campaign:
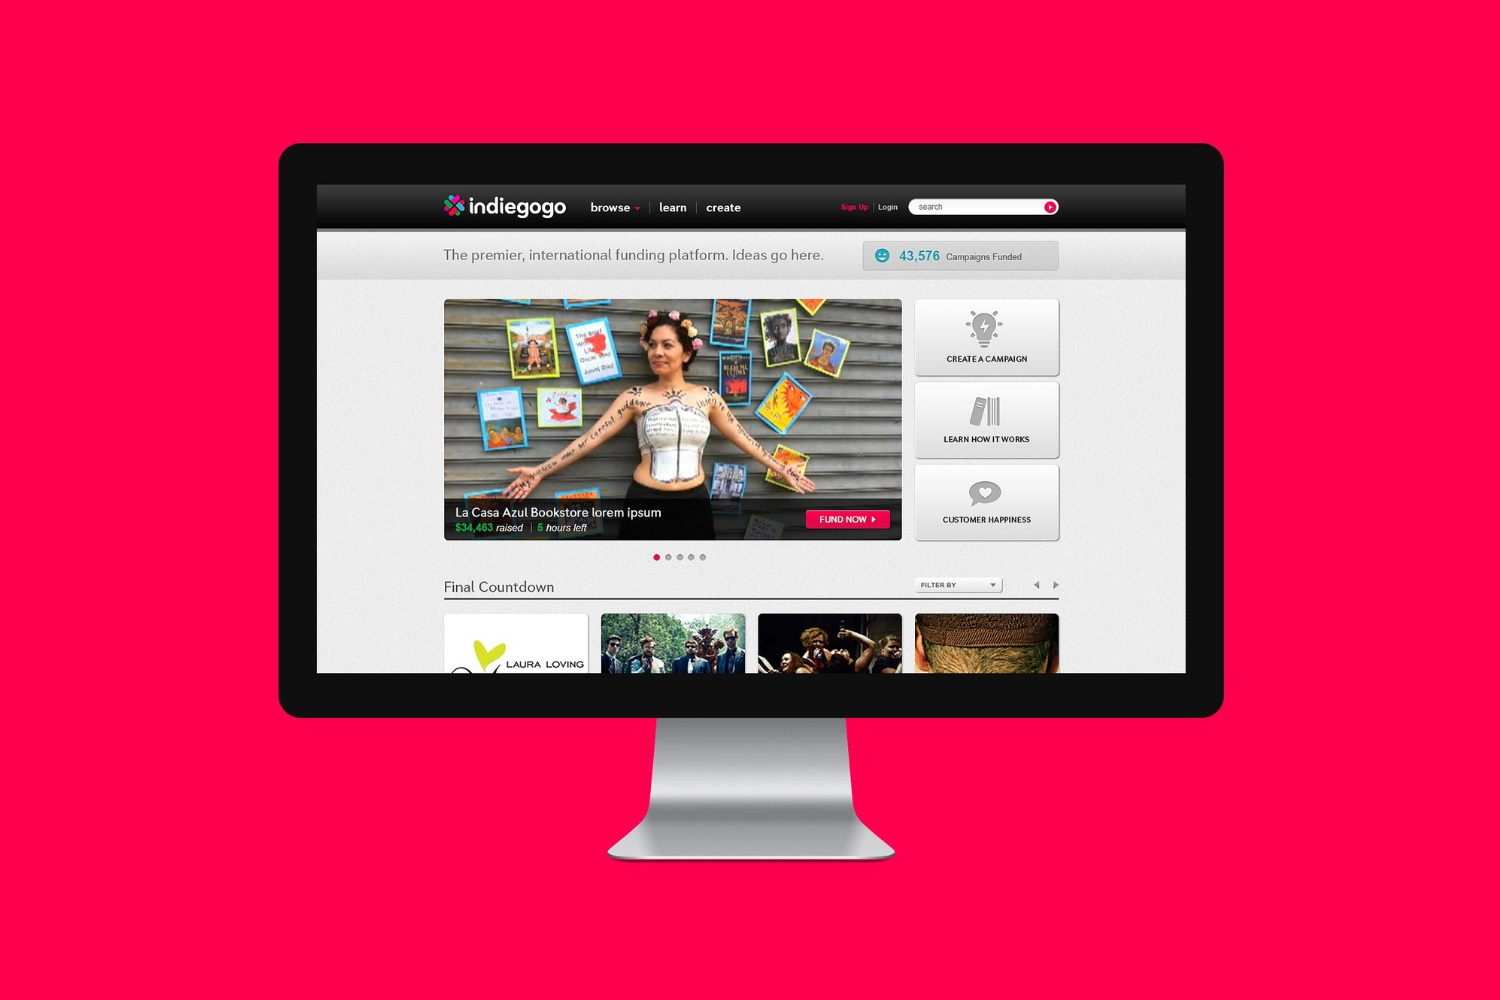
1. Log into your Indiegogo Account: Visit the Indiegogo website and log into your account. If you don’t have one yet, sign up for a new account, which only takes a few minutes.
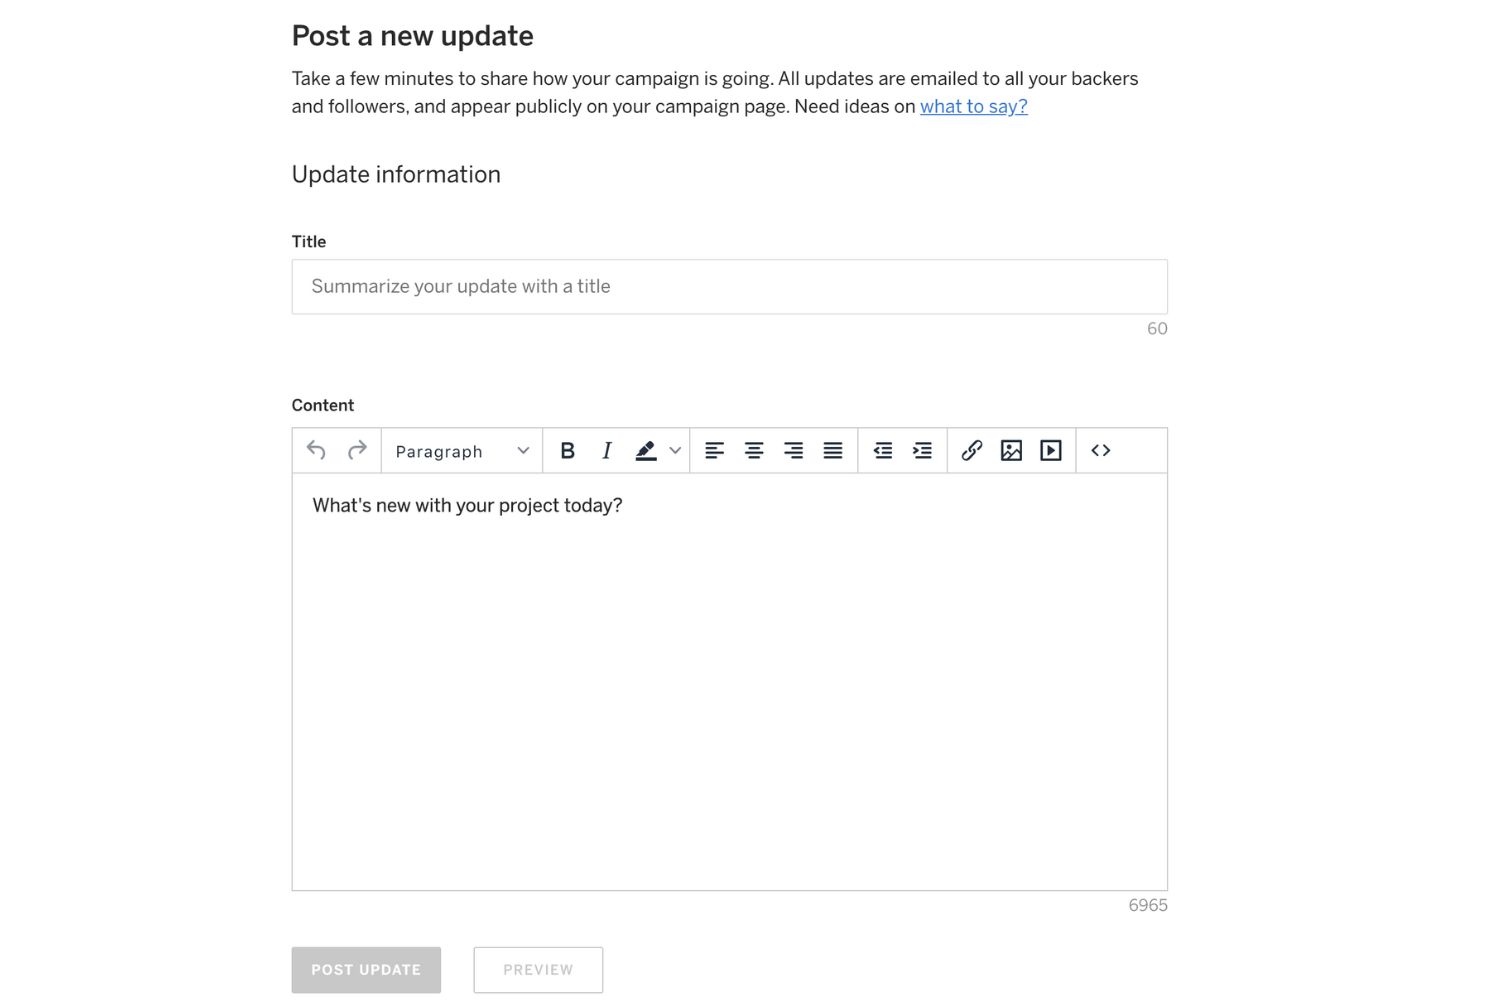
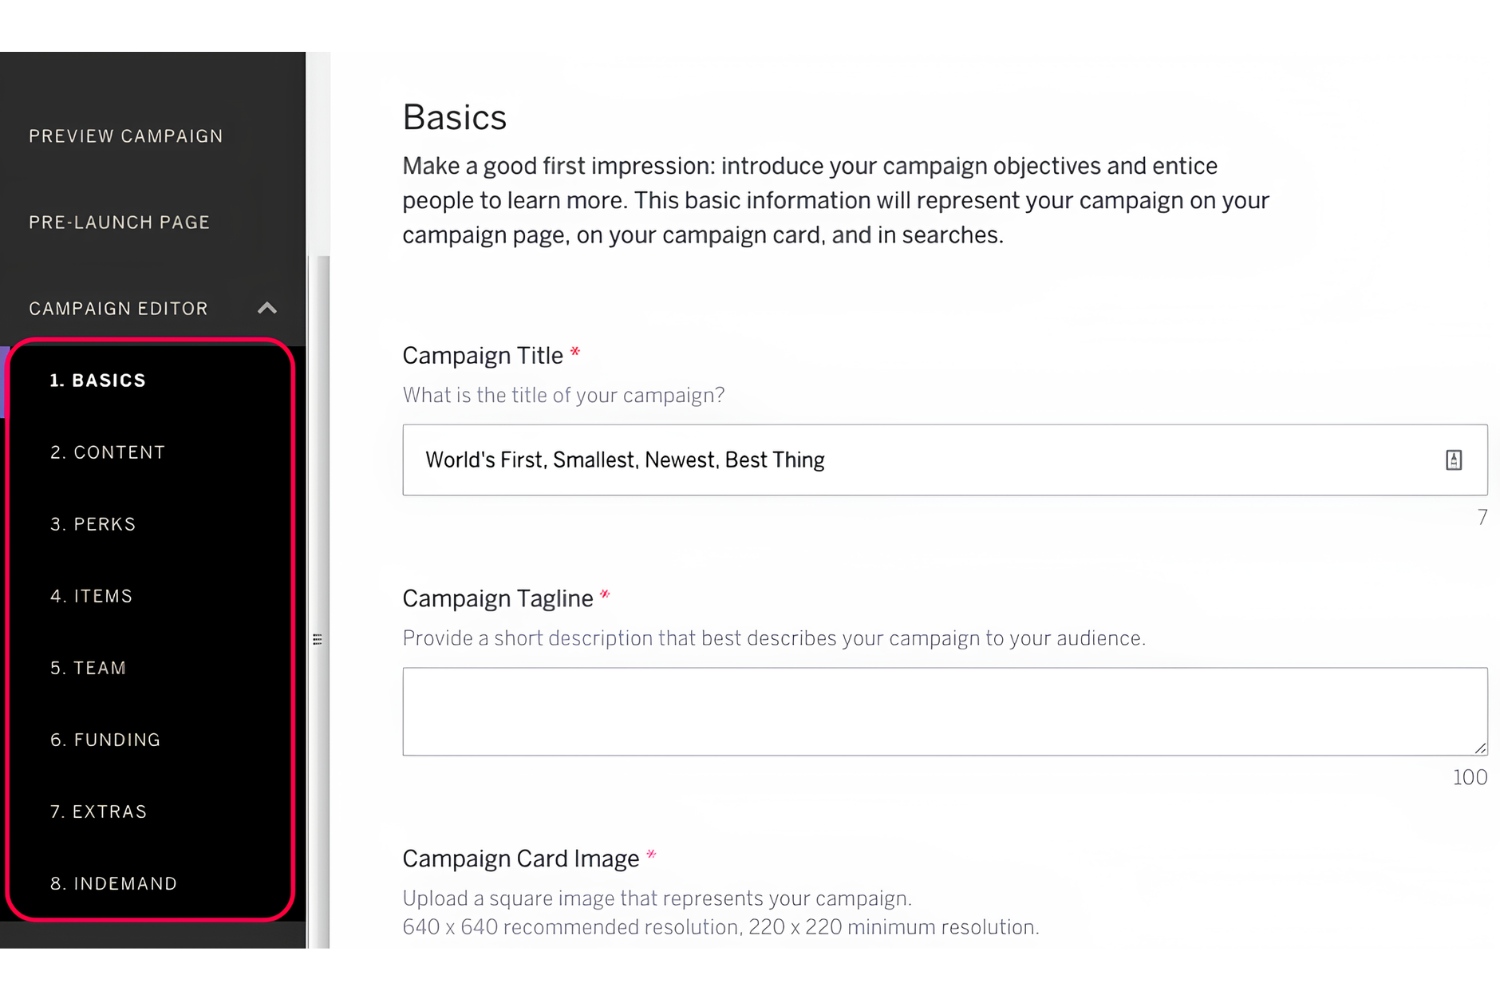
2. Go to your Campaign Editor: Once you’re logged in, navigate to the campaign you want to add images to and go to the campaign editor. This is where you can make changes and update the content of your campaign page.
3. Find the Image Section: Inside the campaign editor, locate the section where you can add images. This is usually labeled as “Image Gallery” or “Media” and can typically be found in the “Story” or “Media” tab of the editor.
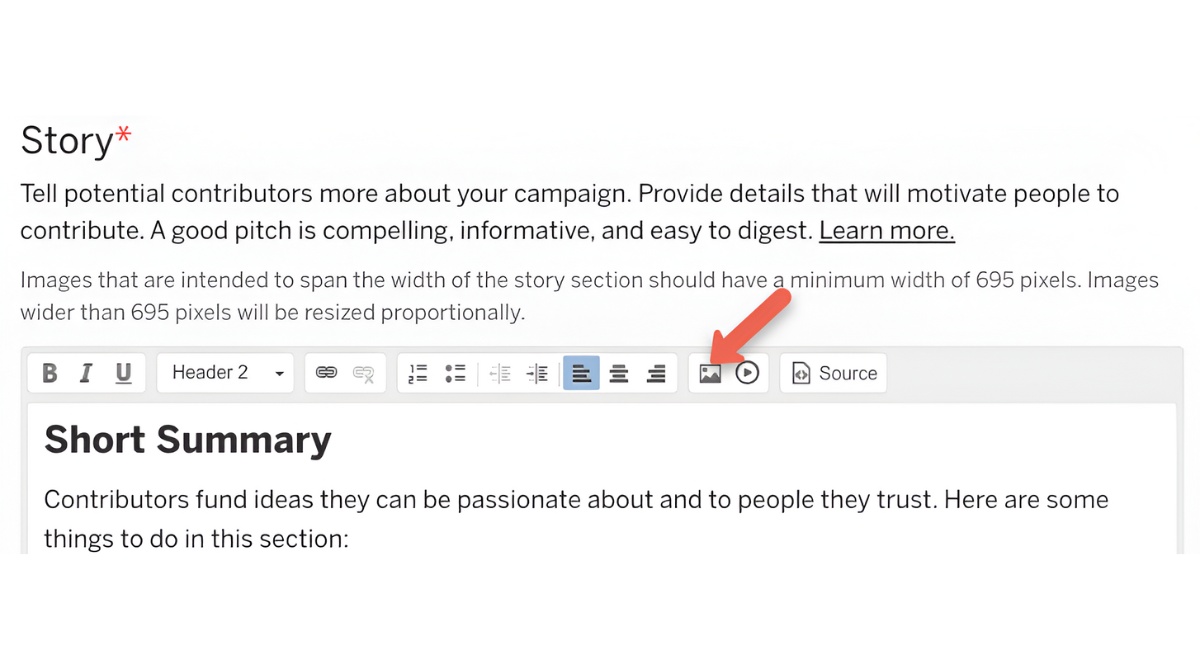
4. Click on the ‘Add Images’ Button: In the image section, there should be an option to add images. Look for a button labeled “Add Images” or something similar and click on it.
5. Select the Images to Upload: A window will open, allowing you to browse your computer or device for the images you want to include in your campaign. Select the images you wish to upload by clicking on them or using the bulk selection feature if available.
6. Upload the Selected Images: Once you’ve chosen the images, click on the “Upload” or “Open” button to initiate the upload process. The images will then be added to your campaign’s image gallery.
7. Arrange and Organize the Images: After the upload is complete, you can rearrange and organize the images in the order you prefer. You can do this by dragging and dropping the images within the gallery section.
8. Save and Preview: Once you’re satisfied with the arrangement, save your changes and preview your campaign page to see how the images appear for viewers.
Remember, the images you upload should be high-quality and visually appealing. They should effectively represent your project and create a positive impression with potential backers. Uploading multiple images gives you the opportunity to present various aspects of your project and engage your audience visually.
Now that you have successfully uploaded images to your Indiegogo campaign, let’s move on to the next step, where we will learn how to arrange and link the images to your campaign video.
Step 2: Arranging the Images
Once you have uploaded multiple images to your Indiegogo campaign, it’s essential to arrange them in a logical and visually appealing order. Properly arranging the images will help you effectively tell the story of your project and engage potential backers. Follow these steps to arrange the images on your Indiegogo campaign page:
1. Access the Campaign Editor: Log in to your Indiegogo account and navigate to the campaign for which you want to arrange the images. Go to the campaign editor to make changes to your campaign page.
2. Locate the Image Gallery: Find the section on the campaign editor that contains the uploaded images. This section is typically labeled as “Image Gallery” or “Media” and can usually be found within the “Story” or “Media” tab.
3. Drag and Drop: Most Indiegogo campaign editors allow you to rearrange images by dragging and dropping them into the desired order. Click on an image, hold the mouse button, and drag it to the desired position within the image gallery.
4. Use Navigation Arrows (if available): Some campaign editors may provide navigation arrows or buttons that allow you to move images back and forth in the gallery. If this feature exists, utilize it to arrange your images easily.
5. Preview the Changes: After arranging the images, save your changes and preview your campaign page. This step is crucial to ensure that the images appear in the desired order and complement the overall visual flow of your campaign.
6. Fine-Tune as Needed: If the arrangement doesn’t appear optimal or if you receive feedback from others, don’t hesitate to go back to the campaign editor and make further adjustments. Continuously fine-tuning the arrangement can help you create the most compelling visual narrative for your project.
Consider the overall story you want to tell with the images and how they can best showcase the key features and benefits of your project. Remember, a well-arranged image gallery can captivate potential backers and entice them to explore your campaign further.
With the images properly arranged, you’re one step closer to presenting a visually compelling campaign on Indiegogo. In the next section, we will discuss how to link the images to your campaign video, creating a seamless and engaging viewing experience for your potential backers.
Step 3: Linking the Images to Your Campaign Video
Linking your images to your campaign video on Indiegogo is an effective way to enhance the viewing experience and provide additional context to potential backers. By associating images with specific moments or details in your campaign video, you can create a seamless and engaging narrative. Follow these steps to link the images to your campaign video:
1. Access the Campaign Editor: Log in to your Indiegogo account and navigate to the campaign you want to link the images to. Open the campaign editor to make changes to your campaign page.
2. Locate the Image Gallery: Find the section in the campaign editor that contains the uploaded images. This section is usually labeled as “Image Gallery” or “Media” and can be found within the “Story” or “Media” tab of the editor.
3. Identify Key Moments: Watch your campaign video and identify key moments or details that are relevant to specific images. Choose images that can provide additional information or visuals for those moments.
4. Edit the Image Details: Click on an image within the gallery section to access the image details. You should see an option to edit the image or add a caption.
5. Add a Caption or Description: In the image details, add a brief caption or description that describes the connection between the image and the corresponding moment or detail in your campaign video. This helps viewers understand the relevance of the image and enhances their comprehension of your project.
6. Insert the Video Timestamp: To create a direct link between the image and the moment in the video, insert the timestamp of the specific moment in the campaign video that corresponds to the image. This ensures that when viewers click on the image, they are taken to that specific moment in the video.
7. Save the Changes: After adding the caption and inserting the video timestamp, save your changes to the image details. Repeat this process for each image that you want to link to your campaign video.
8. Preview the Changes: Once you’ve linked the images to your campaign video, save your changes and preview your campaign page to ensure that the linked images function correctly. Test the links by clicking on the images and verifying that they take you to the designated moments in the video.
By linking your images to your campaign video, you provide potential backers with a deeper understanding of your project and make it easier for them to explore specific details that capture their interest. This seamless connection between images and video helps create a more engaging and immersive experience for viewers.
In the next section, we will discuss how to customize the display of your images on the campaign page to further enhance the visual appeal of your Indiegogo campaign.
Step 4: Customizing the Image Display
Customizing the display of your images on your Indiegogo campaign page allows you to create a visually appealing and cohesive presentation. By applying customization options, you can enhance the overall aesthetics and ensure that your images are displayed in an engaging and organized manner. Follow these steps to customize the display of your images:
1. Access the Campaign Editor: Log in to your Indiegogo account and navigate to the campaign you want to customize. Open the campaign editor to make changes to your campaign page.
2. Locate the Image Gallery: Find the section in the campaign editor that contains the uploaded images. This section is typically labeled as “Image Gallery” or “Media” and can be found within the “Story” or “Media” tab of the editor.
3. Choose a Display Format: Indiegogo provides different display formats for your image gallery, such as a grid layout, carousel slideshow, or a tiled mosaic. Choose the format that best suits the aesthetics and organization of your campaign page.
4. Adjust Image Size: Depending on the chosen display format, you may have the option to adjust the size of the images. Experiment with different sizes to find the optimal balance between visual impact and page loading speed.
5. Consider Captions or Descriptions: If you haven’t already added captions or descriptions to your images, consider including them. Captions provide additional context and information, while descriptions can help tell a compelling story. Align the captions or descriptions with the images to ensure a seamless visual experience.
6. Add Visual Elements: To further customize the image display, consider adding visual elements such as borders, shadows, or filters. These elements can enhance the aesthetics of your images and create a cohesive visual theme that aligns with your campaign’s branding.
7. Test Responsiveness: Indiegogo campaigns need to be accessible across different devices and screen sizes. After customizing the image display, preview your campaign page using different devices (e.g., desktop, tablet, mobile). Ensure that the images maintain their visual impact and display properly regardless of the device being used.
8. Save and Preview: Once you’re satisfied with the customized image display, save your changes and preview your campaign page. Pay attention to the overall visual appeal, organization, and cohesiveness of the images within the context of your campaign.
Customizing the display of your images allows you to create a unique and visually engaging campaign page. By carefully arranging and styling your images, you can capture the attention of potential backers and make a lasting impression.
Now that you have customized the display of your images, let’s move on to the next step, where we will discuss how to preview and save your changes before making your campaign page live.
Step 5: Previewing and Saving Your Changes
Before making your Indiegogo campaign page live, it’s essential to preview and review any changes you have made to ensure everything appears as intended. This step allows you to catch any errors or inconsistencies and make adjustments accordingly. Follow these steps to preview and save your changes:
1. Access the Campaign Editor: Log in to your Indiegogo account and navigate to the campaign you have been working on. Open the campaign editor, which allows you to make changes to your campaign page.
2. Review Your Changes: Carefully review the changes you have made to your image display, including the arrangement, linked moments in the video, and any customizations. Check for any errors, inconsistencies, or issues that need to be addressed.
3. Preview your Campaign Page: Use the preview function within the campaign editor to view how your campaign page will appear to potential backers. Take your time to ensure that the images are displayed correctly, the linked moments in the video work properly, and the overall visual presentation is appealing.
4. Test Responsiveness: Preview your campaign page on different devices, such as desktop, tablet, and mobile, to verify that the images and layout remain visually appealing and functional across various screen sizes. Make any necessary adjustments to ensure a seamless and responsive viewing experience.
5. Refine and Fine-Tune: If you notice any issues during the preview, go back to the campaign editor and make refinements or fine-tune the image display accordingly. Address any concerns or discrepancies that you come across to ensure a polished campaign page.
6. Save Your Changes: Once you are satisfied with the preview and have made any necessary adjustments, save your changes within the campaign editor. This ensures that your customized image display and linked moments in the video are implemented on your Indiegogo campaign page.
7. Double-Check Before Going Live: Before making your campaign page live, take a final look at all the changes you have made. Ensure that the images are organized, the linked moments are accurate, and the customizations are visually appealing. By conducting this final check, you can be confident that your campaign page is ready for potential backers to view.
Previewing and saving your changes is a critical step in ensuring the overall professionalism and effectiveness of your Indiegogo campaign. By taking the time to review and fine-tune your image display, you can create a visually captivating campaign page that appeals to your target audience.
In the next section, we will conclude this guide by summarizing the key steps discussed and reinforcing the importance of effectively displaying multiple images on your Indiegogo campaign.
Conclusion
Effectively displaying multiple images on your Indiegogo campaign can have a significant impact on the success of your crowdfunding efforts. By following the step-by-step process outlined in this guide, you can create a visually captivating campaign page that engages potential backers and enhances their understanding of your project.
We began by understanding the importance of displaying multiple images on your campaign page. Visual storytelling, enhanced product presentation, increased credibility, attention-grabbing visualization, and improved engagement and conversion are all compelling reasons to incorporate multiple images into your Indiegogo campaign.
We then explored the step-by-step process, starting with uploading images to your campaign. We discussed the importance of choosing high-quality, visually appealing images that effectively represent your project. We also learned how to rearrange the images in a logical and visually appealing order to create a compelling narrative.
Linking the images to your campaign video was the next step, allowing you to provide additional context and create a seamless viewing experience for potential backers. By associating specific moments in the video with relevant images, you can enhance engagement and understanding of your project.
Customizing the display of your images is another crucial aspect covered in this guide. We explored different options such as choosing display formats, adjusting image sizes, adding captions or descriptions, and incorporating visual elements to create a cohesive and visually appealing campaign page.
Lastly, we discussed the importance of previewing and saving your changes before making your campaign page live. By reviewing and fine-tuning your image display, ensuring responsiveness across different devices, and conducting a final check, you can ensure a professional and engaging presentation for potential backers.
By following these steps and leveraging the power of multiple images, you can create a visually captivating Indiegogo campaign that effectively communicates your project’s message, attracts more backers, and increases the likelihood of crowdfunding success.
Now, armed with this knowledge, it’s time to put it into practice and make your Indiegogo campaign visually impactful and compelling. Best of luck with your crowdfunding journey!