Introduction
When it comes to crowdfunding, visual content plays a crucial role in capturing the attention of potential backers and conveying the message of your campaign effectively. One powerful way to engage your audience is by uploading a video to your Indiegogo page. A compelling video can showcase your product, tell your story, and create an emotional connection with your backers.
In this article, we will guide you through the process of uploading a video to your Indiegogo page, step by step. Whether you’re a crowdfunding newbie or a seasoned campaigner, our easy-to-follow instructions will ensure that you can effortlessly add a video to your campaign and enhance its overall appeal.
By incorporating a video into your campaign, you can provide potential backers with a more immersive experience, helping them gain a better understanding of your project, its features, and its potential impact. A video allows you to showcase your product in action, demonstrate its usability, and highlight its unique selling points. It also gives you the opportunity to share your passion, vision, and the story behind your campaign.
Not only does adding a video make your campaign page more engaging, but it also increases your chances of success. According to Indiegogo, campaigns with videos raise 4 times more funds than those without. By leveraging the power of visual storytelling, you can effectively convey your campaign’s message, generate excitement, and motivate potential backers to support your project.
Now that we understand the importance of adding a video to your Indiegogo page, let’s dive into the step-by-step process of uploading a video and making your campaign even more captivating.
Step 1: Sign in to your Indiegogo account
To begin the process of uploading a video to your Indiegogo campaign page, you need to first sign in to your Indiegogo account. If you don’t have an account yet, you can easily create one by signing up on the Indiegogo website.
Once you’ve signed in, navigate to the top right corner of the homepage and click on the “Sign In” button. Enter your email address and password associated with your Indiegogo account, then click on the “Sign In” button again.
If you’re using a shared computer, make sure to uncheck the “Remember me” box to protect your account’s security. Additionally, if you have trouble remembering your password, you can click on the “Forgot password?” link to reset it.
After successfully signing in, you’ll be redirected to your account dashboard, where you have access to your campaigns, contribution history, and profile settings.
Having an Indiegogo account not only allows you to upload a video to your campaign page, but it also provides you with various campaign management tools and resources to help you run a successful crowdfunding campaign. Make sure to familiarize yourself with the platform’s features, as it can greatly enhance your campaign’s visibility and reach.
Now that you’re signed in to your Indiegogo account, let’s move on to the next step and start the process of uploading your video to your campaign page.
Step 2: Go to your campaign page
Once you’re signed in to your Indiegogo account, the next step is to navigate to your campaign page. To do this, click on your name or profile picture at the top right corner of the homepage, and select “My Campaigns” from the drop-down menu.
You’ll be taken to a page where you can view a list of all your active and archived campaigns. Locate the specific campaign to which you want to add a video, and click on its title to access the campaign page.
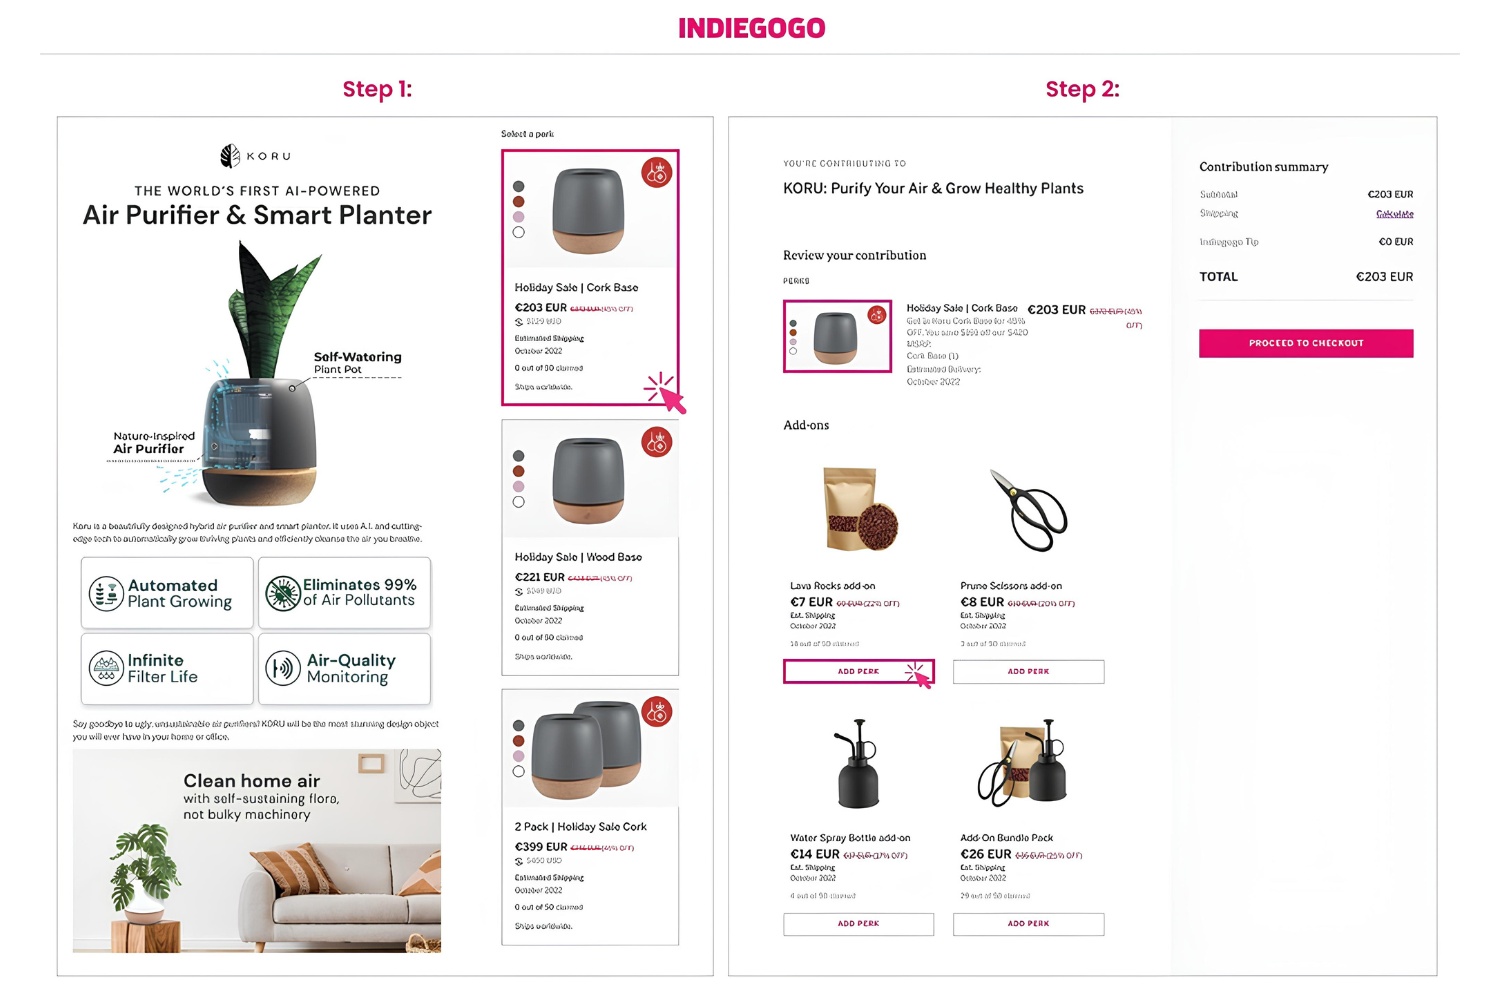
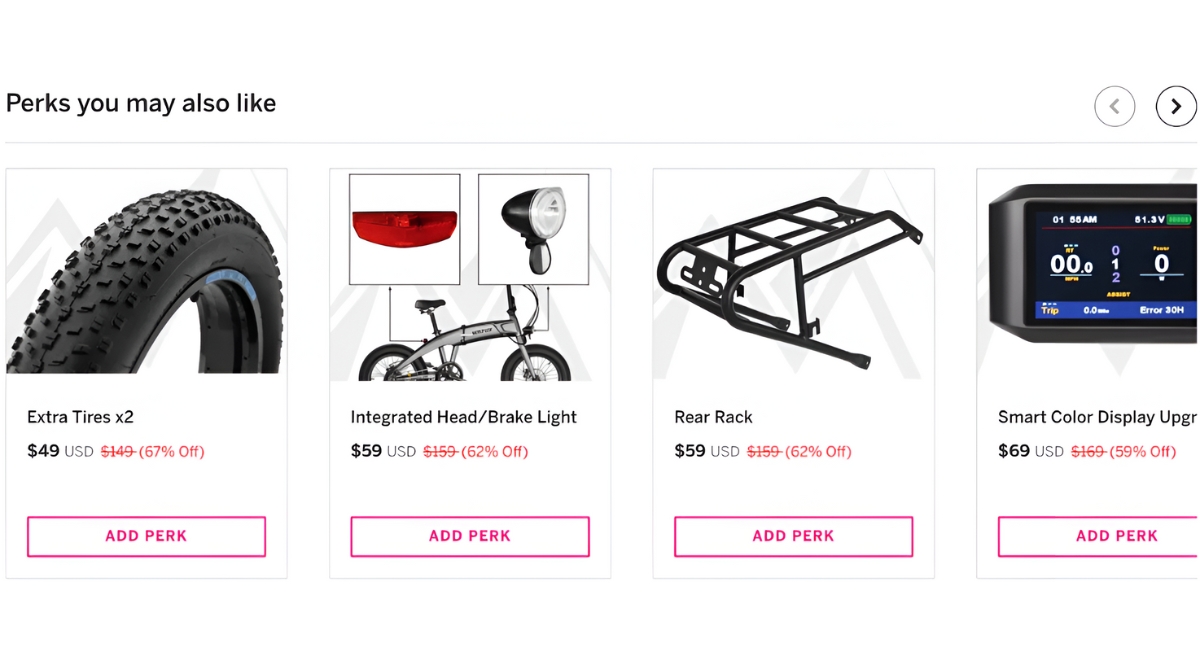
On the campaign page, you’ll find various sections where you can customize and manage your campaign. These sections include the campaign description, updates, perks, and media. By adding a video to the media section, you can engage your audience and provide them with valuable insights.
If you’re running multiple campaigns, ensure that you’re on the correct campaign page before proceeding to the next step. Double-check the campaign name and content to avoid any confusion or uploading your video to the wrong campaign.
Take a moment to review your campaign page and make any necessary updates or changes to the text, images, and layout before proceeding. It’s important to have a clear and visually appealing campaign page to attract and retain the attention of potential backers. Once you’re satisfied with the overall appearance of your campaign page, we can move on to the next step of adding the video.
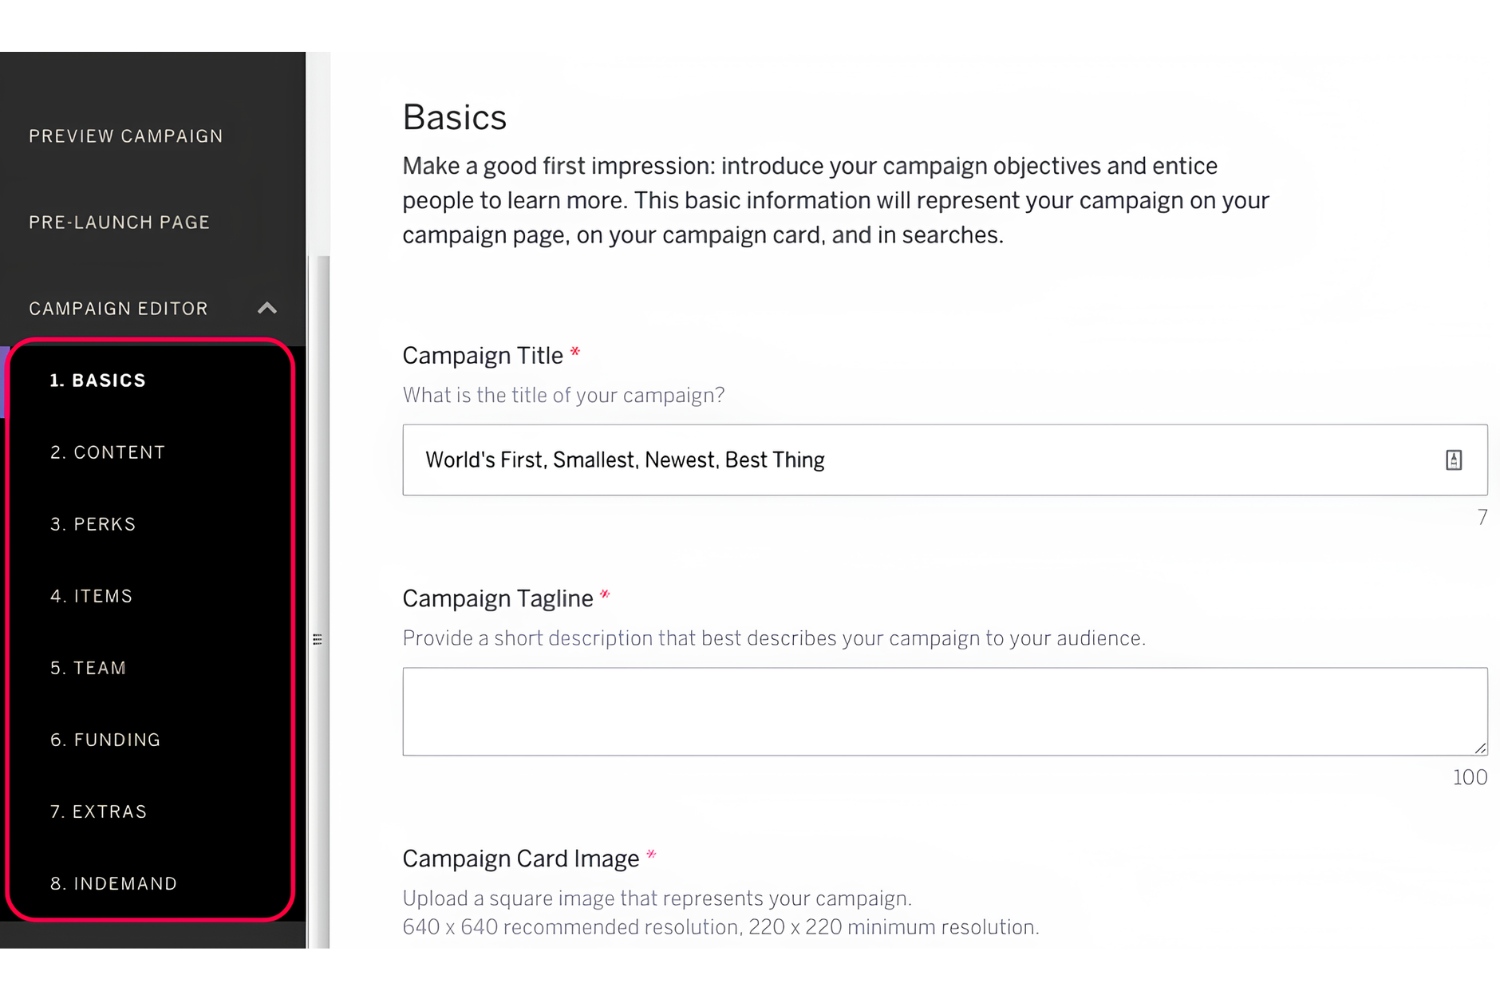
Step 3: Click on the “Edit Campaign” button
Now that you’re on your campaign page, it’s time to access the editing mode to make changes and add your video. To do this, locate the “Edit Campaign” button on the right-hand side of the page, just below the campaign title.
Clicking on the “Edit Campaign” button will allow you to modify various elements of your campaign, including the campaign description, perks, updates, and media. This editing mode gives you full control over the content and layout of your campaign page.
Before proceeding to the next step, remember to review your campaign page and make any necessary adjustments to the existing content. You can polish your campaign description, update the perk information, and add relevant updates to keep your backers informed.
It’s also a good opportunity to analyze how your campaign is performing so far. Take a look at the campaign statistics, such as the number of views, contributions, and social media shares. This data can provide valuable insights into the effectiveness of your campaign and help you refine your marketing strategies.
Once you’re ready to add your video, click on the “Edit Campaign” button to enter the editing mode. This will open up a new page where you can edit various sections and aspects of your campaign page.
Now that you are in the editing mode, you can proceed to the next step and add the video to your campaign by navigating to the “Media” section.
Step 4: Scroll down to the “Media” section
After entering the editing mode of your campaign page, navigate to the different sections of your campaign. Scroll down until you find the “Media” section. This is where you can upload and manage all your visual content, including images and videos.
The “Media” section is strategically placed to capture the attention of your potential backers. It provides an engaging visual experience and allows you to showcase your campaign’s assets effectively.
As you scroll down your campaign page, watch out for the section labeled “Media.” It’s usually located after the description and perks sections, but the exact positioning may vary depending on your campaign’s layout and design.
Ensure that you have a clear view of the “Media” section before proceeding to the next step. If needed, you can make adjustments to the overall layout and appearance of your campaign page by dragging and dropping the different sections or using the available customization options.
By organizing your visual elements strategically, you create a seamless and visually appealing experience for your backers. Remember, adding a video to the “Media” section will engage your audience and capture their interest, incentivizing them to learn more about your campaign and contribute to its success.
Once you’ve located the “Media” section, it’s time to proceed to the next step and add your video to your Indiegogo campaign page.
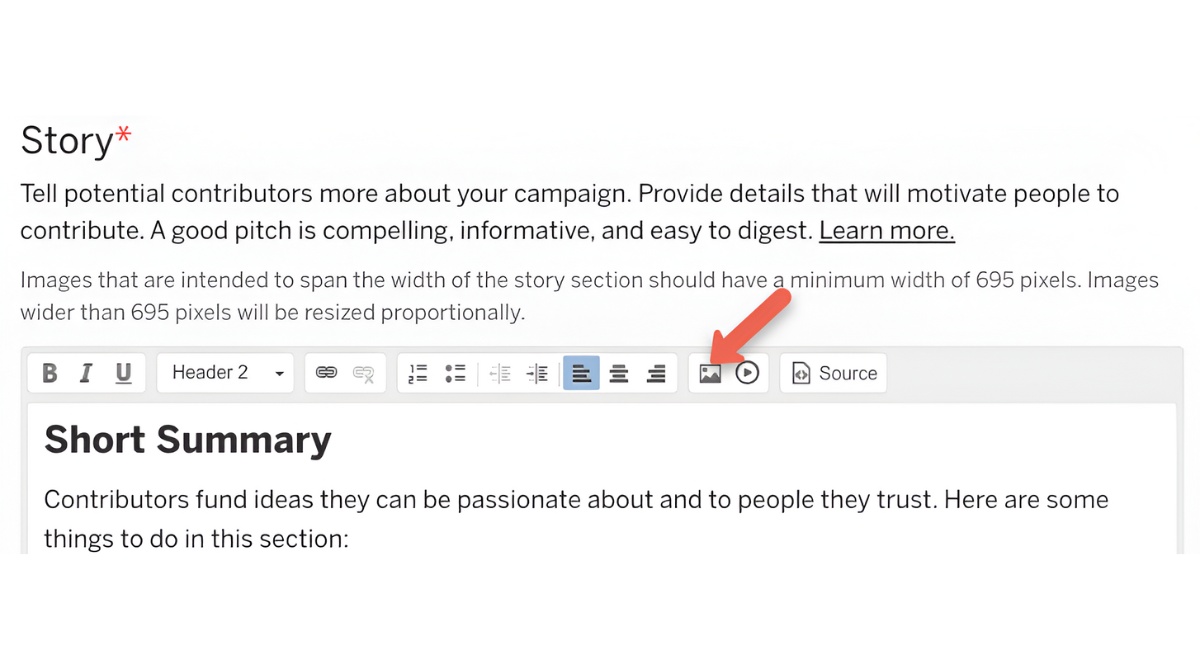
Step 5: Click on “Add a Video” button
Now that you’ve reached the “Media” section of your campaign page, it’s time to add your video. Look for the “Add a Video” button within the “Media” section and click on it.
The “Add a Video” button is designed to make the process of uploading your video to Indiegogo quick and easy. When you click on the button, a new window or dialogue box will appear, prompting you to select the video file you want to upload.
Before clicking on the “Add a Video” button, ensure that you have your video file ready to upload. Supported video formats on Indiegogo include MP4, MOV, AVI, and WMV. Make sure that your video is in one of these formats and that it meets the size and duration requirements set by Indiegogo.
By clicking on the “Add a Video” button, you’re on your way to enhancing your campaign page with an engaging video that will captivate your backers and help you communicate your message effectively.
Adding a video to your campaign is an essential aspect of crowdfunding success, as it enables you to showcase your product, tell your story, and build a connection with your audience. It’s a great opportunity to engage potential backers and get them excited about supporting your project.
Once you’ve clicked on the “Add a Video” button, it’s time to move on to the next step and select your video file from your device.
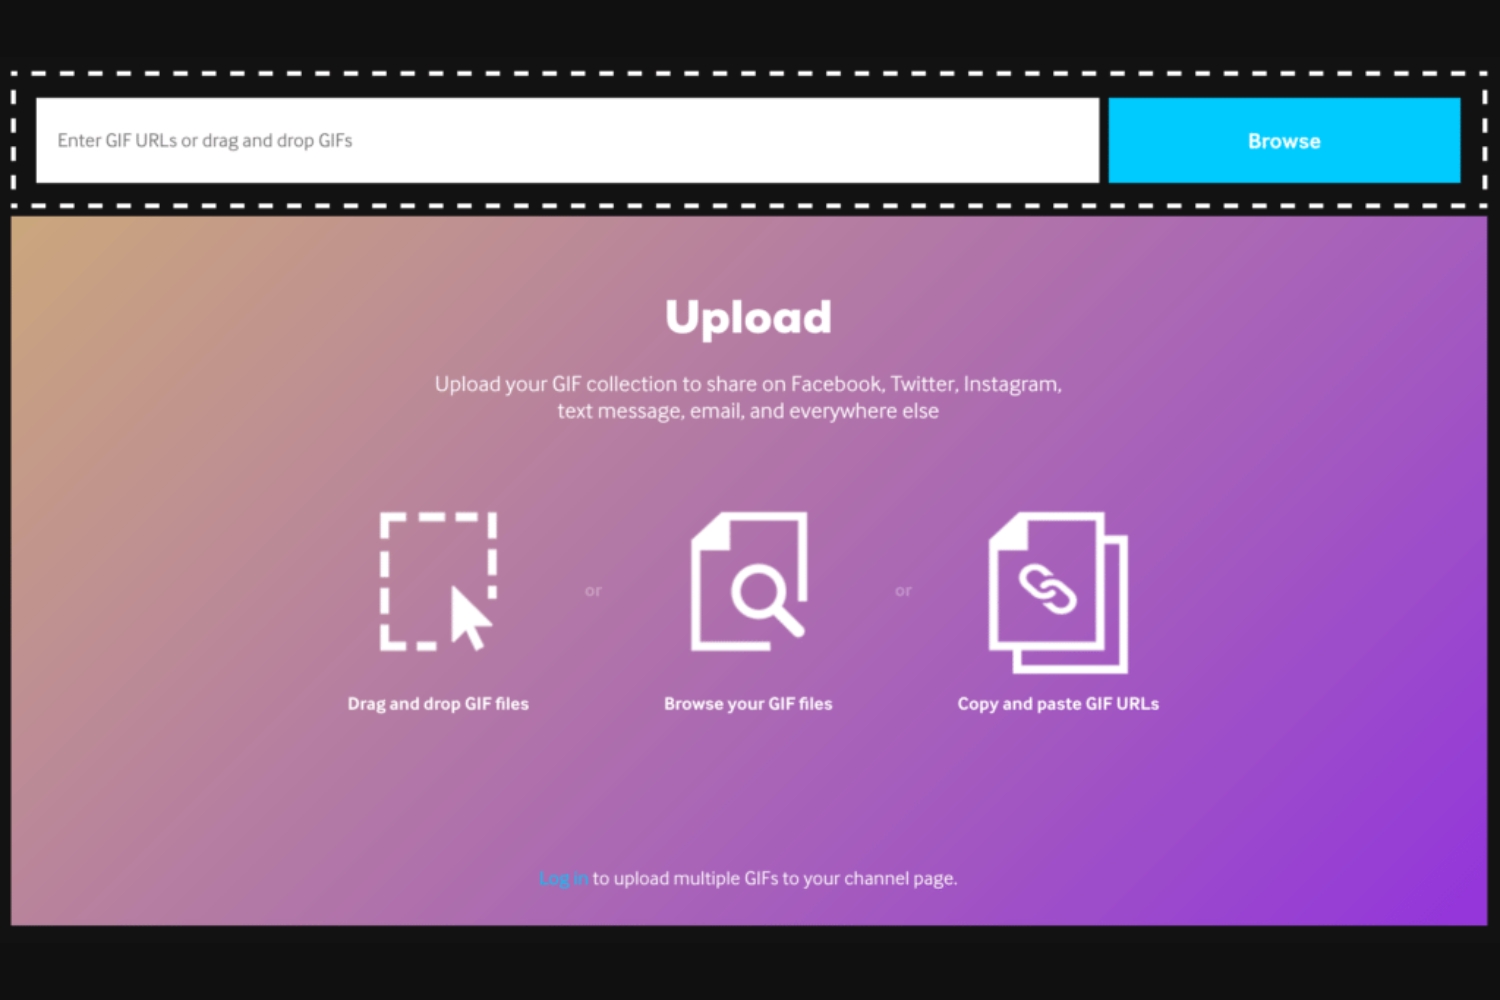
Step 6: Choose a video file from your device
After clicking on the “Add a Video” button, a new window or dialogue box will appear, giving you the option to select a video file from your device. This allows you to choose the video that you want to upload to your Indiegogo campaign page.
When selecting a video file, ensure that it meets the requirements specified by Indiegogo. This includes supported video formats, size limitations, and duration restrictions. It’s important to adhere to these guidelines to ensure that your video is uploaded successfully and is accessible to your backers.
Browse through your device’s folders and locate the video file you want to upload. Select the file by clicking on it, and then click on the “Open” or “Choose” button (depending on your operating system) to initiate the upload process.
While the video is being uploaded, it’s important to be patient, as the time it takes will depend on the size of the video file and your internet connection speed. Avoid refreshing the page or navigating away from the upload dialogue to prevent any interruptions in the process.
Once the upload is complete, you’ll see a progress bar indicating that the video has been successfully uploaded. At this point, congratulations! You’re one step closer to enhancing your Indiegogo campaign page with an engaging video.
Remember, the video you choose should be compelling, informative, and visually appealing. It’s an opportunity to communicate your campaign’s message effectively and showcase the unique value of your project.
Now that you’ve chosen and uploaded your video, let’s move on to the next step and add a title and description to provide context for your video on your campaign page.
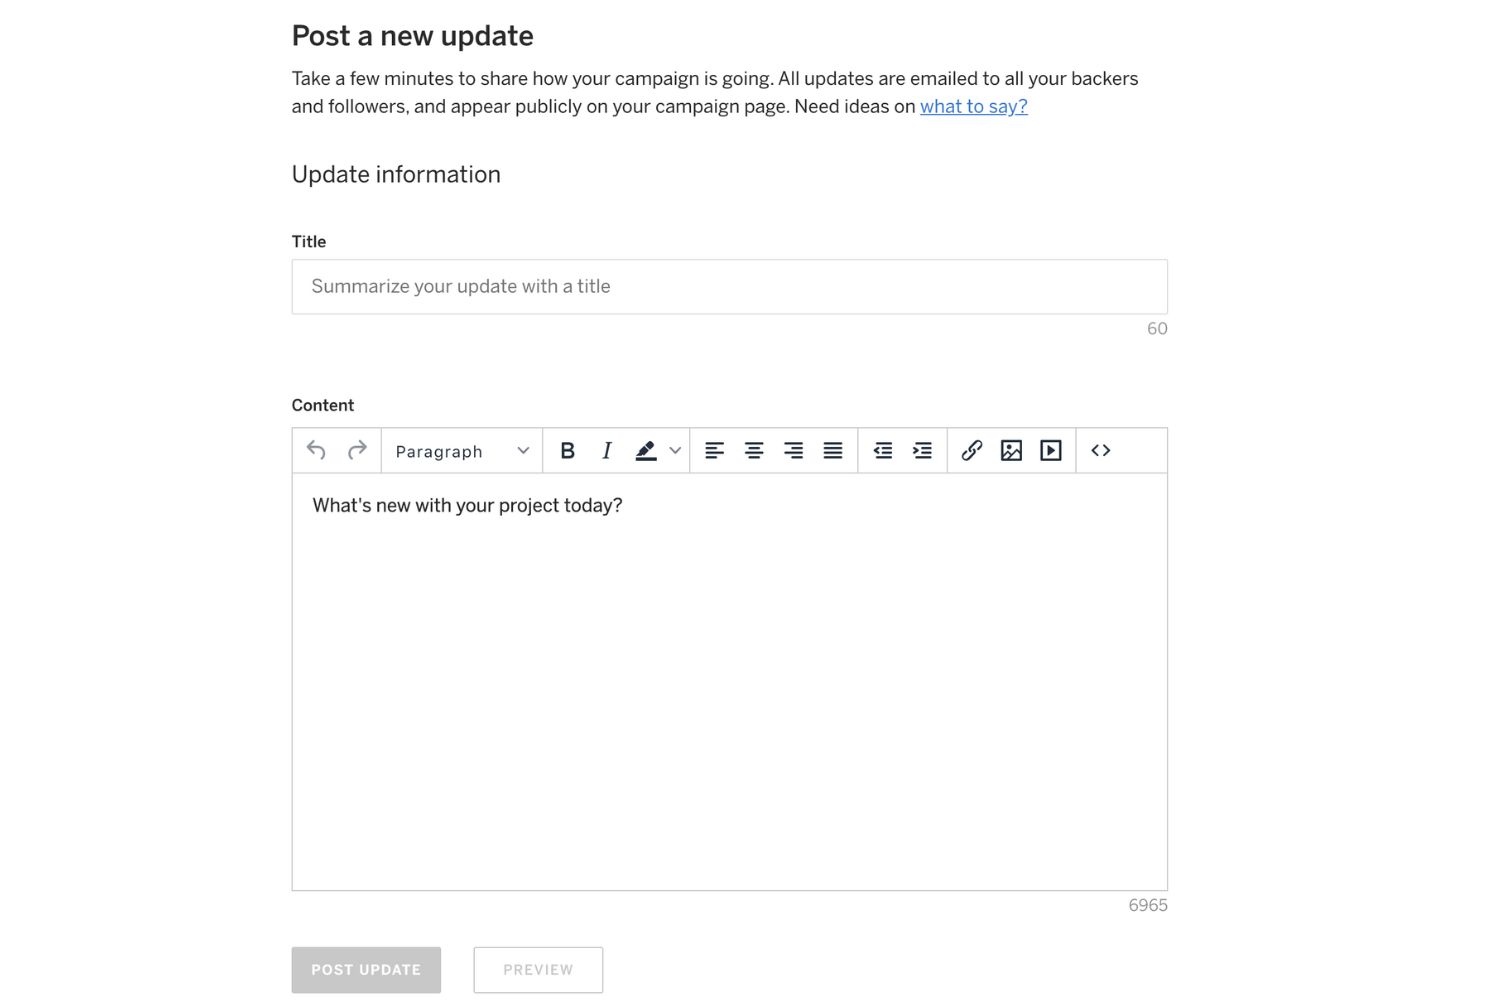
Step 7: Add a title and description for the video
Now that you’ve successfully uploaded your video, it’s time to provide a title and description to give context and information about the video on your Indiegogo campaign page.
Adding a title is important as it immediately grabs the attention of your backers and gives them an idea of what the video is about. Choose a concise and descriptive title that accurately represents the content of the video and piques the interest of your audience.
Next, it’s time to craft a compelling description for your video. This is an opportunity to provide more details about the video’s purpose, what it showcases, and how it is relevant to your campaign. Use clear and concise language to convey the key points and benefits associated with your video.
Make sure to highlight the value that the video adds to your campaign by addressing the pain points it addresses or the specific features and benefits it showcases. It’s crucial to connect the video to your campaign’s goals and message to create a unified and persuasive narrative.
Consider including information about the background of your project, the team behind it, or any unique aspects that make your campaign stand out. This will help potential backers build trust and get a better understanding of what they can expect from your campaign.
Remember to keep your title and description concise and engaging, as most viewers have limited attention spans. A well-crafted title and description can entice potential backers to watch the video and provide them with the necessary context and information to support your campaign.
Once you’ve added a title and description for your video, you’re ready to move on to the next step and customize the video thumbnail, further enhancing the visual appeal of your campaign page.
Step 8: Customize the video thumbnail (optional)
Customizing the video thumbnail is an optional step but highly recommended to enhance the visual appeal and entice viewers to click on your video. The thumbnail is the image that represents your video before it’s played. Indiegogo typically generates a thumbnail automatically, but you have the option to personalize it.
When you upload a video, Indiegogo provides you with the ability to select a specific frame from the video as the thumbnail. This frame should be visually engaging, relevant to the content of your video, and designed to attract attention.
To customize the video thumbnail, follow these steps:
- Hover over the uploaded video on your campaign page in the “Media” section.
- Click on the “Edit Thumbnail” or “Customize Thumbnail” option that appears.
- A video preview will open, allowing you to scrub through the video to find the desired frame.
- Select the frame that best represents your video by clicking on the “Set as Thumbnail” or similar button.
- Save the changes and preview your campaign page to see the updated video thumbnail.
Choosing a visually appealing and attention-grabbing thumbnail will make your video more enticing to potential backers. Consider selecting a frame that showcases an engaging moment, highlights your product, or features your campaign’s unique selling points.
If you decide not to customize the video thumbnail, Indiegogo will automatically generate a thumbnail from your video. However, taking the time to create a customized thumbnail allows you to have more control over how your video is visually represented and can increase the chances of attracting viewers.
Now that you’ve customized the video thumbnail (or decided to keep the automatically generated one), you’re one step away from completing the process. Let’s move on to the final step and save your changes to make your video live on your Indiegogo campaign page.
Step 9: Click on the “Save Changes” button
After you have added a title, description, and optionally customized the video thumbnail, it’s time to save your changes and make your video live on your Indiegogo campaign page. To do this, look for the “Save Changes” button in the editing mode of your campaign page.
Clicking on the “Save Changes” button ensures that all the modifications you made to your video and other campaign elements are saved and reflected on your campaign page.
Make sure to review all the changes you made before saving them. Double-check the title, description, and thumbnail to ensure they accurately represent your video and campaign. Consider proofreading your text for any errors or typos that may have been inadvertently introduced during the editing process.
Once you’re satisfied with the changes, click on the “Save Changes” button to complete the process. You’ll receive a confirmation message indicating that your changes have been saved.
By clicking on the “Save Changes” button, your video will be made visible to visitors and potential backers who visit your campaign page. It will be an integral part of the media section, capturing attention and providing compelling visual content to help persuade and engage your audience.
Remember that saving your changes does not mean your crowdfunding campaign is complete. It’s just one step in the process of running a successful campaign. Continue to promote your campaign, provide updates, and engage with your backers to maximize its impact and achieve your funding goals.
With your changes saved, your video is now live and ready to captivate and inspire potential backers. Take a moment to view your updated campaign page and ensure that everything looks as intended.
Congratulations! You’ve successfully completed the process of uploading and adding a video to your Indiegogo campaign page. Now it’s time to move on to the final step and preview and publish your campaign with the video.
Step 10: Preview and publish your campaign with the video
After saving the changes to your campaign page, it’s crucial to take a final step before making your campaign and video visible to the public. This step involves previewing your campaign page to ensure that everything is in order and then publishing it to start attracting backers.
To preview your campaign page, navigate to the top right corner of the editing mode, where you’ll find a “Preview” or “Preview Campaign” button. Click on this button to see how your campaign page will look to visitors and backers.
Previewing your campaign page allows you to see the overall layout, text formatting, images, video placement, and functionality. Take this opportunity to verify that your video is playing correctly, the title and description are properly displayed, and the thumbnail is engaging.
If you notice any issues or areas that require improvement, go back to the editing mode and make the necessary changes. Once you’re satisfied with the previewed campaign page, it’s time to publish it.
To publish your campaign, return to the editing mode and locate the “Publish” or “Publish Campaign” button. Click on this button to make your campaign visible to the public and start accepting contributions from potential backers.
Publishing your campaign marks the official launch of your crowdfunding journey. It ensures that your campaign is accessible to a wide audience and can attract the attention and support it needs to succeed.
However, keep in mind that once your campaign is published and live, you can still make updates and changes to various elements. This includes modifying the campaign description, perks, updates, and even the video itself.
While updates can be made after publishing, it’s important to strike a balance between maintaining a consistent campaign message and responding to feedback or emerging opportunities. Communication with your backers and regular updates throughout the campaign are key to keeping them engaged and informed.
Now that you’ve previewed and published your campaign with the video, it’s time to start promoting your campaign, reaching out to potential backers, and spreading the word about your amazing project. Good luck with your crowdfunding campaign!