Introduction
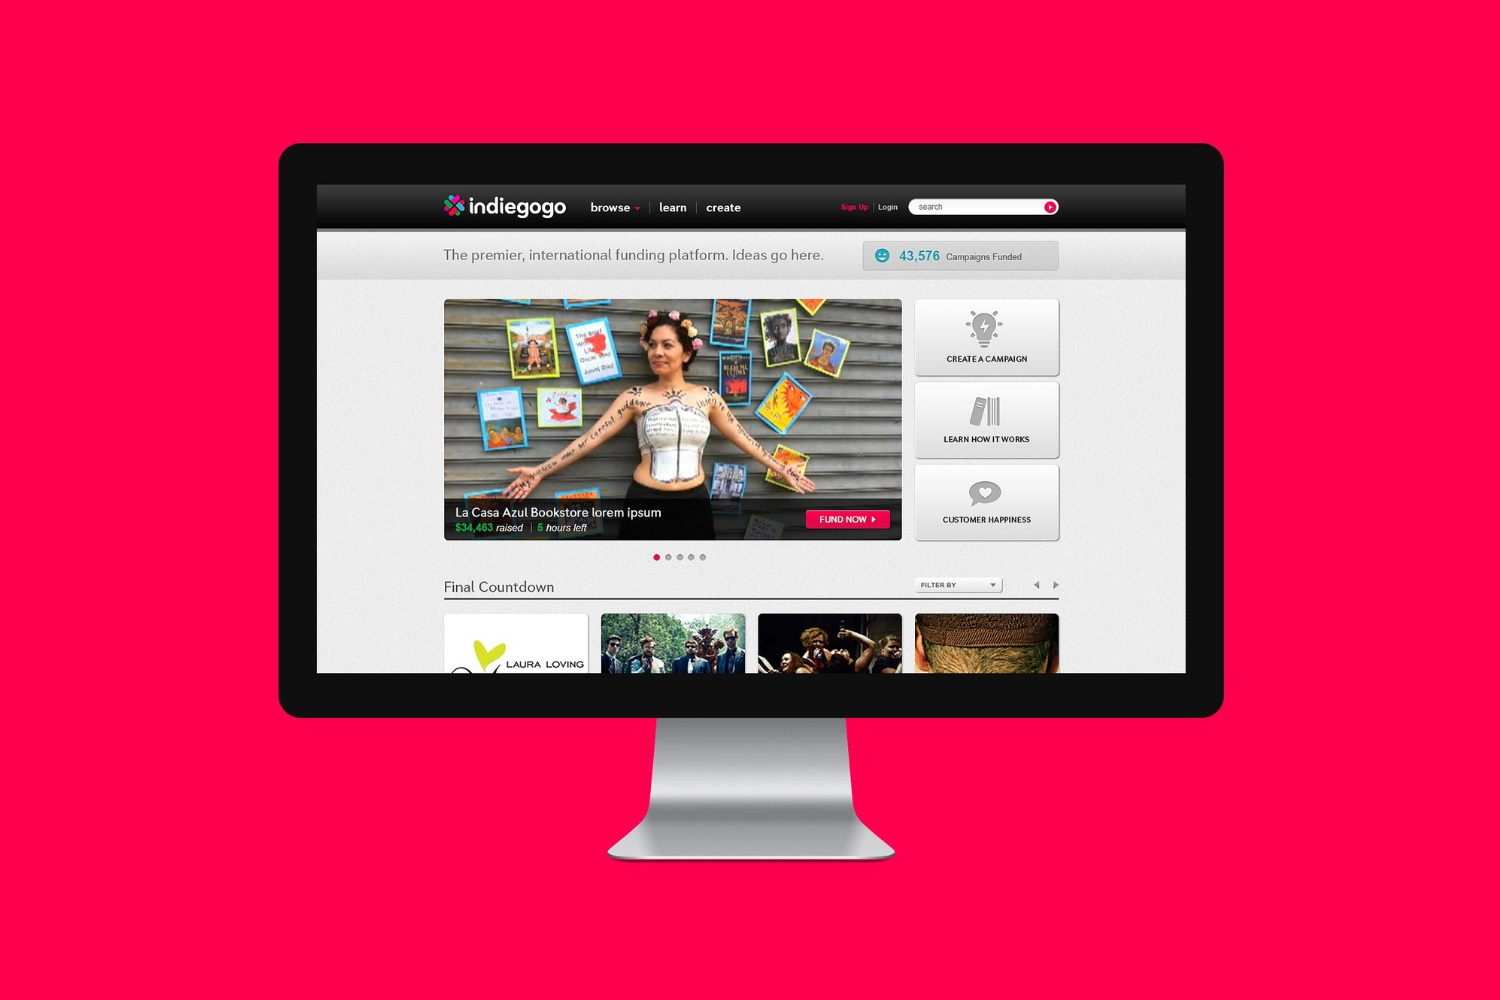
Indiegogo is a popular crowdfunding platform that allows individuals and organizations to raise funds for their creative projects, innovative ideas, and social causes. When launching a campaign on Indiegogo, one of the key elements to consider is the perks you offer to potential backers.
Perks are rewards that backers receive in exchange for their contribution to your campaign. They serve as incentives to attract more backers and increase funding. While perks can be in the form of physical products, services, or experiences, one effective way to make your perks more appealing is by adding images.
The saying “a picture is worth a thousand words” holds true when it comes to crowdfunding campaigns. Images not only make your perks visually engaging, but they also provide potential backers with a clearer understanding of what they will receive. In this article, we will explore the benefits of adding images to perks, provide step-by-step instructions on how to add images to your Indiegogo campaign, and offer tips for creating compelling images that will captivate your audience.
Benefits of Adding Images to Perks
Adding images to your perks can significantly enhance the overall appeal and effectiveness of your Indiegogo campaign. Here are some key benefits of using images in your perks:
- Visual Appeal: Images grab attention and help create a visually appealing campaign page. When potential backers browse through your perks, eye-catching images can make a lasting impression and entice them to explore further.
- Clear Communication: Images provide a clearer representation of what the perk entails. They allow you to convey information about the product, its features, or the experience more effectively than just relying on text. This can help potential backers get a better idea of what they are investing in.
- Builds Trust: Including images of your product or previous work builds trust with potential backers. Transparency and showcasing the actual items or services can help them visualize the quality and value they can expect to receive in return for their contribution.
- Increases Conversion Rate: Research shows that campaigns with images in their perks have higher conversion rates. When potential backers can see what they will receive, they are more likely to make a pledge. Images create a stronger emotional connection and persuade backers to take action.
- Stand out from the Crowd: Adding images to your perks sets your campaign apart from others. A visually appealing campaign page with high-quality images can create a professional and polished impression, making your project more attractive to potential backers who are browsing numerous campaigns.
By leveraging the power of visual storytelling through images, you can effectively engage your audience, increase trust, and improve the chances of reaching your funding goals.
Step-by-Step Guide to Adding Images to Perks in Your Indiegogo Campaign
Adding images to your perks on Indiegogo is a straightforward process. Follow these steps to enhance your campaign with visually appealing perks:
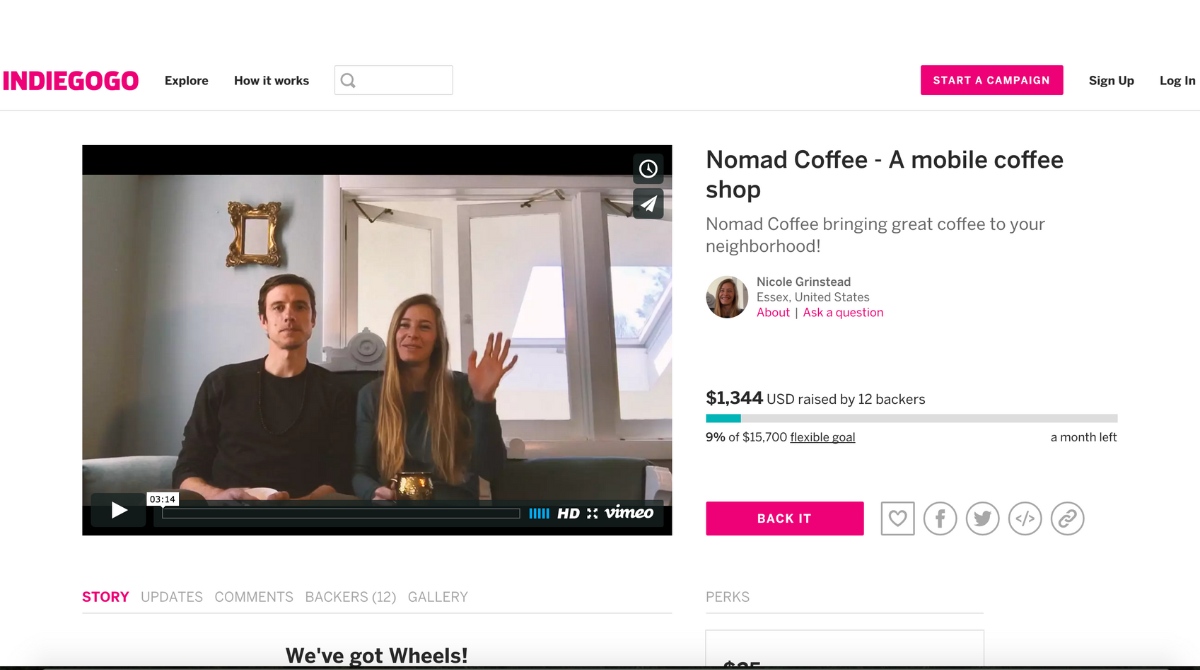
- Login to your Indiegogo account: Visit the Indiegogo website and log in to your account. If you don’t already have an account, sign up for one.
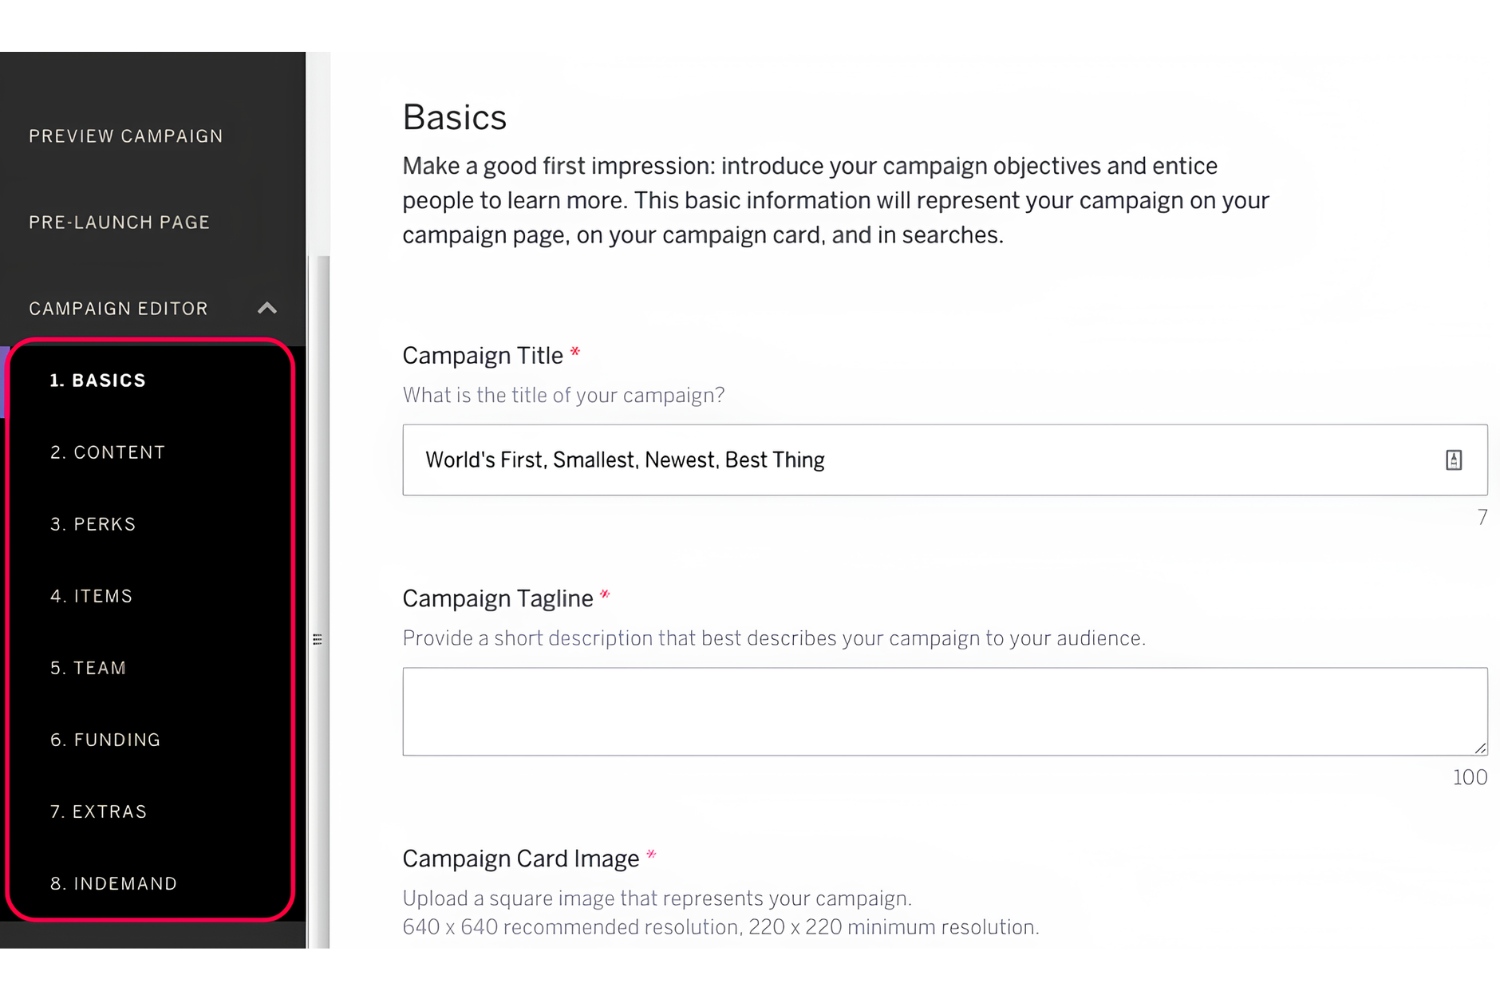
- Create your campaign: Start by creating your campaign and filling in all the necessary details, including the campaign name, description, funding goal, and duration.
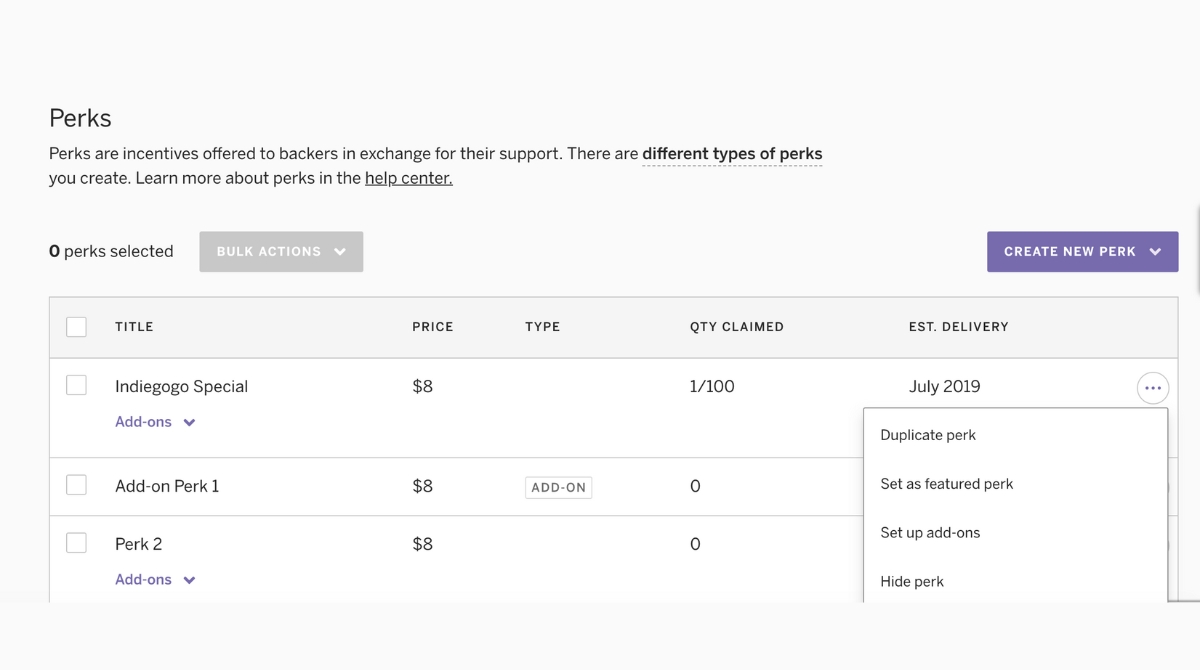
- Add a perk: Once your campaign is set up, navigate to the “Perks” section. Click on the “Add a Perk” button to create a new perk or edit an existing one.
- Edit perk details: In the perk editor, you can add a title, description, and price for your perk. This is also where you can add images to make your perk visually appealing. Look for the image upload option and click on it.
- Upload images: Click on the image upload option and select the image files you want to add to your perk. Make sure the images you choose are high-quality, relevant to the perk, and visually appealing. Indiegogo supports multiple image formats, including JPEG and PNG.
- Preview and save: After uploading the images, preview your perk to see how it will be displayed to potential backers. Make any necessary adjustments to ensure the images are properly aligned and sized. Once you are satisfied, save your changes.
- Repeat for other perks: Continue adding images to your other perks in the same manner. Remember to maintain consistency in the quality and style of your images throughout your campaign.
- Publish your campaign: Once you have added images to all your perks, review your campaign details and make any final adjustments. When you are ready, click on the “Publish” button to launch your Indiegogo campaign.
By following these step-by-step instructions, you can easily add captivating images to your perks and make your Indiegogo campaign visually appealing and engaging.
Choosing High-Quality and Appropriate Images
When adding images to your perks in your Indiegogo campaign, it’s crucial to select high-quality and appropriate images that effectively represent your product or service. Here are some tips to help you choose the right images:
- High resolution: Opt for high-resolution images that are clear and sharp. Avoid using low-quality or pixelated images as they can diminish the overall appeal of your campaign.
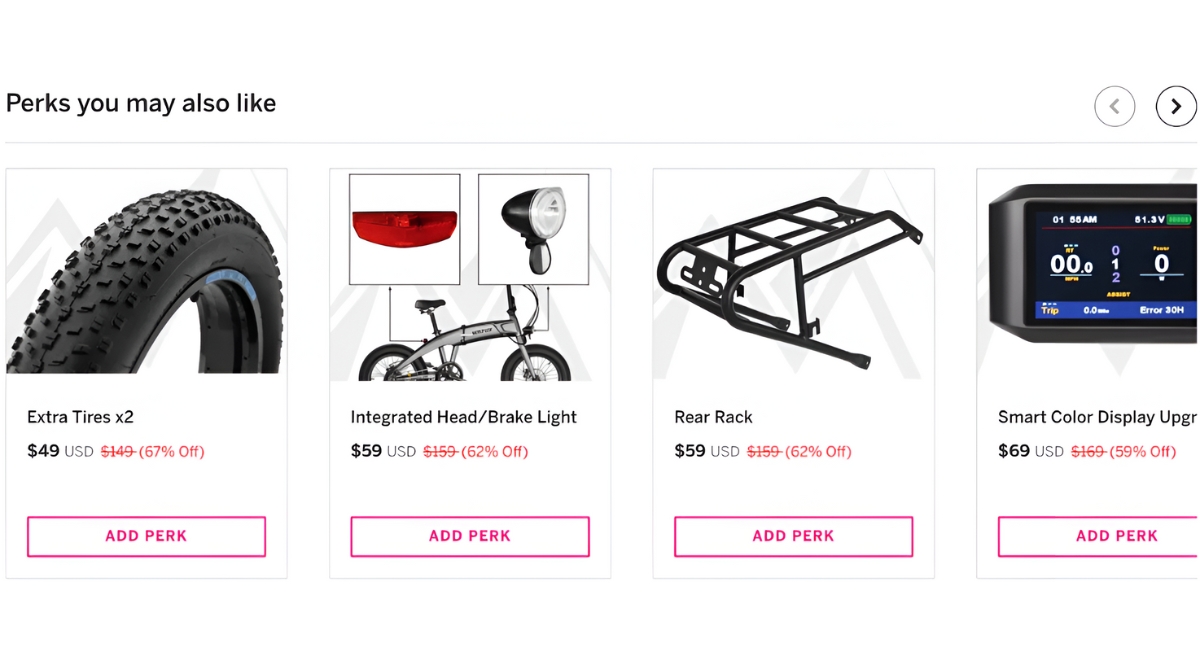
- Relevance: Ensure that the images you choose are directly related to the perk you are offering. For example, if you are offering a physical product, use images that showcase the item from different angles or in use.
- Consistency: Maintain a consistent visual style throughout your campaign. Use images that align with your branding and overall campaign aesthetic to create a cohesive and professional look.
- Avoid stock images: Whenever possible, use original images that represent your actual product or service. Stock images can sometimes appear generic or impersonal, and using authentic images can help build trust with potential backers.
- Highlight features: If your perk has specific features or benefits, include images that showcase those unique aspects. For example, if you are offering a tech gadget with cutting-edge features, display images that clearly demonstrate those features.
- Showcase the end result: If your perk promises a certain outcome or experience, use images that depict that end result. For instance, if you are offering a customizable piece of artwork, include images of finished pieces to give backers an idea of what they can expect.
- Consider user-generated content: If applicable, incorporate user-generated content that showcases satisfied customers using or enjoying your product. This can provide social proof and increase credibility.
- Testimonials and reviews: If you have received glowing reviews or testimonials from previous customers, consider incorporating them into your image selection. This can help build trust and confidence in your perks.
By carefully selecting high-quality and appropriate images, you can effectively convey the value and appeal of your perks to potential backers, increasing the likelihood of their engagement and support.
Editing and Optimizing Images for Your Indiegogo Campaign
After selecting the right images for your Indiegogo campaign, it is essential to edit and optimize them to ensure they look their best and load quickly on your campaign page. Here are some tips for editing and optimizing your images:
- Resize and crop: Adjust the dimensions of your images to fit perfectly within the designated image space on your campaign page. Use photo editing software or online tools to resize and crop the images as needed.
- Compress for web: Compress your images using image compression tools to reduce file size without compromising image quality. Smaller file sizes help your campaign page load faster, ensuring a smooth browsing experience for potential backers.
- Optimize file format: Choose the appropriate file format for your images. JPEG is typically used for photographs and complex images, while PNG is suitable for images with transparency or simple graphics.
- Remove distractions: Edit your images to remove any distracting elements or clutter that may divert attention from the main subject. Focus on highlighting the key features and benefits of your perk.
- Enhance colors and contrast: Adjust the color saturation, brightness, and contrast of your images to make them visually appealing and vibrant. However, ensure that the edited images accurately represent your product or service.
- Add text overlays: If appropriate, consider adding text overlays to your images to provide additional information or highlight key messages. Use clear and readable fonts that align with your branding.
- Watermark protection: If you are concerned about the unauthorized use of your images, consider adding a discreet watermark to protect your intellectual property.
- Test image loading speed: Upload your edited images to your campaign page and test the loading speed. If the images take too long to load, you may need to further optimize them or consider reducing their size.
Remember, striking the right balance between image quality and file size is crucial. Optimize your images to ensure they look great without negatively impacting the loading speed of your campaign page. By editing and optimizing your images, you can create a visually compelling campaign that captures the attention and interest of potential backers.
Tips for Creating Compelling Images
Creating compelling images for your Indiegogo campaign perks can significantly impact the success of your crowdfunding efforts. Here are some tips to help you create eye-catching and persuasive images:
- Tell a story: Use images that tell a story and evoke emotion. Show how your perk can improve the lives of your backers or solve a problem they may have. Connect with your audience on a deeper level through visual storytelling.
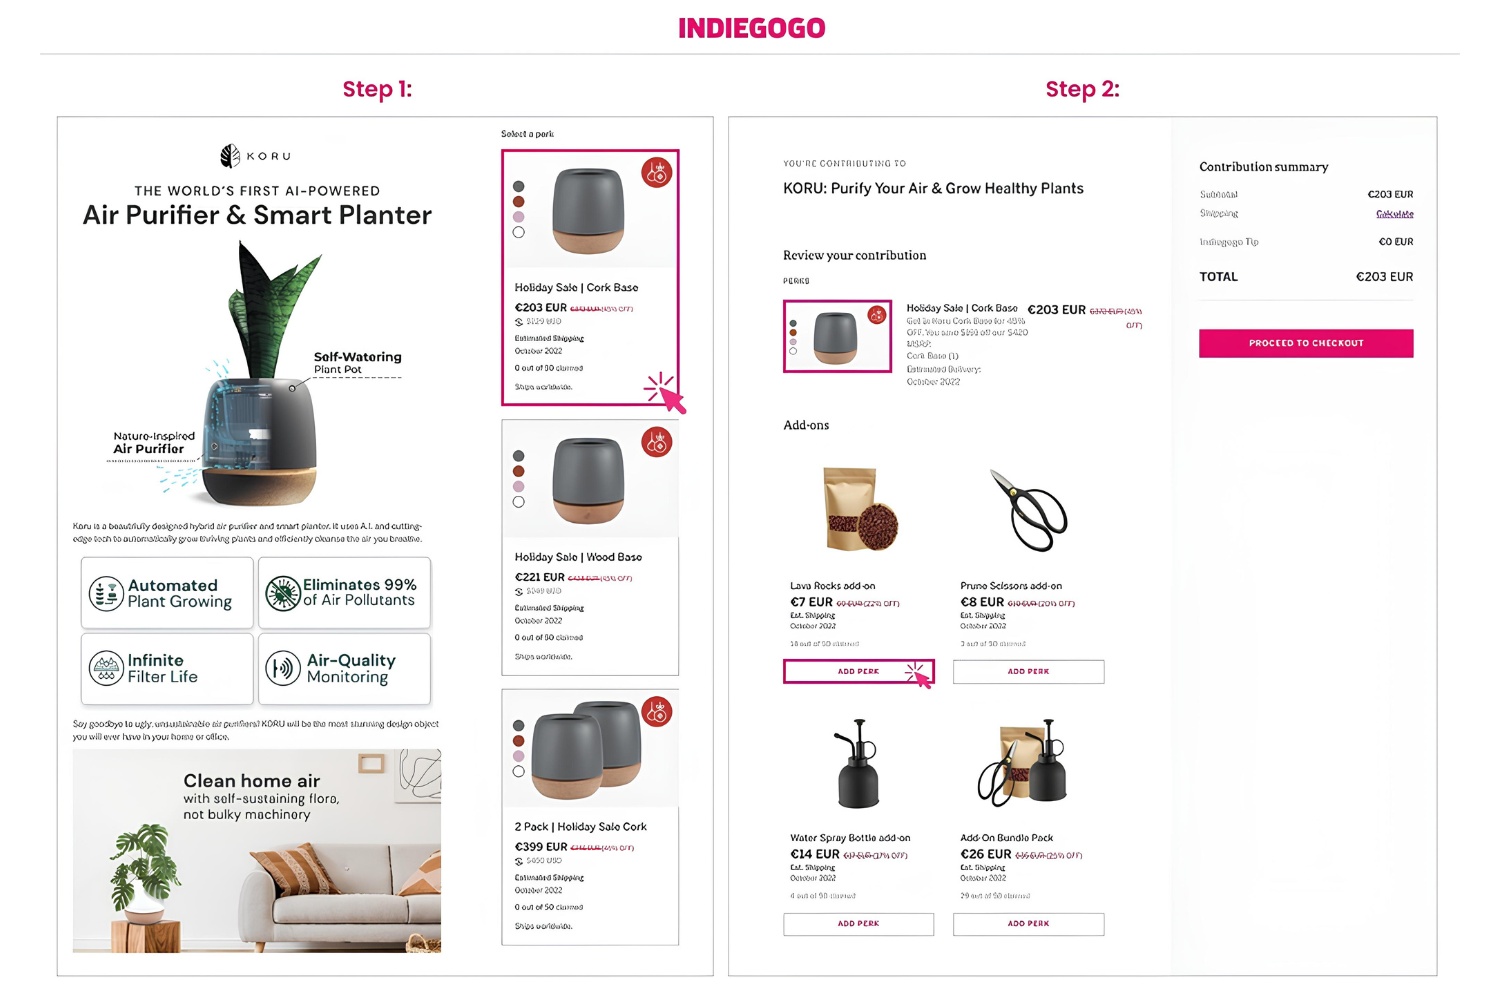
- Show product in use: Rather than showing only the product itself, demonstrate how it can be used or the experience it can provide. Help potential backers visualize the ways in which your perk can integrate into their lives.
- Use professional photography: If possible, hire a professional photographer or work with someone skilled in product photography to capture high-quality images. Professional photography can greatly enhance the overall impression of your campaign.
- Utilize close-ups and details: Highlight the unique features and craftsmanship of your product by incorporating close-up shots or zoomed-in images. This allows backers to get a better sense of the quality and attention to detail.
- Convey benefits visually: Clearly communicate the benefits of your perk through visual elements. Consider using icons, illustrations, or diagrams to highlight the key features or advantages.
- Include diverse representation: If your target audience is diverse, ensure that your images reflect that. Show inclusivity by featuring people from different backgrounds, ages, and ethnicities enjoying your perk.
- Keep it simple and uncluttered: Avoid overwhelming your images with excessive text, graphics, or clutter. Keep the focus on the main subject and maintain a clean and uncluttered composition.
- Create variation: If you are offering multiple perks, ensure each one has its unique image. This helps differentiate them and allows potential backers to visualize the specific perks they are interested in.
- A/B test your images: Experiment with different images to see which ones resonate best with your target audience. Conduct A/B testing by using different images for the same perk and analyze the response and engagement rates to determine the most effective ones.
- Maintain consistency: Ensure that your images align with your overall campaign branding and messaging. Consistency helps build a strong brand identity and makes your campaign appear more professional and cohesive.
By following these tips, you can create visually compelling images that effectively capture the attention and interest of potential backers, increasing the likelihood of their support for your Indiegogo campaign.
Conclusion
Adding compelling images to the perks in your Indiegogo campaign can make a significant difference in attracting backers and achieving your funding goals. Visuals have the power to captivate, engage, and communicate your message in a way that words alone cannot. By following the step-by-step guide provided, you can easily incorporate images into your campaign, creating a visually appealing and persuasive presentation.
Remember to choose high-quality and relevant images that accurately represent your perks. Editing and optimizing these images will ensure they look their best and load quickly on your campaign page. Additionally, implementing the tips for creating compelling images will help you capture the interest and imagination of potential backers.
Through visual storytelling, showcasing product features, and conveying benefits, your images can evoke emotion and build trust with your audience. Keep your images clear, uncluttered, and consistent with your brand identity to create a cohesive and professional campaign.
By strategically integrating images into your Indiegogo campaign, you can enhance your chances of success. Visual appeal, clear communication, increased trust, higher conversion rates, and differentiation from competitors are just a few of the benefits you can enjoy.
Now that you have the tools and knowledge to effectively add images to your Indiegogo campaign, get started and create an engaging and visually compelling campaign experience that will attract and inspire backers to support your project. Good luck!