Introduction
Welcome to this helpful guide on how to loosen cashless bands! In this age of convenience, cashless bands have become increasingly popular. These bands, often made of silicone or fabric, are worn around the wrist and allow for contactless payments, access control, and identification. While they offer a seamless and secure way to manage transactions, you may find yourself in a situation where you need to loosen your cashless band.
Whether it’s due to a tight fit causing discomfort, the need to share the band with someone else, or simply adjusting the tightness for personal preference, this guide will provide you with various tips on how to effectively loosen your cashless band.
We understand that dealing with a tight cashless band can be frustrating, especially when you’re in a hurry or encounter difficulty in removing or adjusting it. Fortunately, there are several techniques and tools that can help make the process easier. In the following sections, we will outline different methods for loosening cashless bands, including using soap and water, body lotion or oil, a hairdryer, a rubber band or hair elastic, and even a zipper puller or paperclip.
Before we dive into the specific techniques, it’s important to note that you should always handle your cashless band with care. Being mindful of the material and structure of your band will help prevent any damage while attempting to loosen it. Additionally, ensure that you are in a safe and comfortable environment when following these methods. Now, let’s get started with the first technique to loosen your cashless band: using soap and water.
What are Cashless Bands?
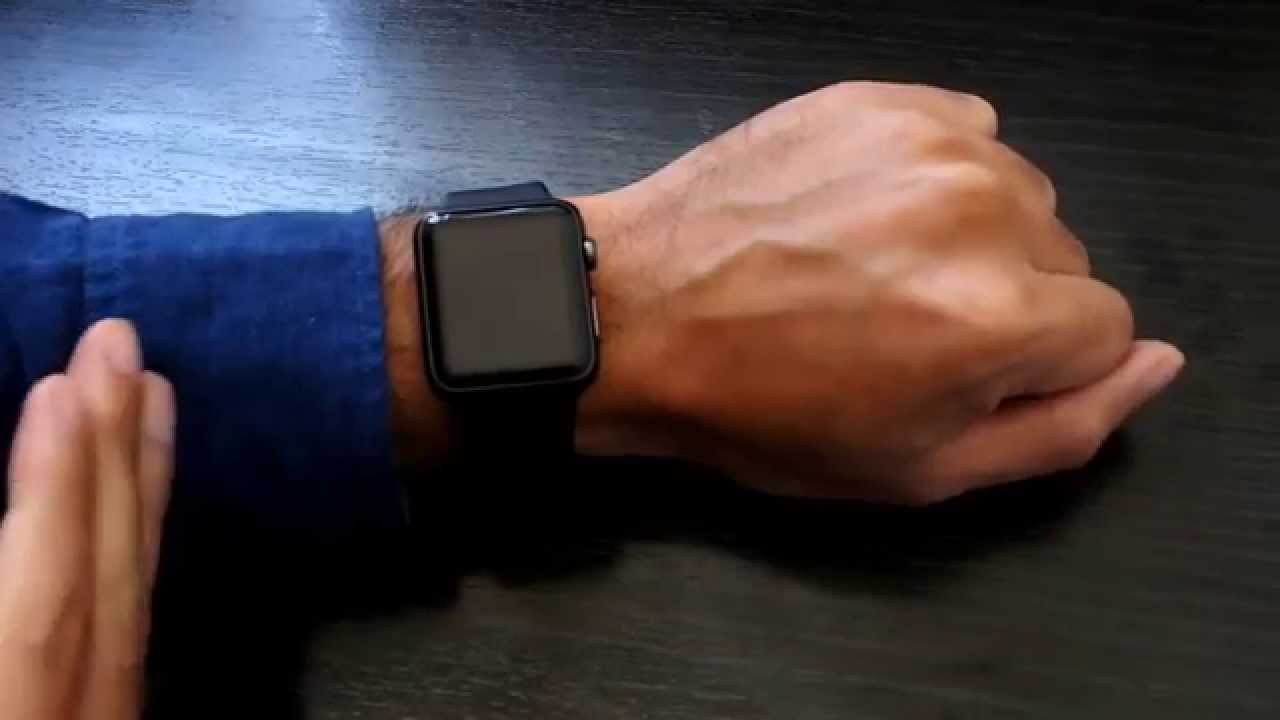
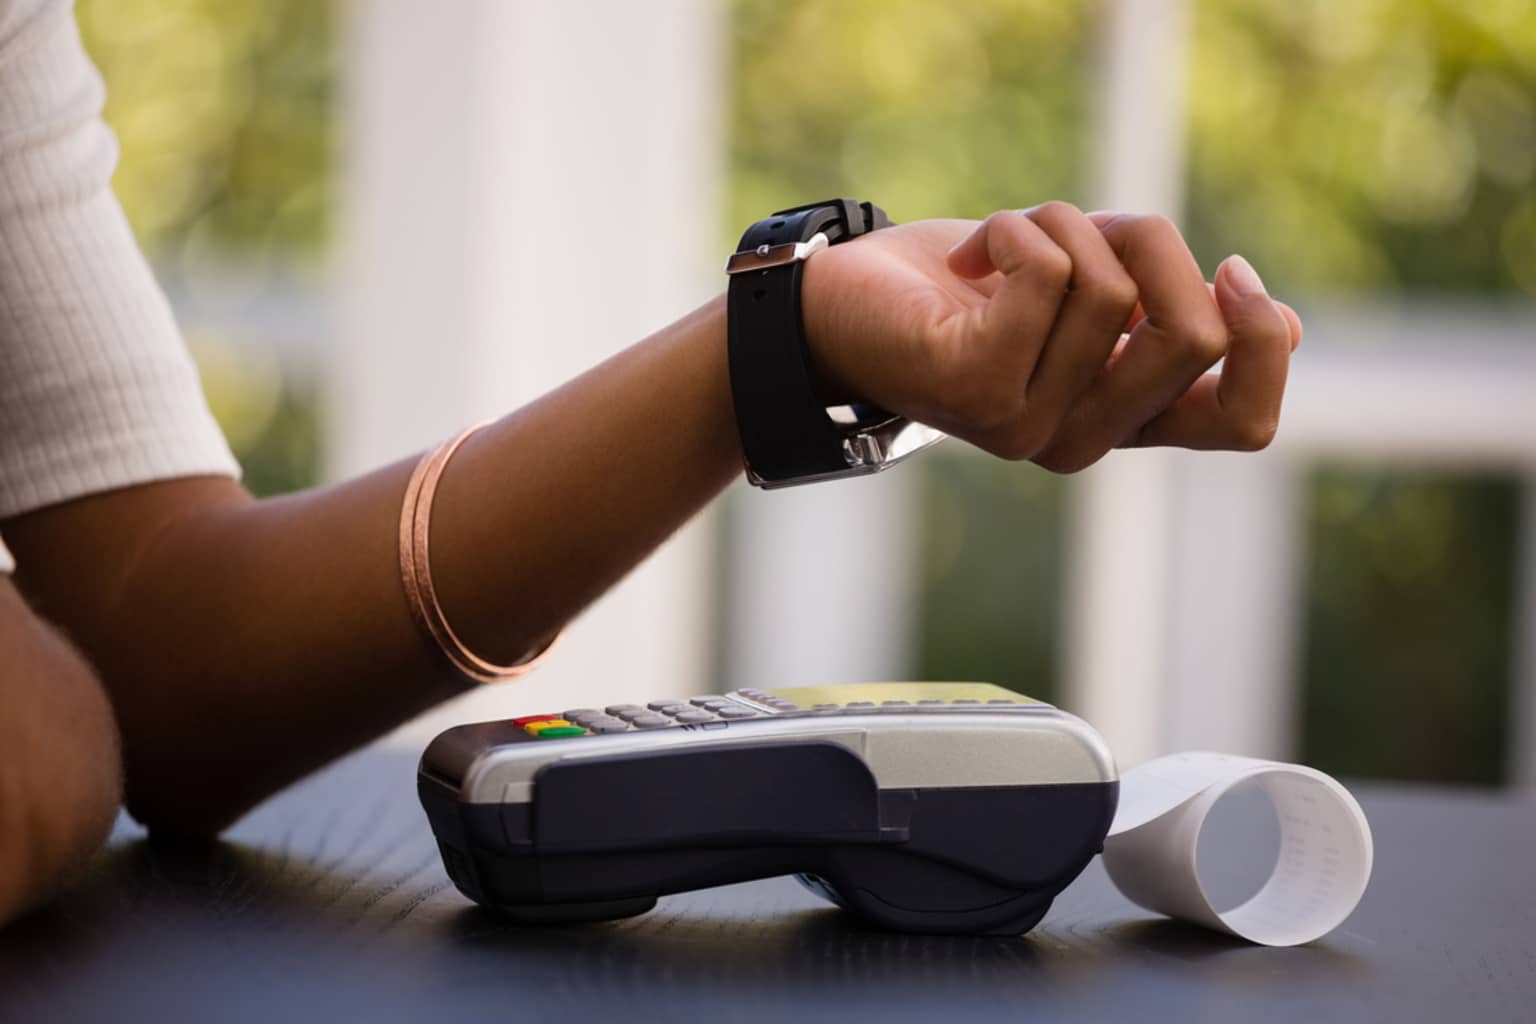
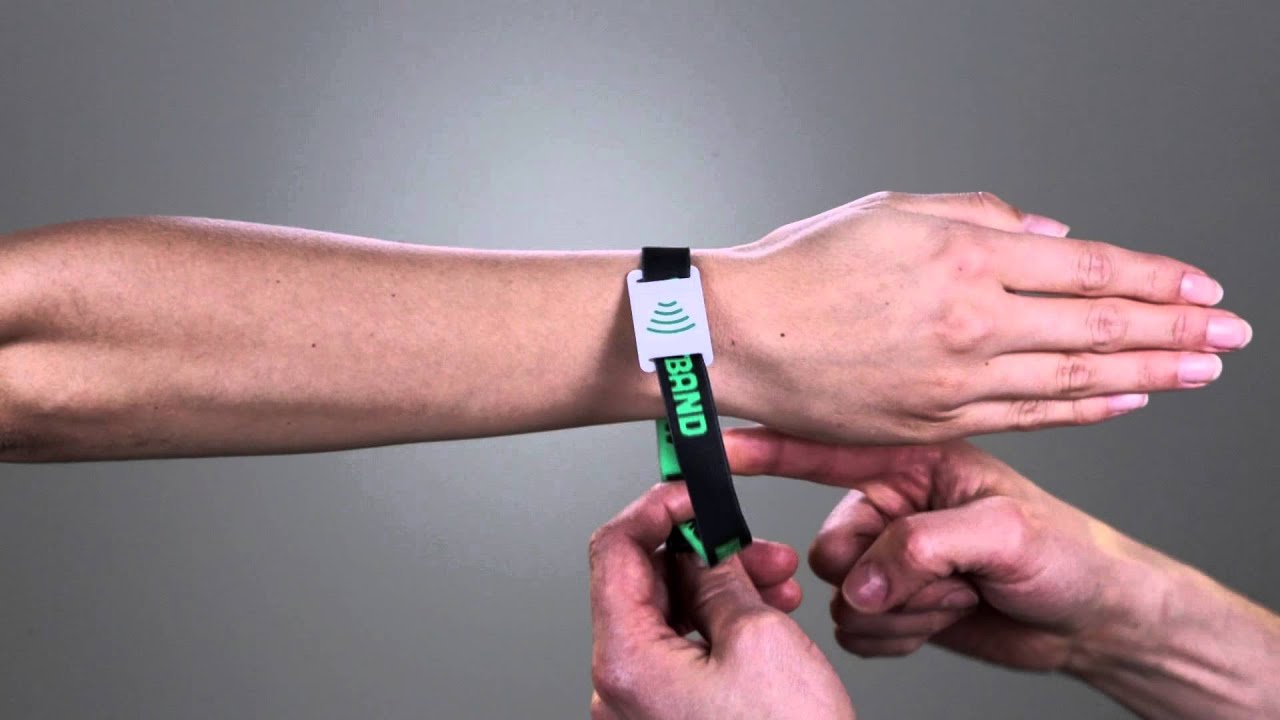
Cashless bands, also known as wristbands or smart wristbands, are wearable devices that serve as a convenient alternative to traditional payment methods. They are designed to be worn on the wrist and typically feature embedded technology, such as RFID (Radio-Frequency Identification) or NFC (Near Field Communication) chips. These technologies allow for contactless transactions and enable users to make payments simply by tapping their wristband on a compatible payment terminal.
In addition to payment functionality, cashless bands can also serve other purposes, such as access control and identification. They are commonly used at events, festivals, amusement parks, and sports venues, where attendees can scan their wristbands for entry, make purchases, and even link them to social media accounts for sharing experiences.
Cashless bands offer several benefits for both consumers and businesses. For consumers, they provide a convenient and secure way to make payments without the need to carry cash, credit cards, or smartphones. With transactions handled directly through the wristband, there is less risk of loss, theft, or fraud. Cashless bands also eliminate the need for physical tickets or passes, streamlining the entry process at various venues.
Businesses and event organizers also benefit from cashless bands. By implementing cashless payment systems, they can increase transaction speed, reduce queuing times, and improve overall customer experience. It also allows for better financial tracking and analysis, making it easier to manage inventory, monitor sales, and generate detailed reports. In addition, cashless bands often become a form of collectible memorabilia, enhancing brand recognition and customer loyalty.
Nowadays, cashless bands come in various designs, colors, and materials to appeal to a wide range of users. From sleek and minimalist designs to custom-branded options, there is a cashless band to suit every style and occasion.
It’s important to note that while cashless bands offer great convenience, users should still take necessary precautions to protect their personal and financial information. As with any contactless payment method, it’s essential to safeguard your band against unauthorized access and regularly check your transaction history for any discrepancies.
In the following sections, we will explore different methods for loosening cashless bands, ensuring that you can wear them comfortably and enjoy the benefits they offer without any discomfort.
Why would you want to loosen your Cashless Band?
While cashless bands are designed to provide a secure and convenient payment method, there are several reasons why you may want to loosen your band. Understanding these reasons will help you determine whether you need to adjust the tightness of your cashless band.
The most common reason for wanting to loosen a cashless band is discomfort. Wearing a tight band for an extended period can cause irritation, redness, and even restrict blood circulation. It’s essential to ensure that your band is not too tight, allowing for proper airflow and comfort throughout the day.
Another reason you might want to loosen your cashless band is if you need to share it with someone else temporarily. For example, if you are attending an event or activity with a friend or family member who doesn’t have their own band, you may want to adjust the size to accommodate their wrist. Loosening the band will allow them to wear it comfortably without any issues.
Personal preference is another factor that may lead someone to loosen their cashless band. Some individuals prefer a looser fit on their wrist, allowing for a more relaxed and natural feel. This preference may be influenced by factors such as wrist size, clothing choices, and personal comfort preferences.
In certain situations, you may need to remove or adjust a cashless band quickly. For example, if the band becomes too tight due to swelling from an injury or if you need to take it off in an emergency situation, it’s important to know how to loosen it effectively.
Lastly, if you have multiple cashless bands for different occasions or events, you may prefer to adjust their tightness to ensure a comfortable fit each time you wear them. This flexibility allows you to enjoy the benefits of cashless payments without compromising comfort or convenience.
Now that you understand why you might want to loosen your cashless band, let’s explore some tips and techniques to help you achieve a comfortable fit without any hassle.
Tips for Loosening Cashless Bands
Loosening a cashless band may seem like a daunting task, but with the right techniques and tools, it can be done effectively and safely. Here are some tips to help you loosen your cashless band:
- Take your time: Patience is key when trying to loosen a cashless band. Avoid rushing the process, as it may lead to frustration or potential damage to the band.
- Use proper technique: Depending on the material of your cashless band, different techniques may be more effective. Be sure to choose the method that is most suitable for your specific band.
- Start with gentle pressure: Apply light pressure when attempting to loosen the band. Gradually increase the pressure if needed, but be careful not to use excessive force, as this can cause damage.
- Ensure a safe environment: Find a clean and comfortable space where you can comfortably work on loosening your band. This will prevent any unnecessary accidents or distractions.
- Protect the band: When using tools or applying substances to loosen the band, ensure that you take precautions to avoid scratching, stretching, or damaging it.
- Seek assistance if needed: If you’re struggling to loosen the band on your own, don’t hesitate to ask for help. Another person may have a different perspective or technique that can make the process easier.
- Experiment with different methods: If one technique doesn’t work well for you, try another. Each person’s wrist and band combination may require a slightly different approach, so don’t be afraid to test out different methods.
- Be mindful of your wrist: While loosening the cashless band is important, remember to take care of your wrist as well. Avoid any actions or adjustments that may cause discomfort or strain to the joint.
By following these tips, you’ll be well-equipped to tackle the process of loosening your cashless band confidently and effectively. Now let’s explore different techniques to loosen your band using various tools and substances.
Using Soap and Water
One effective method to loosen a cashless band is by using soap and water. This method is particularly useful when dealing with bands made of materials like silicone or fabric. Here is a step-by-step guide to help you loosen your cashless band using soap and water:
- Gather your materials: You will need a mild soap and lukewarm water. Avoid using harsh soaps or hot water, as they can potentially damage the band.
- Wash your hands: Start by washing your hands thoroughly to ensure cleanliness throughout the process.
- Apply soap to the band: Wet the cashless band and apply a small amount of soap directly onto the band’s surface.
- Massage the band: Gently massage the soap onto the band, focusing on the areas where you want to loosen the tightness. This will help lubricate the material and make it easier to manipulate.
- Rinse with lukewarm water: After massaging the soap, rinse the band with lukewarm water to remove any soap residue. Make sure to rinse thoroughly to ensure no soap is left behind.
- Test and adjust: Once the band is rinsed, try adjusting the tightness. The soap and water should have made the material more pliable, allowing you to loosen the band more easily.
- Repeat if necessary: If the band is still too tight after the first attempt, you can repeat the process by applying soap and water again. This may further loosen the band.
- Dry the band: After adjusting the band to your desired fit, dry it thoroughly with a clean towel or let it air dry before wearing it.
Using soap and water is a simple yet effective method to loosen a cashless band. The lubricating properties of soap help to reduce friction, allowing the band to stretch and adjust easily. Remember to be gentle when massaging and adjusting the band to avoid causing any damage.
Now that you know how to use soap and water to loosen your cashless band, let’s explore another technique using body lotion or oil.
Using Body Lotion or Oil
If you’re dealing with a tight cashless band, using body lotion or oil can be an effective method to loosen it. This technique works well with bands made of materials like silicone or fabric. Here’s a step-by-step guide on how to use body lotion or oil to loosen your cashless band:
- Gather your materials: Choose a body lotion or oil that is safe for use on the skin and will not damage the band.
- Apply lotion or oil to your wrist: Start by applying a small amount of body lotion or oil to your wrist. Make sure to spread it across the entire area where the band will be placed.
- Run the band through your wrist: Place the cashless band over the lotion or oil on your wrist and adjust it to the desired tightness. The lubrication will help the band slide more easily over your skin.
- Twist and slide the band: While holding both ends of the band, twist and slide it back and forth on your wrist. This motion will help distribute the lotion or oil evenly and allow the band to gradually loosen.
- Test and adjust: After twisting and sliding the band, test its tightness and adjust if necessary. You should notice a difference in how easily the band can be loosened.
- Remove excess lotion or oil: Once you’re satisfied with the band’s tightness, gently wipe off any excess lotion or oil from your wrist to prevent it from transferring onto other surfaces.
Using body lotion or oil can be a simple yet effective way to loosen a cashless band. The lubricating properties of the lotion or oil help reduce friction between the band and your skin, allowing for easier adjustments. Remember to choose a lotion or oil that is safe for both your skin and the band material to avoid any potential damage.
Now that you know how to use body lotion or oil to loosen your cashless band, let’s explore another technique using a hairdryer.
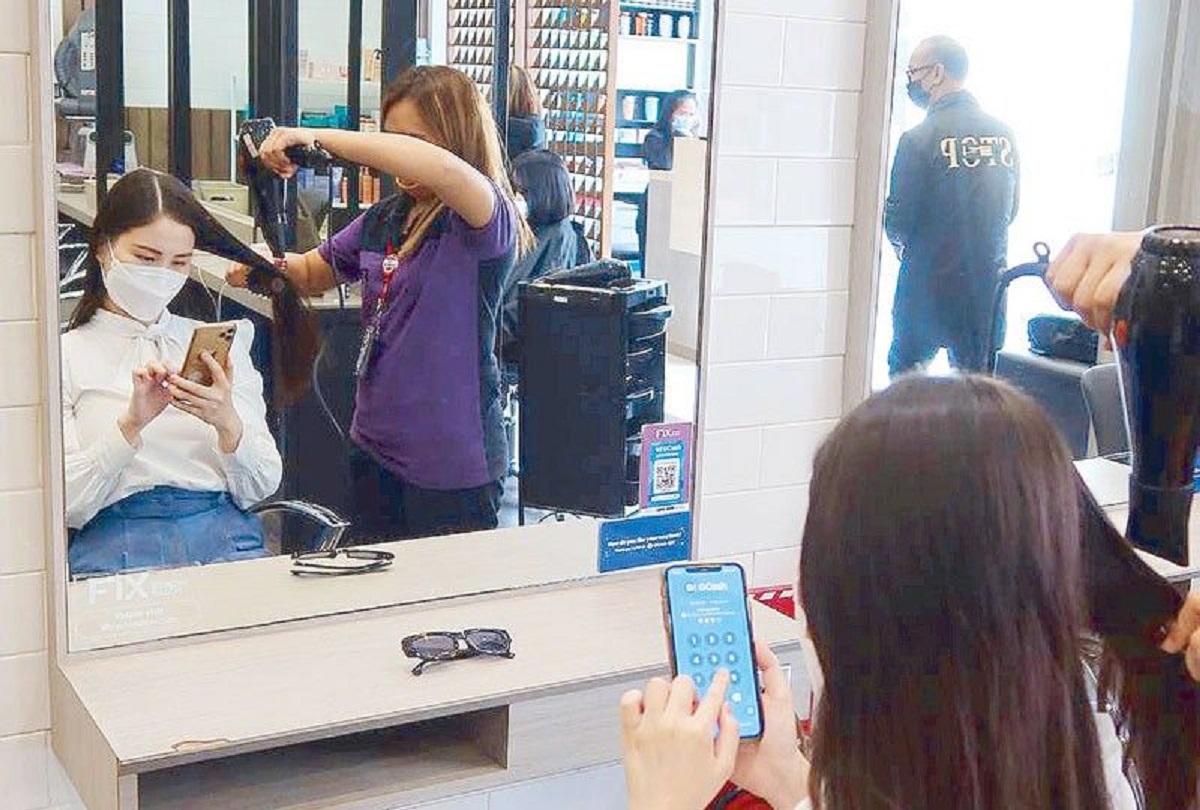
Using a Hair Dryer
If you have a cashless band that is too tight, using a hairdryer can be a valuable tool to help loosen it. This technique is effective for bands made of materials like silicone or fabric. Here’s a step-by-step guide on how to use a hairdryer to loosen your cashless band:
- Gather your materials: Prepare a hairdryer with adjustable heat and airflow settings.
- Set the hairdryer to low heat: Start by setting the hairdryer to its lowest heat setting. It’s important to avoid using high heat to prevent damage to the band or your skin.
- Aim the hairdryer at the band: Hold the hairdryer approximately 6-8 inches away from the band and begin directing the warm airflow towards it.
- Move the hairdryer back and forth: Gently move the hairdryer back and forth along the length of the band, heating it evenly. This will help to soften the material and make it more pliable.
- Test and adjust: After heating the band, test its tightness and adjust as needed. The warmth from the hairdryer should have made the material more flexible, allowing for easier adjustments.
- Allow the band to cool: Once you have achieved the desired fit, let the band cool down naturally. This will help the material set back into place and maintain its adjusted size.
Using a hairdryer is a quick and efficient way to loosen a cashless band. The warm airflow softens the material, making it more malleable and easier to adjust. Remember to use low heat to prevent any damage and allow the band to cool before wearing it again.
Now that you know how to use a hairdryer to loosen your cashless band, let’s explore another technique using a rubber band or hair elastic.
Using a Rubber Band or Hair Elastic
If you’re looking for a simple and readily available solution to loosen a cashless band, using a rubber band or hair elastic can do the trick. This technique is suitable for bands made of materials like silicone or fabric. Here’s a step-by-step guide on how to use a rubber band or hair elastic to loosen your cashless band:
- Gather your materials: Find a rubber band or hair elastic that is wide enough to fit around the cashless band.
- Stretch the rubber band or hair elastic: Take the rubber band or hair elastic and stretch it out to create more length and flexibility.
- Wrap the stretched band around the cashless band: Place the stretched rubber band or hair elastic around the cashless band in the area where you want to loosen it. Make sure it is secure but not too tight.
- Test the tightness: Check the tightness of the cashless band after adding the rubber band or hair elastic. The extra layer may provide enough space to loosen the band and make it more comfortable to wear.
- Adjust if necessary: If the band is still too tight, try using a thicker or tighter rubber band or hair elastic. Alternatively, you can add multiple bands for more flexibility and adjustability.
- Remove the extra bands when not needed: Once you have achieved the desired fit, you can remove the extra rubber bands or hair elastics. Keep in mind that this method may not be a permanent solution and may need adjusting from time to time.
Using a rubber band or hair elastic is a simple and effective way to loosen a cashless band. The additional layer creates more space, allowing for a more comfortable fit. Just remember to find the right size and tension of rubber band or hair elastic to avoid any discomfort or damage to the band.
Now that you know how to use a rubber band or hair elastic to loosen your cashless band, let’s explore another technique using a zipper puller or paperclip.
Using a Zipper Puller or Paperclip
If you’re dealing with a tight cashless band and don’t have access to specialized tools, using a zipper puller or paperclip can be a handy alternative. This technique is suitable for bands made of materials like silicone or fabric. Here’s a step-by-step guide on how to use a zipper puller or paperclip to loosen your cashless band:
- Gather your materials: Find a zipper puller or paperclip that is sturdy and has a small, rounded end.
- Insert the zipper puller or paperclip: Insert the rounded end of the zipper puller or paperclip into the small gap between the cashless band and your wrist.
- Gently pry the band open: Apply gentle pressure with the zipper puller or paperclip to pry open the band slightly. Be careful not to use excessive force to avoid damaging the band or causing discomfort.
- Test the tightness: After prying open the band, test its tightness and adjust it as necessary. The slight separation created by the zipper puller or paperclip should make it easier to loosen the band and find a more comfortable fit.
- Repeat if needed: If the band is still too tight, you can repeat the process by inserting the zipper puller or paperclip in different areas around the band. This allows you to adjust different sections and find the most comfortable fit.
- Remove the zipper puller or paperclip: Once you have achieved the desired fit, carefully remove the zipper puller or paperclip from the band, ensuring that there is no damage to the band or your skin.
Using a zipper puller or paperclip is a simple and accessible way to loosen a cashless band. This method can provide the necessary separation to make the band more comfortable to wear without the need for specialized tools. Just remember to be gentle and cautious while prying open the band to avoid any mishaps.
Now that you know how to use a zipper puller or paperclip to loosen your cashless band, you have several techniques at your disposal to find the most comfortable fit. In the next section, we summarize the key points discussed and offer some closing thoughts.
Conclusion
Loosening a tight cashless band doesn’t have to be a challenge. With the techniques and tips provided in this guide, you can adjust the fit of your band to ensure comfort and convenience.
We explored various methods for loosening cashless bands, including using soap and water, body lotion or oil, a hairdryer, a rubber band or hair elastic, and a zipper puller or paperclip. Each method has its own advantages and can be effective depending on the material of your band and your personal preferences.
Remember to approach the process with patience, taking your time to find the right technique for your specific band. Whether you’re dealing with discomfort, the need to share the band, or simply adjusting the fit for personal preference, these techniques can help you find the most comfortable and suitable fit.
Always be mindful of the materials and structure of your cashless band, ensuring that you handle it with care to avoid any damage. It’s also crucial to create a safe and comfortable environment when attempting to loosen your band, minimizing distractions and potential accidents.
By following the tips and techniques provided, you can easily adjust the tightness of your cashless band and enjoy a comfortable and hassle-free experience. Whether you’re attending events, festivals, or simply using your band for everyday convenience, finding the right fit will enhance your overall satisfaction.
Now, armed with this knowledge, go ahead and loosen that cashless band to your desired comfort level. Happy wearing and happy cashless transactions!