Introduction
Dealing with a worn screw inside a game controller can be a frustrating challenge for any gamer. Whether it's a stripped Phillips head or a stubbornly stuck flathead, this issue can bring your gaming to a screeching halt. However, with the right tools and techniques, you can successfully remove the worn screw and get back to your favorite games in no time.
In this guide, we'll walk you through the step-by-step process of removing a worn screw from a game controller. From assessing the situation to utilizing various tools and methods, we'll cover everything you need to know to tackle this common issue. By following these instructions, you can avoid damaging the controller and ensure a smooth and efficient removal process.
So, if you're ready to regain control of your game controller and get back to your gaming adventures, let's dive into the essential tools and techniques you'll need to conquer that worn screw. With a bit of patience and the right approach, you'll soon be back in the game, ready to take on new challenges and enjoy uninterrupted gameplay.
Tools and Materials Needed
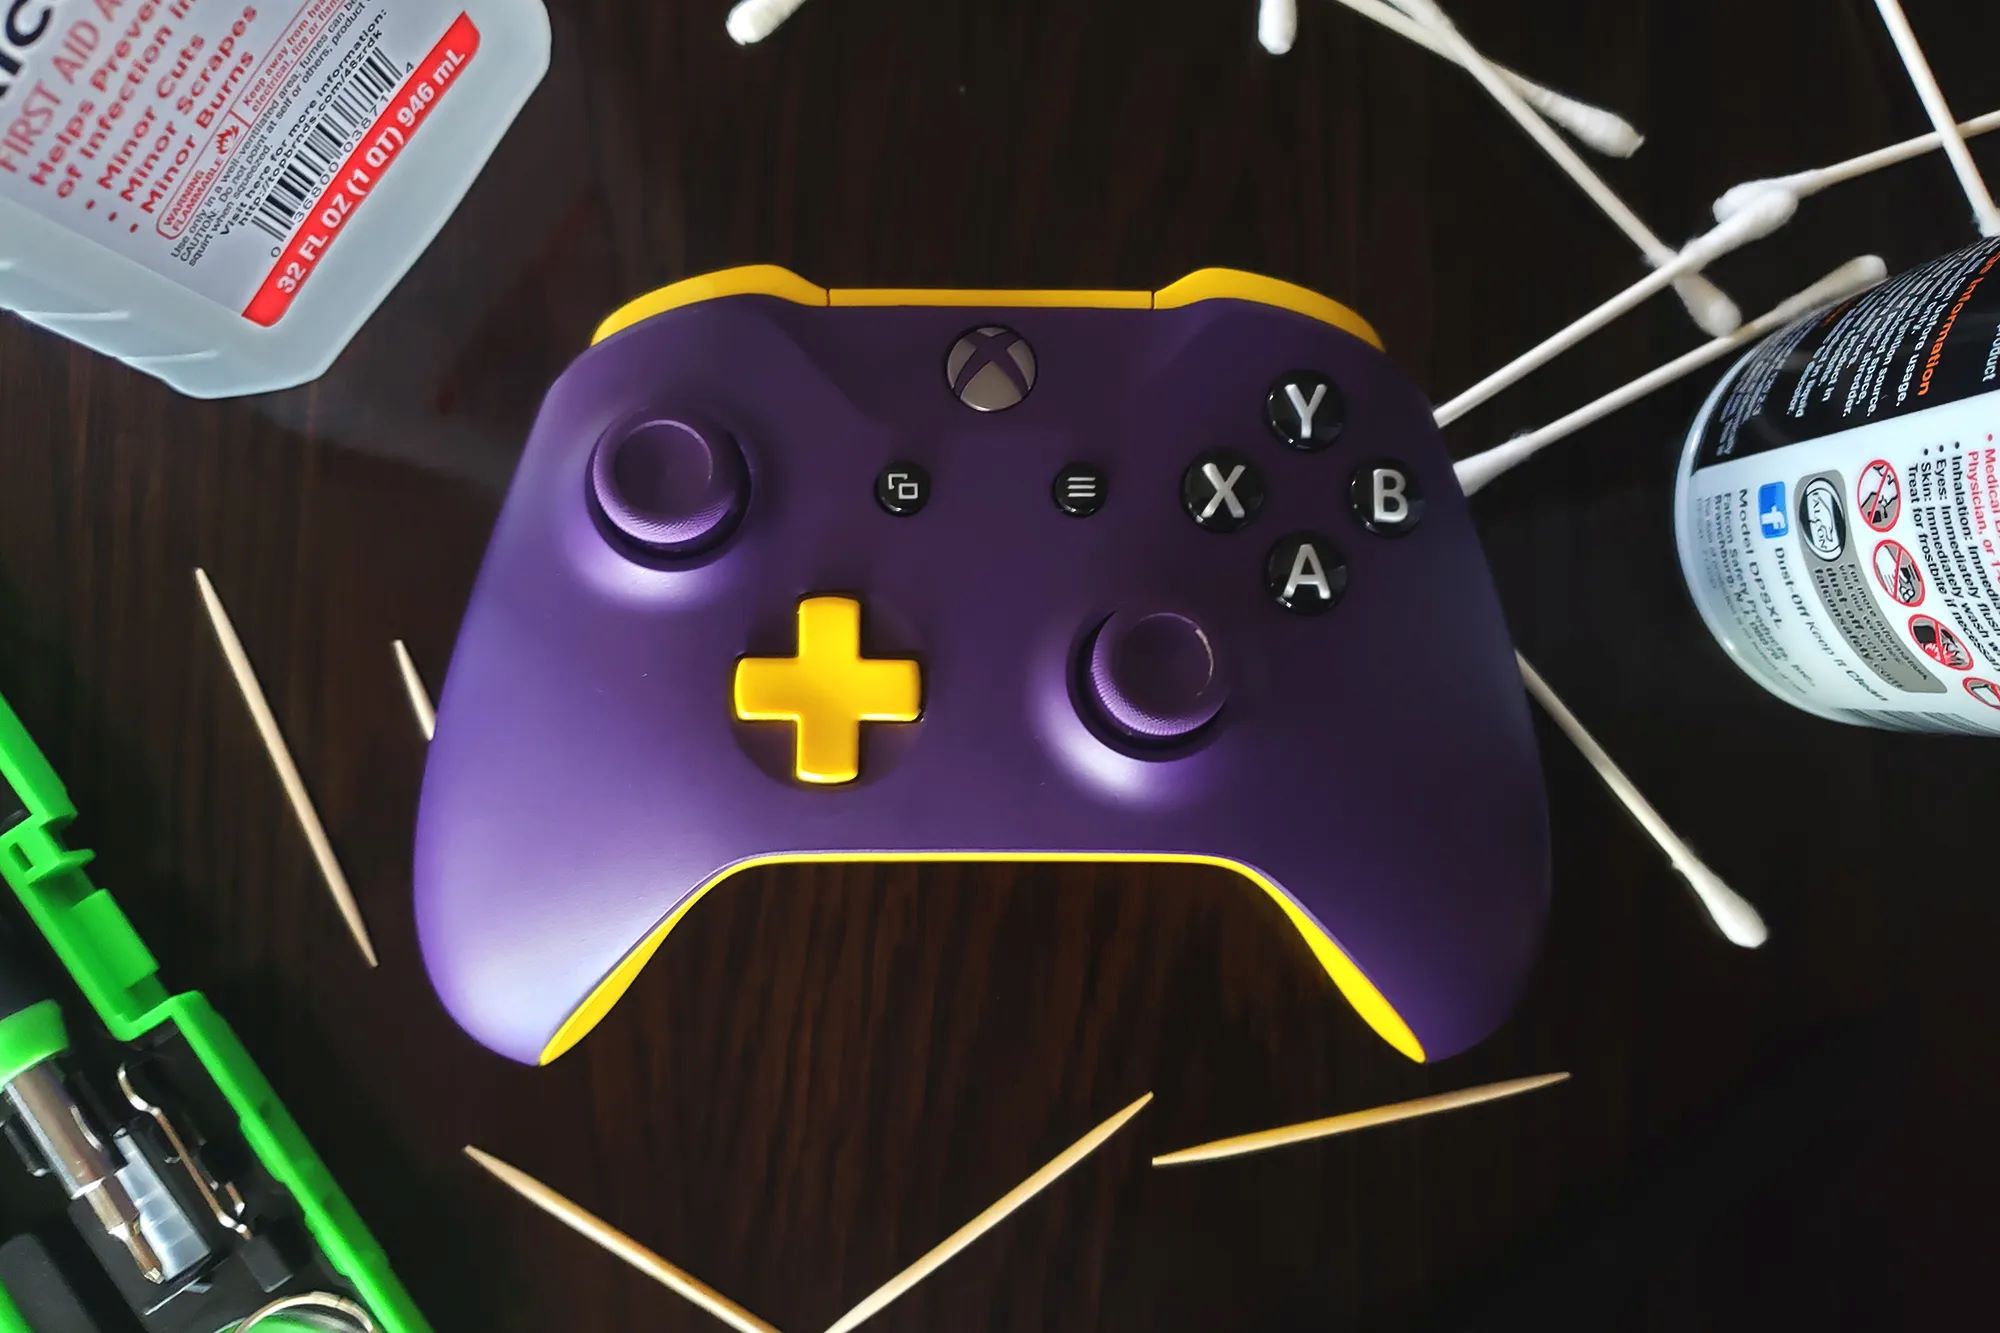
Before embarking on the journey to remove a worn screw from your game controller, it’s essential to gather the necessary tools and materials. Having the right equipment at your disposal will significantly contribute to the success of this endeavor. Here’s a comprehensive list of what you’ll need:
- Replacement Screws: It’s always wise to have replacement screws on hand in case the worn screw becomes irreparable during the removal process.
- Lubricant: A high-quality lubricant, such as WD-40 or a silicone-based lubricant, can help loosen the worn screw and make it easier to remove.
- Rubber Bands: These versatile bands can provide the necessary grip to turn the worn screw when traditional methods fail.
- Different Screwdrivers: Having a variety of screwdrivers, including Phillips head and flathead, ensures that you have the right tool for the job.
- Screw Extractor: This specialized tool is designed to grip and extract stubborn screws, making it an invaluable asset in challenging removal situations.
- Tweezers or Needle-Nose Pliers: These tools can be instrumental in carefully extracting the worn screw if it’s partially protruding or accessible.
- Cotton Swabs: Used in conjunction with a cleaning solution, cotton swabs can help remove debris and grime around the worn screw, facilitating the removal process.
- Cleaning Solution: A mild cleaning solution, such as isopropyl alcohol, can aid in dissolving any buildup or corrosion around the worn screw, making it easier to extract.
- Microfiber Cloth: A soft microfiber cloth is ideal for gently cleaning the game controller and removing any residual cleaning solution after the screw removal.
By ensuring that you have these tools and materials at your disposal, you’ll be well-prepared to tackle the task of removing a worn screw from your game controller. With these essentials in hand, you can proceed with confidence, knowing that you have the necessary resources to overcome this common gaming obstacle.
Step 1: Assess the Situation
Before diving into the process of removing the worn screw from your game controller, it’s crucial to carefully assess the situation. By understanding the condition of the screw and the surrounding components, you can determine the most effective approach for its removal. Here are the key factors to consider during this initial assessment:
- Screw Head Condition: Examine the condition of the screw head to determine if it’s stripped, corroded, or otherwise damaged. This assessment will guide your choice of tools and methods for removal.
- Surrounding Components: Take note of the components near the worn screw, such as the controller casing or circuit board. Understanding their proximity to the screw will help you avoid accidental damage during the removal process.
- Accessibility: Assess the accessibility of the worn screw. Determine if it’s partially protruding or completely recessed, as this will influence the tools and techniques you can employ.
- Previous Attempts: If there have been previous unsuccessful attempts to remove the screw, take note of any damage or wear around the screw head. This information will inform your strategy for a successful extraction.
By thoroughly evaluating these aspects, you’ll gain a clear understanding of the challenges posed by the worn screw and the best course of action to address them. This proactive approach sets the stage for a well-informed and strategic removal process, minimizing the risk of further complications and ensuring a successful outcome.
Step 2: Apply Lubricant
When faced with a stubborn or corroded screw inside your game controller, the application of a high-quality lubricant can work wonders in loosening its grip and facilitating its removal. Here’s how to effectively apply lubricant to the worn screw:
Begin by selecting a suitable lubricant, such as WD-40 or a silicone-based solution, known for its penetrating and loosening properties. Apply a small amount of the lubricant directly to the worn screw, ensuring that it reaches the area where the screw threads meet the controller component. Allow the lubricant to penetrate and work its magic for several minutes, giving it time to seep into the crevices and weaken the bond between the screw and the surrounding material.
After the lubricant has had ample time to work its way into the screw threads, attempt to turn the screw using the appropriate screwdriver. Apply steady pressure while turning the screwdriver counterclockwise, aiming to gradually loosen the worn screw from its position. If the screw shows signs of movement, continue turning it until it can be safely extracted from the controller.
If the initial application of lubricant doesn’t yield the desired results, consider reapplying the lubricant and allowing it to work for an extended period. Patience is key, as the lubricant may require time to effectively break down any corrosion or adhesion that’s impeding the screw’s removal.
By applying lubricant in a methodical and patient manner, you can often overcome the resistance of a worn screw and set the stage for successful extraction. This approach minimizes the risk of damaging the surrounding components and maximizes the chances of safely removing the troublesome screw from your game controller.
Step 3: Use a Rubber Band
When traditional screwdrivers and lubricants fail to budge a stubborn worn screw, a simple yet ingenious household item can come to the rescue: a rubber band. This method leverages the gripping power of a rubber band to provide the traction needed to turn the worn screw. Here’s how to effectively utilize a rubber band in the removal process:
Begin by selecting a wide and durable rubber band that can wrap securely around the head of the worn screw. Position the rubber band over the screw head, ensuring a tight and snug fit to maximize traction. The elasticity and texture of the rubber band create friction and grip, allowing you to apply more torque when turning the screw.
Once the rubber band is securely in place, insert the appropriate screwdriver into the screw head, pressing down firmly to maintain contact with the worn screw. With the added traction provided by the rubber band, apply steady and controlled force while turning the screwdriver counterclockwise. The rubber band’s grip enhances the screwdriver’s ability to engage with the worn screw, increasing the likelihood of successful extraction.
If the rubber band method proves effective, continue turning the screw until it can be safely removed from the game controller. If the screw remains resistant, consider repositioning the rubber band or using a fresh rubber band to ensure optimal grip and traction.
By harnessing the gripping power of a rubber band, you can often overcome the challenges posed by a worn screw, avoiding the need for more invasive methods and preserving the integrity of the game controller. This simple yet effective technique demonstrates the resourcefulness and ingenuity that can turn a seemingly insurmountable obstacle into a manageable task.
Step 4: Try a Different Screwdriver
When facing a worn screw that seems impervious to conventional removal methods, the solution may lie in the simple act of switching to a different screwdriver. This step is often overlooked, yet it can make a significant difference in the effectiveness of the extraction process. Here’s how to approach this strategy:
Begin by assessing the type of screwdriver you’ve been using and its compatibility with the worn screw. If you’ve been employing a Phillips head screwdriver, consider switching to a flathead screwdriver, or vice versa, to determine if a different type of tip can engage more effectively with the worn screw head. Additionally, ensure that the size and fit of the screwdriver tip match the dimensions of the screw head, maximizing the contact and torque applied during the turning process.
When using the new screwdriver, apply steady and controlled force while turning the screw counterclockwise. It’s essential to maintain proper alignment and pressure to prevent slippage and potential damage to the screw head. If the screw shows signs of movement or loosening, continue turning it until it can be safely extracted from the game controller.
If the initial switch to a different screwdriver doesn’t yield the desired results, consider trying additional screwdrivers with varying tip sizes and types. Sometimes, a minor adjustment in the screwdriver’s design can make a significant impact on its ability to engage with the worn screw, ultimately leading to a successful extraction.
By exploring the option of using different screwdrivers, you can adapt your approach to the unique characteristics of the worn screw, increasing the likelihood of a successful removal without resorting to more invasive measures. This method showcases the importance of versatility and adaptability when tackling challenging tasks, emphasizing the value of exploring alternative solutions to achieve the desired outcome.
Step 5: Use a Screw Extractor
When all conventional methods have failed to remove a stubborn worn screw from your game controller, it may be time to employ a specialized tool known as a screw extractor. This ingenious device is designed to grip and extract stubborn screws, offering a reliable solution to challenging removal situations. Here’s how to effectively use a screw extractor to tackle a worn screw:
Begin by selecting a screw extractor of appropriate size and design for the worn screw in your game controller. The screw extractor features a tapered, threaded end that is designed to bite into the worn screw’s head, providing the necessary grip for extraction. Ensure that the extractor’s size corresponds to the dimensions of the worn screw, allowing for a secure and snug fit.
To utilize the screw extractor, carefully drill a small pilot hole into the center of the worn screw head using a drill bit with a diameter slightly smaller than the extractor’s size. Exercise caution to avoid damaging the surrounding components of the game controller during this process. Once the pilot hole is drilled, gently tap the screw extractor into the hole using a hammer, ensuring that it engages securely with the worn screw.
With the screw extractor in place, use a wrench or pliers to apply firm and steady pressure in a counterclockwise direction, effectively engaging the extractor’s gripping threads with the worn screw. As the extractor bites into the screw head, it should begin to turn the screw, gradually loosening its hold and allowing for safe extraction from the game controller.
If the screw extractor encounters resistance or slippage, consider applying additional lubricant to the area to aid in the extraction process. Exercise patience and caution, ensuring that the extractor remains properly aligned and engaged with the worn screw throughout the turning process.
By utilizing a screw extractor, you can often overcome the most challenging worn screw removal scenarios, avoiding the need for more invasive and potentially damaging methods. This specialized tool exemplifies the effectiveness of purpose-built solutions in addressing specific challenges, providing a reliable means of extracting stubborn screws and restoring the integrity of your game controller.
Conclusion
Successfully removing a worn screw from a game controller is a task that demands patience, precision, and resourcefulness. By following the step-by-step process outlined in this guide and utilizing a combination of tools and techniques, you can overcome this common challenge and restore your game controller to full functionality. From the initial assessment of the screw’s condition to the strategic application of lubricant and the utilization of specialized tools like screw extractors, each step plays a crucial role in the successful extraction of the worn screw.
Throughout this process, it’s essential to exercise caution and attentiveness to avoid causing damage to the game controller or exacerbating the situation. By carefully evaluating the condition of the screw and the surrounding components, you can tailor your approach to suit the specific challenges presented by the worn screw. Additionally, the use of alternative methods, such as employing a rubber band for added traction or trying different screwdrivers, demonstrates the value of adaptability and creativity in problem-solving.
Ultimately, the utilization of a screw extractor represents a reliable and effective solution for the most stubborn worn screws, showcasing the impact of purpose-built tools in overcoming challenging removal scenarios. By combining these methods and tools, you can navigate the complexities of worn screw removal with confidence and precision, ensuring a successful outcome and the restoration of uninterrupted gaming experiences.
Armed with the knowledge and techniques outlined in this guide, you can approach the task of removing a worn screw from a game controller with a sense of preparedness and determination. Whether you’re a seasoned gamer or a casual player, the ability to address this common issue empowers you to maintain and care for your gaming equipment, ensuring that it remains in optimal condition for countless gaming adventures to come.


