Introduction
Welcome to the world of Splitwise, a digital platform that simplifies the process of splitting bills among friends, roommates, or travel companions. Whether you’re organizing a dinner with friends, sharing household expenses, or planning a group trip, Splitwise ensures that everyone’s financial contributions are accounted for fairly. But what happens when you need to edit a bill in Splitwise? Don’t worry, we’ve got you covered.
In this article, we will guide you through the step-by-step process of editing a bill in Splitwise. Whether you made a mistake when entering the amount, need to update the description, or want to allocate the expenses differently, we’ll show you how to navigate the platform’s user-friendly interface and make the necessary changes.
So, if you’re ready to take control of your Splitwise account and make any necessary adjustments to your bills, let’s dive right in!
Step 1: Sign in to Splitwise
Before you can edit a bill in Splitwise, you’ll need to sign in to your account. Start by visiting the Splitwise website or opening the Splitwise app on your mobile device. If you don’t have an account yet, you can easily create one by providing a few basic details and setting up a password.
Once you have your account credentials ready, enter your email address or username along with your password on the login page. Click on the “Sign In” button to access your Splitwise dashboard.
If you’re using the mobile app, you may have the option to log in with your fingerprint or use Face ID for added security and convenience. Simply follow the prompts on your device to enable these features and streamline the sign-in process.
Once you’re logged in, you’ll be able to access all of your bills and expenses on Splitwise. The platform provides a user-friendly interface that makes it easy to navigate and manage your financial transactions. Now that you’re signed in and ready to go, let’s move on to the next step.
Step 2: Locate the bill you want to edit
Once you’re signed in to your Splitwise account, the next step is to locate the specific bill that you want to edit. Depending on how many bills you have, this may require a bit of scrolling or filtering.
At the top of your Splitwise dashboard, you’ll find a toolbar with different options such as “Dashboard,” “Friends,” “Groups,” and “Expenses.” Click on the “Expenses” tab to access your list of bills and expenses.
In the Expenses section, you’ll see a list of all the bills you have entered into Splitwise. The bills are typically organized by most recent, but you can also sort them based on different criteria such as amount, date, or category.
Take a moment to scan through the bills and find the one you wish to edit. If you remember the name or description of the bill, you can also use the search bar to quickly locate it. Simply type in keywords related to the bill and hit enter to see the filtered results.
If you have a large number of bills, you can use the filter options on the toolbar to narrow down the list. For example, you can filter by a specific date range, category, or friend’s name. This will help you quickly pinpoint the bill you want to edit without scrolling through numerous entries.
Once you have located the bill you wish to edit, it’s time to move on to the next step and make the necessary changes.
Step 3: Click on the bill
Now that you have located the bill you want to edit in Splitwise, the next step is to click on it to access the bill details and editing options.
Within the list of bills on your Splitwise dashboard, you will typically see the bill’s name or description, the amount, and the friends or group members involved in the expense. Look for the specific bill you want to edit and click on it to proceed.
When you click on the bill, you will be taken to a new page or screen that shows you the detailed information of the expense. Here, you will find a breakdown of how the expense is split among the participants, any notes or comments associated with the bill, and the option to edit the bill.
It’s important to carefully review the bill details before making any changes. Ensure that you have selected the correct bill and that you understand the impact of the edits you are about to make. Double-check the amount, the participants involved, and any other relevant information.
If you have any doubts or need clarification about the bill, you can use the comments section to communicate with the involved parties. Splitwise allows you to leave comments, ask questions, and provide updates that can help resolve any confusion or discrepancies related to the bill.
After carefully reviewing the bill details and confirming that you have selected the correct bill to edit, it’s time to move on to the next step and make the necessary changes to the bill.
Step 4: Make changes to the bill
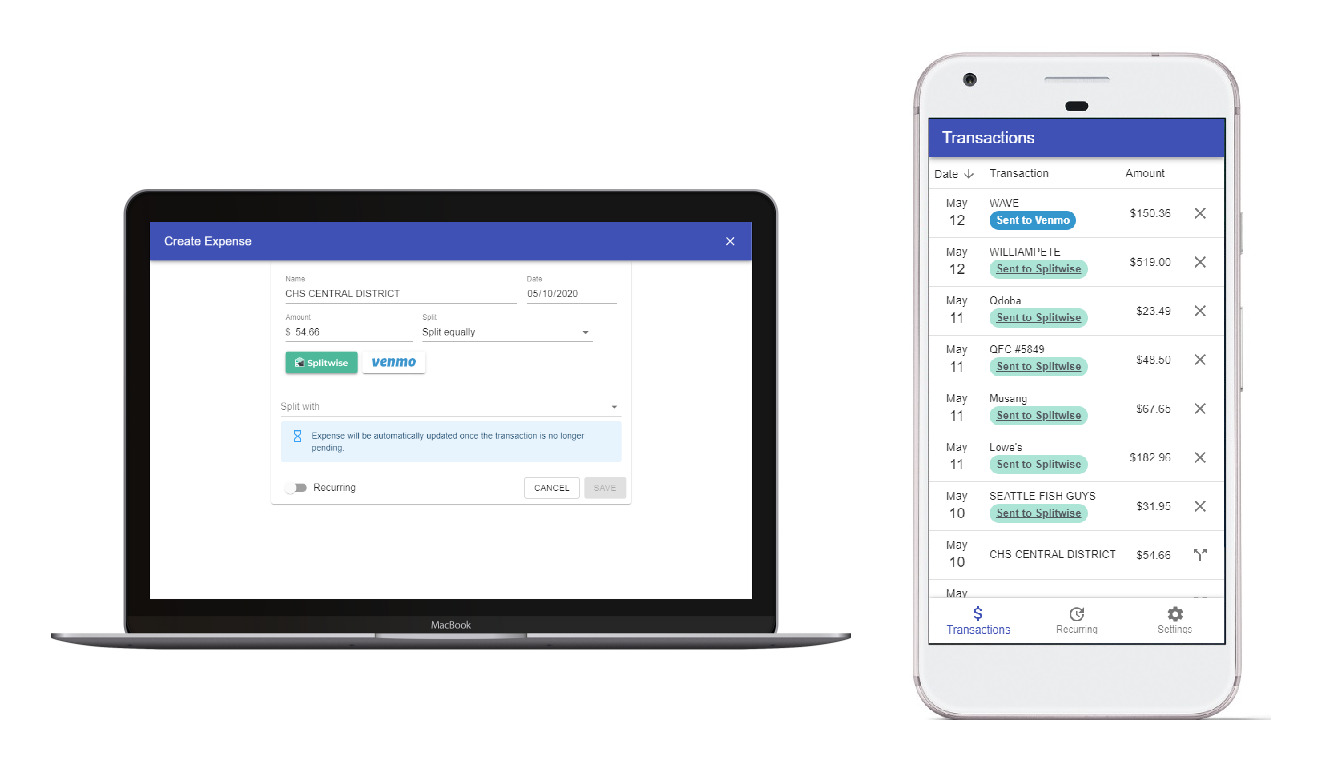
Now that you have clicked on the bill you want to edit in Splitwise and have reviewed the details, it’s time to make the necessary changes to the bill. Splitwise provides a straightforward and intuitive interface for editing your bills and expenses.
Once you are on the bill details page, look for the “Edit” or “Modify” button. Clicking on this button will open up the editing options, allowing you to make changes to various aspects of the bill.
Depending on the bill’s complexity, you may have a range of editing options available. Common changes include modifying the amount of the bill, updating the description or notes, changing the category, or adjusting how the expense is split among participants.
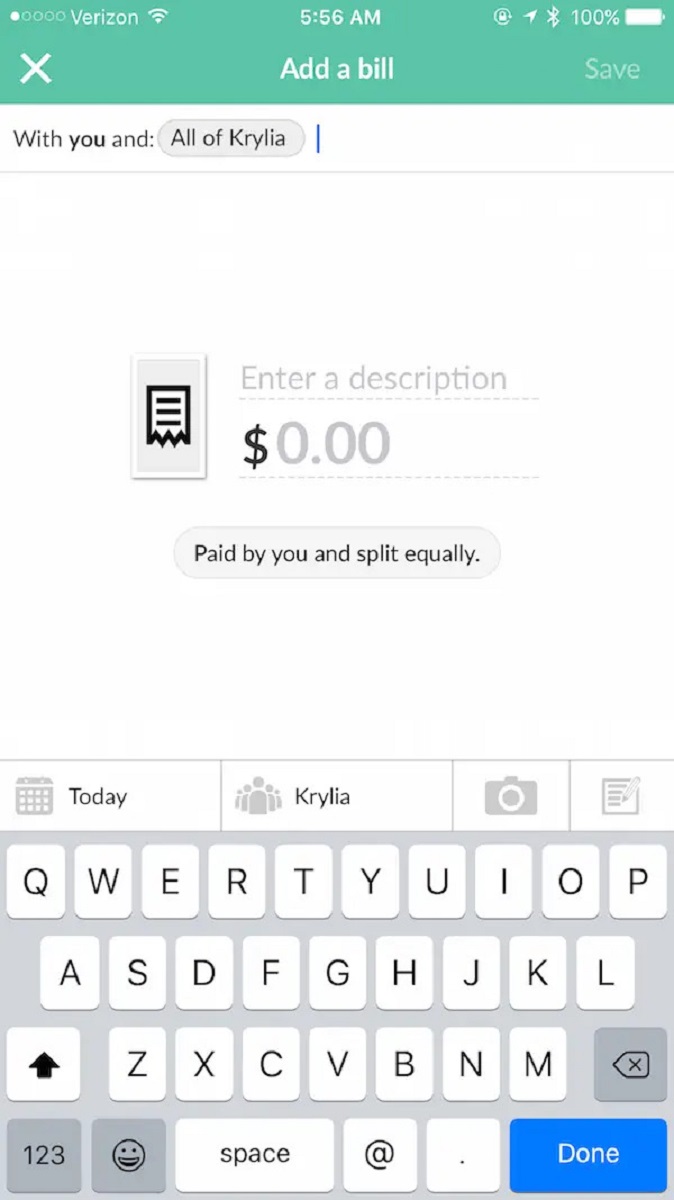
To modify the amount, simply enter the new value in the designated field. If you want to update the description or add additional notes, click on the respective text boxes and make the necessary changes.
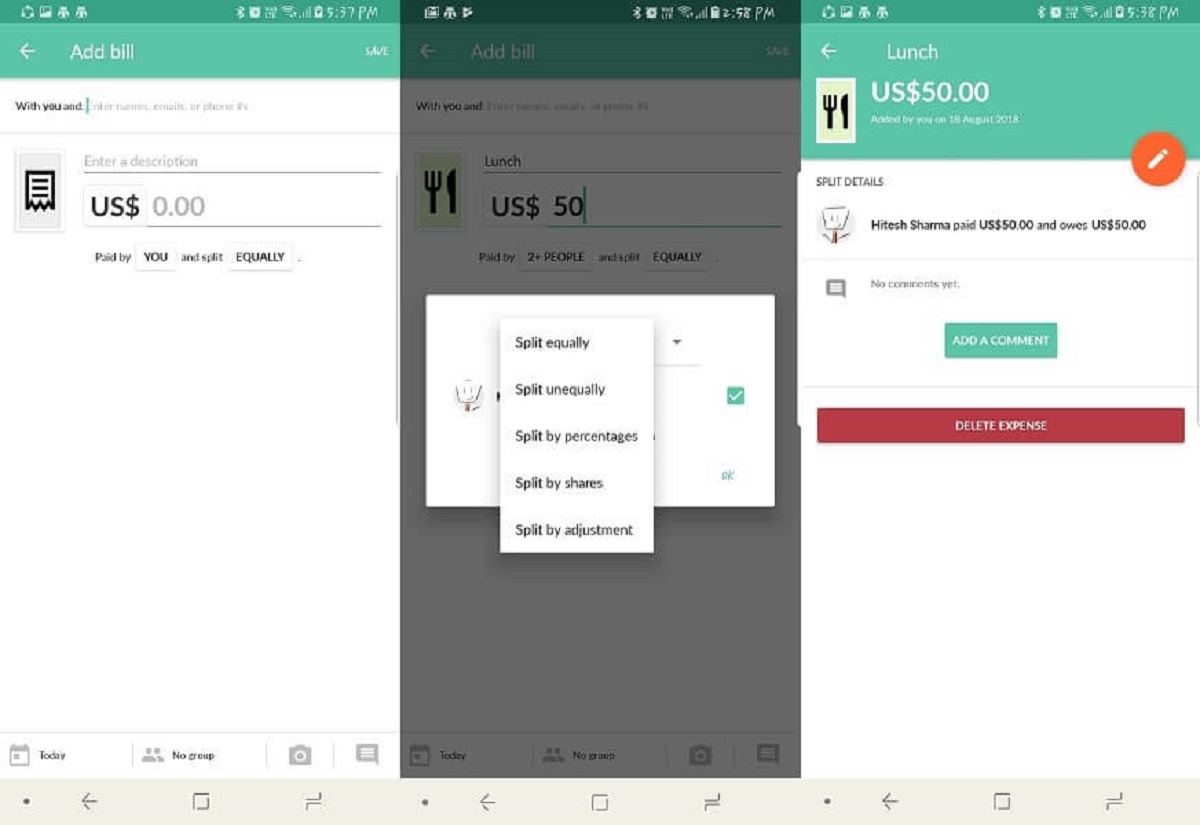
If you wish to change the category of the bill, look for a drop-down menu or a list of predefined categories. Select the appropriate category that best fits the expense.
To adjust how the expense is split among participants, you can either change the specific amount assigned to each participant or modify the percentage allocation. Splitwise provides flexible options to cater to various splitting scenarios.
As you make changes to the bill, Splitwise may display real-time calculations of how the edits affect each participant’s balance. This helps you visualize the impact of the changes before finalizing them.
Before moving on, take a moment to review your edits and ensure they accurately reflect the desired changes. Once you are satisfied with the modifications, it’s time to save the changes and update the bill in Splitwise.
Step 5: Save the changes
After making the necessary changes to the bill in Splitwise, it is important to save your edits to ensure that the updated information is reflected accurately. Saving the changes is a straightforward process that allows you to finalize the modifications and ensure everyone involved is on the same page.
To save the changes, look for the “Save” or “Update” button on the bill details page. This button is typically located at the bottom of the editing options or in a prominent position on the screen. Click on this button to save your edits.
Once you click on the save button, Splitwise will process your changes and update the bill accordingly. The platform may display a confirmation message to indicate that your changes have been saved successfully. Take a moment to review the confirmation message to ensure that the updates were applied correctly.
It’s worth noting that when you save the changes to the bill, the adjustments will be reflected in all relevant sections of Splitwise. This includes the individual balances of the participants, any group totals, and any calculations or reports associated with the bill.
It’s important to communicate the changes to the other participants involved in the bill. While Splitwise does not automatically send notifications about edits, you can manually inform the others through the comments section or through external means of communication.
By saving the changes to the bill in Splitwise, you are ensuring that the updated information is accurately recorded and reflected in your financial records. With the changes saved, you can proceed with confidence, knowing that the bill has been updated to align with the new information.
Step 6: Notify friends about the edits (optional)
Once you have successfully saved the changes to the bill in Splitwise, it is important to consider whether you need to notify the other participants about the edits you have made. While this step is optional, it can help maintain transparency and avoid any confusion or misunderstandings.
Splitwise does not automatically send notifications to the participants when a bill is edited. Therefore, it is your responsibility to inform the other individuals involved in the expense about the modifications you have made. This is particularly crucial if the changes significantly affect the amount owed by each participant or alter the overall dynamics of the bill.
To notify your friends about the edits, you can use Splitwise’s built-in communication features. Within the bill details page, you will find a comments section where you can leave messages, ask questions, and provide updates to the participants. Simply type your message in the comments box and click on the “Submit” or “Post” button to share it.
In your notification message, make sure to clearly explain the changes you have made to the bill. Provide any necessary context, such as the reasons for the edits or any additional information that the participants need to know. This will help ensure that everyone is aware of the modifications and can adjust their financial records accordingly.
In addition to using the comments section, you can also choose to communicate with the participants through other means of communication, such as email, messaging apps, or in-person conversations. This can be particularly helpful if you need to discuss the changes in more detail or if there are multiple bills that require updates.
By taking the initiative to notify your friends about the edits you have made to the bill, you are fostering open communication and transparency among the participants. This ensures that everyone is on the same page and can make any necessary adjustments to their own records or payments.
Conclusion
Editing a bill in Splitwise is a simple and user-friendly process that allows you to make changes to the details, amounts, and participants of the expense. By following the step-by-step guide outlined in this article, you can confidently navigate Splitwise’s interface and ensure that your financial records accurately reflect the updated information.
Remember to sign in to your Splitwise account to access the bills you want to edit. Locate the specific bill you wish to modify and click on it to view the detailed information. Take the time to carefully review the details before proceeding to make any necessary changes.
Once you’re ready to edit the bill, use Splitwise’s intuitive interface to adjust the amount, update the description, change the category, or modify the splitting arrangement. Review your edits and save the changes to ensure they are applied correctly.
While not mandatory, it is recommended to notify the other participants about the edits you have made to the bill. Use the comments section within Splitwise to communicate the changes or opt for other means of communication to ensure everyone is aware of the updates.
By following these steps and keeping the lines of communication open, you can effectively manage and edit your bills in Splitwise. This helps maintain transparency and fairness among friends, roommates, or travel companions while keeping your financial records up to date.
So the next time you need to make changes to a bill in Splitwise, feel confident in your ability to navigate the platform and update your expenses with ease. Happy bill editing!