Introduction
Welcome to this guide on how to confirm receipt on PayPal. PayPal is a popular online payment platform that allows users to send and receive payments securely and conveniently. When you receive a payment on PayPal, it is essential to confirm the receipt to ensure that the transaction has been completed successfully. Confirming the receipt not only provides peace of mind but also helps to maintain accurate records of your financial transactions.
This article will walk you through the step-by-step process of confirming receipt on PayPal and ensuring that the payment has been received. By following these instructions, you can effectively manage your transactions and enjoy the benefits of using PayPal for online payments.
Whether you are a buyer who wants to confirm the receipt of a product or service, or a seller verifying the payment from your customers, this guide will help you navigate the necessary steps to confirm receipt on PayPal. So, let’s get started and learn how to confirm your PayPal transactions!
Step 1: Login to your PayPal account
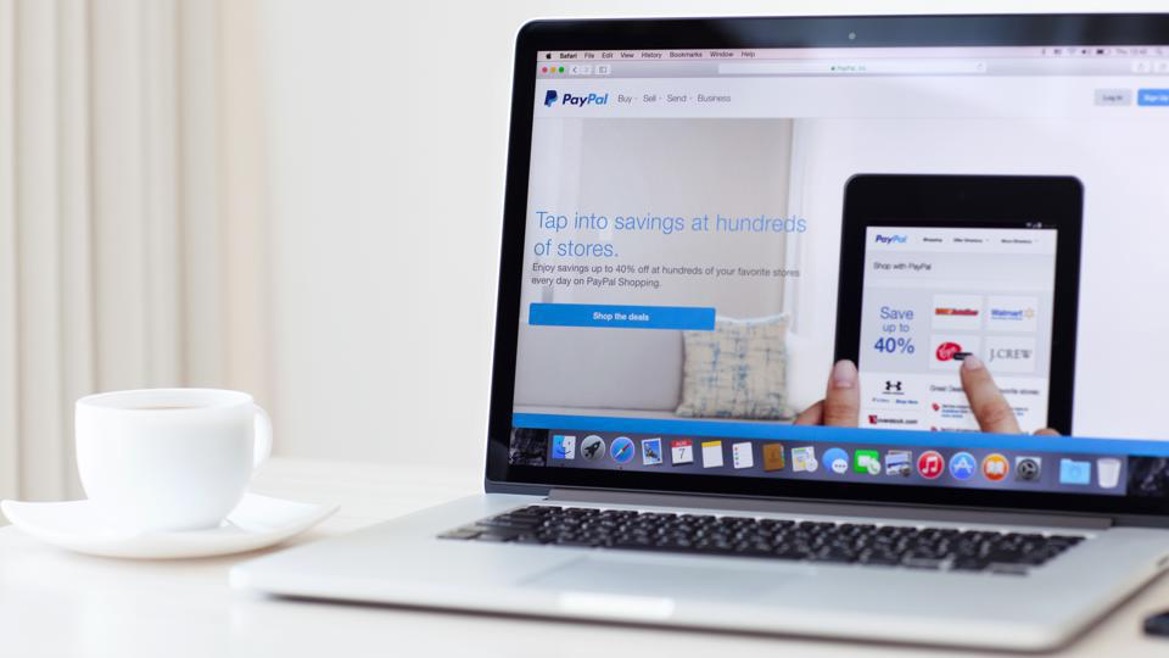
The first step to confirming a receipt on PayPal is to log in to your PayPal account. To do this, open your preferred web browser and go to the PayPal website (www.paypal.com). Once on the website, click on the “Log In” button located at the top right corner of the homepage.
If you already have a PayPal account, enter your registered email address or mobile number in the provided field. Then, enter your password and click on the “Log In” button to access your account. If you are new to PayPal and do not have an account, click on the “Sign Up” button and follow the instructions to create a new account.
It is important to ensure that you are logging in to the correct PayPal account associated with the transaction you wish to confirm. Double-check the email address or mobile number you entered to avoid any confusion or potential errors.
Once you have successfully logged in, you will be directed to your PayPal account dashboard. This is where you can manage your transactions, view your balance, and access various features and settings. Now that you are logged in, you are ready to move on to the next step in confirming your receipt on PayPal.
Step 2: Go to the “Activity” tab
After logging in to your PayPal account, the next step is to navigate to the “Activity” tab. The “Activity” tab is where you can find a detailed record of all your transactions, including payments received and sent.
To access the “Activity” tab, look for the menu options at the top of your PayPal account dashboard. One of the options should be labeled “Activity.” Click on this tab to proceed.
By clicking on the “Activity” tab, you will be able to view a list of your recent transactions. This list provides an overview of the date, time, and transaction details for each payment received or sent through your PayPal account.
If you have a large number of transactions, you may need to adjust the date range or use the search function to find the specific transaction you want to confirm the receipt for. PayPal provides filters and search options to help you easily locate the desired transaction.
Now that you have successfully accessed the “Activity” tab, you are ready to move on to the next step in confirming your receipt on PayPal.
Step 3: Filter transactions by “completed”
Once you are on the “Activity” tab in your PayPal account, it’s time to filter the transactions by “completed.” Filtering the transactions allows you to narrow down the list and focus on the completed transactions, making it easier to locate and confirm the receipt of a specific payment.
To filter the transactions, look for the filter options or settings near the transaction list. In most cases, there will be a drop-down menu or a selection box labeled “Filters” or “Status.”
Click on the filter option, and a list of different status options will appear. Look for the “Completed” option and select it. This will refine the transaction list to only show the payments that have been successfully completed.
Filtering by “completed” helps eliminate any pending or canceled transactions, ensuring that you are focusing solely on the payments you have received and need to confirm. It streamlines the process and saves you time searching through irrelevant transactions.
Once you have filtered the transactions by “completed,” you can proceed to the next step and locate the specific transaction that you want to confirm the receipt for. Let’s move on to Step 4 of confirming your receipt on PayPal.
Step 4: Locate the specific transaction you want to confirm receipt for
Now that you have filtered the transactions by “completed,” it’s time to locate the specific transaction that you want to confirm the receipt for. PayPal provides several details and search options to help you easily find the desired transaction.
Scan through the transaction list and look for the date, time, and relevant details associated with the payment you received. This information can include the name or email address of the sender, the transaction ID, or the purpose of the payment. You may also find a thumbnail image if it was included with the payment.
If you have a long list of transactions or need to locate a specific payment quickly, you can use the search function provided by PayPal. Look for a search bar or a search icon near the transaction list and enter relevant information such as the sender’s name, email address, or transaction ID to narrow down the results.
It is important to carefully review the transaction details and ensure that it matches the payment you are looking to confirm the receipt for. Double-check any relevant information, such as the amount, to avoid any confusion or errors.
Once you have located the specific transaction you want to confirm the receipt for, proceed to the next step to review the details and ensure that the payment has been received successfully.
Step 5: Click on the transaction details
After locating the specific transaction you want to confirm the receipt for, the next step is to click on the transaction details. This will provide you with a more comprehensive view of the payment and allow you to review the transaction details before confirming the receipt.
To access the transaction details, simply click on the transaction itself from the transaction list or search results. Clicking on the transaction will open a new page or a dialog box with detailed information about the payment.
The transaction details page will provide you with specific information such as the date and time of the payment, the buyer or sender’s name and email address, the transaction ID, and any additional notes or messages associated with the payment.
Review the transaction details carefully and ensure that they match the payment you received. Verify that the payment amount, currency, and any other relevant details are accurate. If there are any discrepancies or issues, you may need to contact the buyer or sender to resolve them.
By clicking on the transaction details, you are taking an important step in confirming the receipt. This allows you to verify the payment and ensures that you have all the necessary information before proceeding to confirm the receipt of the payment.
Once you have thoroughly reviewed the transaction details, you are ready to move on to the next step and confirm the receipt of the payment on PayPal.
Step 6: Review the details and ensure the payment has been received
Now that you have accessed the transaction details, it’s time to review the information and ensure that the payment has been received successfully. This step is crucial in confirming the receipt of the payment and maintaining accurate records of your transactions.
Start by reviewing the payment details, including the amount, currency, and any relevant notes or messages associated with the payment. Make sure that the information matches your expectations and verify that the payment has been processed without any issues.
If the payment has been received, you can proceed with confirming the receipt. However, if you notice any discrepancies or have any concerns about the payment, it is advisable to contact the buyer or sender to address the issue before confirming the receipt.
Take a moment to cross-check the payment details with any other relevant information, such as your invoices, emails, or any communication you may have had with the buyer or sender. Ensuring the accuracy of the payment details helps to avoid any potential misunderstandings or disputes in the future.
Once you have thoroughly reviewed the details and are confident that the payment has been received successfully, you are ready to proceed to the next step and confirm the receipt of the payment on PayPal. This final step will officially mark the payment as received in your PayPal account.
Remember, accurate record-keeping is essential for financial management purposes, and confirming the receipt of payments ensures transparency and clarity in your transactions.
Step 7: Confirm receipt of payment
After reviewing the payment details and ensuring that the payment has been received successfully, it’s time to confirm the receipt on PayPal. Confirming the receipt officially acknowledges that the payment has been received and concludes the transaction on your end.
To confirm the receipt of the payment, look for a button or option within the transaction details page that allows you to mark the payment as received. This button might be labeled “Confirm Receipt,” “Mark as Received,” or something similar.
Click on this button to proceed with confirming the receipt. You may be prompted to confirm your decision or provide any additional information related to the transaction. Follow the instructions provided on the screen to complete the process.
By confirming the receipt, you are not only acknowledging the payment but also maintaining accurate records of your transactions on PayPal. This step ensures transparency and clarity in your financial documentation.
Once you have successfully confirmed the receipt of the payment, PayPal will update the transaction status accordingly. The payment will be marked as received and reflect in your account balance.
It is important to note that after confirming the receipt, always double-check your PayPal account balance to ensure that the amount has been credited correctly. If you notice any discrepancies or have any concerns, contact PayPal support for assistance.
Congratulations! You have successfully confirmed the receipt of the payment on PayPal. By following these steps, you have effectively managed your transaction and maintained accurate records.
Remember to save or print a copy of the transaction details or any confirmation messages for your reference or future needs. Proper record-keeping is crucial for financial management purposes.
Now that the receipt has been confirmed, you can proceed with any necessary next steps, such as shipping the product or providing the service associated with the payment.
Conclusion
Confirming receipt on PayPal is a simple but essential process that allows you to ensure that payments have been received successfully and maintain accurate records of your transactions. By following the step-by-step guide outlined in this article, you can easily navigate through the process and confirm the receipt with confidence.
Remember to start by logging in to your PayPal account and accessing the “Activity” tab to view your transactions. Filter the transactions by “completed” to focus on the payments you have received. Locate the specific transaction you want to confirm the receipt for and click on the transaction details to review the information and ensure the payment’s accuracy.
After reviewing the details and verifying that the payment has been received, proceed to confirm the receipt by clicking on the appropriate button or option within the transaction details page. This step officially marks the payment as received on your PayPal account and concludes the transaction on your end.
By confirming the receipt, you maintain transparency and clarity in your financial records, making it easier to track your transactions and manage your finances effectively. It also provides peace of mind, knowing that the payment has been processed successfully.
Remember to double-check your PayPal account balance after confirming the receipt to ensure that the amount has been credited correctly. Should you encounter any discrepancies or issues, don’t hesitate to contact PayPal support for assistance.
With the knowledge and understanding gained from this guide, you can confidently navigate PayPal’s platform and confirm the receipt of payments with ease. Properly managing your transactions on PayPal is crucial for the smooth operation of your online business or personal financial activities.
Now that you have learned how to confirm receipt on PayPal, you are equipped to efficiently manage your financial transactions and ensure accurate record-keeping. So, go ahead and start confirming your receipts on PayPal, taking your online payment experience to the next level!


