How to Use PayPal for Online Shopping
PayPal has become a popular and convenient payment method for online shoppers worldwide. With its secure transaction process and widespread acceptance, it provides a seamless experience for both buyers and sellers. If you’re new to using PayPal for online shopping, here are some simple steps to get you started:
- Create a PayPal Account: To begin, you’ll need to sign up for a PayPal account. This can be done by visiting the PayPal website and following the registration process, which typically involves providing your email address, creating a password, and entering some personal information.
- Link Your Bank Account or Credit Card: Once your account is set up, you’ll have the option to link your bank account or credit card to your PayPal account. This step is crucial as it allows you to fund your PayPal purchases securely. You can link multiple payment methods for added flexibility.
- Find Online Merchants Accepting PayPal: Look for online merchants that accept PayPal as a payment method. Many popular e-commerce platforms and websites offer PayPal as a checkout option. You might also come across the PayPal logo on product pages or in the payment section during the checkout process.
- Choose PayPal at Checkout: When you’re ready to make a purchase, select PayPal as your payment option at the online checkout. You will be redirected to the PayPal website to log in to your account and review the transaction details. Verify that everything is correct before proceeding.
- Confirm and Complete Your Purchase: After reviewing the transaction, confirm the payment. PayPal will process the payment, deducting the funds from your linked bank account or credit card and sending it to the merchant. You will receive a confirmation email and, in most cases, a receipt for your purchase.
Using PayPal for online shopping offers several advantages. First and foremost, it adds an extra layer of security to your transactions. Instead of entering your sensitive payment information on multiple websites, you only need to provide it to PayPal once. Additionally, PayPal acts as a middleman between you and the merchant, providing dispute resolution services and protecting your financial information.
Furthermore, PayPal transactions are often processed quickly, enabling you to complete your online shopping without delays. Plus, PayPal offers buyer protection programs that may cover eligible purchases in case of issues like non-delivery or defective items.
By following these steps and utilizing PayPal for online shopping, you can enjoy a safe and convenient shopping experience, knowing that your payment information is protected and your transactions are secure.
How to Use PayPal for Peer-to-Peer Payments
PayPal not only facilitates online shopping but also enables you to send and receive money from friends, family, or anyone else with a PayPal account. Peer-to-peer payments have become increasingly popular for splitting bills, repaying loans, and other personal transactions. If you’re unfamiliar with how to use PayPal for peer-to-peer payments, here’s a simple guide:
- Create a PayPal Account: If you don’t already have one, sign up for a PayPal account. Provide the necessary information, including your email address and personal details, to complete the registration process.
- Link Your Bank Account or Credit Card: By linking your bank account or credit card to your PayPal account, you can easily fund your peer-to-peer payments. This ensures that you have sufficient funds available to send or receive money within the PayPal ecosystem.
- Initiate a Payment: To send money to someone, log in to your PayPal account and navigate to the “Send & Request” tab. Enter the recipient’s email address or mobile number, along with the amount you wish to send. You can also add a message or note to provide context for the payment.
- Confirm and Complete the Transaction: Review the payment details and click the “Send” button. PayPal will deduct the funds from your linked bank account or credit card and transfer them to the recipient’s PayPal account. Both you and the recipient will receive email notifications confirming the transaction.
- Receive Peer-to-Peer Payments: When someone wants to send you money, simply provide them with your PayPal email address or mobile number linked to your account. Once they initiate the payment, you will receive a notification and the funds will be credited to your PayPal balance.
Using PayPal for peer-to-peer payments offers a convenient and secure way to transfer money. It eliminates the need to share sensitive banking details, and transactions can be completed quickly and easily. Additionally, PayPal provides buyer and seller protection policies, which can be beneficial in case of disputes or unauthorized transactions.
Moreover, PayPal allows you to keep track of your payment history within your account, making it easy to review past transactions. You can also request money from others using PayPal’s invoicing feature, making it simple to remind someone of a payment owed.
By using PayPal for peer-to-peer payments, you can leverage the ease and reliability of this trusted platform to simplify monetary transactions with friends, family, and acquaintances.
How to Use PayPal for Mobile Wallet Payments
As mobile wallets become increasingly popular, PayPal has adapted to the changing landscape by offering a seamless mobile payment experience. With the PayPal mobile app, you can make purchases in stores, pay at restaurants, and even send money to friends, all from your smartphone. Here’s a step-by-step guide on how to use PayPal for mobile wallet payments:
- Download the PayPal App: Begin by downloading the PayPal app from your device’s app store. It’s available for both iOS and Android devices. Once downloaded, open the app and sign in to your PayPal account or create a new one if you don’t have an account yet.
- Link Your Bank Account or Credit Card: To make mobile wallet payments, you’ll need to link your bank account or credit card to your PayPal account. This allows you to fund your mobile transactions securely and conveniently.
- Add Money to Your PayPal Balance: If you don’t have sufficient funds in your PayPal balance, you’ll need to add money. This can be done by linking your bank account and transferring funds, or by receiving payments from others directly into your PayPal account.
- Enable Contactless Payments: To make in-store purchases, ensure that your device’s NFC (Near Field Communication) feature is enabled. This allows you to tap your device on the contactless payment terminal to complete transactions.
- Look for PayPal Acceptance: When making a mobile wallet payment, keep an eye out for payment terminals or signs displaying the PayPal logo. Many merchants, especially those that accept contactless payments, will offer PayPal as an option.
- Authenticate and Confirm Payments: When you’re ready to make a mobile payment, open the PayPal app, select the “Send” option, and choose the desired payment method. Follow the prompts on the screen, which may include verifying your identity using biometric authentication or a PIN, and confirm the payment amount.
- Receive Payment Confirmation: After completing the payment, you’ll receive a notification and confirmation email from PayPal. Keep these for your records or as proof of purchase.
Using PayPal for mobile wallet payments offers convenience and security. By eliminating the need to carry physical cards or cash, you can make payments effortlessly and reduce the risk of card data theft. Additionally, PayPal offers protection for eligible purchases, giving you peace of mind when using the mobile wallet feature.
With the PayPal mobile wallet, you can also access other features such as sending money to friends, splitting bills, and managing your PayPal account settings on the go. It’s a versatile tool that simplifies your financial transactions and enhances your overall mobile payment experience.
How to Use PayPal for International Transactions
PayPal provides a convenient and secure platform for conducting international transactions. Whether you’re buying products from overseas sellers or sending money to friends or family abroad, PayPal simplifies the process. Here’s a step-by-step guide on how to use PayPal for international transactions:
- Create a PayPal Account: If you don’t have one already, sign up for a PayPal account. It’s essential to have a PayPal account to send or receive money internationally. During the registration process, provide accurate personal information, including your address and contact details.
- Link Your Bank Account or Credit Card: To fund your international transactions, link your bank account or credit card to your PayPal account. This ensures you have sufficient funds for sending or receiving money across borders. Verify that your linked payment method allows international transactions.
- Confirm Currency Exchange Rates: When sending or receiving money in a different currency than your PayPal account’s default currency, PayPal will automatically convert the amount based on current exchange rates. Before initiating a transaction, check the currency exchange rates to understand the costs involved.
- Send Money Internationally: To send money internationally, log in to your PayPal account, click on the “Send & Request” tab, and select “Send to friends and family abroad.” Enter the recipient’s PayPal email address or mobile number, specify the amount, and choose the currency. Review the transaction details and confirm the payment.
- Receive Money Internationally: To receive money from overseas, provide the sender with your PayPal email address or mobile number. They can then initiate the payment from their PayPal account. PayPal will notify you of the incoming funds, and the amount will be credited to your PayPal balance.
- Withdraw Funds or Make Payments: Once you have received funds in your PayPal account, you can choose to withdraw them to your linked bank account or use them for online purchases from international merchants. PayPal offers flexibility in managing your funds, allowing you to access them as needed.
Using PayPal for international transactions offers several advantages. It eliminates the need for international bank transfers, which can be costly and time-consuming. With PayPal, you can send or receive money across borders with just a few clicks, saving you both time and money.
In addition, PayPal’s secure payment platform ensures that your financial information remains protected during international transactions. PayPal also provides buyer and seller protection programs, adding an extra layer of security when conducting international business.
Before conducting international transactions with PayPal, be aware of any potential fees or currency conversion charges that may apply. Familiarize yourself with PayPal’s policies and guidelines to ensure a smooth and hassle-free experience when making international payments.
How to Use PayPal for Subscription Services
Many online businesses and services offer subscription plans, allowing customers to access exclusive content or enjoy recurring benefits. PayPal provides a convenient and secure way to manage your subscription payments. If you’re interested in using PayPal for subscription services, here’s a step-by-step guide:
- Create or Log In to Your PayPal Account: To begin, sign up for a PayPal account if you don’t have one. If you’re an existing PayPal user, log in to your account and ensure your payment information is up to date.
- Choose a Service and Select the PayPal Option: Find a subscription-based service that interests you, such as streaming platforms, software services, or membership websites. During the sign-up process, look for the payment options and select PayPal as your preferred payment method.
- Link Your PayPal Account: If you haven’t already done so, link your bank account, credit card, or debit card to your PayPal account. Ensure that the payment method you’ve linked has sufficient funds for the recurring subscription charges.
- Authorize the Subscription Payment: Once you’ve chosen a subscription plan and selected PayPal as your payment method, you will be redirected to the PayPal login page. Log in to your PayPal account to authorize the recurring subscription payment.
- Confirm the Subscription Payment: Review the details of the subscription plan, including the billing frequency and amount. Confirm that all information is correct before finalizing the subscription. PayPal will automatically process the payment according to the agreed-upon terms.
- Manage Your Subscriptions: To manage your subscriptions, log in to your PayPal account and navigate to the “My Account” section. Under the “Profile” tab, click on “My Money” to view your recurring transactions. From here, you can review, modify, or cancel your subscriptions as needed.
Using PayPal for subscription services offers several benefits. It provides an additional layer of security for your payment information, as you only need to provide it to PayPal and not to individual service providers. PayPal also allows you to keep track of your subscriptions in one convenient location, making it easy to manage and control your recurring payments.
Furthermore, PayPal’s buyer protection policies may offer additional peace of mind when using subscription services. In case of issues like unauthorized charges or service disruptions, PayPal can assist in resolving disputes and ensuring that you receive the value you expect from the subscriptions you’ve chosen.
By using PayPal for subscription services, you can streamline your recurring payments, maintain control over your subscriptions, and enjoy added security and convenience while accessing the content or benefits you desire.
How to Use PayPal for Nonprofit Donations
PayPal offers a simple and reliable way to make donations to nonprofit organizations. Whether you’re supporting a cause you care about or contributing to a charitable event, PayPal ensures that your donation is secure and reaches the intended recipient efficiently. Here’s a step-by-step guide on how to use PayPal for nonprofit donations:
- Visit the Nonprofit’s Website or Fundraising Page: Begin by visiting the website or fundraising page of the nonprofit organization you wish to donate to. Many nonprofits prominently display a PayPal donate button or provide instructions on how to donate through PayPal.
- Choose the Donation Amount: Select the donation amount that you would like to contribute. Nonprofits often have suggested donation levels, but you can also enter a custom amount if desired.
- Click on the PayPal Donate Button: In most cases, you will see a PayPal donate button on the nonprofit’s website. Clicking on this button will redirect you to the PayPal website to complete the donation process.
- Log in to Your PayPal Account: If you have a PayPal account, log in using your credentials. If you don’t have an account, you can choose to donate as a guest by entering your payment information manually.
- Select Your Payment Method: Choose your preferred payment method from the options available, such as a linked bank account, credit card, or PayPal balance.
- Review and Confirm Your Donation: Review the donation details, including the amount and the nonprofit organization to which you are donating. Ensure that all information is accurate before confirming the donation.
- Receive Confirmation: Once your donation is approved and processed, you will receive a confirmation email from PayPal. This serves as evidence of your contribution and can be used for tax purposes if applicable.
- Optional: Set Up Recurring Donations: If you wish to provide ongoing support, some nonprofits offer the option to set up recurring donations through PayPal. This allows you to make regular contributions automatically without needing to remember to donate each time.
Using PayPal for nonprofit donations offers several advantages. First and foremost, PayPal provides a secure platform to safeguard your financial information during the donation process. Additionally, PayPal offers buyer protection policies that can help resolve any issues or disputes that may arise when making a donation to a nonprofit organization.
Furthermore, PayPal allows you to keep track of your donation history within your account, making it easy to reference your contributions. You can also view and manage any recurring donations you’ve set up, providing transparency and control over your giving.
By utilizing PayPal for nonprofit donations, you can support causes that are close to your heart with ease and confidence, knowing that your contributions are handled securely and efficiently.
How to Use PayPal for In-Store Purchases
PayPal not only enables online transactions but can also be used for in-store purchases at select retailers. With the PayPal app, you can make quick and secure payments, eliminating the need to handle cash or cards. If you’re interested in using PayPal for in-store purchases, here’s a step-by-step guide:
- Download the PayPal App: Start by downloading the PayPal app from the App Store or Google Play Store. Install the app on your mobile device and sign in to your PayPal account.
- Link Your Payment Methods: Link your preferred payment method, such as a bank account or credit card, to your PayPal account. This ensures that you have a funding source for in-store purchases.
- Enable Location Services: Open the PayPal app and enable location services on your device. This allows PayPal to detect nearby merchants that accept in-store PayPal payments.
- Find PayPal Retailers: Open the PayPal app and select the option for in-store payments. The app will display a list of nearby retailers that accept PayPal as a payment option.
- Select the Merchant: Choose the merchant where you want to make your in-store purchase. Ensure that they display the PayPal logo or indicate that they support PayPal payments.
- Check In: When you arrive at the merchant’s location, check in using the PayPal app. This informs the merchant that you will be using PayPal for your payment.
- Enter Your PIN or Use Touch/Face ID: When prompted, enter your PayPal PIN or use the biometric authentication (Touch ID/Face ID) associated with your device to authorize the payment.
- Confirm the Payment: Review the transaction details displayed on your device to ensure accuracy. Once verified, confirm the payment to complete your in-store purchase.
- Receive the Receipt: Upon successful payment, you will receive a digital receipt in the PayPal app. You can also opt to receive an email receipt for your records.
Using PayPal for in-store purchases offers several advantages. It provides a seamless and contactless payment experience, as you can pay with your smartphone instead of handling physical cash or cards. Additionally, PayPal offers buyer protection and dispute resolution services, which can be beneficial in case of any issues with your purchase.
Furthermore, using PayPal for in-store purchases allows you to keep track of your transactions within the app’s transaction history. This makes it easy to review past purchases, track your spending, and access receipts whenever needed.
By utilizing the PayPal app for in-store purchases, you can enjoy the flexibility and convenience of digital payments, ensuring a secure and hassle-free checkout experience.
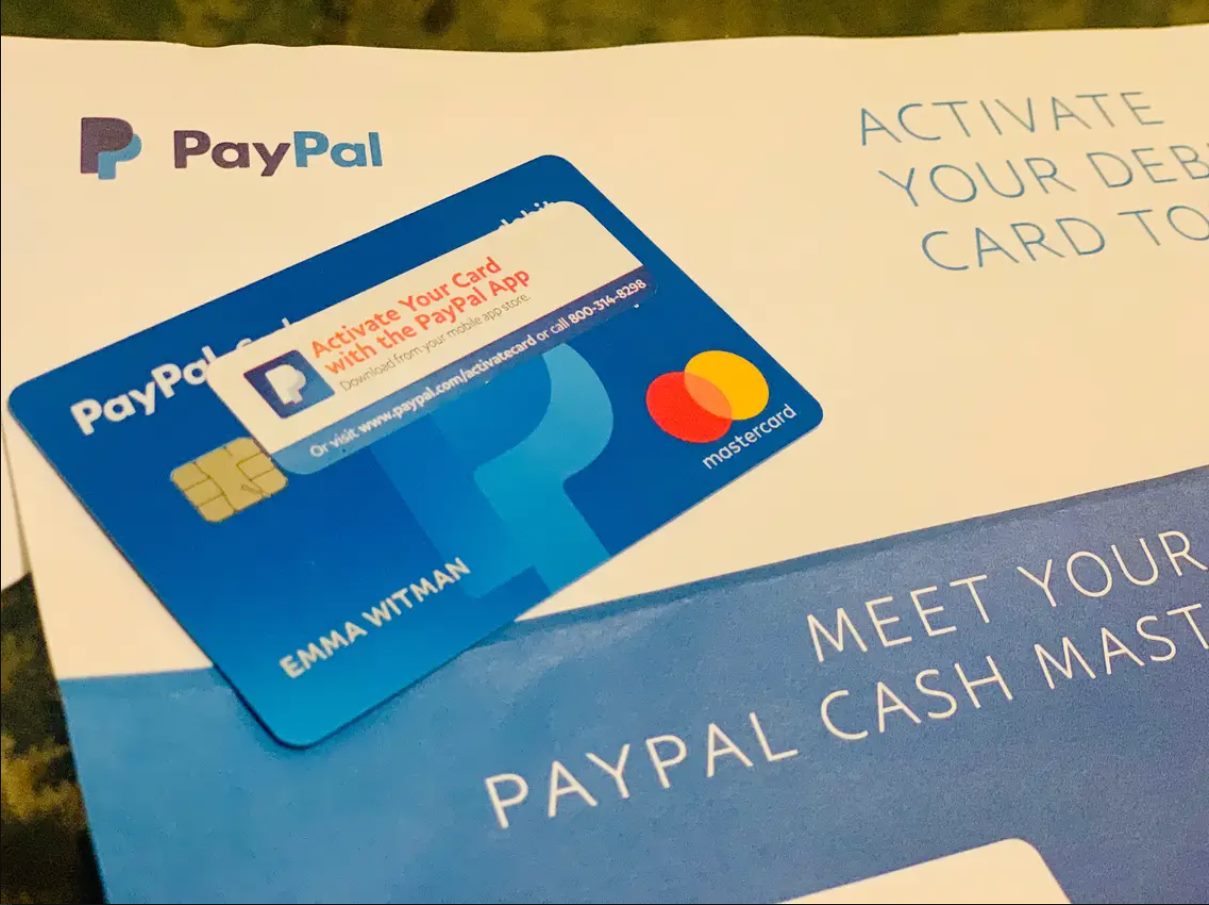
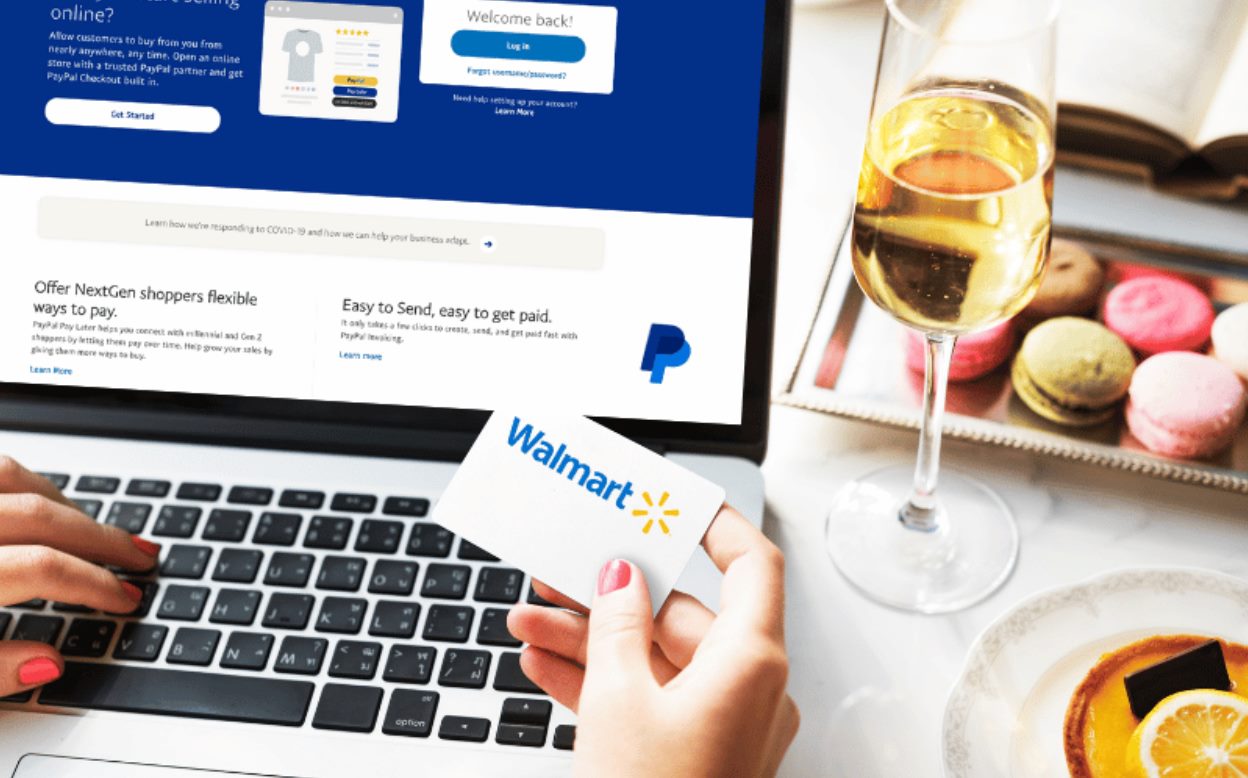
How to Use PayPal for Prepaid Cards and Gift Cards
PayPal offers a convenient way to use prepaid cards and gift cards for online purchases. By linking them to your PayPal account, you can enjoy the flexibility and security of PayPal’s payment platform. If you’re unsure of how to use PayPal for prepaid cards and gift cards, here’s a step-by-step guide:
- Create or Log In to Your PayPal Account: If you don’t have a PayPal account, sign up for one. If you already have an account, log in using your credentials to access your PayPal dashboard.
- Link Your Prepaid Card or Gift Card: From your PayPal dashboard, navigate to the “Wallet” section. Click on the option to add a debit or credit card, and enter the details of your prepaid card or gift card. PayPal will verify the card information and link it to your account.
- Check the Card Balance: Before making a purchase, ensure that you know the available balance on your prepaid card or gift card. This will prevent any declined transactions due to insufficient funds.
- Make a Purchase: When ready to make an online purchase, proceed to the checkout page of the website or online store. Look for the PayPal checkout option, usually displayed alongside other payment methods.
- Select PayPal as the Payment Method: Choose PayPal as your payment method at checkout. You will be redirected to the PayPal website where you can log in to your account and review the transaction details.
- Choose the Funding Source: From your available payment options, select the linked prepaid card or gift card that you want to use for the purchase. Ensure that the card you select has sufficient funds to cover the transaction.
- Confirm the Payment: Review the transaction details, including the purchase amount and the funding source. If everything is accurate, confirm the payment to complete your purchase using the prepaid card or gift card linked to your PayPal account.
- Receive the Confirmation: After the payment is processed, you will receive a confirmation email from PayPal and, in most cases, a receipt from the merchant. Keep these for your records or any potential returns or exchanges.
Using PayPal for prepaid cards and gift cards provides added convenience and security. Instead of entering your card details on multiple websites, you only need to provide them to PayPal once, reducing the risk of exposing sensitive information.
Additionally, PayPal’s buyer protection policies may cover eligible purchases made using prepaid cards or gift cards, providing an added layer of assurance. In case of any issues with your purchase, PayPal can assist in resolving disputes and obtaining refunds.
By utilizing PayPal for prepaid cards and gift cards, you can make online purchases with ease and confidence, knowing that your transactions are protected and your sensitive information remains secure.
How to Use PayPal for Digital Goods and Services
PayPal offers a convenient and secure payment method for purchasing digital goods and services online. Whether you’re buying e-books, software, online courses, or digital subscriptions, PayPal provides a seamless transaction process. If you’re unsure how to use PayPal for digital goods and services, here’s a step-by-step guide:
- Create or Log In to Your PayPal Account: If you don’t have a PayPal account, sign up for one. If you already have an account, log in using your credentials to access your PayPal dashboard.
- Choose a Digital Goods or Service: Identify the digital goods or services you want to purchase. This could include items such as e-books, software licenses, online courses, graphic designs, or digital subscriptions.
- Select a Merchant: Find a reputable merchant or platform that offers the digital goods or services you’re interested in. Ensure that they accept PayPal as a payment option.
- Add the Items to Your Cart: Add the desired digital goods or services to your cart or follow the necessary steps to proceed with the purchase. This may involve selecting package options, confirming licensing agreements, or choosing subscription plans.
- Proceed to Checkout: Once you’re ready to make the purchase, proceed to the checkout page. Look for the PayPal option among the available payment methods.
- Select PayPal as the Payment Method: Choose PayPal as your preferred payment method at checkout. You may be redirected to the PayPal website to log in to your account and review the transaction details.
- Authorize the Payment: Review the transaction details, including the purchase amount and recipient. Confirm that everything is accurate, and authorize the payment using your PayPal account credentials or biometric authentication.
- Receive the Digital Goods or Service: After the payment is processed, you will typically receive an email or notification with instructions on how to access or download the digital goods or services you’ve purchased. Follow the provided instructions to obtain the digital items.
- Review and Resolve Any Issues: Take the time to review the digital goods or service you received. If there are any issues or discrepancies, reach out to the merchant’s customer support or contact PayPal for assistance.
Using PayPal for digital goods and services offers several advantages. PayPal provides a secure platform to facilitate your transactions, ensuring that your payment information remains protected. It allows for a smooth and seamless checkout process when purchasing digital items.
Additionally, PayPal’s buyer protection policies may offer coverage for eligible digital purchases. This provides peace of mind in case of issues such as non-delivery or misrepresentation of the digital goods or services.
By utilizing PayPal for digital goods and services, you can confidently and conveniently purchase the digital items you need or enjoy the services you desire, knowing that your transactions are secure and backed by PayPal’s policies.
How to Use PayPal for Auctions and Marketplaces
PayPal is a widely accepted and secure payment option for participating in online auctions and marketplaces. Whether you’re buying or selling items through platforms like eBay, Etsy, or other online marketplaces, PayPal simplifies the transaction process and offers protection for both buyers and sellers. If you’re unfamiliar with using PayPal for auctions and marketplaces, here are the steps to get started:
- Create or Log In to Your PayPal Account: If you don’t have a PayPal account, sign up for one. If you already have an account, log in using your credentials to access your PayPal dashboard.
- Link Your Bank Account or Credit Card: To fund your purchases or receive payments as a seller, link your preferred payment method such as a bank account or credit card to your PayPal account.
- Find an Auction or Marketplace: Identify the auction or marketplace where you want to buy or sell items. Some popular options include eBay, Etsy, Amazon, and various niche marketplaces.
- Check Accepted Payment Methods: Ensure that the auction or marketplace accepts PayPal as a payment option. Look for the PayPal logo or information specifying PayPal acceptance.
- Buying Items: If you’re a buyer, participate in the auction or directly purchase the item from the seller. During the checkout process, choose PayPal as your payment method.
- Selling Items: If you’re a seller, list your item for sale with detailed descriptions and photos. Indicate that you accept PayPal payments in your listing. When a buyer selects your item, they can pay using PayPal.
- Complete the Transaction: As a buyer, once you select PayPal as the payment method, you’ll be redirected to the PayPal website. Log in to your account, review the transaction details, and authorize the payment. As a seller, you’ll receive a notification that the buyer has paid, and the funds will be available in your PayPal account.
- Shipping and Confirming Receipt: As a buyer, provide the seller with your shipping information if applicable. As a seller, ship the item to the buyer’s address provided. Once the buyer receives the item, they should confirm receipt to complete the transaction.
- Resolving Disputes: If any issues or disputes arise during the transaction, utilize PayPal’s resolution center to resolve them. Both buyers and sellers are protected by PayPal’s policies, providing an added layer of security.
Using PayPal for auctions and marketplaces offers numerous benefits. It provides a convenient and secure payment method, saving time and eliminating the need for exchanging sensitive financial information directly between buyers and sellers.
Additionally, PayPal offers buyer protection policies that cover eligible purchases, such as items not received or significantly not as described. For sellers, PayPal offers seller protection policies, helping to mitigate risks associated with fraudulent buyers or payment disputes.
By utilizing PayPal for auctions and marketplaces, both buyers and sellers can engage in transactions with confidence, knowing that their payments are secure, and they have recourse in case of any issues or disputes that may arise.