Introduction
Welcome to this comprehensive guide on how to create a PayPal account. Whether you’re an individual looking for a secure and convenient way to send and receive money, or a business owner seeking a reliable payment processing solution, PayPal is an excellent choice. With millions of users worldwide, PayPal offers a trusted platform to manage your financial transactions online.
In this guide, we will take you through the step-by-step process of setting up your PayPal account. By following these simple instructions, you’ll be able to create your account and start enjoying the benefits of PayPal in no time.
Before we begin, it’s important to note that creating a PayPal account is completely free. Although there are optional premium features available for a fee, the basic account is sufficient for most users’ needs.
By creating a PayPal account, you gain access to a wide range of features. These include the ability to send and receive money, make online purchases, receive payments for goods and services, and even set up subscription payments for recurring billing.
Additionally, PayPal offers buyer and seller protection, as well as dispute resolution services, giving you peace of mind when engaging in financial transactions online.
Now, let’s dive into the step-by-step process of creating your PayPal account. Whether you’re an individual or a business, PayPal provides options tailored to meet your specific requirements. So, without further ado, let’s get started with the first step: going to the PayPal website.
Step 1: Go to the PayPal website
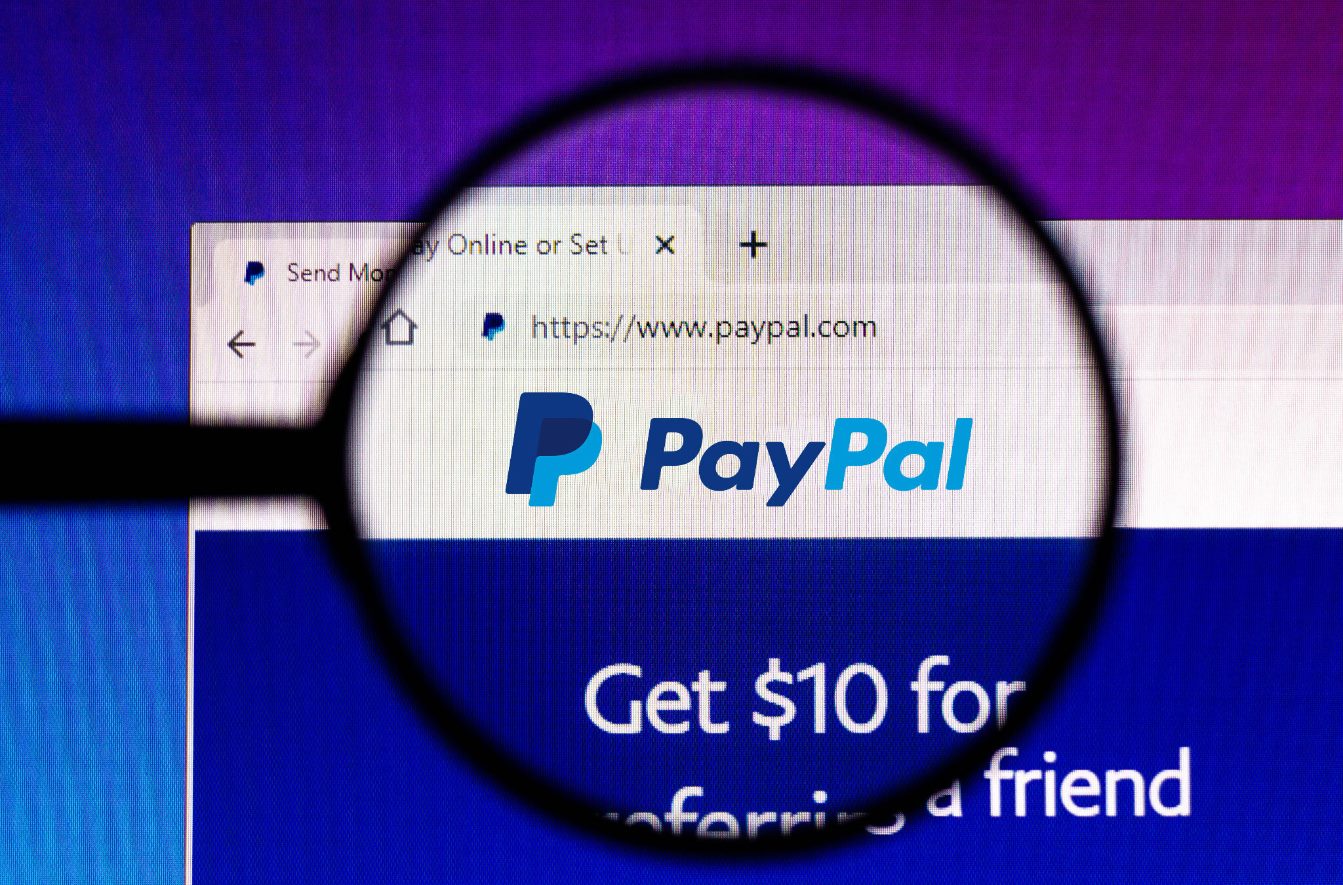
The first step in creating your PayPal account is to navigate to the official PayPal website. Open your preferred web browser and type in www.paypal.com in the address bar. Once the page loads, you’ll be greeted by the PayPal homepage.
Take a moment to familiarize yourself with the homepage. You’ll find useful information about the benefits of using PayPal, as well as testimonials from satisfied users. The homepage also provides an overview of the different types of PayPal accounts available, such as Personal, Business, and PayPal Credit.
At the top right corner of the homepage, you’ll see a “Sign Up” button. This is where you need to click to start the process of creating your PayPal account. When you click on the button, you will be directed to the sign-up page.
If you prefer, you can also access the sign-up page directly by entering www.paypal.com/signup in your browser’s address bar.
Remember, the PayPal website is secure and encrypted to protect your personal and financial information. Always ensure that the website address begins with “https://” to confirm the security of your connection.
Once you are on the sign-up page, you’ll be prompted to choose the type of account you want to create. In the next section, we’ll explore the different account types available and help you choose the one that best suits your needs.
Step 2: Click on the “Sign Up” button
Once you have reached the PayPal website, you will need to find the “Sign Up” button to begin the account creation process. The “Sign Up” button is usually located at the top right corner of the homepage.
Clicking on the “Sign Up” button will take you to the account creation page, where you’ll be asked to select the type of PayPal account you want to create. PayPal offers different account types tailored to meet the needs of individuals, businesses, and nonprofit organizations.
Here are the three account types offered by PayPal:
- Personal Account: This account is perfect for individuals who want to send and receive money for personal reasons, such as paying friends, shopping online, or receiving payments from freelance work.
- Business Account: If you’re a business owner, this account type is ideal for managing payments for goods and services, handling invoices, and accepting transactions on your website or online store.
- Nonprofit Account: Designed for registered nonprofit organizations, this account allows you to accept donations and manage your nonprofit’s financial transactions.
Choose the appropriate account type by clicking on the corresponding option. Consider your specific needs and select the account type that best suits your situation. You can always upgrade or downgrade your account type later if your needs change.
After selecting the account type, you will be prompted to provide additional information to proceed with the account creation process. The next section will guide you through the necessary information needed to create your PayPal account.
Step 3: Choose your account type
After clicking the “Sign Up” button on the PayPal website, you will be presented with the option to choose the type of account you want to create. PayPal offers three main account types: Personal, Business, and Nonprofit.
1. Personal Account: This account type is suitable for individuals who want to use PayPal for personal transactions. Whether you want to shop online, send money to friends or family, or receive payments for services you provide, a Personal Account is ideal. To create a Personal Account, select the “Personal” option on the account creation page.
2. Business Account: If you own a business and want to accept payments online, a Business Account is the best choice. With this account type, you can process payments, create invoices, and offer a seamless shopping experience to your customers. To set up a Business Account, choose the “Business” option during the account creation process.
3. Nonprofit Account: For registered nonprofit organizations, PayPal offers a specialized account type designed to handle donations and manage finances. With a Nonprofit Account, you can accept charitable contributions, create fundraising campaigns, and track your organization’s financials. To create a Nonprofit Account, select the “Nonprofit” option when prompted.
When choosing your account type, consider the specific needs and goals you have in mind. It’s important to select the account type that aligns with your purpose for using PayPal. Remember that you can always upgrade or downgrade your account type later on if your circumstances change.
Now that you have chosen your account type, it’s time to move on to the next step: filling out the required information to create your PayPal account. We will guide you through the process in the upcoming section.
Step 4: Fill out the required information
Once you have chosen the account type that suits your needs, the next step in creating your PayPal account is to provide the required information. PayPal needs certain details to verify your identity and set up your account.
Here are the key pieces of information you will be asked to provide:
- Email Address: Start by entering a valid email address. This will be the primary contact method for your PayPal account.
- Password: Choose a strong and secure password to protect your PayPal account. Make sure your password includes a combination of numbers, letters, and special characters.
- Personal Information: You will need to provide your full legal name, date of birth, and residential address. This information is necessary for PayPal to verify your identity.
- Contact Number: Enter your phone number, including your country code, to allow PayPal to reach you if needed.
- Security Questions: PayPal may ask you to select a few security questions and provide answers. This adds an extra layer of protection to your account.
- Captcha: Complete the Captcha code or verify that you’re not a robot as an additional security measure.
Take care to provide accurate information, as any mistakes could lead to issues with your account verification process later on. Also, ensure that your email address is active and easily accessible, as PayPal will send important account-related notifications to that address.
Additionally, it’s crucial to remember your password and security question answers and keep them secure. This will prevent unauthorized access to your account and ensure a smooth experience using PayPal.
Once you have completed filling out the required information, double-check for accuracy and click on the “Next” or “Continue” button to proceed with the account creation process. In the next step, we’ll discuss how to confirm your email address.
Step 5: Confirm your email address
After providing the necessary information and clicking on the “Next” or “Continue” button, PayPal will send a confirmation email to the email address you provided during the account creation process.
To confirm your email address, follow these steps:
- Check your email inbox for an email from PayPal with the subject line “Confirm your email address.”
- Open the email and click on the verification link within the email body. This link will redirect you to a confirmation page on the PayPal website.
- On the confirmation page, you may be asked to enter your PayPal password or complete any additional steps required to verify your email address.
- Once you have successfully confirmed your email address, you will be able to access and use your PayPal account.
It is important to confirm your email address as soon as possible to ensure that your PayPal account is fully activated. Unconfirmed email addresses may limit certain features and functionalities of your account.
If you did not receive the confirmation email from PayPal, check your spam or junk folder. Sometimes, email providers mistakenly filter out PayPal emails as spam. If you still cannot find the email, you can request a new confirmation email to be sent from your PayPal account settings.
Remember to keep your email address updated in your PayPal account settings. This will ensure that you receive important notifications and alerts regarding your account.
Now that your email address is confirmed, it’s time to move on to the next step: linking your bank account or credit card to your PayPal account. We will guide you through this process in the following section.
Step 6: Link your bank account or credit card
Once you have confirmed your email address and gained access to your PayPal account, the next step is to link your bank account or credit card. Linking a funding source to your PayPal account allows you to transfer funds, make purchases, and receive payments conveniently.
Here’s how you can link your bank account or credit card to your PayPal account:
- Linking a Bank Account: To link a bank account, go to your PayPal account settings and select the option to “Link a Bank Account” or “Add Bank Account.” You will be prompted to provide your bank’s name, your account number, and your routing number. PayPal will then verify the information provided by making a small deposit and withdrawal, which you will need to confirm to complete the linking process.
- Linking a Credit Card: If you prefer to link a credit card, navigate to your PayPal account settings and select the option to “Link a Card” or “Add a Card.” Enter your credit card information, including the card number, expiration date, and security code. PayPal may also require you to confirm your card details by entering a unique code sent to your card statement or by using your online banking credentials.
Both bank accounts and credit cards can be linked to your PayPal account, but it’s important to note that certain functionalities, such as the ability to make instant transfers, may vary depending on the linked funding source.
Linking your bank account or credit card to your PayPal account ensures that you have a secure and convenient way to manage your transactions. It also allows you to easily withdraw funds from your PayPal balance to your bank account or make payments using your linked credit card.
Once you have successfully linked your bank account or credit card, you can customize your account settings to enhance your PayPal experience. The next section will guide you through the process of customizing your account settings.
Step 7: Customize your account settings
After linking your bank account or credit card, it’s time to customize your PayPal account settings to match your preferences and needs. Customizing your account settings allows you to personalize your PayPal experience and optimize the functionalities available to you.
Here are some key account settings you can customize:
- Profile Settings: Update your personal information, including your name, address, and contact details, in the profile settings. Keeping this information up to date ensures that your account remains accurate and secure.
- Security Settings: Protect your account by enabling features such as two-factor authentication and notifications for any suspicious activity. You can also choose to set a security key, a unique code generated by a security app or a physical device, to enhance the security of your account.
- Notification Preferences: Choose how and when you receive notifications from PayPal. You can customize your preferences for transaction alerts, account updates, and promotional offers to align with your communication preferences.
- Seller and Payment Preferences: If you are a business owner or plan to use PayPal for selling products or services, you can set up seller preferences such as invoicing, shipping options, and payment notifications. You can also configure payment preferences, including accepted currencies and payment methods.
- Withdrawal Settings: Specify how you want to withdraw funds from your PayPal account to your linked bank account. You can set up automatic withdrawals, choose the frequency of withdrawals, or manually initiate transfers.
- Privacy and Data Sharing: Adjust your privacy settings to control how your personal information is shared with other PayPal users or third-party organizations.
Take some time to explore these settings and make adjustments based on your preferences. Keep in mind that while customization is optional, it can greatly enhance your experience with PayPal and streamline your financial transactions.
By customizing your account settings, you can ensure that PayPal aligns with your unique needs and provides you with the desired level of security and convenience.
With your account settings in place, you are now ready to fully utilize your PayPal account. In the next and final step, we will discuss how to start using your PayPal account for various transactions.
Step 8: Start using your PayPal account
Congratulations! You have successfully created and customized your PayPal account. Now it’s time to start using it for various transactions. Here’s how you can begin:
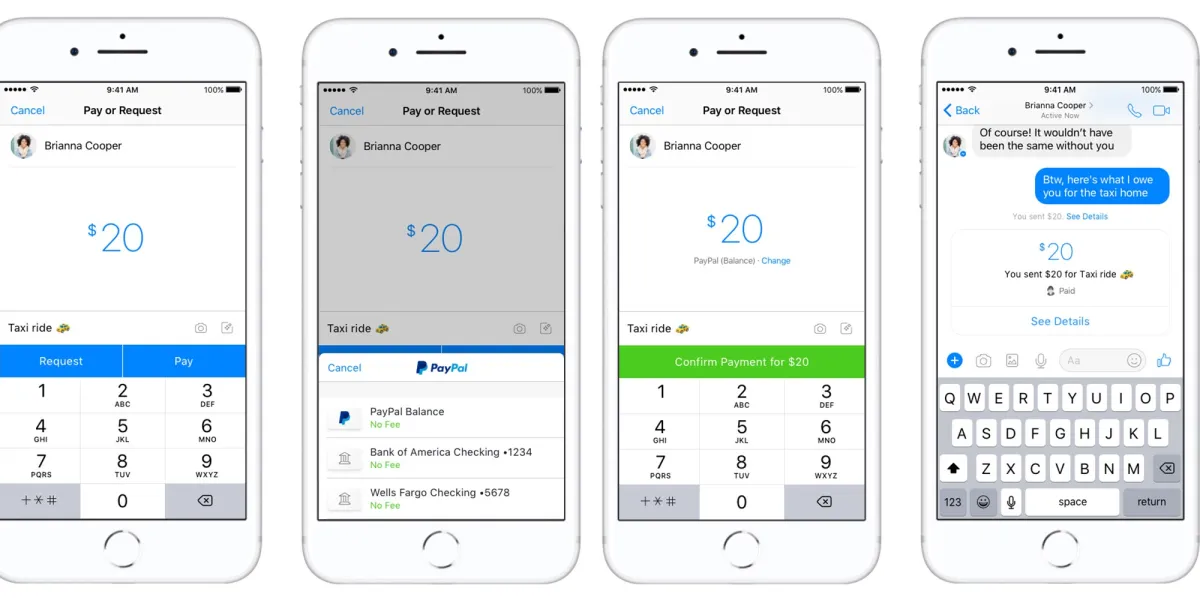
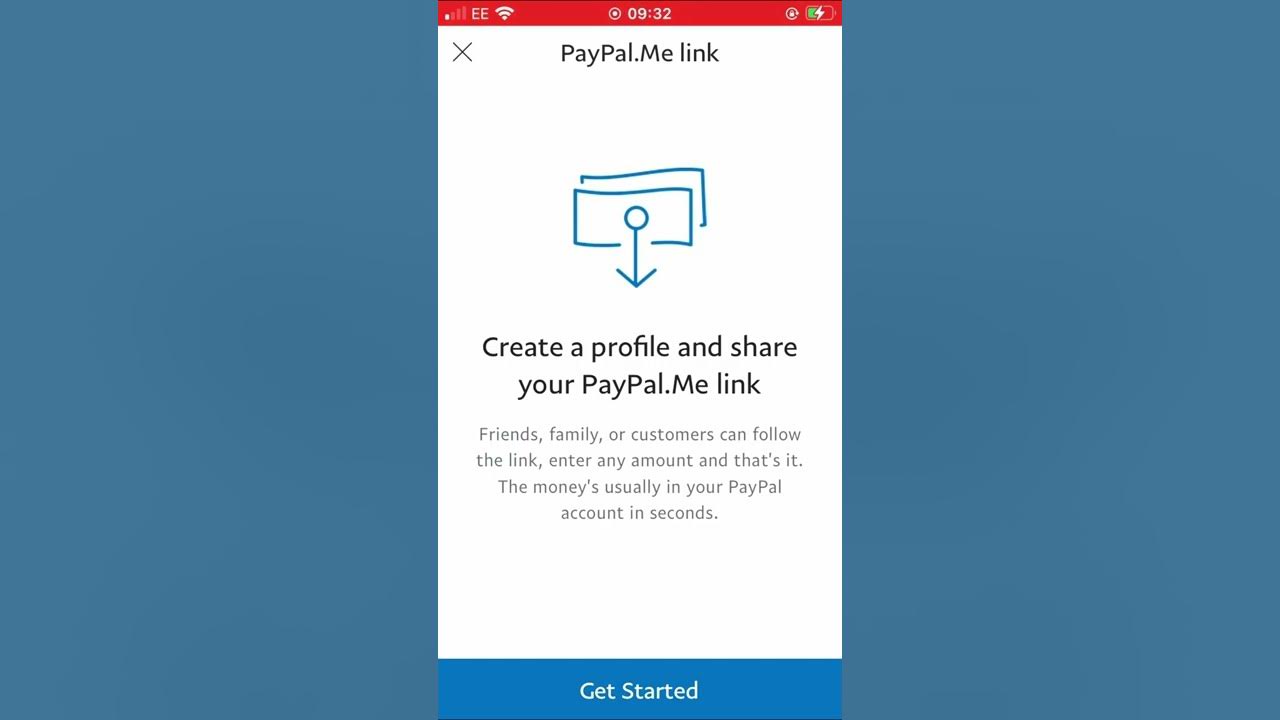
1. Sending and Receiving Money: With your PayPal account, you can easily send money to friends, family, or anyone with an email address or a PayPal account. Simply click on the “Send & Request” tab, enter the recipient’s email address or mobile number, specify the amount, and add a note if necessary. To receive money, share your PayPal email address or payment link with the sender.
2. Online Shopping: Many online retailers and merchants accept PayPal as a payment option. When making a purchase, look for the PayPal checkout option, select it, and enter your PayPal login details to complete the transaction. No need to share your credit card or bank details with the seller.
3. Receiving Payments: If you have a business or offer services, you can easily receive payments from customers or clients through your PayPal account. Simply invoice them through PayPal or provide your PayPal email address for them to send the payment directly.
4. Manage Subscriptions: If you offer subscriptions or recurring services, you can set up automatic payments through PayPal. This enables your customers to conveniently pay you on a recurring basis without the need for manual transactions.
5. Withdraw Funds: If you have funds in your PayPal account, you can easily transfer them to your linked bank account. Navigate to the “Wallet” tab, click on “Withdraw funds,” and follow the prompts to initiate the transfer. Depending on your bank, it may take a few business days for the funds to appear in your bank account.
Remember to keep an eye on your account activity and review your transaction history regularly to ensure everything is accurate and as expected.
PayPal also offers additional features and services that you can explore to enhance your experience. This includes buyer and seller protection, dispute resolution services, and integration with various e-commerce platforms.
Now that you know how to start using your PayPal account, feel free to explore its features, enjoy the convenience it offers, and securely manage your financial transactions online.
Thank you for following this step-by-step guide on creating a PayPal account. We hope this information has been helpful, and we wish you a seamless and enjoyable experience with PayPal!
Conclusion
Creating a PayPal account opens up a world of possibilities for managing your finances securely and conveniently. Whether you’re an individual looking to send money to friends, shop online, or receive payments for freelance work, or a business owner in need of a reliable payment processing solution, PayPal has you covered.
In this comprehensive guide, we have walked you through the step-by-step process of creating a PayPal account. From visiting the PayPal website to customizing your account settings, we have covered all the necessary steps to get you up and running smoothly.
By following these steps, you have successfully set up your PayPal account, linked your bank account or credit card, and personalized your account settings to match your preferences. You are now ready to start using your PayPal account for various transactions such as sending and receiving money, shopping online, and receiving payments for goods and services.
Remember to keep your account information secure, regularly review your transaction history, and stay updated on the latest security practices provided by PayPal. This will ensure a safe and smooth experience with your PayPal account.
As you explore the features and functionalities of your PayPal account, you may discover additional services and benefits offered by PayPal. These include buyer and seller protection, dispute resolution services, and integration with various e-commerce platforms.
With millions of users worldwide, PayPal has proven to be a trusted and reliable platform for managing financial transactions online. Enjoy the convenience, security, and flexibility that PayPal provides, and make the most of your online financial interactions.
Thank you for following this guide on how to create a PayPal account. We hope you find this information useful and that it serves as a valuable resource as you navigate and utilize your PayPal account in the future.
Happy banking with PayPal!