Introduction
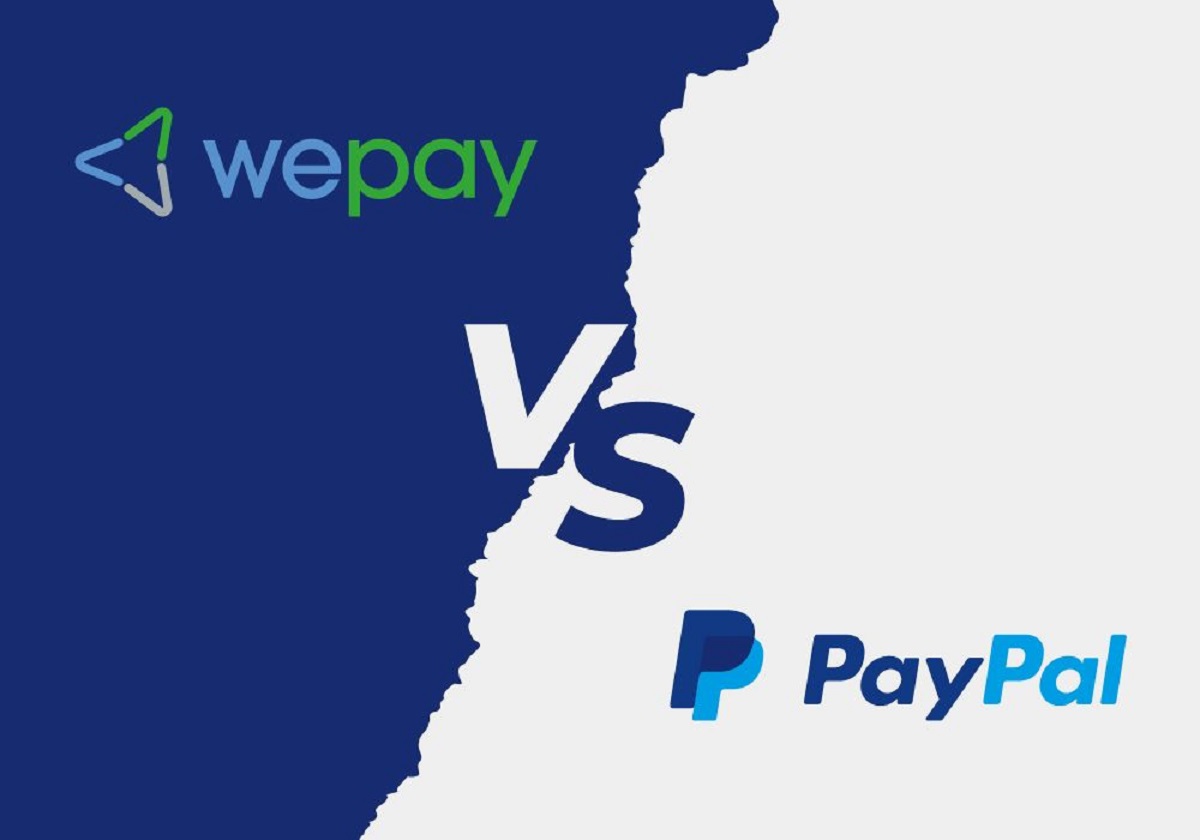
Welcome to the world of online fundraising! If you’re currently using WePay on your YouCaring fundraising page and are considering making the switch to PayPal, you’ve come to the right place. PayPal is a popular and trusted payment processing platform that offers a wide range of features and benefits for fundraising campaigns. In this guide, we’ll walk you through the steps to change from WePay to PayPal seamlessly.
Making the switch to PayPal on your YouCaring page has several advantages. First and foremost, PayPal is a well-established and widely recognized payment solution, which can help to boost your donors’ confidence in supporting your cause. Additionally, PayPal provides a user-friendly interface, extensive support resources, and a range of customizable features that make managing your fundraising efforts a breeze.
Before we dive into the steps, it’s important to note that setting up a PayPal account is a prerequisite for making the transition. If you haven’t done so already, don’t worry, we’ll guide you through the process. Once you have a verified PayPal account, you’ll be ready to start accepting donations via PayPal on your YouCaring page.
Now, let’s get into the nitty-gritty details of how to change from WePay to PayPal in a few simple steps. Rest assured, the process is straightforward and won’t take up too much of your time. So, without further ado, let’s begin!
Step 1: Setting up a PayPal Account
The first step in transitioning from WePay to PayPal is setting up a PayPal account if you don’t already have one. Follow these steps to get started:
- Visit the PayPal website and click on the “Sign Up” button.
- Select the type of account you want to create. You can choose between a personal account for individuals or a business account if you’re raising funds for an organization.
- Provide the required personal or business information, including your name, email address, and password. Make sure to choose a strong password to protect your account.
- Agree to the terms and conditions, and click on the “Agree and Create Account” button.
- Verify your email address by following the instructions sent to your registered email. This step is crucial to ensure the security of your PayPal account.
- Once your email is verified, you can link a bank account or credit/debit card to your PayPal account. This will enable you to receive and withdraw funds.
- Take the time to explore and customize your PayPal account settings. You can add your organization’s logo, set up donation buttons, and configure various preferences to suit your fundraising needs.
Setting up a PayPal account is free and straightforward. However, it’s important to note that certain fees may apply for certain transactions, such as currency conversions and receiving payments from international donors. Familiarize yourself with PayPal’s fee structure to understand the costs involved.
Once your PayPal account is set up and ready to go, you’re one step closer to making the switch from WePay to PayPal on your YouCaring fundraising page. In the next step, we’ll guide you through the process of verifying your PayPal account.
Step 2: Verifying your PayPal Account
Verifying your PayPal account is an essential step to ensure the security and credibility of your fundraising efforts. Here’s how you can verify your account:
- Log into your newly created PayPal account.
- Click on the “Settings” icon located on the upper-right corner of the screen.
- Under the “Account” section, click on “Get Verified.”
- Choose the verification method that works best for you. PayPal offers options such as linking and confirming your bank account, verifying your credit or debit card, or providing necessary documentation.
- Follow the instructions provided by PayPal to complete the verification process. This may involve confirming your bank account details, providing your social security number (for US users), or submitting documents such as proof of address or identification.
- Once your account is verified, PayPal will lift certain restrictions, such as higher withdrawal limits and increased account security.
Verifying your PayPal account may take a few days, as PayPal needs to review and confirm your information. It’s crucial to complete this step to prove your identity and comply with PayPal’s security measures.
Once your account is verified, you’re now ready to proceed to the next step – linking your PayPal account to your YouCaring fundraising page. This will allow you to seamlessly accept donations through PayPal and continue your fundraising efforts. Keep reading to find out how!
Step 3: Linking your PayPal Account to YouCaring
Now that you have a verified PayPal account, it’s time to link it to your YouCaring fundraising page. This step will enable you to seamlessly accept donations through PayPal. Here’s how to do it:
- Log into your YouCaring account and navigate to your fundraising page’s dashboard.
- Click on the “Settings” tab or “Edit Fundraiser” (depending on the platform’s layout).
- Scroll down to the “Payment Methods” section and select “Add New Payment Method.”
- Select PayPal as your preferred payment method from the available options.
- Enter the email address associated with your PayPal account in the provided field.
- Save your changes and exit the settings page.
By linking your PayPal account to your YouCaring fundraising page, you’re now ready to start accepting donations through PayPal. Whenever someone donates to your cause, the funds will be securely transferred to your PayPal account. This integration streamlines the donation process for your supporters and simplifies the management of your fundraising campaign.
Keep in mind that YouCaring may have additional settings or features to customize your PayPal integration. Explore these options to make the most out of your fundraising page and enhance the donor experience.
In the next step, we’ll guide you through removing WePay from your YouCaring page, ensuring a smooth transition to PayPal. Let’s move on!
Step 4: Removing WePay from YouCaring
Now that you’ve successfully linked your PayPal account to your YouCaring fundraising page, it’s time to remove WePay from the equation. Follow these steps to remove WePay as your payment processor:
- Login to your YouCaring account and access your fundraising page’s dashboard.
- Navigate to the “Settings” or “Edit Fundraiser” section.
- Scroll down to the “Payment Methods” section.
- Locate the WePay option and click on the “Remove” or “Disable” button next to it.
- You may be prompted to confirm the removal. Follow the instructions provided by YouCaring to complete the process.
- Once WePay is removed, your fundraising page will only accept donations through PayPal.
By removing WePay from your YouCaring page, you can streamline your fundraising efforts and focus solely on the convenience and benefits of utilizing PayPal. This simplification can enhance the donor experience and enable you to manage your funds efficiently.
Remember to notify your supporters about the payment method change to ensure the smooth transition. You can send out an update to your donors, post on social media, or include a message on your fundraiser page’s description. Transparency and clear communication are key to maintaining trust and engagement.
In the next step, we’ll guide you through customizing your PayPal settings on YouCaring. Let’s continue!
Step 5: Customizing your PayPal Settings on YouCaring
Now that you’ve removed WePay and have PayPal as your primary payment processor, it’s time to customize your PayPal settings on YouCaring. This step allows you to personalize the donor experience and tailor PayPal’s features to your fundraising needs. Follow these steps to customize your PayPal settings:
- Login to your YouCaring account and access your fundraising page’s dashboard.
- Navigate to the “Settings” or “Edit Fundraiser” section.
- Scroll down to the “Payment Methods” section.
- Click on the PayPal option to access the PayPal settings.
- Customize your PayPal settings based on your preferences. You can choose to add a custom donation button, set a default donation amount, or add a special message to your donors.
- Take advantage of additional features offered by PayPal, such as recurring monthly donations or customizing the checkout process.
- Save your changes and exit the settings page.
By customizing your PayPal settings on YouCaring, you can create a more personalized and branded fundraising experience for your supporters. This can include incorporating your organization’s logo, adding a heartfelt message, or even offering different donation options. The goal is to create a seamless and engaging experience for your donors.
Additionally, make sure to regularly review and update your PayPal settings as needed. This will allow you to stay current with any new features or functionalities introduced by PayPal, ensuring a smooth and optimized fundraising process.
Now that you’ve customized your PayPal settings on YouCaring, it’s time to move on to the final step – testing your PayPal integration. Let’s proceed!
Step 6: Testing your PayPal Integration
After completing the previous steps to change from WePay to PayPal on your YouCaring fundraising page, it’s crucial to test your PayPal integration to ensure everything is functioning smoothly. This step allows you to verify that donations are being processed correctly and that funds are being deposited into your PayPal account. Follow these steps to test your PayPal integration:
- Visit your fundraising page as a donor would to simulate the donation process.
- Select the donation amount and click on the donation button to proceed to the checkout page.
- You will be redirected to the PayPal payment processing page.
- Enter the necessary payment details as if you were making a real donation.
- Complete the donation process.
- Check your PayPal account to ensure that the funds from the test donation have been successfully deposited.
- Verify that you receive a confirmation email for the test donation from PayPal.
By testing your PayPal integration, you can confidently verify that the donation process works seamlessly for your donors. This step is essential in ensuring a smooth transition from WePay to PayPal and maintaining your fundraising momentum.
If any issues arise during the testing process, reach out to PayPal’s customer support for assistance. They can help resolve any technical issues or concerns you may have.
Once you’ve successfully tested your PayPal integration, you can rest assured that your fundraising page is fully equipped to accept donations through PayPal. Your supporters can donate with ease and confidence, knowing that their contributions are securely processed through a trusted payment platform.
Congratulations! You have successfully changed from WePay to PayPal on your YouCaring fundraising page. Enjoy the benefits of PayPal’s features and continue your journey towards making a positive impact.
Conclusion
Changing from WePay to PayPal on your YouCaring fundraising page can be a smooth and rewarding process. By following the steps outlined in this guide, you’ve successfully set up a PayPal account, verified your account, linked it to your YouCaring page, removed WePay, customized your PayPal settings, and tested your PayPal integration. This transition allows you to benefit from PayPal’s trusted payment processing and advanced features, providing a seamless and convenient experience for your donors.
Remember to communicate the payment method change to your supporters, keeping them informed and engaged throughout the transition. Regularly review and update your PayPal settings to optimize your fundraising efforts and cater to your specific needs.
As you continue your fundraising journey, don’t hesitate to leverage the available resources and support provided by PayPal and YouCaring. Both platforms offer comprehensive guides, tutorials, and customer assistance to help you make the most of your fundraising campaign.
With PayPal in place, you’re well-equipped to receive donations securely and efficiently, while emphasizing the transparency and professionalism of your cause. Keep up the good work and continue making a positive impact through your fundraising efforts.