Introduction
Welcome to our guide on how to switch from WePay to PayPal in YouCaring! If you’re looking to make the transition from WePay to PayPal as your preferred payment gateway on the YouCaring platform, you’ve come to the right place. This step-by-step tutorial will walk you through the process of setting up a PayPal account, verifying it, and integrating it into your YouCaring fundraising campaign.
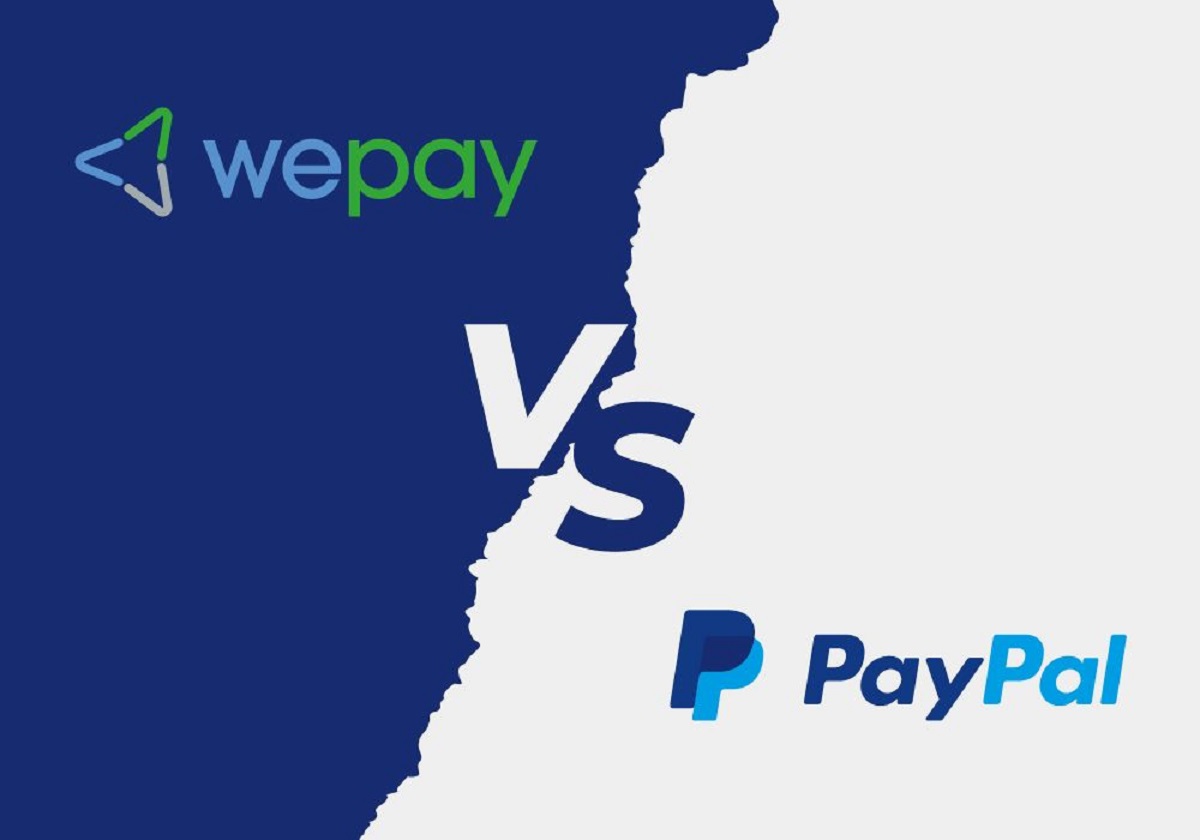
Both WePay and PayPal are trusted and widely-used payment processors that allow you to accept donations for your personal causes, fundraisers, or nonprofit organizations. While WePay may have served you well in the past, PayPal offers a seamless payment experience, enhanced security features, and a broader range of payment options that can benefit both you and your donors.
With PayPal, you can accept payments from all major credit cards, including Visa, Mastercard, American Express, and Discover. Additionally, PayPal offers the convenience of accepting payments from PayPal account holders, who can easily make donations with just a few clicks.
This guide will take you through the necessary steps to make a smooth transition from WePay to PayPal on YouCaring. We will cover the process of creating a PayPal account, verifying it, setting up a PayPal payment gateway on YouCaring, importing your existing WePay data to PayPal, and conducting tests to ensure the integration is working correctly. By the end of this tutorial, you’ll be ready to fully switch from WePay to PayPal and continue accepting donations seamlessly.
Please note that this guide assumes you already have an existing YouCaring fundraising campaign set up that currently uses WePay as the payment gateway. If you’re starting a new campaign or have not yet integrated any payment gateway, you can directly set up PayPal following the instructions provided.
Now, let’s get started on switching from WePay to PayPal in YouCaring!
Step 1: Creating a PayPal Account
The first step in switching from WePay to PayPal in YouCaring is to create a PayPal account. Follow these instructions to get started:
- Go to the PayPal website (www.paypal.com) and click on the “Sign Up” button.
- Choose the account type that suits your needs. PayPal offers both personal and business accounts. If you’re an individual raising funds for personal causes, a personal account would be sufficient. However, if you’re a nonprofit organization or running a fundraising campaign on behalf of a group, a business account would be more appropriate.
- Fill in the required information, including your name, email address, and a password. Make sure to provide accurate information as this will be associated with your PayPal account.
- Click “Next” and provide additional details such as your address and phone number. PayPal requires this information for security and verification purposes.
- Read and accept the PayPal user agreement and privacy policy.
- Complete the security check by entering the verification code sent to your email or phone number.
- Once the verification process is complete, your PayPal account will be created.
It’s important to note that PayPal may require additional information or documentation depending on your country of residence and account type. Follow the instructions provided by PayPal to fulfill any additional requirements.
Once your PayPal account is created, you’ll have access to the PayPal dashboard, where you can manage your account settings, view transaction history, and more. In the next step, we’ll guide you through the process of verifying your PayPal account.
Step 2: Verifying your PayPal Account
Verifying your PayPal account helps to increase security and allows you to access additional features and higher transaction limits. Follow these steps to verify your PayPal account:
- Log in to your newly created PayPal account using the credentials you provided during the sign-up process.
- On the PayPal dashboard, locate and click on the “Get Verified” or “Verify Your Account” link. This may vary depending on your account type and country of residence.
- Choose the verification method that suits you best. PayPal offers various options such as adding and confirming a bank account, linking and confirming a credit or debit card, or providing necessary documentation.
- If you select the bank account verification method, enter your banking details, including the account number and routing number. PayPal will make small deposits to your bank account, which you’ll need to confirm once they appear in your bank statement. This process may take a few business days.
- If you choose the credit or debit card verification method, you’ll need to provide the card details, including the card number, expiration date, and CVV code. PayPal will charge a small amount to your card, which you’ll need to verify by entering the specific transaction details mentioned on your card statement.
- If required, follow the additional instructions provided by PayPal for document verification. This may include uploading identification documents, proof of address, or any other supporting documents.
- Once you’ve completed the verification process, PayPal will review your information, and once approved, your account will be verified.
Verifying your PayPal account allows you to lift certain restrictions, such as withdrawing funds to your bank account or increasing your transaction limits. It adds an extra layer of security and builds trust with potential donors on YouCaring.
In the next step, we’ll guide you through setting up a PayPal payment gateway in YouCaring.
Step 3: Setting up a PayPal Payment Gateway in YouCaring
Now that your PayPal account is created and verified, it’s time to set up a PayPal payment gateway in YouCaring. Follow these steps to integrate PayPal into your fundraising campaign:
- Login to your YouCaring account and navigate to your campaign dashboard.
- Click on the “Settings” tab or a similar option that allows you to manage your campaign settings.
- Look for the “Payment Settings” or “Payment Gateway” option. This is where you’ll find the available payment gateway options.
- Select PayPal as your preferred payment gateway. You may also have the option to choose other payment gateways, but for this guide, we’ll focus on setting up PayPal.
- Enter the necessary information to link your PayPal account with YouCaring. This may include your PayPal email address or your PayPal API credentials. Follow the instructions provided by YouCaring to complete this step.
- Save your changes and test the PayPal integration by making a small donation to your campaign. This will help ensure that the payment process is working correctly and that funds are being deposited into your PayPal account.
- Once you’ve confirmed that the PayPal integration is functioning properly, make the necessary updates to your campaign information and let your donors know that you’re now accepting donations via PayPal.
By setting up a PayPal payment gateway in YouCaring, you’ll be able to provide your donors with a familiar and convenient way to make contributions. PayPal offers a secure and user-friendly payment experience and allows your donors to easily contribute using their PayPal accounts or major credit cards.
In the next step, we’ll guide you through the process of importing your existing WePay data to PayPal.
Step 4: Importing your WePay Data to PayPal
If you’ve been using WePay as your payment gateway on YouCaring, it’s important to transfer your existing donor and transaction data to PayPal. Follow these steps to import your WePay data to PayPal:
- Log in to your WePay account and navigate to the transaction history or data export section.
- Export your transaction history or donor data in a CSV or Excel format. WePay usually provides an option to download this data.
- Login to your PayPal account and navigate to the PayPal dashboard.
- Locate the “Tools” or “Manage Tools” section, where you can import external data.
- Choose the option to import the transaction or donor data from a CSV or Excel file.
- Follow the on-screen instructions to upload and import the data from the file you exported from WePay.
- Review the imported data in your PayPal transaction history or donor list to ensure that all information is accurate and complete.
- If you encounter any issues or discrepancies during the data import process, reach out to PayPal customer support for assistance.
Importing your WePay data to PayPal ensures that you have a complete record of your past transactions and donors. This allows you to maintain continuity in your fundraising efforts and provides a smooth transition for your donors as well.
In the next step, we’ll guide you through testing the PayPal integration in YouCaring to ensure that everything is working correctly.
Step 5: Testing the PayPal Integration in YouCaring
After setting up the PayPal payment gateway and importing your WePay data, it’s crucial to test the PayPal integration in YouCaring to ensure that everything is functioning correctly. Follow these steps to perform a test donation:
- Make sure you’re logged in to your YouCaring account and navigate to your campaign page.
- Click on the donate button or a similar option to initiate the donation process.
- Select a donation amount and proceed to the payment section.
- Choose the PayPal payment option and follow the prompts to log in to your PayPal account.
- Complete the donation process by confirming the payment.
- Check your PayPal account to verify that the donation amount has been deposited correctly.
- Confirm that you receive a notification or confirmation email from YouCaring regarding the successful donation.
- Review your YouCaring campaign dashboard to ensure that the donation is reflected in your transaction history.
- If any issues arise during the testing process, double-check your PayPal settings in YouCaring and confirm that the integration has been set up correctly. You may need to contact YouCaring or PayPal support for further assistance.
By conducting a test donation, you can ensure a smooth and error-free experience for your donors. It allows you to confirm that donations are being processed correctly through PayPal and that you’re receiving the funds in your PayPal account.
In the next step, we’ll guide you through the final steps of making the switch from WePay to PayPal in YouCaring.
Step 6: Making the Switch from WePay to PayPal in YouCaring
Once you’ve successfully tested the PayPal integration and ensured that everything is working smoothly, it’s time to make the final switch from WePay to PayPal in YouCaring. Follow these steps to complete the transition:
- Login to your YouCaring account and navigate to your campaign dashboard.
- Access the “Settings” or a similar section where you can manage your campaign preferences.
- Locate the payment settings or payment gateway options.
- Choose to enable PayPal as the default payment gateway or remove WePay if it’s still listed as an option.
- Save your changes and update your campaign information to reflect the switch to PayPal.
- Inform your donors and supporters about the transition from WePay to PayPal. Communicate the benefits of using PayPal, such as the ability to use major credit cards and the familiarity of the PayPal payment experience.
- Update any external links or materials that mention WePay as the payment processor, replacing it with the appropriate PayPal information.
- Continue monitoring your PayPal account and YouCaring dashboard to ensure that donations are being processed smoothly and that the funds are being deposited correctly.
- If any issues arise or if you need further assistance with the transition, reach out to YouCaring or PayPal support for help.
By following these steps, you’ve successfully switched from WePay to PayPal in YouCaring. You can now enjoy the benefits of using PayPal’s secure and user-friendly payment gateway for your fundraising campaign. Remember to keep an open line of communication with your donors to ensure a seamless transition and continue raising funds for your cause.
Conclusion
Congratulations! You have successfully switched from WePay to PayPal in YouCaring. By following the step-by-step process outlined in this guide, you have set up a PayPal account, verified it, integrated it into your YouCaring campaign, imported your existing WePay data, tested the PayPal integration, and made the final switch from WePay to PayPal.
Switching to PayPal offers numerous benefits for both you and your donors. PayPal provides a secure and trusted payment platform that accepts all major credit cards and offers a seamless payment experience. With PayPal, you can reach a broader audience of potential donors who are already familiar with the PayPal payment system, making it easier for them to contribute to your cause.
Remember to keep an eye on your PayPal account and YouCaring dashboard to ensure that donations are being processed correctly and that the funds are being deposited into your PayPal account. Regularly communicate with your donors, informing them about the switch from WePay to PayPal and highlighting the benefits of using PayPal for their contributions.
If you encounter any issues or have further questions, don’t hesitate to reach out to the respective customer support teams of YouCaring and PayPal. They are there to assist you throughout the process and provide any necessary guidance.
Thank you for using this guide to switch from WePay to PayPal in YouCaring. We wish you every success in your fundraising efforts, and may your cause receive the support it truly deserves!