Introduction
Adding someone as an admin on WePay allows them to have access and management rights within a group or organization. Whether you’re part of a nonprofit, a community group, or a fundraising campaign, assigning an admin can help delegate responsibilities and streamline operations.
In this guide, we will walk you through the step-by-step process of making someone an admin on WePay. By following these simple instructions, you can grant someone the necessary permissions to assist in managing your WePay account effectively.
From granting additional administrators to overseeing financial transactions, adding an admin on WePay gives you greater flexibility and better control. It’s a straightforward procedure that can be completed in just a few minutes, allowing you to collaborate and share responsibilities within your group.
Whether you need to add a fellow team member or an external partner, this guide will provide you with all the information you need to make someone an admin on WePay. So, let’s dive in and get started!
Step 1: Sign in to WePay
The first step in making someone an admin on WePay is to sign in to your WePay account. If you don’t have an account yet, you will need to create one before proceeding.
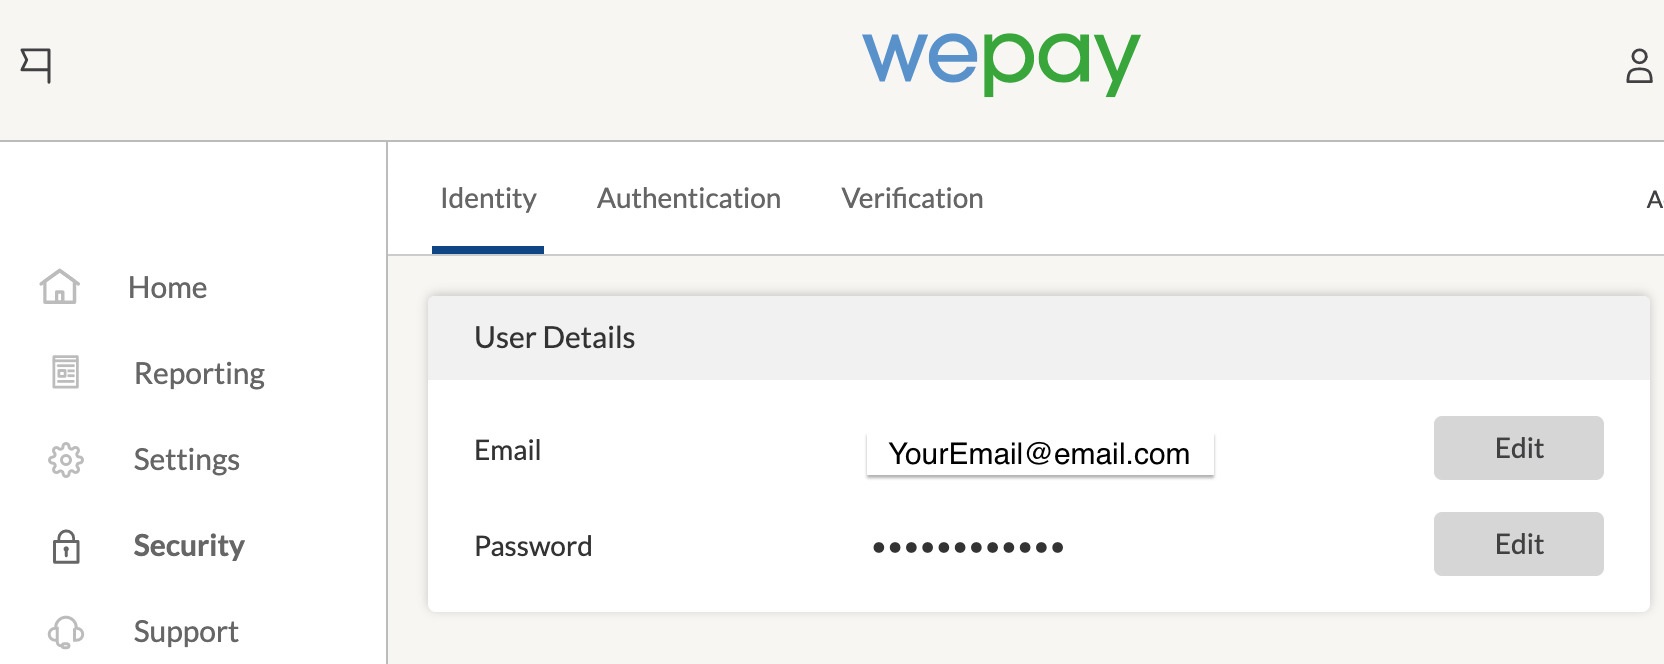
To sign in to your WePay account, follow these simple steps:
- Open a web browser and go to the WePay website.
- Click on the “Sign In” button located at the top-right corner of the homepage.
- Enter your email address and password associated with your WePay account.
- Click on the “Sign In” button to access your account.
Once you have successfully signed in to your WePay account, you will be redirected to your account dashboard, where you can manage your groups, transactions, and other account settings.
It is essential to have the necessary login credentials and ensure that you are signing in with the correct account. If you encounter any issues while signing in, make sure to double-check your email address and password. If you have forgotten your password, you can click on the “Forgot Password” link to reset it.
Once you have successfully signed in, you are ready to move on to the next step in the process of making someone an admin on WePay.
Step 2: Access the group or organization
After signing in to your WePay account, the next step is to access the group or organization for which you want to add an admin. WePay allows you to manage multiple groups or organizations under one account, making it convenient to handle different entities within a single platform.
To access the specific group or organization, follow these steps:
- From your account dashboard, navigate to the “Groups” or “Organizations” section. This section may be located in the main menu or in a sidebar, depending on the layout of your WePay account.
- Click on the name or the thumbnail image of the desired group or organization. This will take you to the dedicated page for that entity.
Once you have accessed the group or organization, you will be able to view and manage various aspects, including transactions, members, and settings, depending on your role and permissions.
It’s important to ensure that you are accessing the correct group or organization before moving forward. Double-check the name or logo of the entity to avoid making changes to the wrong group.
If you are unable to locate the desired group or organization in your account, make sure you have the necessary permissions to access it. If you believe you should have access but can’t find it, reach out to the primary admin or the group owner for assistance.
With the group or organization in focus, you are now ready to proceed to the next step to add an admin on WePay.
Step 3: Go to the group’s settings
Once you have accessed the group or organization that you want to add an admin to, the next step is to go to the group’s settings. In the settings, you will find the necessary options and permissions to make someone an admin.
To navigate to the group’s settings, follow these steps:
- Locate the gear or “Settings” icon within the group or organization page. This can usually be found at the top-right corner of the page.
- Click on the gear or “Settings” icon to access the group’s settings menu.
Once you have accessed the group’s settings, you will be presented with a range of options and configurations related to the group or organization settings. This is where you can control various aspects like member roles, payment settings, privacy preferences, and more.
It’s important to familiarize yourself with the settings menu to ensure that you make the necessary changes and modifications accurately. Take your time to explore the different sections and options available within the settings.
If you are unsure about a particular setting or its impact, you can refer to the WePay documentation or contact WePay support for assistance. It’s always better to clarify any doubts or concerns before proceeding with making someone an admin.
Once you have reached the group’s settings, you are ready to move on to the next step, which involves adding a new admin to the WePay account.
Step 4: Add a new admin
After accessing the group’s settings, you are now ready to add a new admin to the WePay account. Adding an admin grants them the necessary permissions to assist in managing the group or organization effectively.
To add a new admin, follow these steps:
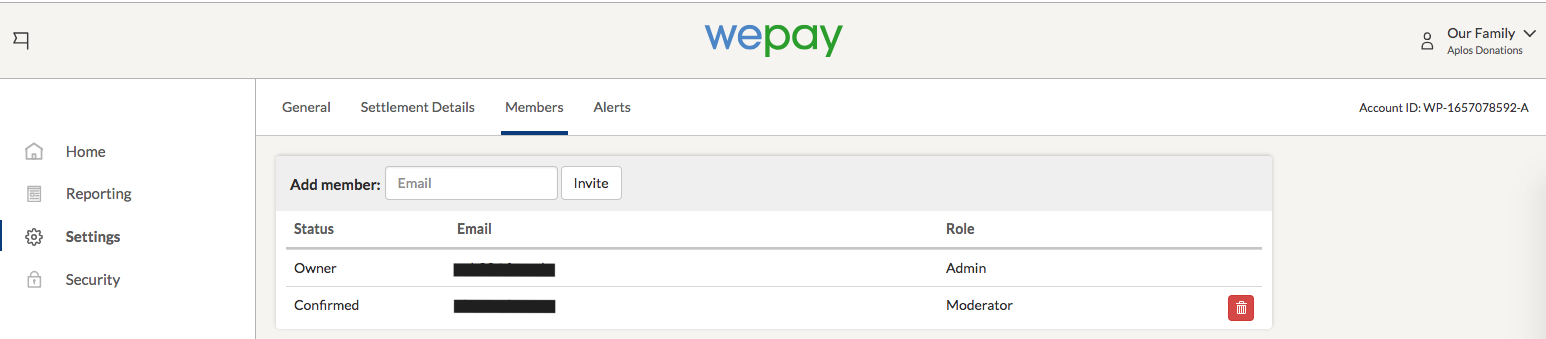
- Within the group’s settings, look for the “Members” or “Admins” section. This is where you can manage the members and admin roles of the group.
- Click on the “Add Admin” or “Invite Admin” button, usually located near the top of the members or admins section.
- Enter the email address or username of the person you want to add as an admin.
- Review the admin privileges and responsibilities to ensure they align with your requirements. This may include access to financial transactions, group settings, and other administrative tasks.
- Click on the “Add Admin” or “Send Invitation” button to send the admin invitation.
Once the new admin invitation is sent, the person will receive an email notification with instructions on how to accept the invitation and become an admin on the WePay account. Make sure to inform the person about the invitation and provide any necessary context or details they may need.
It’s important to note that the person you are inviting as an admin must already have a WePay account. If they don’t have an account, they will need to create one before they can accept the admin invitation.
With the new admin added, you have successfully delegated administrative responsibilities within the WePay account. The new admin will now be able to access and manage the group or organization based on the assigned permissions.
In some cases, the new admin may need additional training or guidance to navigate and utilize the WePay platform effectively. Offering assistance and support can help ensure a smooth transition and effective collaboration within the group.
Now that you have added a new admin, let’s move on to the final step to confirm the new admin’s role on WePay.
Step 5: Confirm the new admin’s role
After adding a new admin to the WePay account, it is crucial to confirm their role and ensure that they have the necessary permissions and access within the group or organization.
To confirm the new admin’s role, follow these steps:
- Notify the newly added admin about their role and the responsibilities they have been assigned.
- Ensure that the admin has accepted the invitation and has successfully logged in to their WePay account.
- Review the admin’s capabilities and privileges within the group or organization.
- Double-check that the admin can access and manage the required functionalities, such as financial transactions, member management, and other administrative tasks.
- If necessary, provide additional guidance or training to the new admin to ensure they are confident and well-equipped to fulfill their role effectively.
It’s vital to establish clear communication with the new admin and address any questions or concerns they may have regarding their role. This will help ensure a smooth transition and effective collaboration within the group or organization.
As a primary admin or group owner, periodically review the admin roles and responsibilities to ensure they align with the evolving needs of the group. You can modify admin roles or remove admins if necessary, based on the changing dynamics of the organization.
Remember that the new admin is now a valuable team member who can contribute to the success of the group or organization. Encourage open lines of communication and foster a collaborative environment to maximize the effectiveness of the admin team.
By confirming the new admin’s role and providing the necessary resources and support, you have successfully added a new admin to the WePay account, empowering them to contribute to the management and growth of the group or organization.
Congratulations on successfully completing all the steps to make someone an admin on WePay!
Conclusion
Adding an admin to your WePay account can greatly enhance the management and collaboration within your group or organization. By following the step-by-step process outlined in this guide, you can easily make someone an admin and grant them the necessary permissions to assist in managing your WePay account effectively.
We began by signing in to your WePay account, ensuring that you have the necessary login credentials. We then proceeded to access the specific group or organization for which you wanted to add an admin.
In the group’s settings, we explored the various options and configurations available to manage the group. From there, we moved on to adding a new admin by entering their email address or username and sending them an invitation.
Lastly, we emphasized the importance of confirming the new admin’s role and ensuring that they have the required access and permissions within the group or organization. By providing clear communication, support, and training if necessary, you can facilitate a smooth transition and maximize the effectiveness of the admin team.
Remember to regularly review the admin roles and responsibilities, making adjustments as needed to align with the evolving needs of your group or organization. Foster a collaborative environment and encourage open communication to harness the full potential of your admin team.
With the completion of all the steps, you have successfully made someone an admin on WePay. Enjoy the benefits of shared management and streamlined operations as you work together towards your group or organization’s objectives.
Thank you for following this guide, and best of luck with your future endeavors on WePay!