Introduction
Welcome to our guide on how to set up WePay in Meetup. Meetup is a popular platform that allows individuals to create and join groups based on shared interests and activities. One important aspect of managing a successful Meetup group is setting up a secure and convenient payment system to collect fees and dues.
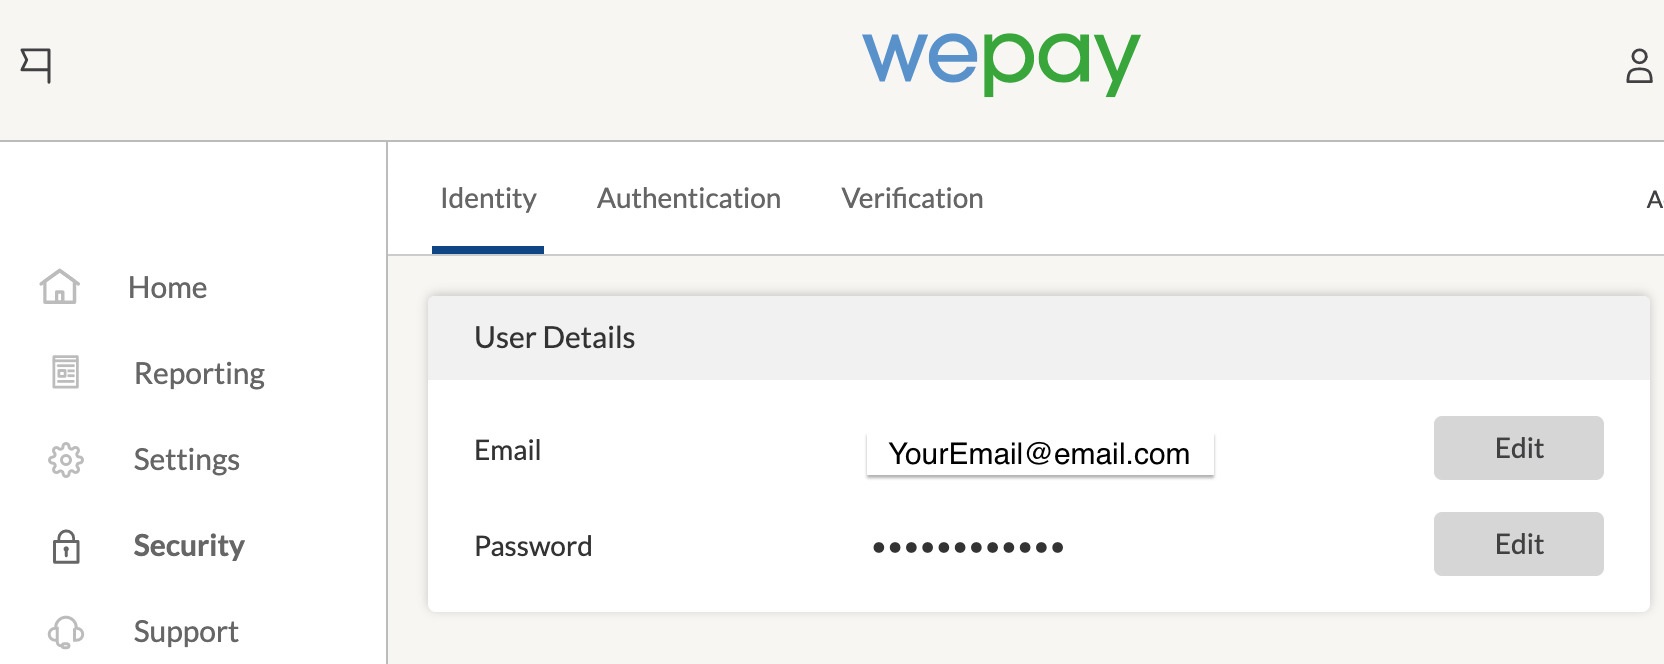
One of the payment processing options available on Meetup is WePay. WePay is a trusted and user-friendly platform that enables group organizers to easily collect and manage payments from group members. With WePay, you can offer your members a seamless experience when it comes to paying membership fees, event fees, and other expenses related to your Meetup group.
In this guide, we will walk you through the step-by-step process of setting up WePay in your Meetup group. From creating a WePay account to connecting it with Meetup and customizing your payment settings, we’ve got you covered. Whether you’re organizing a professional networking group, a hobby club, or a sports team, WePay will help streamline your payment collection and keep your group running smoothly.
By integrating WePay into your Meetup group, you can ensure a secure and hassle-free payment experience for your members. With WePay’s advanced security measures, secure payment processing, and easy-to-use interface, you can focus on managing and growing your Meetup community without the headaches of handling money offline.
So let’s dive into the step-by-step process of setting up WePay in your Meetup group. Follow along and get ready to take your Meetup group to the next level with a seamless and reliable payment system.
Step 1: Sign in to your Meetup account
The first step in setting up WePay in your Meetup group is to sign in to your Meetup account. Visit the Meetup website and enter your login credentials to access your account dashboard.
If you don’t have a Meetup account yet, you can easily create one by clicking on the “Sign Up” button and following the prompts to set up your profile. Once you have successfully created your account, proceed to sign in.
Make sure to use the email address and password associated with your Meetup account to log in. If you have forgotten your password, click on the “Forgot password?” link and follow the instructions to reset it.
Once you have successfully signed in to your Meetup account, you will have access to the administrative features and settings for your Meetup group.
It is important to have administrative access to your Meetup group in order to make changes and set up the WePay payment system. If you are not the current organizer of the group, you will need to coordinate with the group’s organizer to gain the necessary permissions.
With your Meetup account up and running, you are now ready to move on to the next step in setting up WePay in your Meetup group.
Step 2: Go to your Meetup group’s page
Once you have signed in to your Meetup account, navigate to your Meetup group’s page. This is where you will find all the settings and options related to your group’s activities and management.
To find your group’s page, click on the “Profile” or “Dashboard” tab, which is usually located at the top navigation bar of the Meetup website. From there, you can access a list of all the Meetup groups you are a member of or the organizer of.
Scroll through the list and locate the group you want to set up WePay for. Once you find the group, click on its name or the associated image to access the group’s page.
On the group’s page, you will see a variety of tabs and options that allow you to manage your group’s settings, events, and members. Take a moment to familiarize yourself with the layout and features available on this page, as you will be using them to set up WePay.
It’s worth mentioning that in order to have access to the administrative options on your Meetup group’s page, you must be the group’s organizer or have the necessary permissions granted by the organizer. If you are not the group’s organizer, reach out to them and explain that you want to set up WePay to collect payments for the group.
Now that you have found and accessed your Meetup group’s page, you are ready to move on to the next step in setting up WePay.
Step 3: Click on the “Edit Group” button
After accessing your Meetup group’s page, you will need to click on the “Edit Group” button to access the group’s settings and make changes.
The “Edit Group” button is typically located at the top right-hand corner of the group’s page, near the group’s name and primary image. Look for a pencil or gear icon, which is often used to represent the editing feature.
Clicking on the “Edit Group” button will take you to a page where you can modify various aspects of your Meetup group, including the group’s name, description, settings, and payment options.
On this page, you will find a tabbed interface that allows you to navigate between different sections of your group’s settings. Take a moment to explore these tabs and become familiar with the options available.
To set up WePay as your payment processor, you will need to locate the section related to payments. Depending on the Meetup version you are using, this section may be labeled as “Payment”, “Dues & Payments”, or something similar.
Once you find the payments section, you are one step closer to enabling WePay for your Meetup group. However, before proceeding to the next step, it is essential to have all the necessary information and details handy. This includes your WePay account credentials, financial information, and any additional requirements to complete the setup process smoothly.
With the “Edit Group” page open and ready, you’re now prepared to move on to the following step, where you will select WePay as your preferred payment processor.
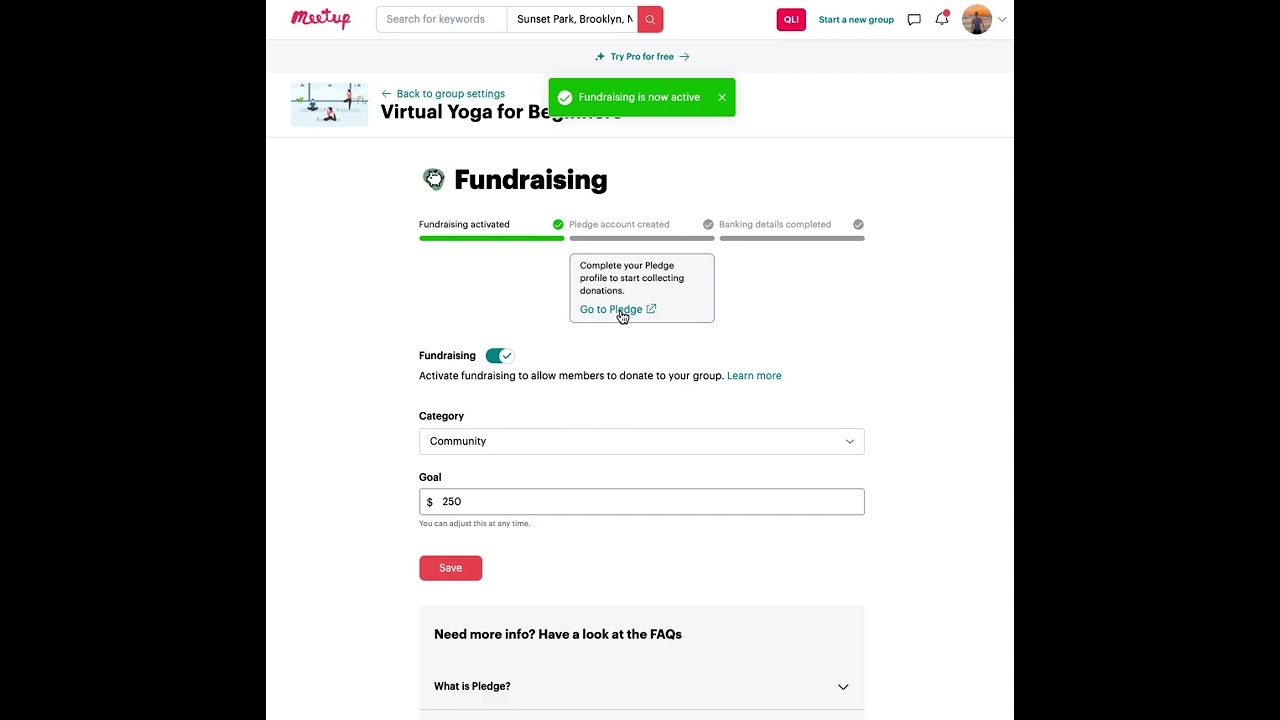
Step 4: Scroll down to the “Payment” section
Once you have clicked on the “Edit Group” button on your Meetup group’s page, you will be taken to the group’s settings page. From there, you need to scroll down to find the “Payment” section.
The location of the “Payment” section may vary slightly depending on the layout and design of the Meetup website. Scroll through the page until you come across a section that is specifically labeled as “Payment,” “Dues & Payments,” or similar.
The “Payment” section is where you can enable and configure the payment options for your Meetup group. This is where you will specify which payment processor you want to use, such as WePay.
Once you have located the “Payment” section, take a moment to review the available options and settings. This section may include features such as enabling or disabling payments, setting membership fees, event fees, and other payment-related details.
It is important to note that not all Meetup groups have the same payment options available. Depending on your group’s settings and the Meetup plan you are subscribed to, you may have limitations or additional features in the payment section.
Now that you have found the “Payment” section, you’re ready to move on to the next step, where you will select WePay as the payment processor for your Meetup group. Continue following this guide to ensure a smooth and successful setup process.
Step 5: Select “WePay” as your payment processor
Now that you have scrolled down to the “Payment” section on your Meetup group’s settings page, it’s time to select “WePay” as your preferred payment processor.
In the “Payment” section, you will find a list of available payment options. Look for the option that says “Select payment processor” or similar, and click on it to reveal the dropdown menu.
In the dropdown menu, you should see “WePay” listed as one of the available payment processors. Click on “WePay” to select it as your group’s payment processor.
By choosing WePay, you are opting for a secure and reliable payment processing solution that seamlessly integrates with Meetup. WePay offers excellent features, such as secure transactions, easy setup, and robust support, ensuring a smooth payment experience for you and your group members.
Remember to review any additional information or terms related to using WePay as your payment processor. This may include details about fees, transaction processing times, and any specific requirements or preferences for utilizing WePay with your Meetup group.
Once you have selected “WePay” as your payment processor, make sure to save your changes. Look for a “Save” or “Update” button in the vicinity of the payment settings, and click on it to apply the changes to your Meetup group.
Congratulations! You have successfully chosen WePay as your payment processor for your Meetup group. Now, let’s move on to the next steps, where we will guide you through the process of setting up your WePay account and connecting it to Meetup.
Step 6: Set up your WePay account
Now that you have selected WePay as your payment processor for your Meetup group, it’s time to set up your WePay account. Follow these steps to create your WePay account:
- Click on the link or button provided to set up your WePay account. This will typically take you to the WePay website.
- On the WePay website, click on the “Get Started” or “Sign Up” button to create a new account.
- Enter your email address, create a strong password, and provide any other requested information to create your account.
- Read and accept the terms of service and privacy policy, then click on the “Sign Up” or “Create Account” button.
- Verify your email address by following the instructions provided in the verification email sent to the email address you provided.
- Once your WePay account is set up and verified, you will need to provide additional information to activate your account. This may include your legal name, business name (if applicable), address, and banking details.
- Follow the prompts and provide the necessary information accurately and completely to activate your WePay account.
During the setup process, WePay may require additional documentation or verification, depending on your specific circumstances or the type of payments you plan to collect. Make sure to have any required documents or information ready to facilitate the account activation process.
Once your WePay account is set up and activated, you will be able to access the WePay dashboard, where you can manage your payment transactions, view earnings, and set up your Meetup group’s connection.
Great job on setting up your WePay account! You’re now ready to connect your Meetup group to your WePay account in the next step. Keep following this guide to seamlessly integrate WePay into your Meetup group’s payment system.
Step 7: Connect your Meetup group to WePay
With your WePay account set up and activated, it’s time to connect it to your Meetup group. Follow these steps to establish the connection:
- Login to your Meetup account and navigate to your Meetup group’s page.
- Click on the “Edit Group” button to access the group’s settings.
- Scroll down to the “Payment” section and review the available options.
- Look for the option to connect or link your WePay account to your Meetup group. Click on it to proceed.
- You will be redirected to the WePay login page. Enter your WePay account credentials and sign in.
- Authorize the connection between Meetup and WePay by following the prompts provided.
- Once the connection is established, you will be redirected back to your Meetup group’s settings page.
By connecting your Meetup group to WePay, you allow the two platforms to communicate and sync payment information. This integration enables Meetup to collect payments on your behalf using WePay’s secure processing system.
It’s important to note that the specific steps and process may vary slightly depending on the version of Meetup you are using and any updates or changes made to the platform.
After successfully connecting your Meetup group to WePay, you can customize your payment settings and specify details such as membership fees, event fees, and payment options. Take some time to review these settings and ensure they align with your group’s needs.
Now that your Meetup group is connected to WePay, you’re one step closer to efficiently collecting payments and providing a seamless payment experience for your group members. Keep following this guide for the next steps in customizing your payment settings.
Step 8: Customize your payment settings
Now that your Meetup group is connected to WePay, it’s time to customize your payment settings to fit the specific needs of your group. Follow these steps to tailor your payment settings:
- Login to your Meetup account and navigate to your Meetup group’s page.
- Click on the “Edit Group” button to access the group’s settings.
- Scroll down to the “Payment” section and review the available options.
- Look for the settings related to membership fees, event fees, or other payment-related details.
- Specify the desired membership fee amount, whether it’s a one-time fee or recurring subscription.
- Customize the event fees based on the type, duration, or any other factors relevant to your group’s events.
- Consider optional features such as early bird pricing, discounts, or additional charges for specific services or materials.
- Set up payment options, such as credit card payments, PayPal, or other accepted payment methods.
- Review any other settings or options available in the payment section and adjust them as needed.
- Save your changes to apply the updated payment settings to your Meetup group.
Take this opportunity to think about the payment structure that best suits your Meetup group. Consider factors such as the value you provide, the costs and expenses associated with running the group, and the preferences of your members.
Customizing your payment settings allows you to create a seamless payment experience for your group members while ensuring that your group’s financial needs are met. It’s a great way to streamline your payment process and increase member satisfaction.
Remember to regularly review and update your payment settings as needed, especially if your group’s activities or financial requirements change over time.
With your payment settings customized, you’re now ready to move on to the next step, where you’ll test your payment system to ensure everything is working smoothly.
Step 9: Test your payment system
After customizing your payment settings for your Meetup group, it’s crucial to test your payment system to ensure that everything is functioning smoothly and that members can make payments without any issues. Follow these steps to test your payment system:
- Login to your Meetup account and navigate to your Meetup group’s page.
- Simulate a member’s perspective by clicking on the “Join Us” or “RSVP” button for an event.
- Proceed through the payment process, entering the necessary details, such as payment method, billing address, and any other required information.
- Review the payment summary to ensure accuracy, including the correct amount and any applicable fees or taxes.
- Submit the payment to complete the transaction.
- Verify that the payment is processed successfully and that you receive a confirmation of payment.
- Check your WePay dashboard to ensure that the payment is reflected in your account and that all transaction details are accurate.
By testing your payment system, you can identify and address any potential issues or glitches that may hinder members from making payments. It’s essential to provide a seamless and hassle-free payment experience to maintain member satisfaction and trust.
If you encounter any problems during the testing process, such as payment errors or discrepancies, review your payment settings and ensure that all the necessary information is correctly entered and configured. Additionally, double-check that your WePay account is properly linked and integrated with your Meetup group.
Once you have successfully tested your payment system and verified that payments are processed correctly, you can have peace of mind knowing that your Meetup group is ready to accept payments from members.
Remember, it’s always a good idea to periodically test your payment system to ensure ongoing functionality and to promptly address any issues that may arise.
Congratulations! You have completed the process of setting up WePay in your Meetup group. Now you can confidently collect payments and offer a convenient payment method for your group members. Enjoy the ease and efficiency of having a secure payment system integrated into your Meetup group.
Conclusion
Congratulations on successfully setting up WePay in your Meetup group! By following the steps outlined in this guide, you have established a secure and convenient payment system that will streamline the process of collecting fees and dues from your group members.
Through signing in to your Meetup account, accessing your group’s page, and clicking on the “Edit Group” button, you were able to navigate to the “Payment” section. There, you selected WePay as your payment processor and set up your WePay account, connecting it to your Meetup group.
After connecting your group to WePay, you customized your payment settings to suit your specific needs, specifying membership fees, event fees, and payment options. Lastly, you tested your payment system to ensure that everything is functioning smoothly.
Now, armed with WePay as your payment processor, you can confidently manage and collect payments from your group members, creating a seamless payment experience that enhances the overall success of your Meetup group.
Remember, it’s important to periodically review and update your payment settings as needed, and to test your payment system to ensure ongoing functionality. By staying proactive in managing your payment system, you can ensure a positive experience for both you and your group members.
We hope this guide has been helpful in your journey to set up WePay in your Meetup group. If you have any further questions or need assistance, don’t hesitate to reach out to WePay customer support or the Meetup Help Center.
Thank you for taking the time to invest in establishing a reliable payment system for your Meetup group. Wishing you success in your group’s endeavors and continued growth and engagement from its members.