Introduction
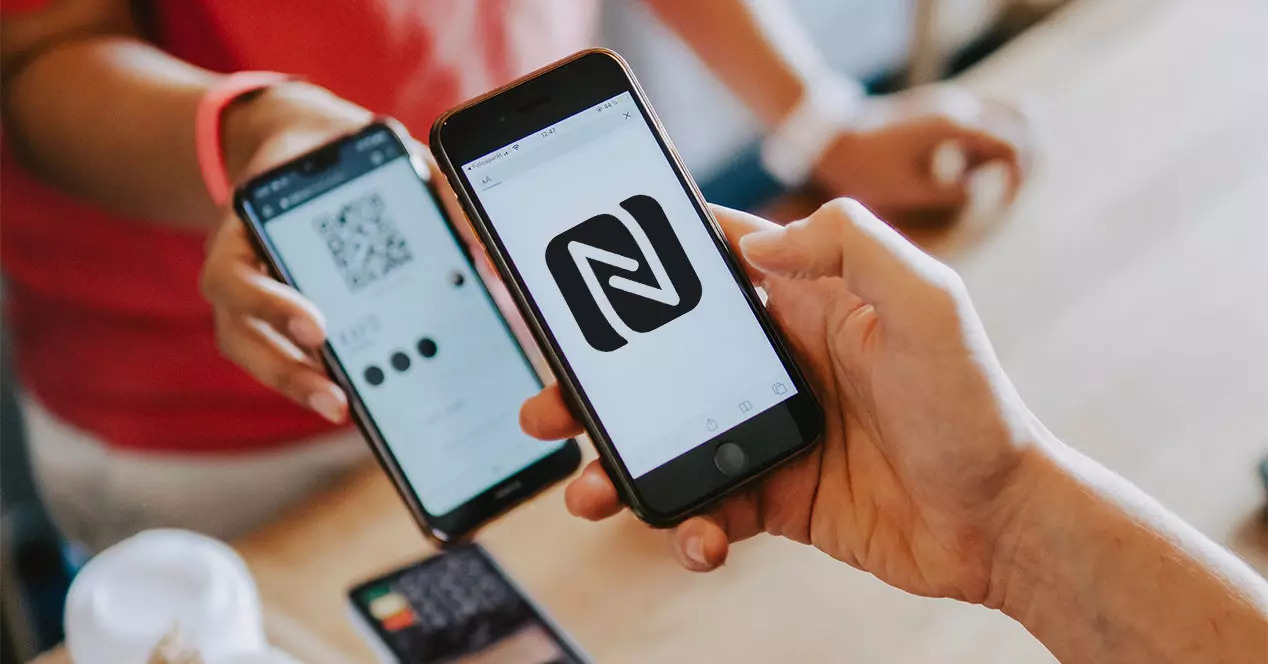
NFC (Near Field Communication) technology has revolutionized the way we interact with our smartphones. By simply tapping an NFC-enabled device, such as an iPhone, against an NFC tag, you can perform a variety of actions, from making payments to accessing information. However, there may be instances where you need to clear an NFC tag on your iPhone, either because you want to reuse it for a different purpose or because you no longer need the information stored on it.
In this article, we will guide you through the process of clearing an NFC tag on your iPhone. Whether you’re a tech-savvy individual or a novice user, these easy steps will help you navigate through the process smoothly. So, if you’re ready to clear that NFC tag and start fresh, let’s dive in!
Besides making the process of clearing an NFC tag on iPhone a breeze, we’ll also provide tips and tricks to ensure a successful clearing process. So, grab your iPhone and let’s get started!
What is an NFC Tag?
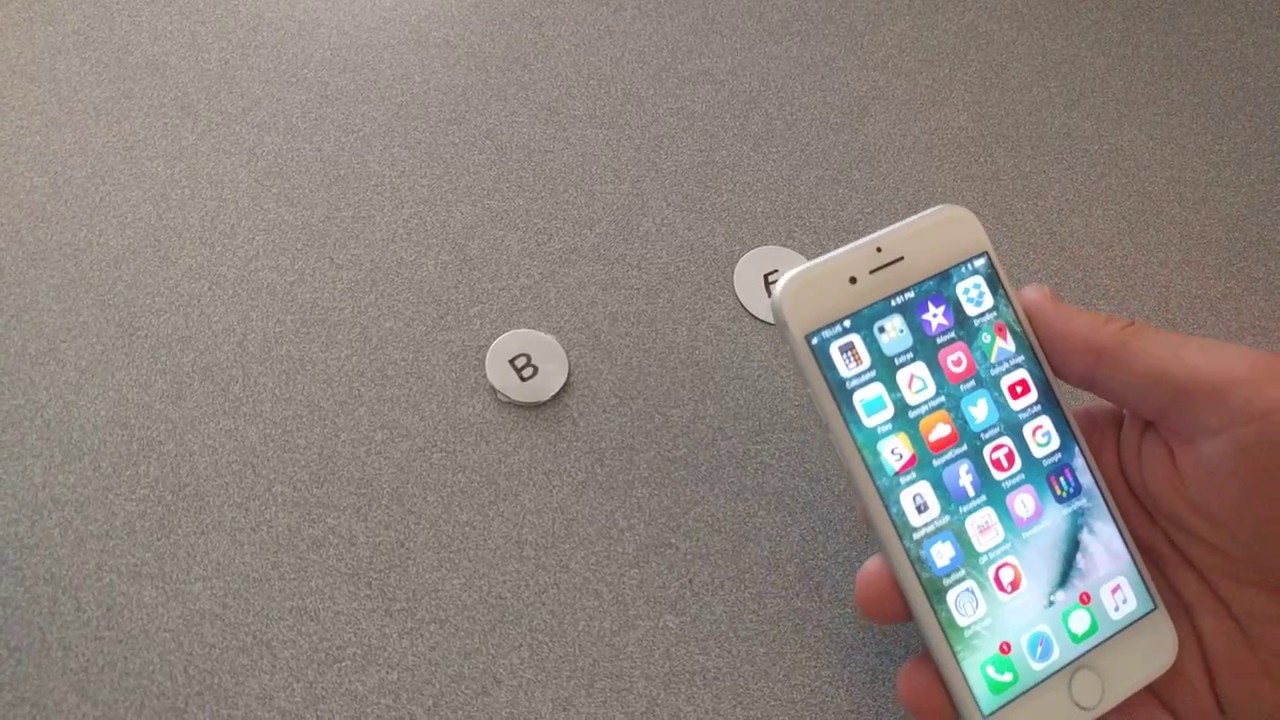
NFC (Near Field Communication) tags are small, portable devices that contain embedded information that can be read and processed by NFC-enabled devices, such as smartphones and tablets. Think of them as digital stickers that you can attach to physical objects or use in digital environments.
These tags typically come in the form of stickers, keychains, cards, or even embedded in products like posters or smart home devices. The key feature of NFC tags is that they require close proximity (usually less than 4 centimeters) to establish a connection with an NFC-enabled device. This close range communication ensures secure and reliable data transfer.
NFC tags can be programmed to perform a wide range of actions when tapped by an NFC-enabled device. For example, they can launch apps, open URLs, trigger automatic tasks, send pre-populated text messages, connect to Wi-Fi networks, and even make contactless payments. The possibilities are endless!
These small devices have gained popularity due to their convenience and versatility. They have found applications in various domains such as transportation, marketing, retail, healthcare, and home automation.
One of the primary advantages of NFC tags is their compatibility with smartphones, especially iPhones. Apple has embraced NFC technology and incorporated it into its devices, allowing iPhone users to take advantage of the functionality provided by these tags.
With a deep understanding of NFC tags, you are ready to explore the process of clearing them on your iPhone. In the following sections, we will guide you step by step on how to clear an NFC tag and ensure its successful erasure.
Why would you want to clear an NFC tag?
There are several reasons why you might want to clear an NFC tag on your iPhone. Let’s explore some of the common scenarios:
Reusing the NFC tag: One of the most common reasons for clearing an NFC tag is to repurpose it for a different function or use. By clearing the existing data on the tag, you can start fresh and program it to perform a new set of actions. For example, if you had an NFC tag that was previously used to launch a specific app, you can clear it and program it to open a different app or website.
Removing outdated information: NFC tags are often used to provide information or content to users. However, over time, the information on the tag may become outdated or no longer relevant. Clearing the NFC tag allows you to remove the outdated information and update it with fresh, up-to-date content.
Enhancing privacy and security: Clearing an NFC tag can also be a security measure, especially if the tag contains sensitive information. By clearing the tag, you can ensure that no one can access or retrieve the data stored on it. This is particularly important if you have shared the tag with others or if it has been in a public space.
Troubleshooting issues: Sometimes, an NFC tag may not work properly, or it may be causing conflicts with other NFC-enabled devices. Clearing the tag can help resolve any compatibility or performance issues that you may be experiencing. It’s a troubleshooting step that can help ensure smooth and reliable NFC functionality on your iPhone.
Starting from scratch: Lastly, you may simply want to clear an NFC tag to start fresh and explore its capabilities from scratch. This can be particularly useful if you’re experimenting with different NFC tag functions or if you’re learning how to program and use them effectively.
No matter the reason, clearing an NFC tag on your iPhone gives you the ability to customize and control its functionality as per your changing needs. In the next sections, we will walk you through the step-by-step process of clearing an NFC tag on an iPhone.
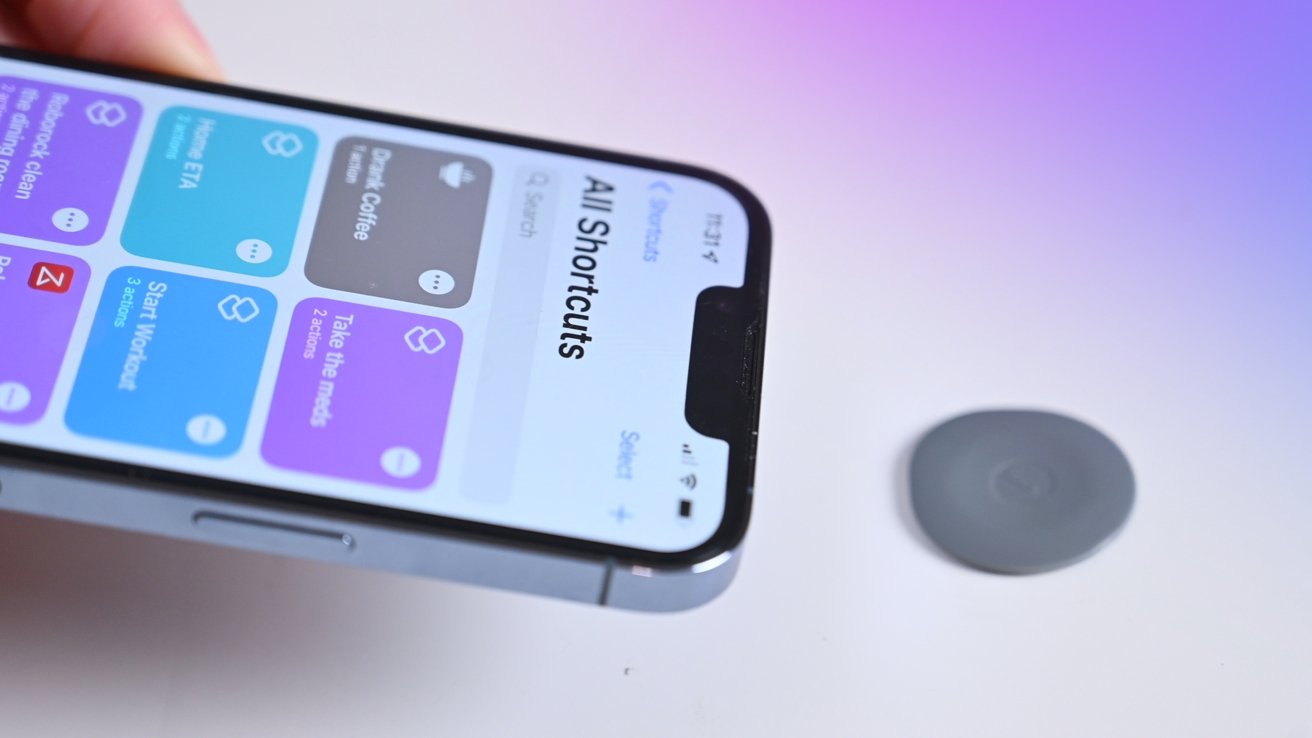
Step 1: Download a third-party NFC Tag management app
To clear an NFC tag on your iPhone, you will need to use a third-party NFC Tag management app. While iPhones have built-in NFC capabilities, they do not provide native support for clearing NFC tags. Here’s how you can download a suitable app:
- Open the App Store on your iPhone.
- Tap on the search icon at the bottom right of the screen.
- In the search bar, type “NFC Tag management” or a similar keyword phrase.
- Review the list of search results and choose a well-rated and reputable app that suits your needs.
- Tap on the “Get” or “Download” button next to the selected app.
- Authenticate the download with your Apple ID password, Face ID, or Touch ID.
- Wait for the app to download and install on your iPhone.
Once the app is successfully downloaded and installed, you are ready to proceed to the next step to clear your NFC tag. Be sure to grant the required permissions to the app, such as access to NFC functionality, to ensure smooth and seamless tag management.
Note: The specific steps for downloading an NFC Tag management app may vary depending on the version of iOS you are using and any user interface changes implemented by Apple. However, the general process outlined above should guide you in finding and downloading a suitable app for managing your NFC tags.
Step 2: Launch the NFC Tag management app
After successfully downloading and installing a third-party NFC Tag management app on your iPhone, it’s time to launch the app and prepare for clearing your NFC tag. Here’s how you can do it:
- Locate the app icon on your home screen or in the app drawer of your iPhone.
- Tap on the app icon to open the NFC Tag management app.
- Allow any requested permissions that the app requires, such as access to your NFC functionality or storage.
- Get familiar with the app’s user interface and features. Different NFC Tag management apps may have slightly different layouts and options, but the core functionality remains the same.
Once you have launched the NFC Tag management app, you are ready to proceed with the next steps to clear your specific NFC tag on your iPhone. Familiarize yourself with the app’s features and options to ensure a smooth and efficient tag management process.
Remember, the NFC Tag management app acts as a bridge between your iPhone’s NFC hardware and the NFC tag you want to clear. It provides you with the necessary tools and controls to interact with the tag and erase its content securely.
Now that you have successfully launched the NFC Tag management app, let’s move on to the next step, where we will locate and select the NFC tag you want to clear.
Step 3: Locate and select the NFC tag you want to clear
Once you have launched the NFC Tag management app on your iPhone, it’s time to locate and select the NFC tag that you want to clear. Follow these steps to complete this process:
- Within the NFC Tag management app, navigate to the section or menu where you can manage your NFC tags. This could be labeled as “My Tags,” “Manage Tags,” or something similar.
- You should see a list of NFC tags that are currently recognized and stored on your iPhone. If you have multiple tags, scroll through the list to find the specific tag you want to clear.
- Take a moment to review the details of each tag listed, such as the name or unique identifier, to ensure you’re selecting the correct NFC tag.
- Once you have located the desired NFC tag, tap on its entry in the list to select it.
By selecting the NFC tag within the NFC Tag management app, you establish a connection between your iPhone and the specific tag. This connection allows you to access and modify the data stored on the tag, including the option to clear or erase its content.
If you’re having trouble locating the desired NFC tag within the app, ensure that the NFC tag is in close proximity to your iPhone’s NFC antenna. Also, check that the tag is functioning properly and has a sufficient charge if it is a battery-powered NFC tag.
Congratulations! You have successfully located and selected the NFC tag that you want to clear. In the next step, we will walk you through the process of tapping on the “Clear” or “Erase” option to remove the content from the selected NFC tag.
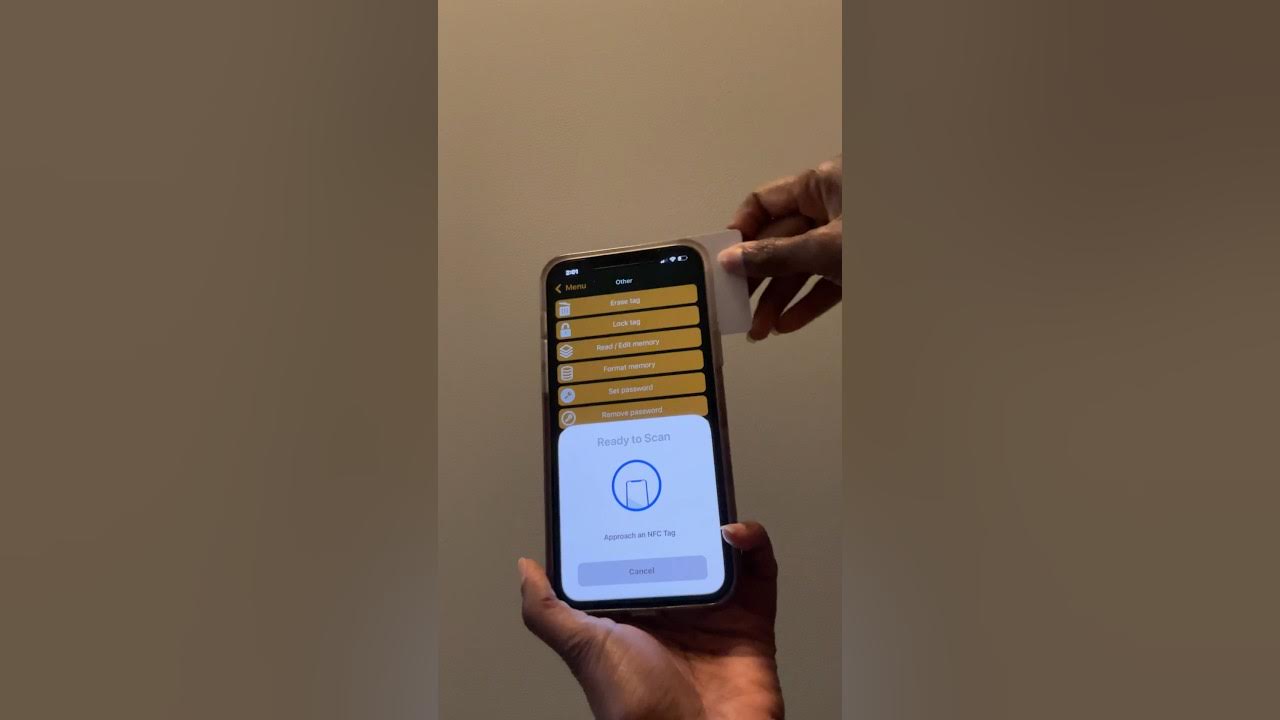
Step 4: Tap on the “Clear” or “Erase” option
With the NFC tag you want to clear selected within the NFC Tag management app, it’s time to proceed and erase its content. Follow these simple steps to complete this process:
- Within the NFC Tag management app, locate the option to clear or erase the selected NFC tag. This option is typically labeled as “Clear,” “Erase,” or something similar.
- Tap on the “Clear” or “Erase” option to initiate the process of removing the content from the NFC tag.
- Depending on the app and your iPhone’s settings, you may be prompted to confirm the action before proceeding. If a confirmation prompt appears, carefully review the details to ensure that you are indeed clearing the correct NFC tag.
- Once you are confident that you have selected the correct NFC tag and confirmed the action, proceed with the clearing process by tapping on the appropriate button or confirming the prompt.
The NFC Tag management app will now communicate with your iPhone’s NFC hardware and instruct it to erase the content stored on the selected NFC tag. The time it takes for the clearing process may vary depending on the size of the data and the speed of the tag and your iPhone’s hardware.
During the clearing process, it’s important to keep your iPhone in close proximity to the NFC tag to maintain a stable connection. Ensure that the tag is not moved or detached prematurely, as this may interrupt the clearing process and leave residual data on the tag.
Once the clearing process is completed, you are ready to move on to the next step, where we will guide you on testing the cleared NFC tag to ensure its successful erasure.
Step 5: Confirm the clearing of the NFC tag
After tapping the “Clear” or “Erase” option in the NFC Tag management app, it’s important to confirm that the content on the NFC tag has been successfully cleared. Follow these steps to confirm the clearing of the NFC tag:
- Once the clearing process is completed, you may see a confirmation message or indication within the NFC Tag management app. This message typically confirms that the content on the selected tag has been successfully erased.
- Take a moment to review any details or feedback provided by the app to ensure that the clearing process was completed without errors.
- If there are any optional steps or settings related to clearing the NFC tag, make sure to follow those instructions appropriately.
It’s important to confirm the clearing of the NFC tag to ensure that the tag is empty and ready for new programming or usage. By verifying the successful erasure of the tag’s content, you can proceed with confidence knowing that any previous data has been removed.
If the NFC Tag management app does not provide any confirmation message or if you have doubts about whether the clearing process was successful, you can also test the tag to verify its erasure manually. Proceed to the next step for instructions on how to test the cleared NFC tag.
Remember, the confirmation of clearing the NFC tag provides assurance that the previous data has been removed. It is an essential step in the NFC tag management process to ensure accurate and reliable functioning of the tag for future use.
Step 6: Test the cleared NFC tag
Once you have confirmed that the content on the NFC tag has been cleared, it’s essential to test the tag to ensure its successful erasure. This step allows you to verify that the tag is ready for new programming or usage. Follow these steps to test the cleared NFC tag:
- Open the NFC Tag management app on your iPhone, if it is not already open.
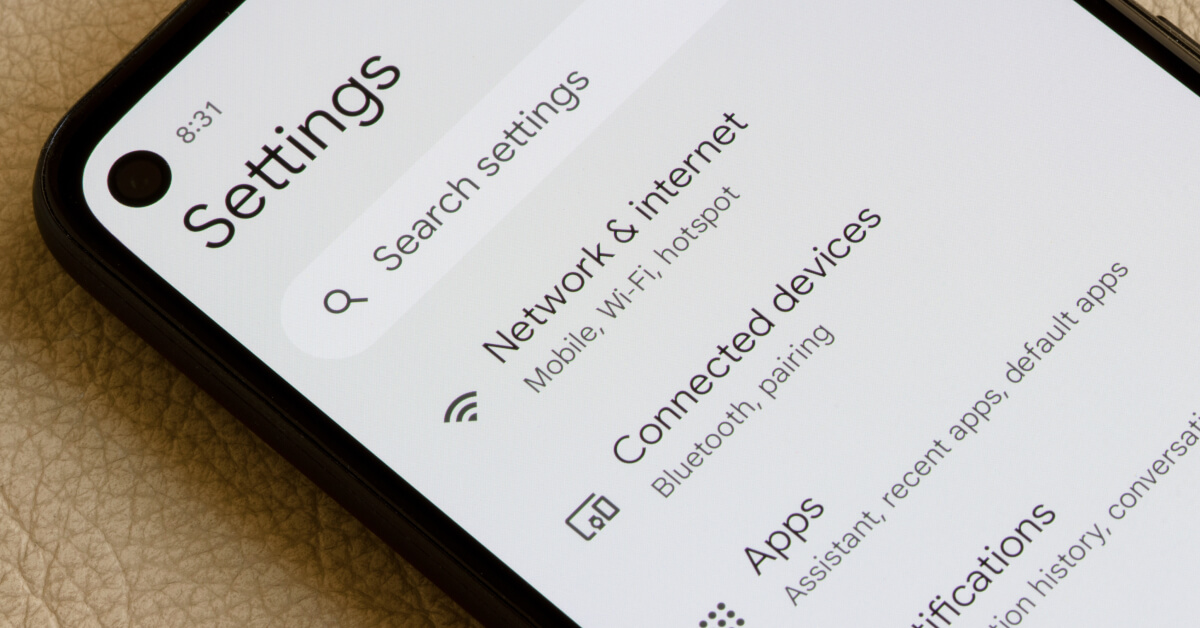
- Ensure that the NFC functionality is enabled on your iPhone. You can typically find this option in the Control Center or in the Settings app under “NFC” or “Contactless Tags”.
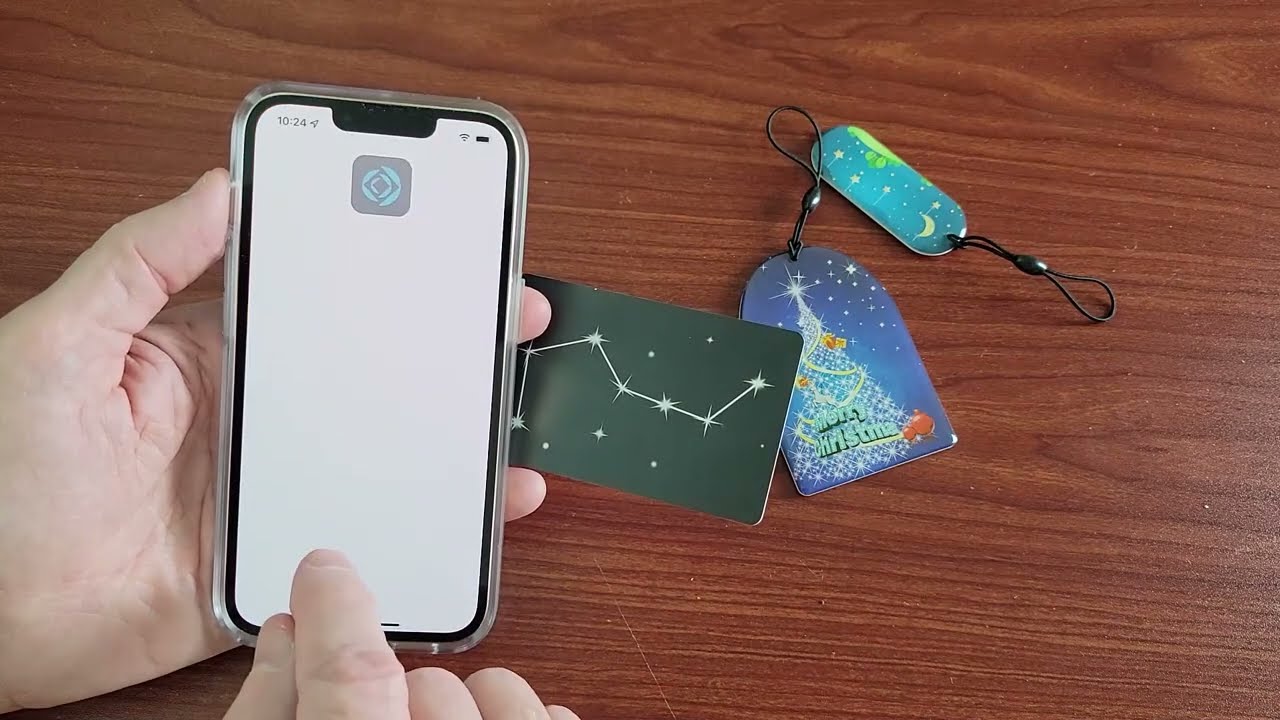
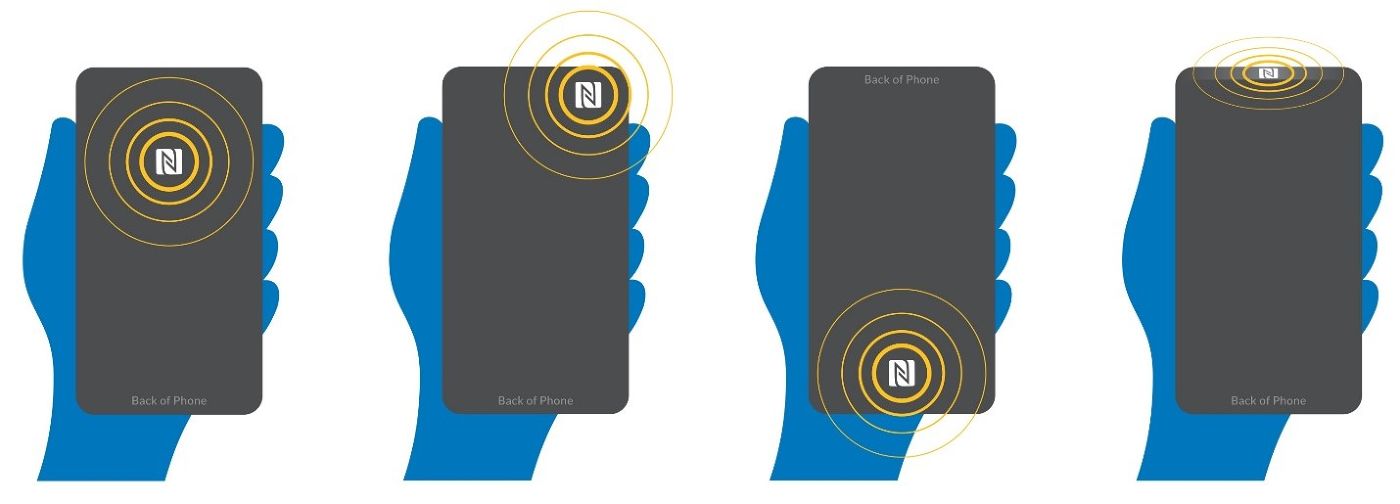
- Bring the cleared NFC tag in close proximity to the NFC antenna on your iPhone, typically located near the top or back of the device.
- The NFC Tag management app should detect the presence of the cleared tag and display relevant information or options.
- Try performing the intended action or task associated with the NFC tag, such as launching an app, opening a URL, or triggering an automatic task.
- If the NFC tag was successfully cleared, the desired action or task should be performed as expected. This indicates that the tag is empty and ready for new programming or usage.
During the testing process, ensure that the NFC tag is held steady and in close proximity to the iPhone’s NFC antenna to establish a reliable connection. Pay attention to any feedback or messages provided by the NFC Tag management app, as they may indicate the success or failure of the testing process.
If the NFC Tag management app fails to recognize the cleared NFC tag or if the desired action does not occur, it’s possible that the clearing process was not successful or that the tag is incompatible with your iPhone. In such cases, you may need to repeat the clearing process or seek support from the app developer or NFC tag manufacturer.
By testing the cleared NFC tag, you can ensure that it is functioning correctly and ready for its intended purpose. This step brings the NFC tag management process to completion, allowing you to take advantage of its capabilities with confidence.
Conclusion
Clearing an NFC tag on your iPhone is a straightforward process that allows you to repurpose the tag, remove outdated information, enhance privacy and security, troubleshoot issues, or simply start fresh. By following the steps outlined in this guide, you can easily clear an NFC tag and ensure its successful erasure.
Remember, downloading a third-party NFC Tag management app is necessary, as iPhones do not provide native support for clearing NFC tags. With the app installed, you can locate and select the NFC tag you want to clear, tap on the “Clear” or “Erase” option, and confirm the clearing process. Testing the cleared NFC tag ensures its successful erasure and prepares it for new programming or usage.
NFC tags offer endless possibilities and can be utilized in various domains, from transportation and marketing to healthcare and home automation. Clearing an NFC tag allows you to customize its functionality and adapt it to your changing needs.
As you explore NFC technology and manage NFC tags on your iPhone, it’s important to stay informed about the latest developments, updates, and best practices. Stay connected with the NFC community, app developers, and manufacturers to make the most out of these powerful tools.
Whether you’re an NFC enthusiast, a business owner, or someone who simply loves exploring new technologies, clearing an NFC tag on your iPhone opens up a world of possibilities. Embrace the convenience and versatility of NFC and make the most of this innovative technology!