Introduction
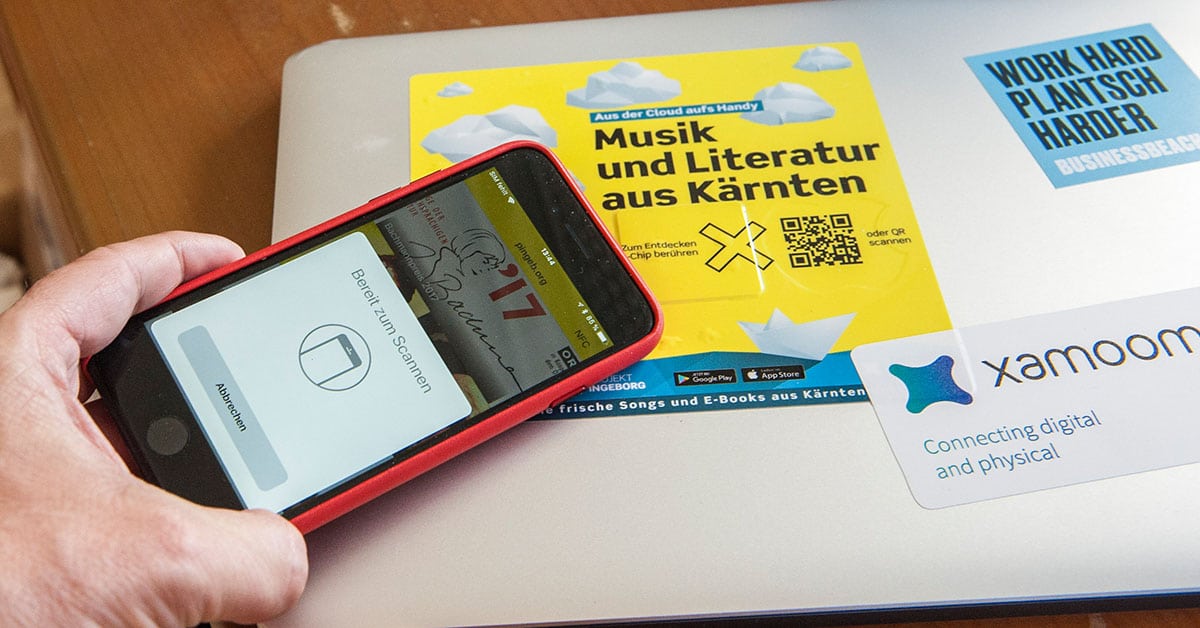
Welcome to the world of wireless audio! If you’re looking to enhance your audio experience by connecting an NFC speaker to your iPhone, you’re in the right place. NFC, or Near Field Communication, is a technology that allows for quick and effortless communication between devices simply by placing them close together. By leveraging NFC, you can easily connect your iPhone to an NFC-enabled speaker and enjoy high-quality, wireless audio playback.
In this guide, we will walk you through the step-by-step process of connecting an NFC speaker to your iPhone. Whether you’re a music enthusiast, a podcast lover, or someone who enjoys watching videos with immersive sound, this guide will help you take full advantage of your iPhone’s capabilities. So, let’s dive in and get your audio setup ready!
Before we begin, it’s important to note that not all iPhone models have NFC capabilities. NFC functionality is available on iPhone models dating back to iPhone 7 and later. If you’re unsure whether your iPhone supports NFC, you can check the specifications on the Apple website or consult your device’s user manual.
Now that you have confirmed the compatibility of your iPhone, let’s move on to the steps involved in connecting an NFC speaker to your device. By following these simple steps, you’ll be able to enjoy a seamless and hassle-free audio experience in no time.
Step 1: Ensure Compatibility
The first step in connecting an NFC speaker to your iPhone is to ensure that your iPhone model supports NFC functionality. As mentioned earlier, NFC is available on iPhone models starting from iPhone 7 and later versions. To confirm if your iPhone supports NFC, you can follow these simple steps:
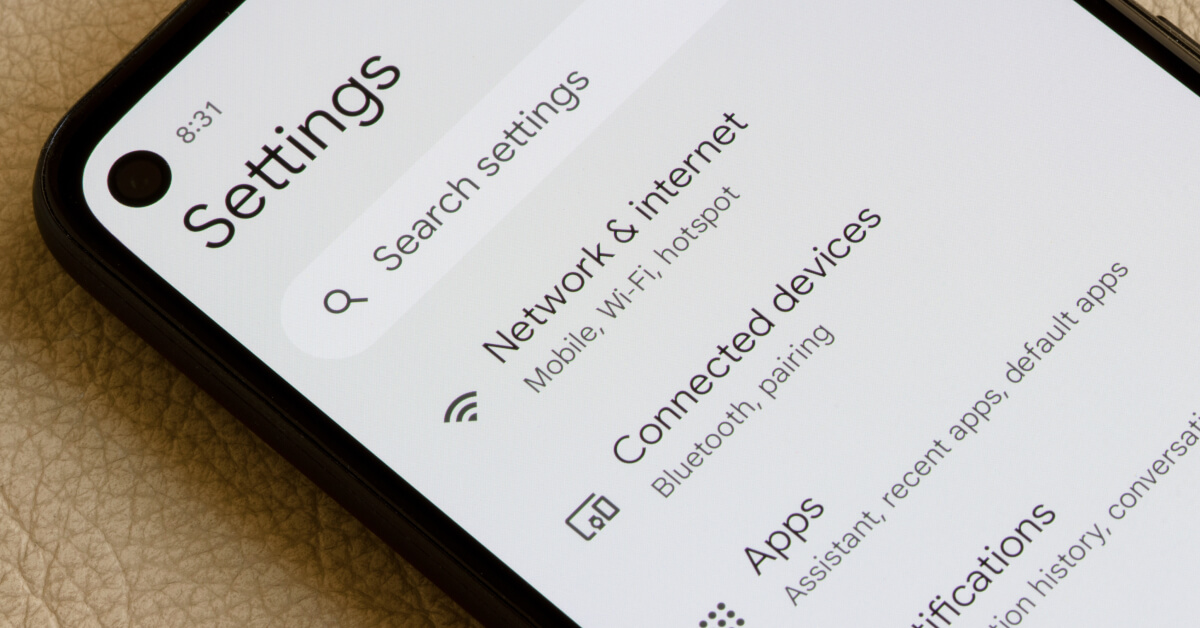
- Open the Settings app on your iPhone.
- Scroll down and tap on “General”.
- Tap on “About”.
- Look for the “NFC” option. If you see this option, it means that your iPhone supports NFC.
If you find the NFC option in the About section, you’re good to go. Your iPhone is compatible with NFC speakers, and you can proceed to the next steps. However, if you do not see the NFC option, it means that your iPhone model does not support NFC functionality, and you will not be able to connect an NFC speaker to your device.
It’s worth noting that even if your iPhone is NFC-enabled, it may not support certain NFC features like reading NFC tags. However, for connecting an NFC speaker, this feature is not necessary. As long as your iPhone supports NFC communication, you’ll be able to establish a connection with your NFC speaker and enjoy wireless audio playback.
Once you have confirmed the compatibility of your iPhone, you can move on to activating NFC on your device. In the next step, we will guide you through the process of enabling NFC on your iPhone.
Step 2: Activate NFC on Your iPhone
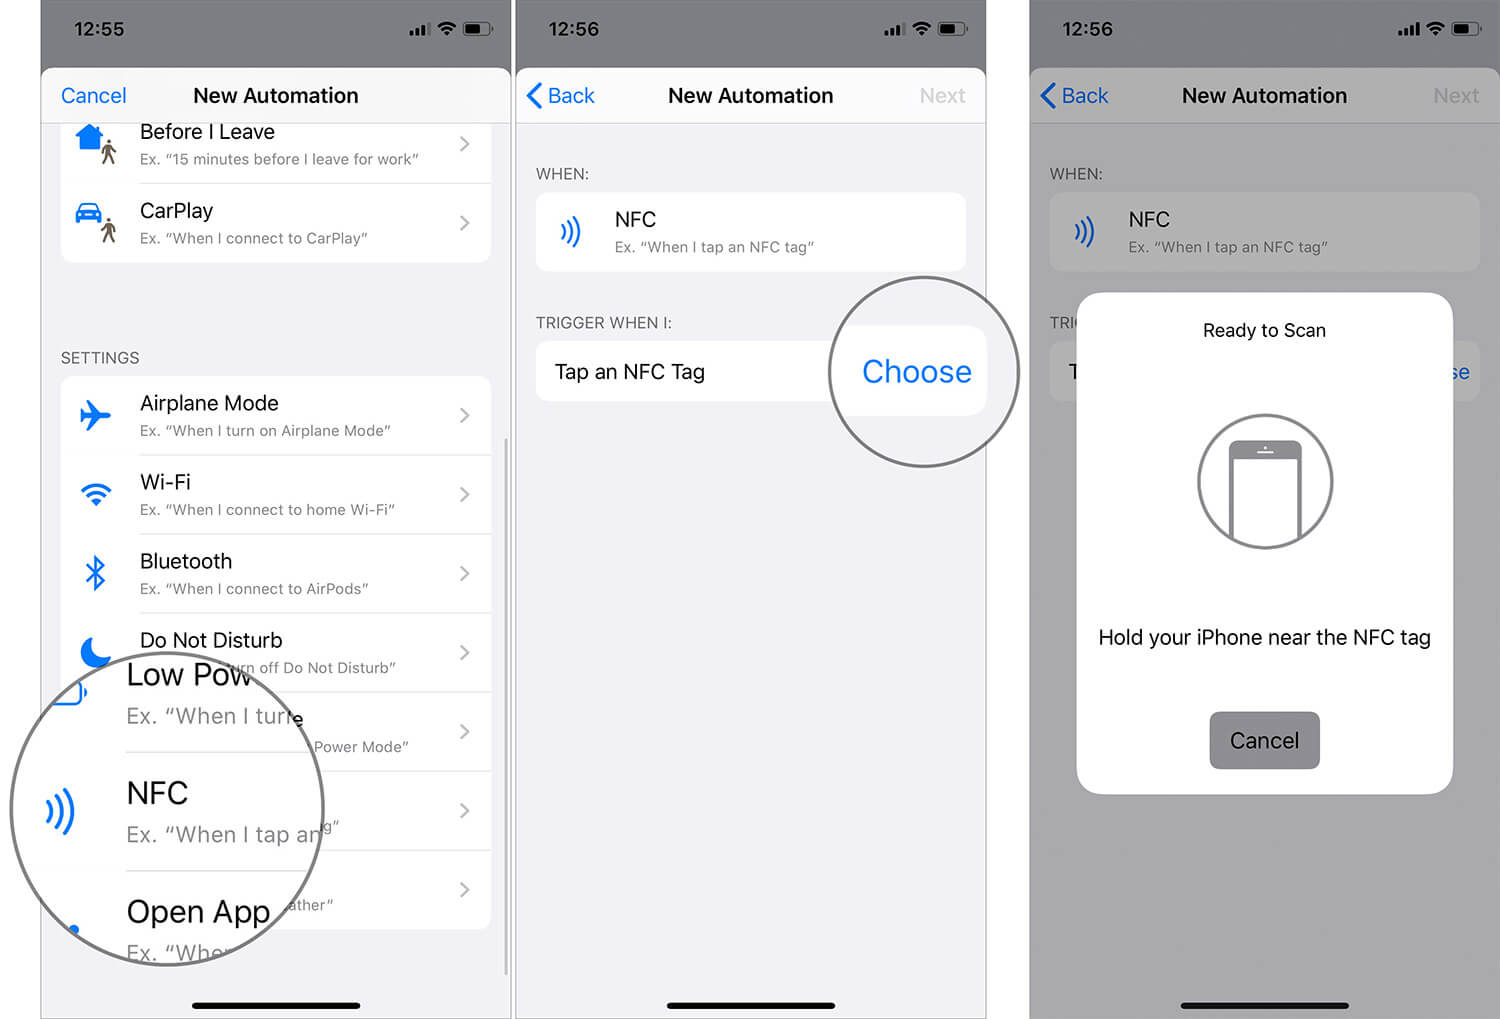
Before you can connect an NFC speaker to your iPhone, you need to make sure that NFC is enabled on your device. Here’s how you can activate NFC:
- Open the “Settings” app on your iPhone.
- Scroll down and tap on “Control Center”.
- Under the “More Controls” section, you’ll find “NFC Tag Reading”. Tap on the green plus icon next to it to add it to your Control Center.
- Exit the Settings app and swipe down from the top-right corner (or swipe up from the bottom, depending on your iPhone model) to open the Control Center.
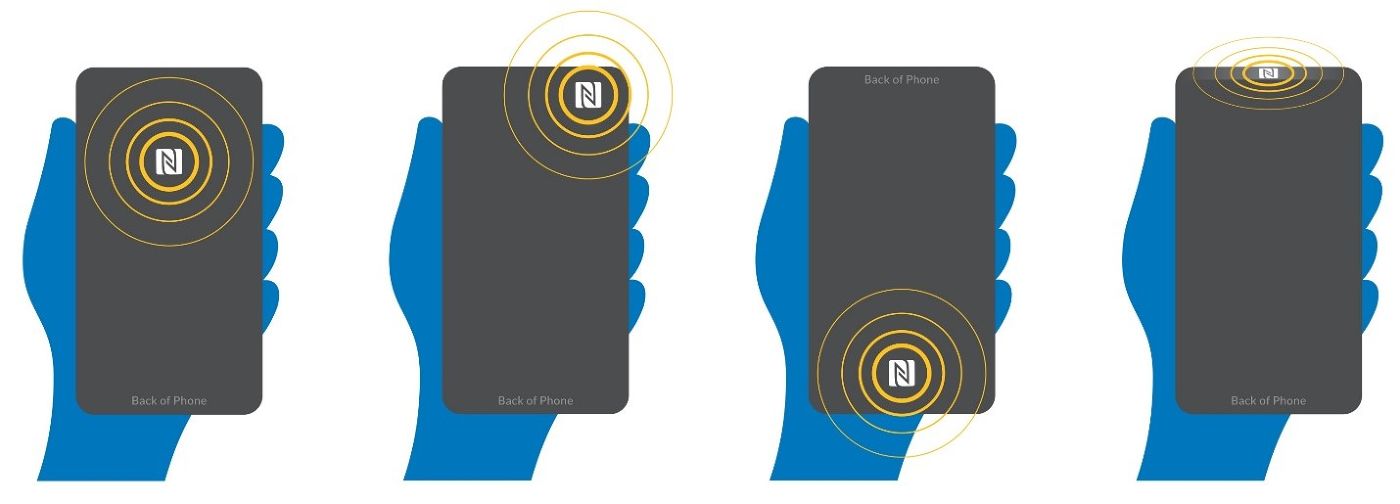
- Ensure that the NFC icon, represented by a series of stacked rectangles, is visible in the Control Center. If you don’t see it, you may need to long-press or force touch the Control Center to reveal additional options.
By following these steps, you have successfully activated NFC on your iPhone. With NFC now enabled, you’re ready to move on to the next step and turn on your NFC speaker.
Keep in mind that the exact steps to activate NFC may vary slightly depending on your iPhone model and the version of iOS you’re running. The instructions provided here are based on the latest version of iOS at the time of writing. If you encounter any difficulties or variations, consult your iPhone’s user manual or the Apple Support website for more detailed instructions that match your specific device.
Now that NFC is enabled on your iPhone, let’s move on to the next step and turn on your NFC speaker.
Step 3: Turn on the NFC Speaker
Now that NFC is activated on your iPhone, it’s time to turn on the NFC speaker. Each NFC speaker may have a different power switch or button, so refer to the user manual or manufacturer’s instructions for your specific speaker. Generally, turning on an NFC speaker involves the following steps:
- Locate the power switch or button on your NFC speaker. It is often located on the side, top, or bottom of the speaker.
- Press and hold the power switch or button until you see an indication that the speaker is turned on. This might be a flashing LED light, an audible beep, or an illuminated power indicator.
- Once the speaker is powered on, it is ready to establish a Bluetooth connection with your iPhone.
Keep in mind that some NFC speakers may have additional buttons or controls for volume adjustment, play/pause, or skipping tracks. Familiarize yourself with these controls by referring to the user manual provided with your speaker.
Once you have successfully turned on your NFC speaker, it’s time to move on to the next step: establishing a Bluetooth connection between your iPhone and the NFC speaker. This will allow you to pair and connect the devices, enabling wireless audio playback.
Now that your NFC speaker is powered on and ready to go, let’s proceed to the next step and establish the Bluetooth connection.
Step 4: Establish Bluetooth Connection
Establishing a Bluetooth connection is crucial for connecting your iPhone to the NFC speaker. Bluetooth is a wireless technology that allows devices to communicate and transfer data over short distances.
To establish a Bluetooth connection between your iPhone and the NFC speaker, follow these steps:
- On your iPhone, open the “Settings” app.
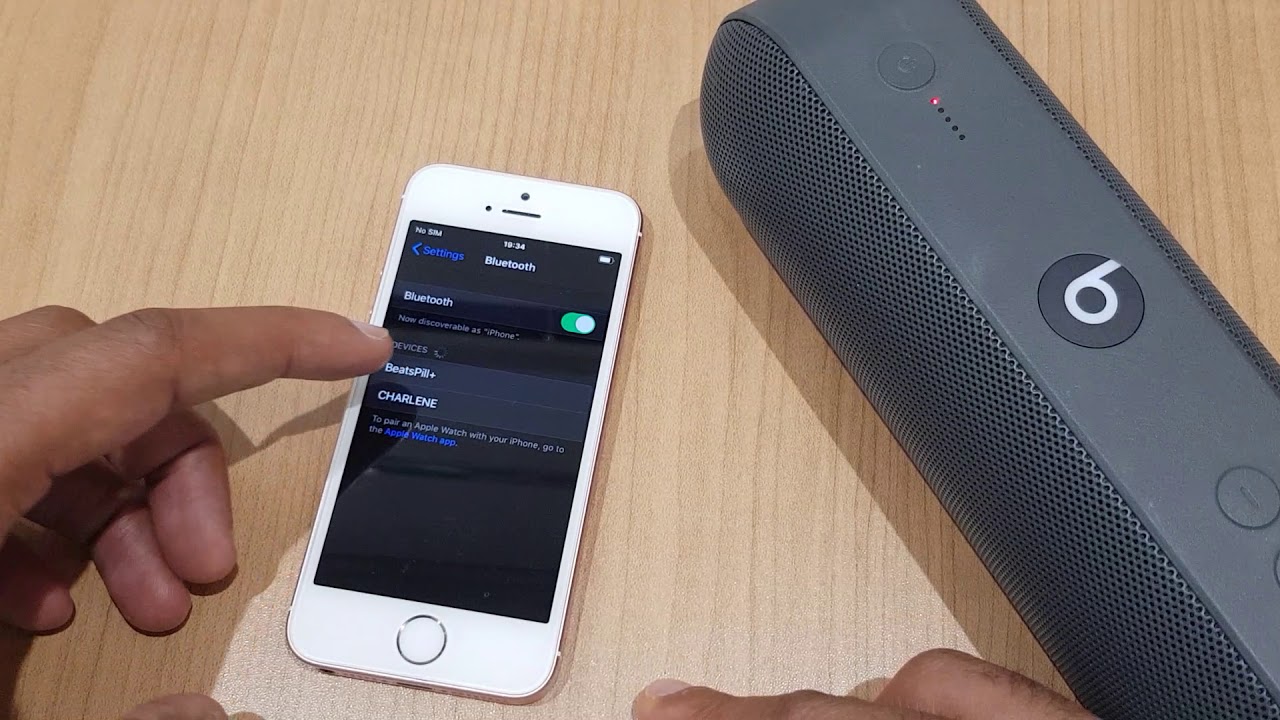
- Tap on “Bluetooth”.
- Make sure that Bluetooth is turned on by toggling the switch to the right. It should turn green or display “On”.
- On your NFC speaker, activate the Bluetooth pairing mode. This varies for different speakers, so consult the user manual or manufacturer’s instructions to find the specific method for your speaker.
- On your iPhone, a list of available Bluetooth devices will appear under “My Devices”. Look for your NFC speaker in the list.
- Tap on the name of your NFC speaker to initiate the pairing process.
- Your iPhone may display a pairing request dialog or ask you to enter a confirmation PIN. Follow the on-screen prompts to complete the pairing process.
Once the pairing is successful, you’ll see the name of your NFC speaker displayed under “My Devices” in the Bluetooth settings on your iPhone. This indicates that a Bluetooth connection has been established between your iPhone and the NFC speaker.
It’s important to note that the pairing process may vary depending on the NFC speaker model and the version of iOS on your iPhone. Some NFC speakers may require an additional app for seamless Bluetooth connectivity. Refer to the user manual or manufacturer’s instructions for specific guidance.
With the Bluetooth connection successfully established, it’s time to move on to the next step and pair and connect the NFC speaker to your iPhone.
Step 5: Pair and Connect the NFC Speaker
Now that you have established a Bluetooth connection between your iPhone and the NFC speaker, it’s time to pair and connect the devices. This step will ensure that the audio output from your iPhone is directed to the NFC speaker for a seamless listening experience.
To pair and connect the NFC speaker to your iPhone, follow these steps:
- On your iPhone, open the “Settings” app.
- Tap on “Bluetooth”.
- Under “My Devices”, you will find the name of your NFC speaker that you previously paired.
- Tap on the name of your NFC speaker to initiate the connection.
- Once connected, your iPhone will display a confirmation message or notification indicating the successful pairing and connection.
After pairing and connecting the NFC speaker, any audio playback on your iPhone, such as music, podcasts, or videos, will be routed through the NFC speaker instead of the built-in speakers of your iPhone.
If you encounter any difficulties in pairing or connecting the NFC speaker, ensure that both devices are within close proximity of each other and that Bluetooth is activated on your iPhone. You may also try restarting both the iPhone and the NFC speaker to resolve any temporary connectivity issues.
Congratulations! You have successfully paired and connected your NFC speaker to your iPhone. Now, in the final step, let’s enjoy wireless audio playback.
Step 6: Enjoy Wireless Audio Playback
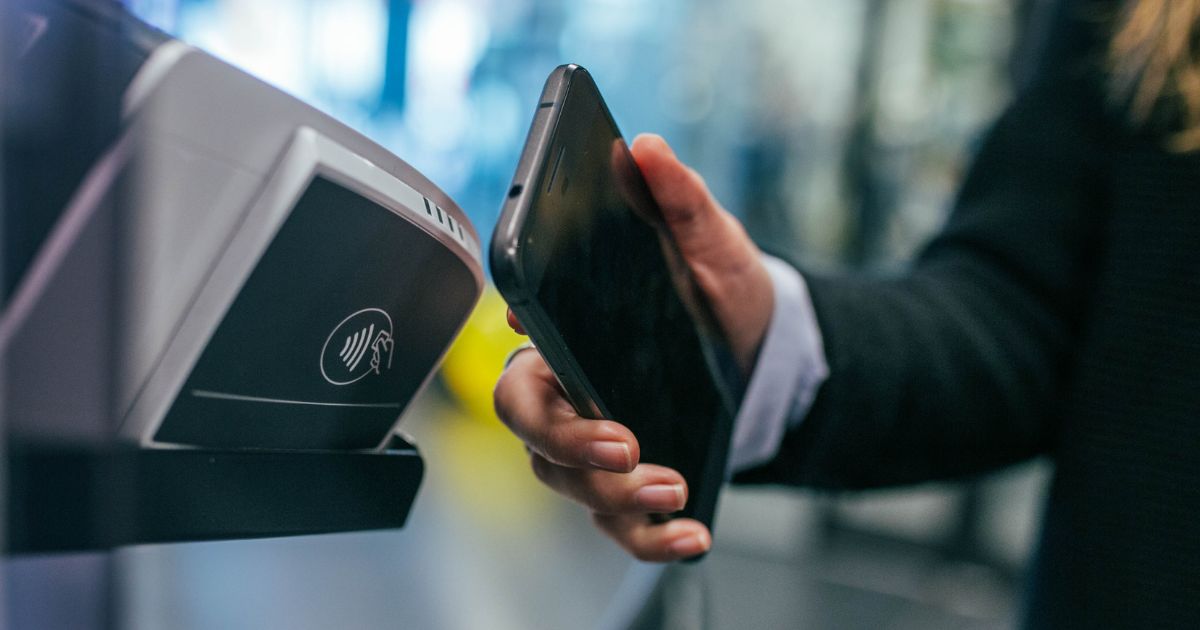
With your NFC speaker successfully paired and connected to your iPhone, it’s time to enjoy the benefits of wireless audio playback. Now you can experience high-quality sound without the hassle of wires or cables.
Follow these steps to start playing audio through your NFC speaker:
- Open your preferred audio app on your iPhone, such as Apple Music, Spotify, or YouTube.
- Choose your desired audio content, whether it’s a song, podcast, or video.
- Press play, and the audio will automatically be streamed to your NFC speaker.
- Adjust the volume using the volume controls on your iPhone or the volume buttons on the NFC speaker.
Enjoy the freedom of moving around while still enjoying your favorite music or podcasts. The NFC speaker will deliver clear and immersive audio, allowing you to enhance your listening experience.
Additionally, some NFC speakers may offer additional features like built-in microphones for hands-free calling, equalizer settings, or even the ability to connect multiple speakers for a surround sound experience. Explore the features available on your specific NFC speaker to make the most out of your wireless audio setup.
Remember to keep your NFC speaker and iPhone within a reasonable range for stable Bluetooth connectivity. If you experience any audio interruptions or disconnections, try moving closer to the NFC speaker or removing any potential obstacles that may be causing interference.
Now sit back, relax, and enjoy the wireless audio playback experience with your NFC speaker and iPhone!
Troubleshooting Common Issues
While connecting an NFC speaker to your iPhone is generally a straightforward process, you may occasionally encounter some common issues. Here are a few troubleshooting steps to help resolve these issues:
No sound coming from the NFC speaker:
- Ensure that the volume on both your iPhone and the NFC speaker is turned up.
- Check if the Bluetooth connection between your iPhone and the NFC speaker is still active. If not, try reconnecting them.
- Verify that the NFC speaker is powered on and not muted.
- Make sure the audio content being played is not on mute or set to low volume.
- Try restarting both your iPhone and the NFC speaker to refresh their connection.
Poor audio quality or distorted sound:
- Ensure that your iPhone and the NFC speaker are within close proximity of each other to maintain a strong Bluetooth connection.
- Check for any potential sources of interference, such as other electronic devices or walls obstructing the Bluetooth signal.
- Adjust the audio quality settings on your iPhone or the NFC speaker, if available, to optimize the sound output.
- Try cleaning the speaker grilles on the NFC speaker to remove any dust or debris that could affect sound quality.
Bluetooth connection issues:
- Toggle Bluetooth off and on again on your iPhone to reset the connection.
- Restart both your iPhone and the NFC speaker.
- Ensure that your iPhone is not already connected to other Bluetooth devices, as this can interfere with the connection to the NFC speaker. Disconnect any unnecessary Bluetooth devices.
- Remove the NFC speaker from the Bluetooth settings on your iPhone and re-pair them from scratch.
If these troubleshooting steps do not resolve the issues you are facing, consult the user manual of your NFC speaker or visit the manufacturer’s website for further assistance. Additionally, you can reach out to customer support for both your iPhone and the NFC speaker for additional troubleshooting guidance.
By addressing these common issues, you can overcome any challenges and fully enjoy the benefits of wireless audio playback with your NFC speaker and iPhone.
Conclusion
Congratulations! You have successfully learned how to connect an NFC speaker to your iPhone and enjoy wireless audio playback. By following the step-by-step guide in this article, you can immerse yourself in high-quality sound without the inconvenience of wires or cables.
Remember to ensure the compatibility of your iPhone with NFC, activate NFC on your device, turn on the NFC speaker, establish a Bluetooth connection, and pair and connect the NFC speaker. Once connected, you can enjoy wireless audio playback and enhance your listening experience.
If you encounter any issues during the process, refer to the troubleshooting tips provided to resolve common problems, such as no sound, poor audio quality, or Bluetooth connection issues.
With your NFC speaker and iPhone now seamlessly connected, you have the freedom to enjoy your favorite music, podcasts, and videos with enhanced sound quality. Whether you’re at home, on the go, or hosting a gathering, the wireless audio setup will elevate your entertainment experience.
Now it’s time to sit back, relax, and immerse yourself in the world of wireless audio as you enjoy the convenience and quality of your NFC speaker connected to your iPhone. Happy listening!