Introduction
Are you eager to elevate your music-listening experience by connecting your NFC speaker to your iPhone? You're in the right place! Near Field Communication (NFC) technology allows for seamless connectivity between compatible devices, and with the right steps, you can effortlessly pair your iPhone with an NFC speaker. This step-by-step guide will walk you through the process, ensuring that you can enjoy your favorite tunes with optimal sound quality.
The simplicity and convenience of NFC technology make it a popular choice for connecting devices wirelessly. By following these straightforward instructions, you'll be able to establish a stable connection between your iPhone and NFC speaker in no time, eliminating the need for tangled cords and complex setup procedures.
Whether you're hosting a gathering, relaxing at home, or embarking on an outdoor adventure, having your iPhone paired with an NFC speaker can enhance the ambiance and keep the music flowing. With this guide, you'll be well-equipped to make the most of your NFC-enabled devices and savor a seamless audio experience. Let's dive into the steps and get your iPhone and NFC speaker connected effortlessly.
Step 1: Check NFC Compatibility
Before diving into the process of connecting your NFC speaker to your iPhone, it’s crucial to ensure that both devices are equipped with NFC capabilities. Not all iPhone models support NFC technology, so it’s essential to verify this feature before proceeding.
To check if your iPhone is NFC-enabled, you can refer to the specific model’s technical specifications on the official Apple website or consult the user manual that came with your device. Typically, iPhones that support NFC connectivity include the iPhone 7 and later models. It’s important to note that NFC functionality may vary depending on the iOS version installed on your device, so it’s advisable to update to the latest iOS version for optimal compatibility.
Next, you’ll need to confirm that your NFC speaker is compatible with the iPhone’s NFC technology. Most modern NFC speakers are designed to work seamlessly with NFC-enabled devices, including iPhones. You can check the product specifications provided by the speaker’s manufacturer or refer to the user manual to verify its compatibility with iOS devices.
Once you’ve confirmed that both your iPhone and NFC speaker are equipped with NFC capabilities, you’re ready to proceed to the next step and prepare your iPhone for NFC connectivity.
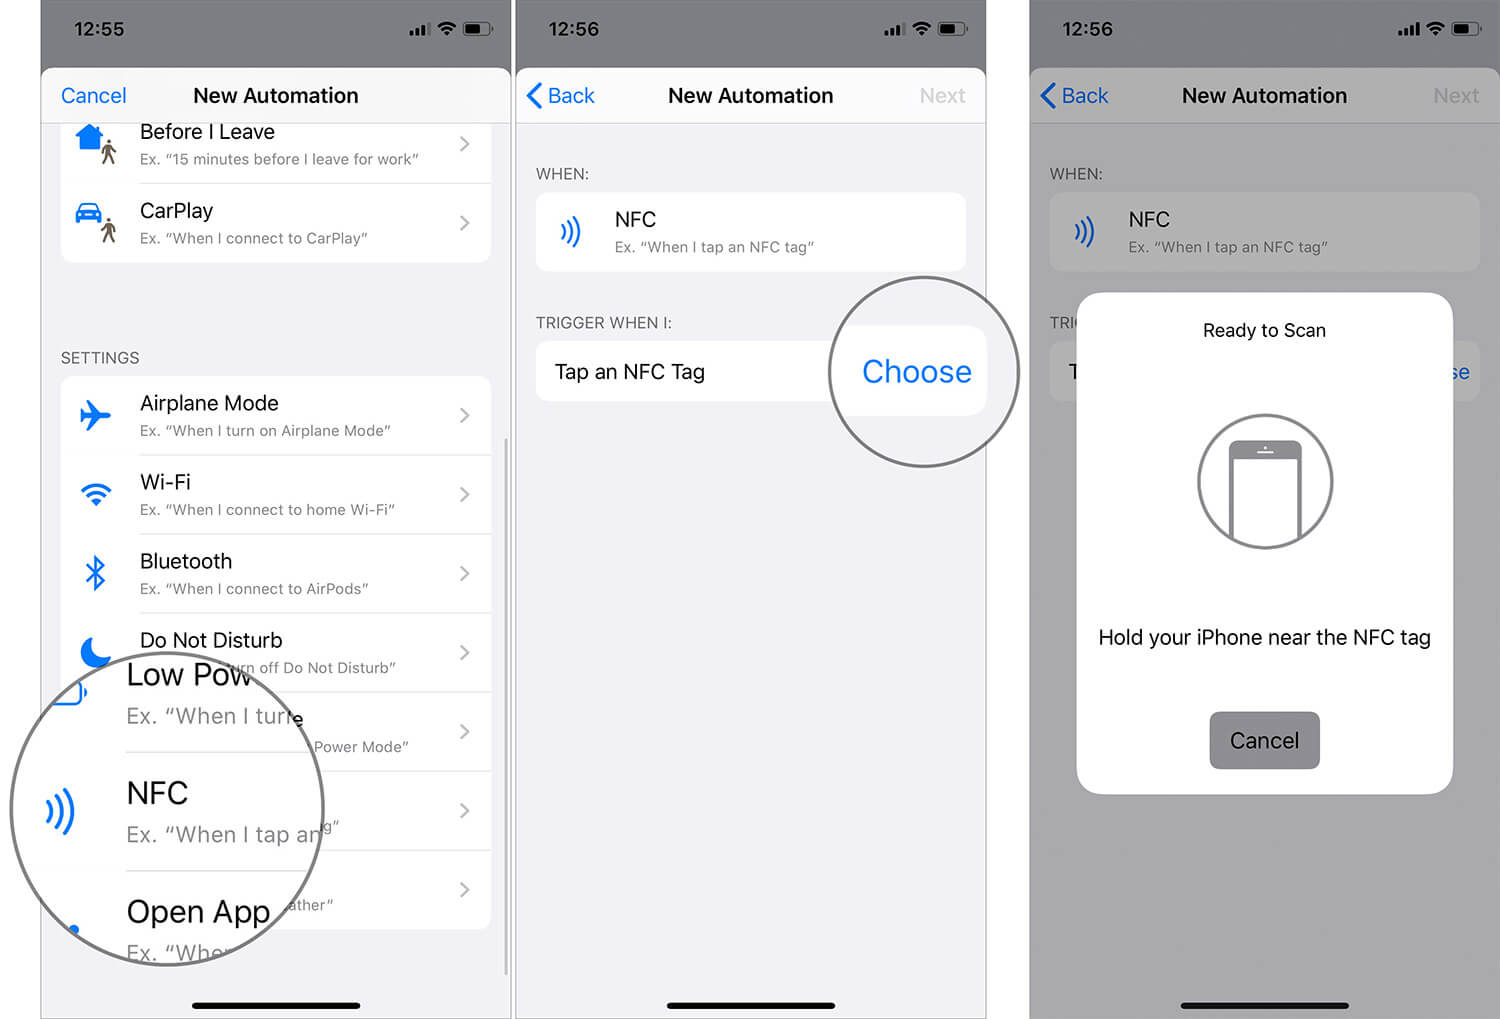
Step 2: Turn on NFC on iPhone
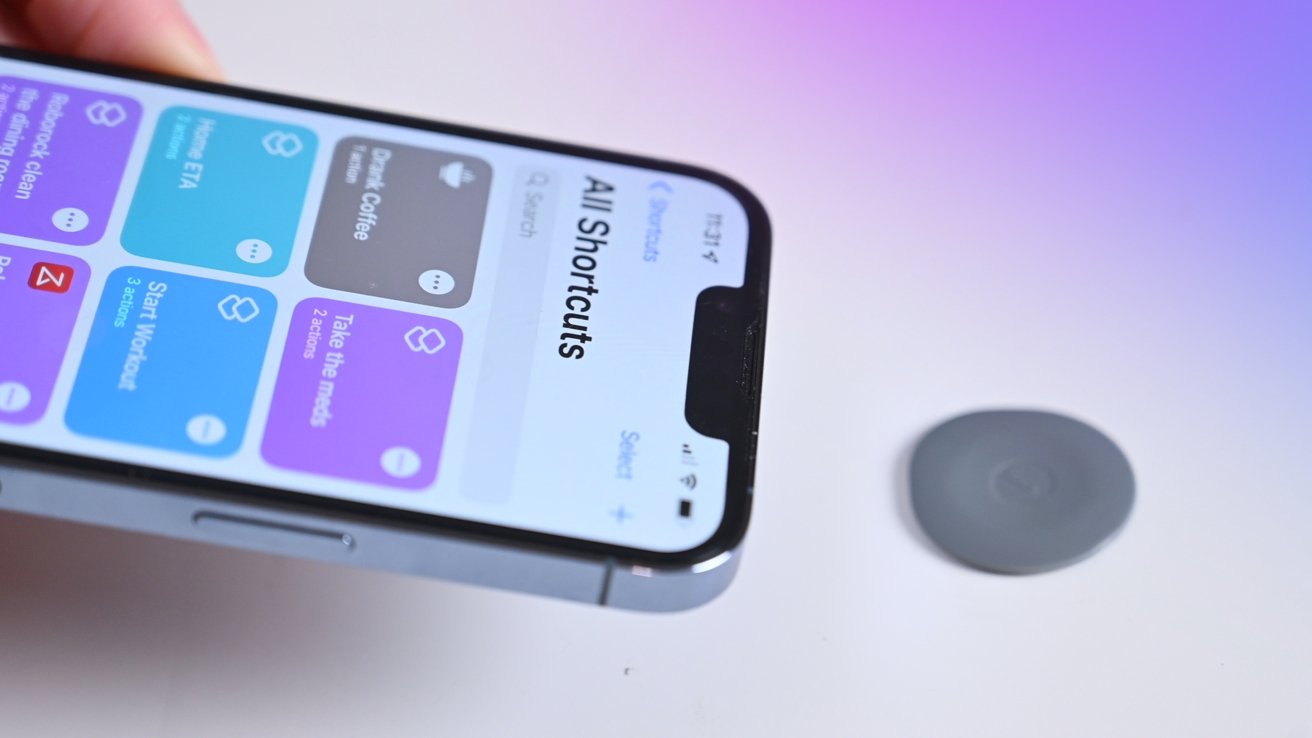
Enabling NFC on your iPhone is a straightforward process that involves accessing the device’s settings to activate this feature. To begin, unlock your iPhone and navigate to the “Settings” app, which is represented by a gear icon on your home screen.
Once you’ve accessed the Settings menu, scroll down and look for the “NFC” option. Depending on your iPhone model and the iOS version it’s running, the location of the NFC setting may vary slightly. If your iPhone supports NFC, you should see the NFC option within the settings menu.
After locating the NFC setting, tap on it to access the NFC configuration options. You’ll typically find a toggle switch that allows you to turn NFC on or off. To enable NFC, simply slide the toggle switch to the “on” position. Upon activating NFC, your iPhone will be ready to establish a wireless connection with other NFC-enabled devices, including your NFC speaker.
It’s important to note that some iPhone models may require you to enable other settings, such as Bluetooth or Wi-Fi, to ensure seamless NFC functionality. Additionally, keeping your iPhone’s software up to date can help optimize NFC performance and address any potential compatibility issues with your NFC speaker.
With NFC successfully activated on your iPhone, you’re now prepared to move on to the next step and prepare your NFC speaker for pairing with your device.
Step 3: Turn on NFC Speaker
Before initiating the pairing process with your iPhone, it’s essential to power on your NFC speaker and ensure that its NFC functionality is enabled. Most NFC speakers feature a dedicated NFC activation method that allows them to enter pairing mode and establish a connection with compatible devices, such as your iPhone.
To turn on your NFC speaker, locate the power button or switch, typically located on the front or top of the speaker. Press or toggle the power control to activate the speaker. Upon powering on the NFC speaker, you may hear a startup sound or see indicator lights that signify the device is ready for pairing.
Once the NFC speaker is powered on, it’s time to enable its NFC functionality. Depending on the specific model and design of your NFC speaker, you may need to press and hold a designated NFC button or access the speaker’s settings menu to activate NFC pairing mode. Refer to the user manual provided with your NFC speaker for detailed instructions on enabling NFC connectivity.
When the NFC functionality is successfully activated on the speaker, it will be primed to establish a wireless connection with your iPhone using NFC technology. It’s important to position your iPhone within close proximity to the NFC speaker to ensure a reliable connection during the pairing process.
With your NFC speaker powered on and its NFC feature enabled, you’re now ready to proceed to the next step and initiate the pairing process between your iPhone and the NFC speaker.
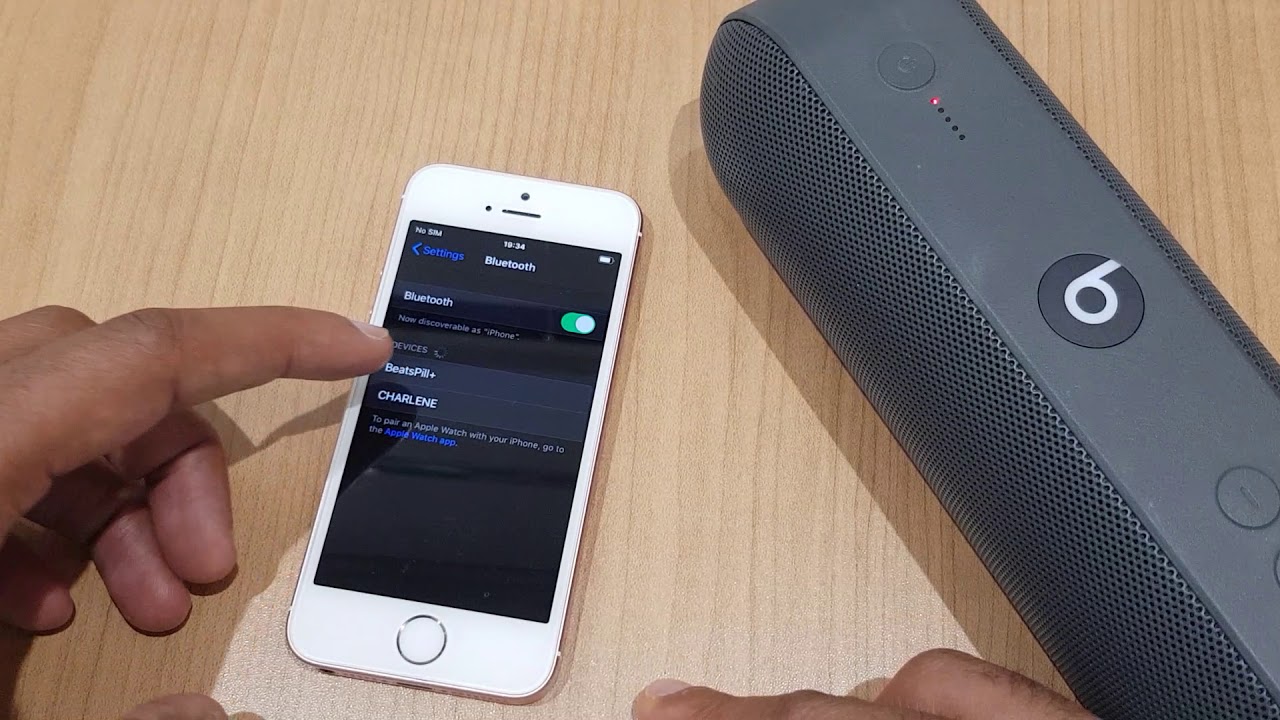
Step 4: Connect the Devices
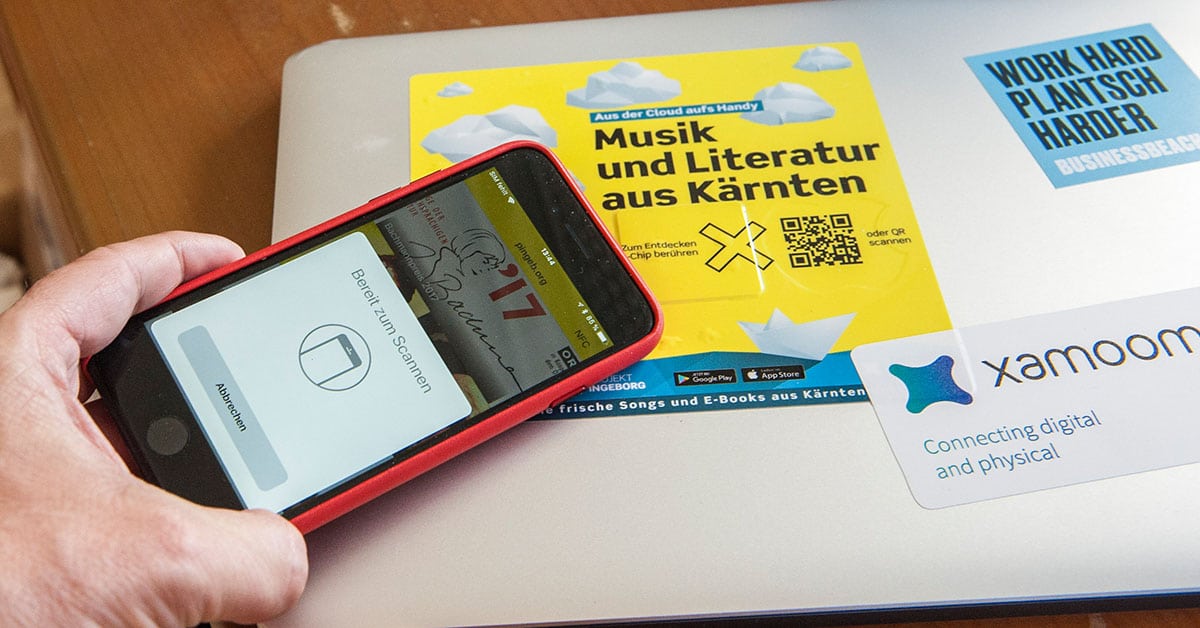
With both your iPhone’s NFC feature and the NFC speaker activated, it’s time to initiate the pairing process between the two devices. The NFC technology simplifies this process, allowing for seamless connectivity with a simple touch or close proximity.
Begin by positioning your NFC-enabled iPhone in close proximity to the NFC tag or area on the NFC speaker. The specific location of the NFC tag on the speaker may vary depending on the model, so refer to the speaker’s user manual or documentation for guidance on locating the NFC touchpoint.
Once you’ve identified the NFC tag on the speaker, gently tap your iPhone against the designated NFC area. Alternatively, if your iPhone features a specific NFC touchpoint, align it with the corresponding area on the NFC speaker. The devices should be brought close together to ensure a successful connection.
Upon establishing physical contact or close proximity between the iPhone and the NFC speaker, the devices will initiate the NFC pairing process. You may receive on-screen prompts or visual indicators from both the iPhone and the NFC speaker, confirming that the pairing is in progress.
As the pairing process unfolds, your iPhone will exchange the necessary information with the NFC speaker, enabling them to establish a secure and stable connection. Depending on the devices and their respective settings, the pairing process may take a few moments to complete, so it’s important to keep the devices in close proximity until the connection is established.
Once the pairing is successful, your iPhone and the NFC speaker will be connected via NFC, allowing for seamless audio playback and control. With the devices now linked, you’re ready to move on to the final step and test the connection to ensure that the pairing was successful.
Step 5: Test the Connection
After successfully pairing your iPhone with the NFC speaker, it’s crucial to test the connection to ensure that the devices are communicating effectively and that audio playback functions as expected. Verifying the connection will allow you to address any potential issues and enjoy a seamless audio experience.
Begin by playing a piece of music or a sound clip on your iPhone. Once the audio is playing, ensure that the sound output is directed to the NFC speaker. You can typically manage the audio output destination by accessing the playback settings on your iPhone. Look for an option to select the connected NFC speaker as the audio output device.
As the audio plays, listen for the sound emanating from the NFC speaker. If the connection is successful, the audio should be clearly audible from the speaker, indicating that the pairing process was completed effectively. Additionally, you can adjust the volume levels on both your iPhone and the NFC speaker to ensure optimal sound quality and volume control.
While the audio is playing through the NFC speaker, you can also test the functionality of playback controls, such as play, pause, and skip, to ensure that your iPhone can effectively communicate with the speaker and manage the audio playback remotely. These controls should seamlessly interact with the NFC speaker, allowing you to manage your music playback without needing direct access to your iPhone.
It’s also beneficial to test the stability of the connection by moving your iPhone to different positions within the speaker’s proximity. This can help verify that the NFC connection remains robust and reliable, even when the devices are slightly repositioned.
If the connection test yields positive results, and you can enjoy uninterrupted audio playback with full control over the sound output, congratulations – you’ve successfully connected your iPhone to the NFC speaker using NFC technology. If any issues arise during the connection test, you may need to revisit the pairing process and ensure that both devices are properly configured for NFC connectivity.
Conclusion
Connecting your NFC speaker to your iPhone using NFC technology can significantly enhance your audio experience, offering a seamless and convenient way to enjoy your favorite music and audio content. By following the step-by-step guide outlined in this article, you’ve learned how to leverage NFC capabilities to establish a wireless connection between your iPhone and an NFC speaker.
From checking the NFC compatibility of your devices to testing the connection and ensuring smooth audio playback, each step in the process has equipped you with the knowledge and skills needed to effortlessly pair your iPhone with an NFC speaker.
With NFC technology, the hassle of dealing with cumbersome cables and complex pairing procedures is eliminated, allowing you to focus on enjoying high-quality audio with minimal setup requirements. Whether you’re at home, outdoors, or on the go, the seamless connectivity offered by NFC enables you to create the perfect audio environment with ease.
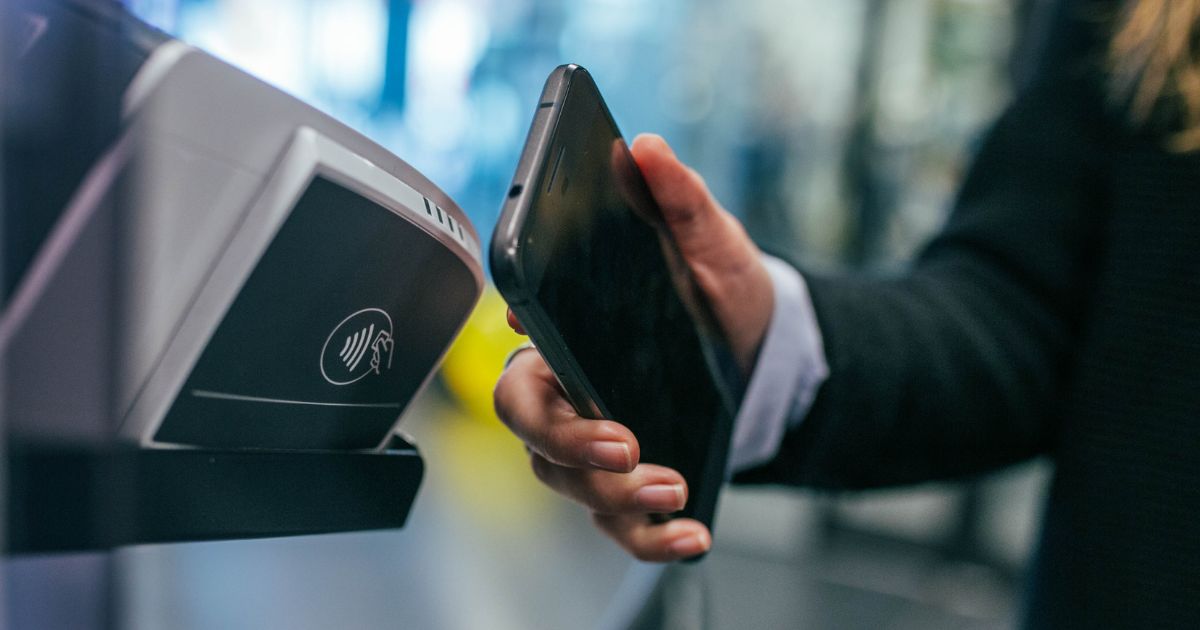
As you continue to explore the possibilities of NFC connectivity, you’ll find that the convenience and simplicity it provides extend beyond just pairing your iPhone with an NFC speaker. NFC technology can be utilized for various applications, including contactless payments, data transfer, and more, making it a versatile and valuable feature of modern devices.
By mastering the process of connecting your iPhone to an NFC speaker, you’ve unlocked the potential for a seamless audio experience that adapts to your lifestyle and preferences. Embracing the capabilities of NFC technology opens the door to a world of effortless connectivity and enhanced audio enjoyment.
With your iPhone and NFC speaker now seamlessly linked, you’re ready to immerse yourself in your favorite music, podcasts, and audio content, knowing that you’ve harnessed the power of NFC to create a wireless audio environment that complements your on-the-go lifestyle.