Introduction
Canceling a subscription on PayPal can be a straightforward process if you know where to find the right settings. Whether it’s an unwanted membership, a recurring payment for a service you no longer need, or simply a change in your financial situation, PayPal offers an easy way to manage and cancel your subscriptions.
In this guide, we’ll walk you through the step-by-step process of canceling a subscription on PayPal. Whether you’re using PayPal on your computer or accessing your account through the mobile app, the cancellation process remains the same. With just a few clicks or taps, you’ll be able to successfully terminate any unwanted subscriptions.
Before we dive into the steps, keep in mind that canceling a subscription will stop any future automatic payments from being made. However, it does not guarantee a refund for any payments that have already been processed. If you have any concerns about refunds, be sure to reach out to the merchant directly to discuss your options.
Now, let’s get started with canceling your subscription on PayPal!
Step 1: Sign in to your PayPal account
The first step to canceling a subscription on PayPal is to sign in to your account. This can be done through the PayPal website or the PayPal mobile app, depending on your preferred method of accessing your account.
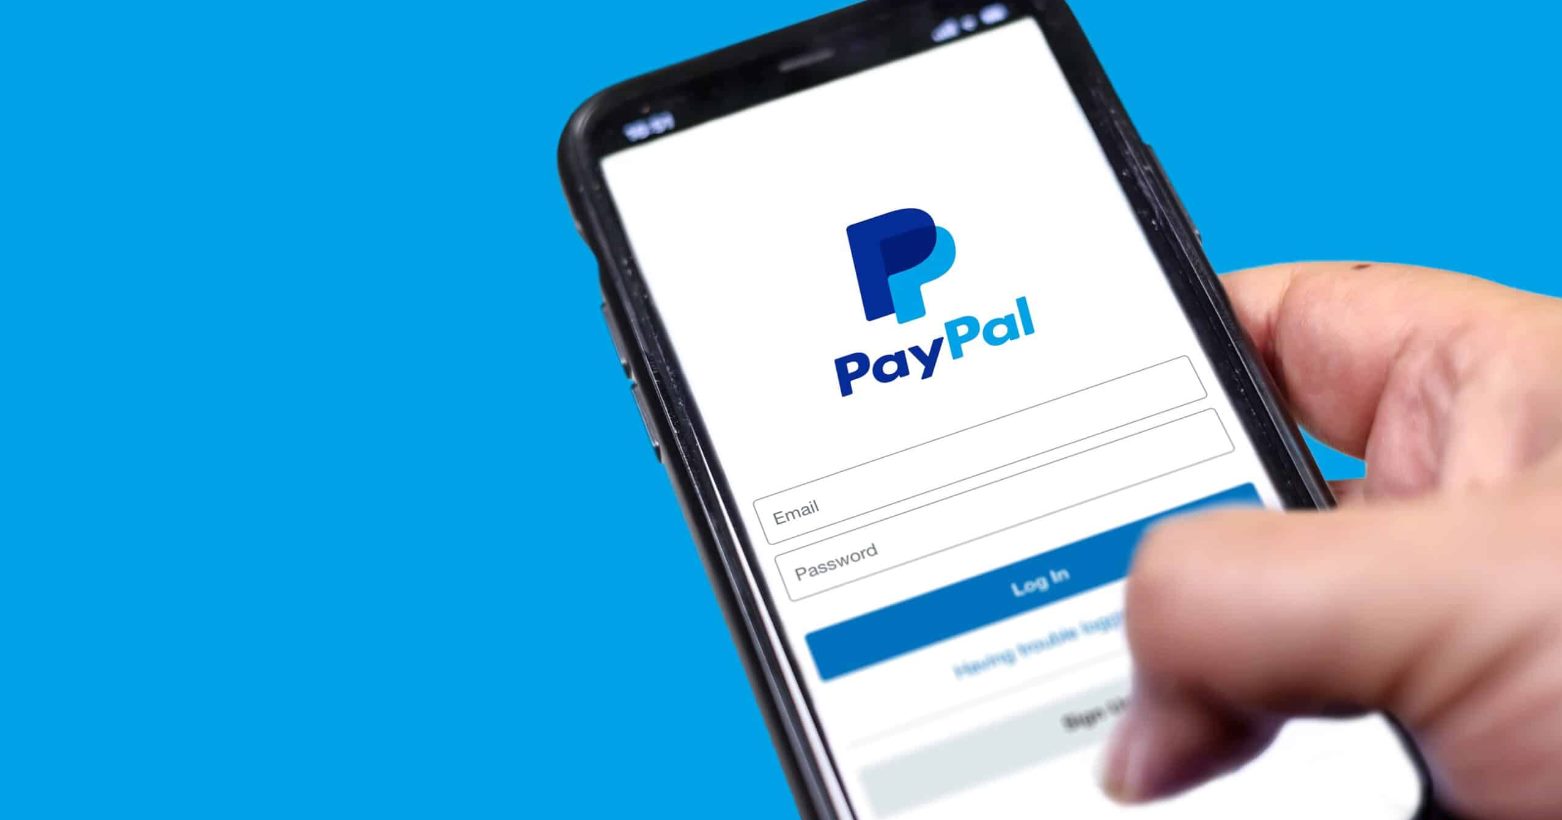
If you’re using the website, open your web browser and go to the PayPal homepage. Click on the “Log In” button located at the top right corner of the page. Enter your email address or phone number associated with your PayPal account, followed by your password. Once entered, click on the “Log In” button.
If you prefer to use the mobile app, open the PayPal app on your device. Tap on the “Log In” button and enter your email or phone number and password. Then tap on the “Log In” button to access your account.
Remember, it’s important to use a secure internet connection and ensure that you are on the official PayPal website or app to protect your account information.
Once you have successfully logged in to your PayPal account, you’re ready to proceed to the next step.
Step 2: Go to the settings
After signing in to your PayPal account, the next step is to navigate to the settings. This is where you’ll find the option to manage your subscriptions and make changes to your account preferences.
If you’re using the PayPal website, look for the gear icon or the “Settings” option, usually located in the top right corner of the page. Click on it to access the settings menu.
If you’re using the PayPal mobile app, tap on the menu icon (often represented by three lines) located in the top left corner of the screen. Scroll down until you find the “Settings” option, and tap on it to open the settings menu.
Once you’re in the settings menu, you’re one step closer to canceling your subscription.
Keep in mind that the layout and design of the settings menu may vary slightly depending on the version of PayPal you’re using. If you’re having trouble finding the settings option, try using the search bar within the settings menu to locate the specific option you need.
Now that you’ve successfully navigated to the settings menu, let’s move on to the next step and find the “Payments” section.
Step 3: Click on “Payments”
Once you’re in the settings menu, the next step is to locate and click on the “Payments” option. This is where you’ll find the settings related to your payment methods and subscriptions.
If you’re using the PayPal website, you may find the “Payments” option directly in the settings menu. Look for a tab or section labeled “Payments” and click on it to proceed.
If you’re using the PayPal mobile app, you may need to navigate through a few more options within the settings menu to find the “Payments” section. Look for options like “Wallet,” “Banks and Cards,” or “Payment Preferences.” Tap on these options to explore further until you find the “Payments” section.
Once you’ve located the “Payments” section, click on it to access the payment settings and management options.
It’s worth noting that PayPal’s interface and menu organization may vary slightly depending on the version you’re using. If you’re unable to locate the “Payments” option, use the search function within the settings menu or consult the PayPal support documentation for further guidance.
Now that you’re within the “Payments” section, you’re ready to move on and manage your automatic payments.
Step 4: Manage your automatic payments
Once you’re in the “Payments” section, you’ll have access to the settings and options related to your automatic payments. This is where you can view and manage the subscriptions linked to your PayPal account.
In this step, you’ll be able to see a list of your automatic payments and subscriptions. The list will include the details of each subscription, such as the name of the merchant or service, the payment amount, and the frequency of the payments.
Take a moment to review the list and locate the subscription you wish to cancel. If you have multiple subscriptions, you may need to scroll through the list or use the search function to find the specific one you want to cancel.
Once you’ve found the subscription you wish to cancel, click on it to access the subscription details and management options. You may see options such as “Cancel,” “Manage,” or “Subscription Details.” Click on the appropriate option to proceed with canceling the subscription.
While you’re in this section, it’s a good idea to review any other automatic payments or subscriptions you have. This allows you to make any necessary changes or cancellations to ensure you are only being billed for the services or products you still need.
Take your time to ensure that you’ve selected the correct subscription to cancel. Once you’re ready, let’s move on to the next step and confirm the cancellation.
Step 5: Cancel the subscription
Now that you’ve accessed the details of the subscription you wish to cancel, it’s time to proceed with canceling it. This step will ensure that no further automatic payments will be made for that specific subscription.
Look for the option to cancel the subscription. In most cases, it will be clearly labeled as “Cancel” or “Cancel Subscription.” Click on this option to initiate the cancellation process.
Before finalizing the cancellation, you may be prompted to provide a reason for canceling. This step is optional, but it helps PayPal and the merchant understand why you’ve decided to cancel the subscription. Select the appropriate reason from the provided options or choose the “Other” option if your reason is not listed.
Once you’ve provided the reason (if required), review the details one last time to ensure that you’re canceling the correct subscription. If everything looks accurate, click on the final confirmation button to complete the cancellation.
After confirming the cancellation, PayPal will stop any future automatic payments for that subscription. However, keep in mind that this does not guarantee a refund for any payments that have already been processed. To inquire about refunds or any other related matters, you may need to contact the merchant directly.
Congratulations! You’ve successfully canceled the subscription on PayPal. However, it’s advisable to proceed to the next step to verify that the cancellation has been processed correctly.
Step 6: Confirm the cancellation
After canceling the subscription, it’s important to verify that the cancellation has been processed correctly. This step will give you peace of mind and ensure that no further payments will be deducted from your PayPal account.
To confirm the cancellation, navigate back to the “Payments” section in your PayPal account settings. Review the list of your automatic payments and subscriptions to locate the subscription you just canceled.
Check the status of the subscription to ensure that it now reflects as “Canceled” or “Inactive.” This indicates that the cancellation has been successful, and no more automatic payments will be made for that subscription.
If the subscription status still shows as “Active” or you notice any discrepancies, you may need to contact PayPal customer support for further assistance. Provide them with the details of the subscription you canceled and explain the issue you’re facing. They will be able to investigate and help resolve any problems.
Take a moment to double-check the list of subscriptions to ensure that all the necessary changes have been made. If you have other subscriptions you’d like to manage or cancel, repeat the steps outlined in this guide for each one.
By confirming the cancellation, you can have peace of mind knowing that your subscription has been successfully terminated, and no further payments will be deducted.
Now that you’ve verified the cancellation, you’re almost done. Let’s proceed to the final step to conclude the process.
Step 7: Verify the subscription is canceled
Once you have canceled a subscription on PayPal, it is essential to take a moment to verify that the cancellation has been successfully processed. This final step ensures that you have complete control over your subscriptions and that you won’t be charged for any unwanted services or memberships.
To verify the cancellation, go back to the “Payments” section in your PayPal account settings. Locate the list of your automatic payments and subscriptions and find the subscription you recently canceled.
Check the status of the subscription to confirm that it now shows as “Canceled” or “Inactive.” This indicates that the cancellation has been successfully processed, and no further payments will be made for that particular subscription.
In addition to checking the subscription status within PayPal, it’s advisable to also monitor your bank account or credit card statement. Ensure that no additional charges are being deducted for the canceled subscription.
If you notice any ongoing charges or if the subscription status still appears as “Active,” contact PayPal customer support immediately. Provide them with the details of the subscription, explain that you have already canceled it, and request immediate assistance in resolving the issue.
Verifying the cancellation of a subscription gives you peace of mind and allows you to confidently manage your PayPal subscriptions. By ensuring that the desired subscription is genuinely canceled, you can avoid any future unwanted charges or misunderstandings.
Congratulations! You have successfully canceled and verified the cancellation of a subscription on PayPal. By following these steps, you have taken control of your subscriptions and can now monitor and manage them effectively.
Remember to periodically review your subscriptions on PayPal to stay up-to-date and make any necessary changes as your needs evolve over time.
Conclusion
Canceling a subscription on PayPal is a straightforward process that allows you to take control of your financial commitments. By following the step-by-step guide outlined in this article, you can successfully cancel any unwanted subscriptions and prevent further automatic payments from being deducted.
Remember to sign in to your PayPal account and navigate to the settings menu to access the “Payments” section. From there, you can manage your automatic payments and locate the subscription you wish to cancel. Take the time to review the details and confirm that you’ve selected the correct subscription.
Once you’ve canceled the subscription, verify the cancellation by checking the subscription status within PayPal and reviewing your bank or credit card statement for any continued charges. If you encounter any issues or discrepancies, don’t hesitate to reach out to PayPal customer support for assistance.
By canceling and verifying the cancellation of your subscriptions, you can have peace of mind and financial control. Regularly reviewing and managing your PayPal subscriptions ensures that you are only paying for the services or products you need and can adjust your financial commitments accordingly.
Take advantage of the flexibility and convenience that PayPal offers when it comes to managing your subscriptions. Stay proactive in reviewing your account regularly, and you’ll be able to optimize your financial situation and avoid any unnecessary charges.
Now that you are equipped with the knowledge and steps necessary to cancel subscriptions on PayPal, you can confidently navigate your account settings and take control of your financial commitments.


