Introduction
Canceling a PayPal account may be necessary for various reasons. Whether you’re no longer using the service, switching to a different payment platform, or simply want to close your account, this guide will walk you through the process step-by-step. It’s important to note that once you cancel your PayPal account, you will not be able to reactivate it or retrieve any data associated with it. Make sure to carefully consider your decision before proceeding.
Canceling your PayPal account involves a few simple steps. You’ll need to sign in to your PayPal account, access the settings page, and navigate to the account closure option. Once you’ve initiated the account closure process, you’ll be asked to confirm your decision. It’s worth mentioning that canceling your account does not automatically resolve any pending transactions or issues. You’ll need to address these before closing your account to ensure a seamless transition.
Before diving into the step-by-step process, it’s important to gather any relevant information relating to your PayPal account, such as account details, transaction history, and contact information. This will make the cancellation process smoother and help you manage any outstanding tasks more efficiently.
Now let’s delve into the specifics of canceling your PayPal account. Follow the steps outlined in the sections below to successfully close your account and move on to your next financial venture.
Step 1: Sign in to your PayPal account
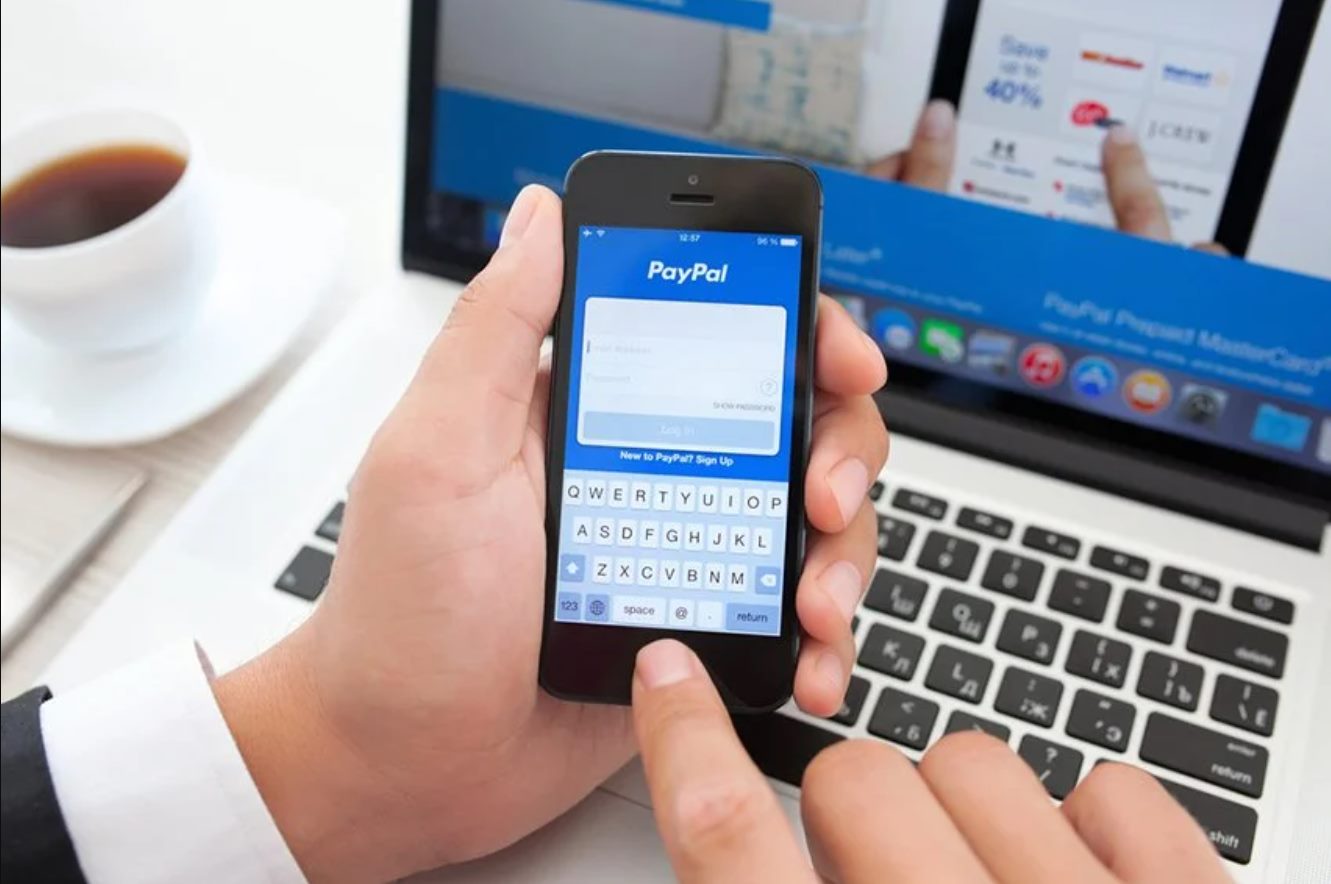
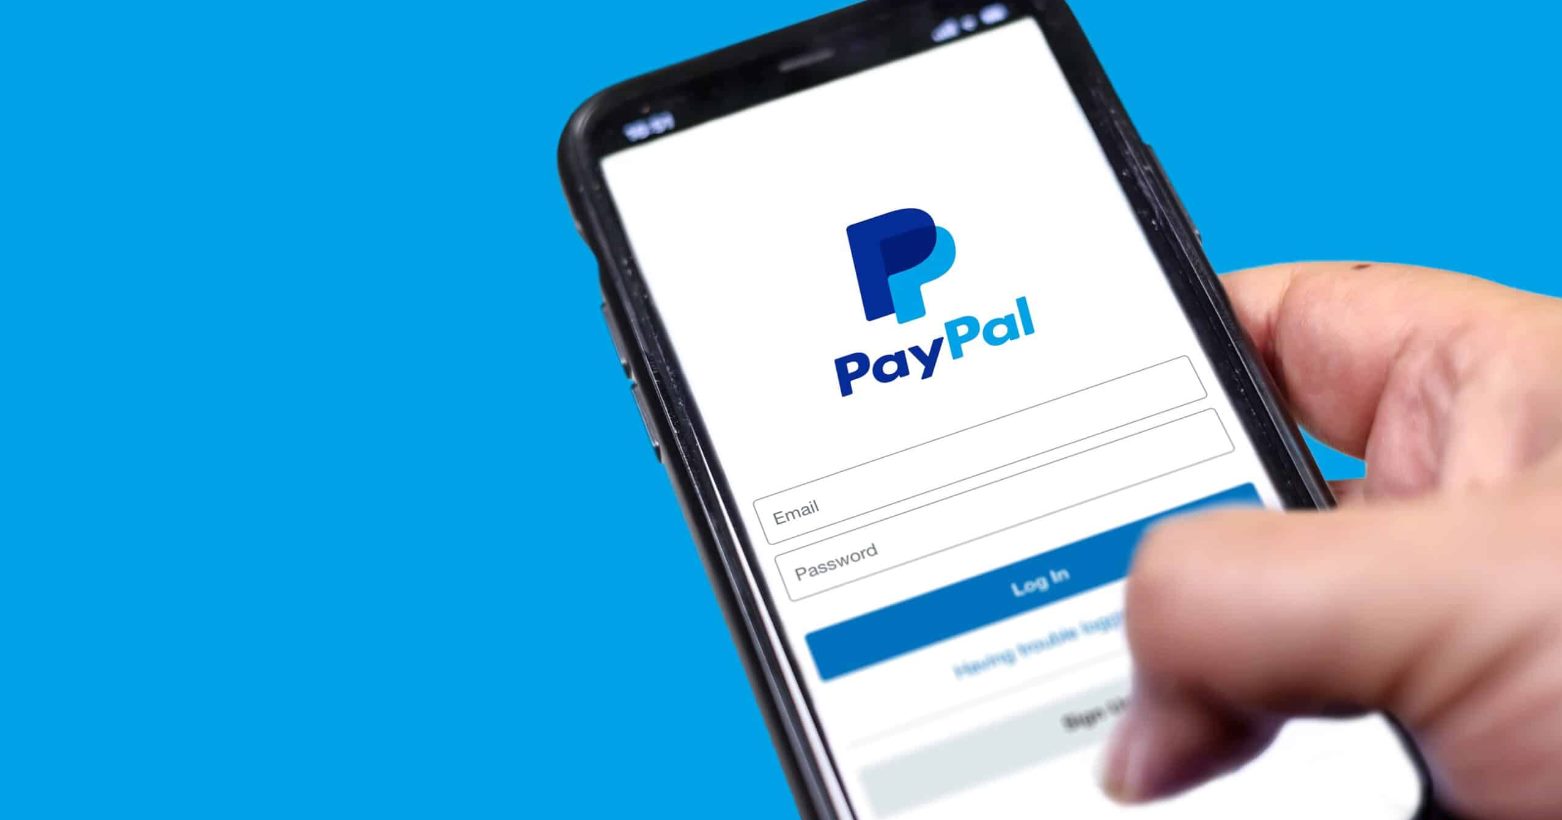
The first step in canceling your PayPal account is to sign in to your existing account. Visit the PayPal website and click on the “Log In” button located at the top right corner of the page. Enter your registered email address or mobile number associated with your account, followed by your password, then click “Log In”. If you’ve forgotten your password, you can click on the “Having trouble logging in?” link to initiate the password recovery process.
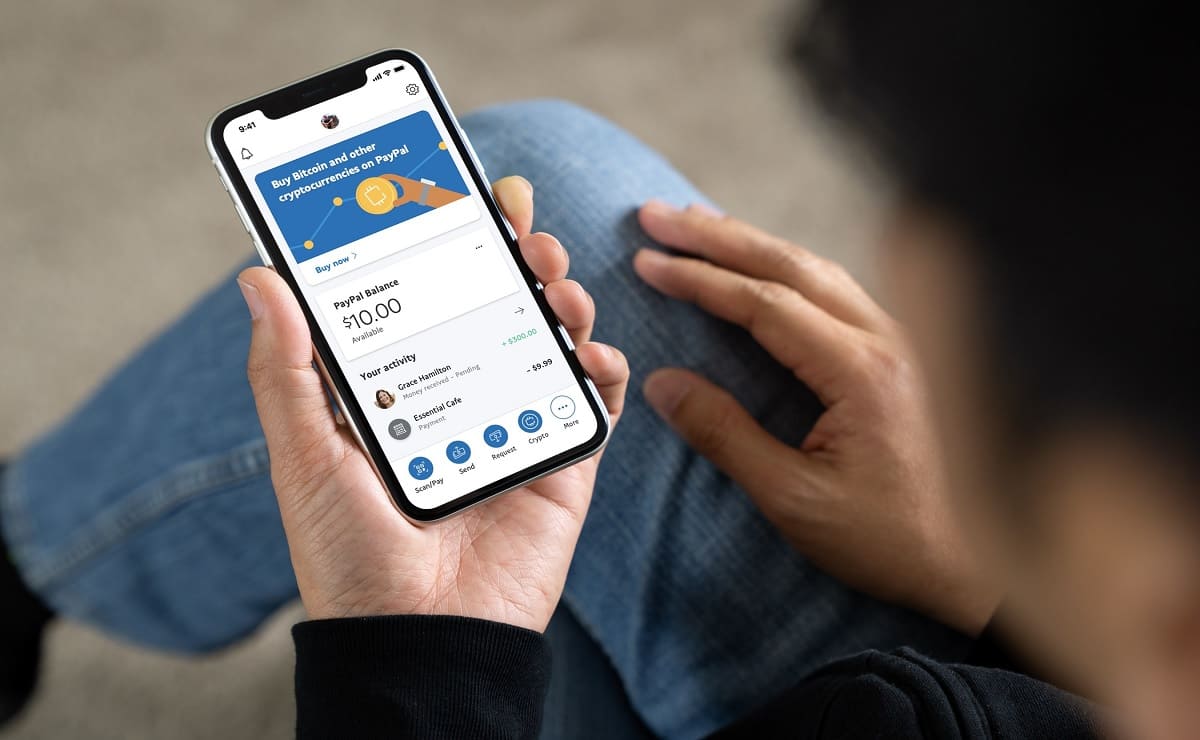
Once you’ve successfully logged in, you’ll be directed to your PayPal account dashboard. Take a moment to review any pending transactions, notifications, or alerts before proceeding with the cancellation process. It’s essential to ensure that no critical tasks or issues require your immediate attention. If there are any unresolved matters, it’s recommended to address them before closing your account to prevent any potential complications.
It’s crucial to keep your account information secure throughout the process. Avoid sharing your login credentials with anyone and be cautious of any suspicious emails or websites that may attempt to gather your personal information. PayPal is committed to maintaining a secure platform, but it’s always wise to exercise caution to protect your account.
By completing Step 1, you have successfully signed in to your PayPal account. Now you’re ready to proceed to the next step, which entails accessing the settings page to initiate the account closure process. Follow along with the following section to continue canceling your PayPal account.
Step 2: Go to the Settings page
Once you’re signed in to your PayPal account, the next step is to navigate to the Settings page. To access the Settings, locate the gear icon at the top right corner of the PayPal dashboard and click on it. A dropdown menu will appear, presenting you with various options. Select “Settings” from the list.
Clicking on the “Settings” option will redirect you to the Settings page, where you can customize and manage your PayPal account preferences. The Settings page provides you with a range of options to control your account settings, including security, notifications, payment preferences, and more.
At this stage, it’s important to review your account settings to ensure they meet your preferences. Take a moment to browse through the different tabs and sections available on the Settings page. Familiarize yourself with the various options and their functionalities. This will not only help you in the cancellation process but also empower you with a better understanding of your account management.
As you navigate through the Settings page, keep an eye out for any outstanding tasks or unresolved issues that may require attention. It’s important to address these matters prior to proceeding with the cancellation process to avoid any inconveniences. Taking the time to resolve any pending transactions, disputes, or issues will ensure a smooth closure of your PayPal account.
Now that you’ve successfully arrived at the Settings page, you’re ready to move on to the next step, which involves selecting the “Account” option. Continue reading the next section for a detailed guide on how to proceed.
Step 3: Click on “Account”
After accessing the Settings page, the next step in canceling your PayPal account is to click on the “Account” option. On the Settings page, you will find a list of tabs or sections related to different account settings. Locate and select the tab labeled “Account”.
Clicking on the “Account” tab will take you to a new page where you can manage various aspects of your PayPal account. This section provides you with options related to your account information, such as profile settings, linked cards or bank accounts, and more. It’s essential to familiarize yourself with the information displayed on this page as it relates to the closure of your account.
Once you have accessed the “Account” page, take a moment to review the details and settings associated with your PayPal account. This is an opportunity to ensure that all information is accurate and up to date. Make any necessary changes or updates if needed, as this will contribute to a smooth account cancellation process.
Additionally, it’s important to pay attention to any linked payment methods or financial information present on the “Account” page. If you have any active subscriptions or recurring payments tied to your PayPal account, you may need to cancel or transfer them to another payment method before closing your account. Ensure that all payment-related matters are settled to prevent any disruptions or issues.
By successfully clicking on the “Account” option, you have reached the appropriate section of your PayPal account to proceed with the cancellation process. The next step, outlined in the following section, involves selecting the “Close your account” option. Keep reading to continue the cancellation procedure.
Step 4: Select “Close your account”
Once you’re on the “Account” page of your PayPal account, the next step in canceling your account is to select the “Close your account” option. This option allows you to initiate the closure process and begin the necessary steps to permanently close your PayPal account.
To find the “Close your account” option, scroll down the page and look for a section or subsection related to account management. Within this section, you should be able to locate the option to close your account. The positioning and labeling may vary depending on PayPal’s interface changes, but it is typically prominently displayed to ensure users can find it easily.
Clicking on the “Close your account” option will redirect you to a new page or pop-up window confirming your decision to cancel your PayPal account. Before proceeding, PayPal may provide some additional information or alternative options to consider, such as downgrading your account rather than closing it outright. Review these details and carefully consider the implications before making your final decision.
It’s important to note that once you select “Close your account”, you may be required to go through additional verification steps to confirm your identity. This may involve answering security questions, providing additional information, or receiving a verification code via email or SMS. This verification process is in place to ensure the security of your account and prevent unauthorized closures.
By successfully selecting the “Close your account” option, you have initiated the closure process for your PayPal account. However, the process is not yet complete. In the next step, outlined in the following section, you’ll need to confirm your account cancellation. Keep reading to learn how to proceed.
Step 5: Confirm your cancellation
After selecting the “Close your account” option, you will be prompted to confirm your decision to cancel your PayPal account. This step is crucial to ensure that you fully understand the consequences of closing your account and to prevent any accidental closures.
On the confirmation page, PayPal may provide you with additional information or alternative options to consider. This could include recommendations for resolving any outstanding issues or transferring funds from your PayPal balance. Take the time to review this information carefully and assess whether there are any necessary actions you need to take before finalizing the account cancellation.
Once you have reviewed the information, click on the appropriate button or link to confirm your cancellation. This action will signal your intent to permanently close your PayPal account. Depending on PayPal’s interface, the confirmation button may be labeled as “Yes, cancel my account” or something similar.
After confirming your cancellation, you may receive a final message from PayPal acknowledging your account closure. This notification may include important details, such as the effective date of account closure and any remaining tasks you need to address, such as resolving disputes or withdrawing funds.
Keep in mind that once your account is closed, you will no longer be able to access any data or perform transactions associated with that account. It’s crucial to make any necessary backups or retrievals of important information beforehand.
By successfully confirming your cancellation, your PayPal account closure request is now in progress. However, there are still a few important steps to complete to ensure a seamless transition. Continue reading the next section to learn more about resolving any outstanding issues before finalizing the closure of your PayPal account.
Step 6: Resolve any outstanding issues
Before finalizing the closure of your PayPal account, it’s vital to address and resolve any outstanding issues or tasks associated with your account. This step will help ensure a smooth transition and prevent any unforeseen complications.
One crucial task to consider is resolving any pending transactions or disputes. If you have any open transactions or ongoing disputes, it’s essential to reach a resolution before closing your account. Communicate with the relevant parties involved, provide any necessary information or evidence, and work towards a mutually satisfactory resolution.
Additionally, if your PayPal account is linked to any subscriptions or recurring payments, it’s important to cancel or transfer them to an alternative payment method before closing your account. Make sure to update your payment information wherever necessary to prevent any disruptions in your services or subscriptions.
If you have a balance in your PayPal account, you’ll need to transfer those funds to your bank account or another payment platform. PayPal provides options for withdrawing funds, which can be accessed from your account dashboard. Follow the instructions provided to initiate the transfer and ensure that all available funds are safely transferred before closing your account.
Furthermore, it’s a good practice to update any websites, online platforms, or services that have your PayPal account linked as a payment method. Update your payment information with alternate options to avoid any potential disruptions or inconveniences with your subscriptions or purchases.
By addressing and resolving any outstanding issues, transactions, and balances, you can confidently proceed with the closure of your PayPal account. Once you have completed these necessary tasks, you can proceed with the final steps to finalize the closure.
Now that you’ve successfully resolved any outstanding matters, you’re ready to move forward with closing your PayPal account. However, before concluding this guide, it’s important to summarize the steps and emphasize the importance of careful consideration throughout the process. Continue reading the concluding section to wrap up the cancellation process.
Conclusion
Closing your PayPal account is a straightforward process, but it’s essential to approach it with careful consideration and thoroughness. By following the step-by-step guide outlined in this article, you can successfully cancel your PayPal account while addressing any outstanding issues and ensuring a smooth transition.
From signing in to your PayPal account to accessing the Settings page, selecting “Close your account”, and confirming the closure, each step plays a vital role in the cancellation process. It’s important to take the time to review your account settings, resolve any pending transactions or disputes, and transfer any remaining funds before proceeding with the closure.
Remember to keep important account information secure throughout the process, and verify your identity if prompted. Take note of any notifications or messages from PayPal regarding the closure and ensure all necessary backups or retrievals of important data are made before finalizing the account cancellation.
Additionally, it’s crucial to update any linked payment methods or subscriptions to prevent disruptions in services. Review your accounts on other platforms or websites to make sure your payment information is updated with alternative options.
Before taking the final step to close your PayPal account, carefully assess the consequences and consider any alternative options or downgrades provided by PayPal. Once you are certain of your decision, confirm the closure and be sure to complete any remaining tasks or actions mentioned in the confirmation message.
By following these steps and completing the necessary actions, you can successfully close your PayPal account while minimizing any potential complications. Remember, once your account is closed, you will not be able to reactivate it or retrieve any data associated with it, so ensure that you have made all necessary preparations before proceeding.
Thank you for using this guide to cancel your PayPal account. If you have any further questions or require assistance, feel free to consult PayPal’s official documentation or reach out to their customer support for guidance.